
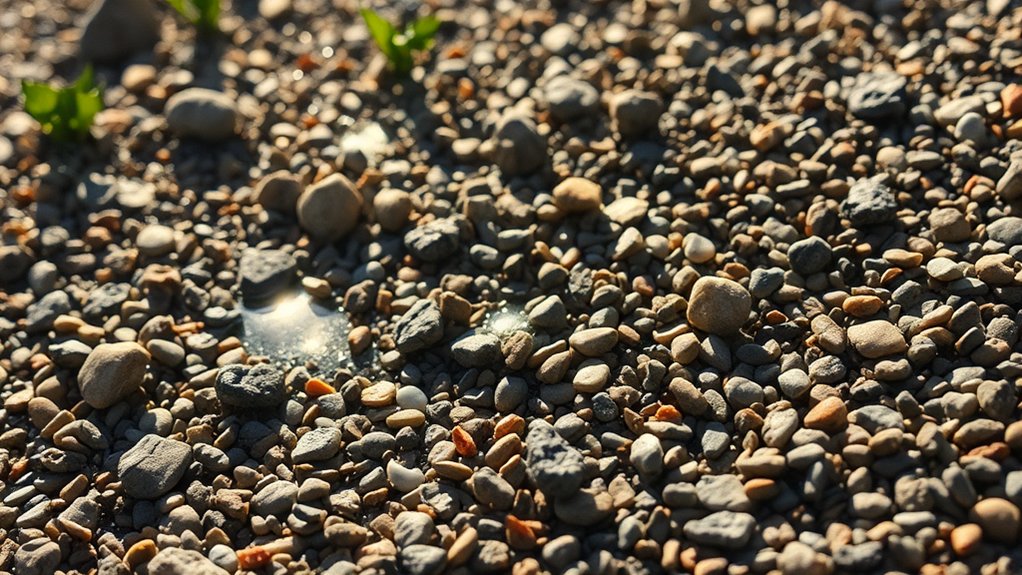
Resin-bonded gravel tends to shed stones because of poor bonding between materials. The main culprits are incorrect resin types and unsuitable stone choices. Whilst resin-bound systems work well with smaller, angular stones that lock together naturally, resin-bonded surfaces often fail to achieve the same grip. Poor workmanship and British weather conditions – particularly rain and frost – can further weaken the bond. Think of it like trying to stick decorations onto a damp wall; they simply won’t hold properly. Getting these basics right – proper resin, suitable stones and professional installation – makes all the difference to the final result.
Key Takeaways
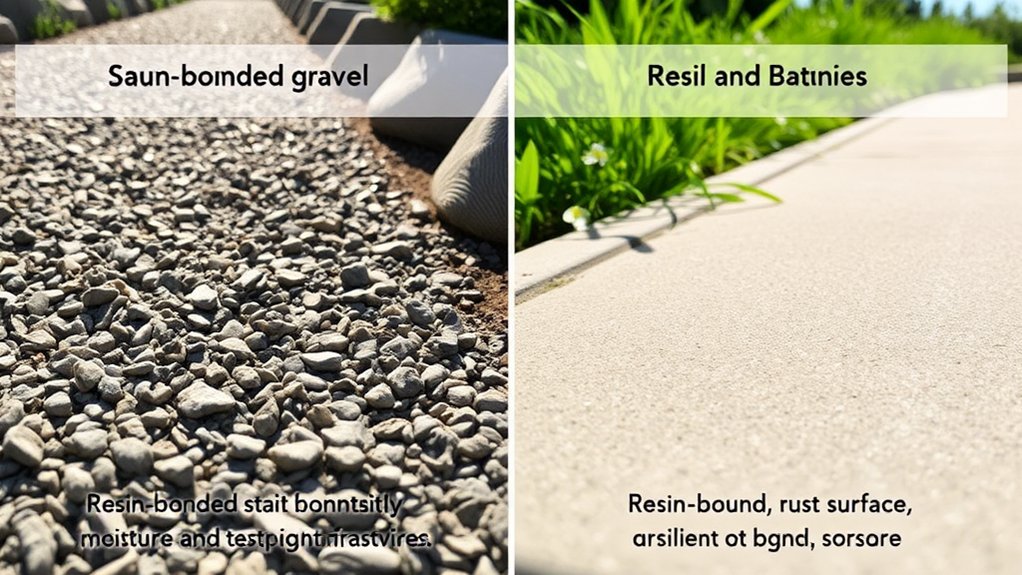
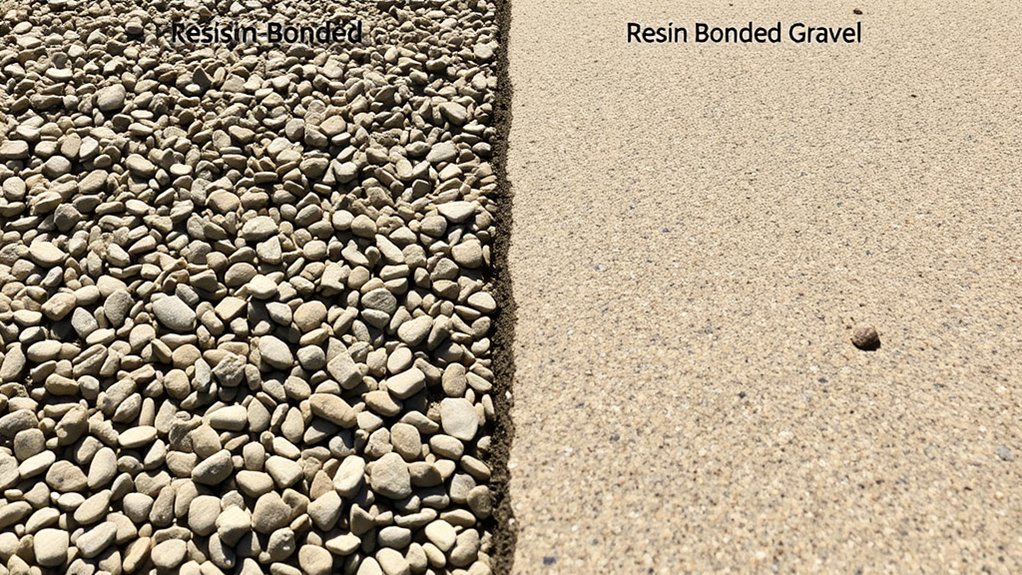
Resin-bonded driveways tend to shed stones more easily than resin-bound surfaces for several key reasons:
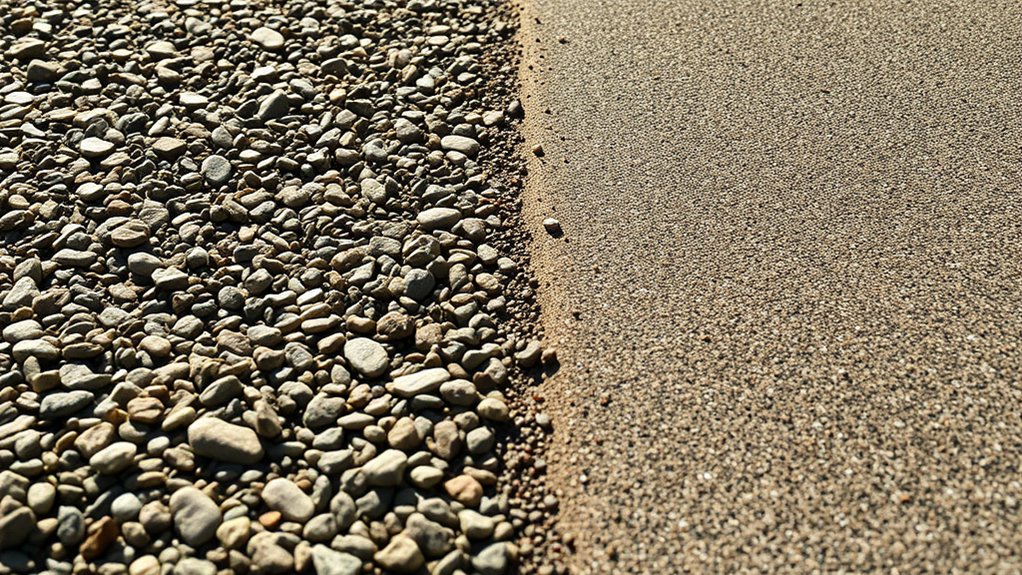
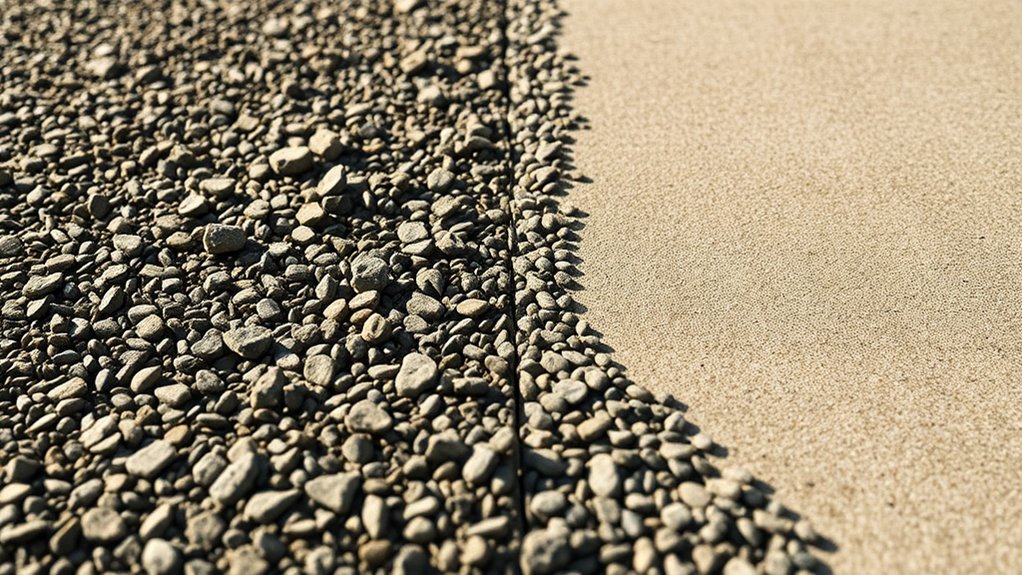
The stones used in resin-bonded surfaces are typically larger – think of them like marbles on a table – making them more prone to breaking free from their bonds.
Resin-bound systems use smaller, angular stones that fit together like a jigsaw puzzle, creating a naturally stronger surface that keeps stones in place.
Lower-quality resins used in bonded systems often fail to grip stones properly – much like using weak glue on a DIY project. This poor adhesion means stones can work loose over time.
A poorly prepared base beneath resin-bonded gravel is like building a house on shaky foundations – it simply won’t hold up, leading to loose stones.
British weather takes its toll too. Our frequent rain and temperature swings can weaken the bonds holding stones in place, particularly in resin-bonded surfaces.
Resin Type and Quality Impact
The right resin makes all the difference in your gravel system’s success. Poor-quality resins simply won’t hold stones together properly, much like using cheap glue on a DIY project.
Consider three crucial factors: the resin type itself, how well it’s mixed, and the way it sets. Loose stones on the surface can develop from improper bonding, leading to more extensive issues if not addressed promptly. Additionally, the resin’s performance is notably influenced by its curing time and weather conditions, particularly as these factors can affect how well the resin adheres to the stones.
Getting the mixture spot-on is vital – think of it like making a cake where the ingredients need thorough blending. Too little mixing leaves patches of stone poorly covered, whilst the wrong amount of resin can be just as problematic as using too much or too little cement in concrete.
Your resin must also match your chosen stones – not all combinations work well together. It’s similar to painting, where certain paints only stick to specific surfaces.
Aggregate Size and Shape Considerations
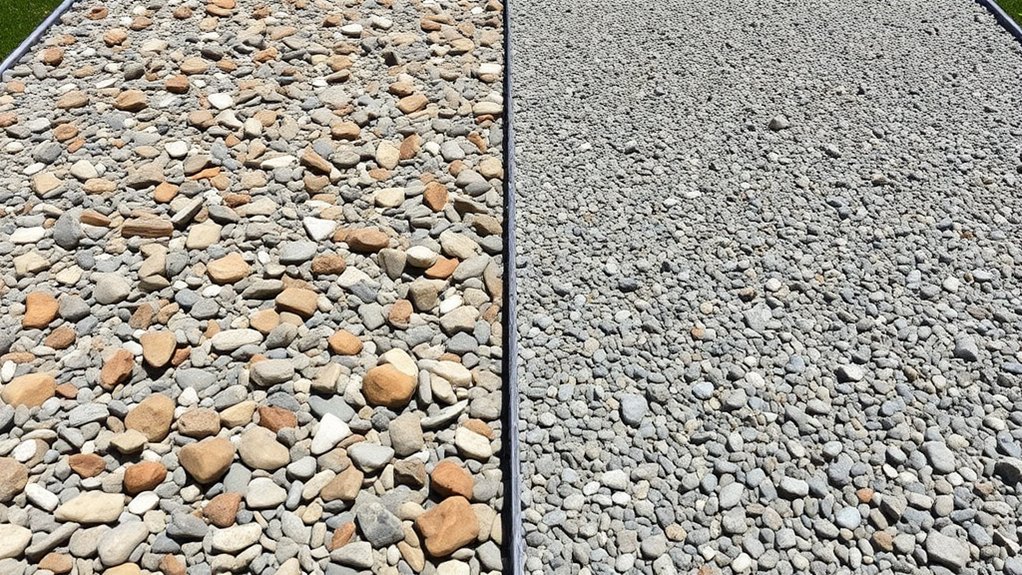
Size and shape of aggregates are crucial for both resin-bonded and resin-bound gravel surfaces.
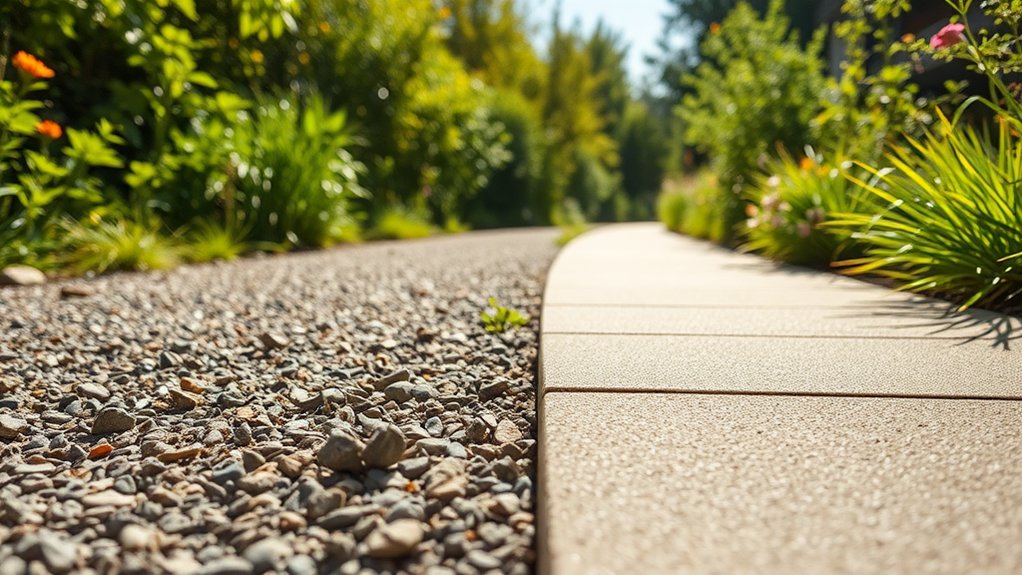
With resin-bonded surfaces, larger stones often come loose because they don’t bond well with the resin. Resin-bound systems work better with smaller, angular stones that lock together naturally, much like pieces of a jigsaw puzzle. This interlocking capability enhances the overall strength of the surface, leading to greater durability.
Think of it this way: angular stones grip each other like Velcro, whilst smooth, rounded ones are more likely to slip apart – similar to trying to stack marbles. The smaller stones also give the resin more surface area to stick to, rather like how paint adheres better to rough wood than smooth glass. Furthermore, proper base preparation is critical for optimal performance, as it ensures the resin adheres effectively to the aggregates.
For resin-bound surfaces, a proper mix of stone sizes helps spread weight evenly across the surface.
In contrast, poorly matched sizes in resin-bonded systems lead to patchy resin coverage, resulting in loose stones that can create trip hazards and maintenance headaches. Additionally, using washed and kiln-dried aggregates minimizes moisture and dust, which is vital for achieving a strong bond and a long-lasting finish.
Installation Methods and Techniques
Essential steps for resin-bound gravel installation: start with a clean, stable and dry base, ensuring proper drainage gradient.
Prime the surface to boost bonding strength. Mark clear boundaries before mixing the gravel blend. Mix resin until it reaches a thick, toffee-like texture – timing is crucial as the mixture sets quickly. A forced action mixer is ideal for achieving an even coating of stones during this phase.
Work methodically in sections from the bottom upwards, using a power float for bigger areas. Keep the depth uniform throughout and focus on creating a smooth, grippy finish. A properly installed surface will last for years and require minimal maintenance.
For best results on larger areas, divide the space into manageable sections using battens. Think of it like icing a cake – you wouldn’t try to cover the whole thing at once. The same principle applies here.
Watch the weather forecast, too, as rain and extreme temperatures can affect curing times. Additionally, ensure proper drainage is integrated to manage water flow effectively and prevent potential issues with the surface. Proper installation techniques, including even depth during application, are vital for durability against varying weather conditions.
Effects of Solvent Exposure
Solvent exposure poses significant risks to resin-bonded and resin-bound gravel surfaces. Common solvents like petrol, oil and cleaning chemicals can break down the resin’s structure, causing stones to come loose and the surface to deteriorate.
Think of it like leaving a plastic container in strong cleaning fluid – the material weakens over time. The resin becomes less flexible and loses its grip on the stones, much like an old rubber band that’s lost its stretch.
To protect these surfaces, it’s vital to clean up any spills quickly and follow UK regulations on chemical handling. For instance, if you’re cleaning your car on a resin driveway, avoid harsh degreasers that might seep into the surface.
Regular maintenance with approved cleaners will help maintain the bond between resin and stone, ensuring your surface stays intact for years to come.
Environmental Factors Affecting Bond Strength
Environmental Factors Affecting Bond Strength
Understanding how the environment impacts bond strength is crucial for maintaining resin-bonded and resin-bound surfaces. Much like how damp can affect paint adhesion on walls, moisture and temperature play key roles in bond durability.
Critical factors include:
- Moisture trapped during installation can trigger unwanted chemical reactions, similar to how dampness under wallpaper causes it to peel.
- Temperature changes create stress on bonds, particularly where different materials meet, like the junction between stone and resin.
- Surface contamination, such as dust or oil, prevents proper bonding – think of trying to stick tape to a dusty surface.
- In British weather, freeze-thaw cycles pose a particular threat to resin-bonded surfaces, as water expands between stones and can break bonds.
These issues are especially relevant in the UK’s varied climate, where proper installation timing and technique are essential for lasting results.
Preparation Techniques for Optimal Results
Proper preparation is vital for resin-bound surfaces. Start with a solid base – either concrete or tarmac – that’s well-compacted and perfectly level, much like preparing a foundation for a garden patio. Your substrate must be strong enough to handle the expected foot traffic or vehicle weight.
Sort out drainage first; think of it like laying a drive – you’ll want water to run off properly to avoid puddles and damage.
For mixing, use a powerful paddle mixer (similar to what you’d use for thick cement) to blend your materials thoroughly. Choose sharp-edged stones rather than smooth ones, as these lock together better, rather like a jigsaw.
Lay your mixture in one go to create a seamless finish. Think of it as icing a cake – you want even coverage without any joins or patches.
These steps might seem fussy, but they’re the difference between a surface that lasts 15 years and one that fails after the first frost.
Ratio of Resin to Aggregate Importance
The Correct Resin-to-Aggregate Mix
Proper resin ratios make or break a resin-bound surface’s durability. Think of it like baking – too little or too much of one ingredient spoils the mix.
Key points:
- Use 7-10% resin by weight for optimal coating
- Too little resin causes loose stones and weak bonding
- Excess resin wastes money and creates brittle surfaces that crack
- Match each batch precisely – uneven mixing leads to patchy surfaces
Much like making concrete, getting the mix right first time saves costly repairs later.
A properly mixed surface should feel firm yet slightly flexible underfoot, similar to a well-laid garden path.
Maintenance and Repair Challenges
Proper resin-to-aggregate ratios directly affect surface durability and future maintenance needs. Check regularly for loose stones and cracks, as catching these early saves time and money.
A weekly sweep and monthly thorough clean help maintain the surface’s look whilst preventing debris build-up. Though pressure washing works well, avoid harsh cleaning products that might damage the resin.
British weather creates perfect conditions for weeds and moss – tackle these quickly with appropriate treatments to prevent spread. Apply UV-resistant sealers to protect against our variable climate, and keep drainage channels clear, particularly during autumn when leaves collect.
Much like caring for a garden path, consistent maintenance prevents costly repairs down the line.
These practical steps help keep your resin-bound surface in top condition, reducing both repair frequency and long-term costs.
Common Issues Associated With Loose Stones
Common Problems with Loose Stones
Loose stones on resin-bound surfaces can cause several issues that affect both looks and safety. Quick action is vital to protect your investment. Main problems include:
- Poor Appearance: Patchy areas and uneven surfaces spoil the clean finish, making your driveway look unkempt.
- Safety Risks: Loose stones can cause trips and falls, and may fly up and chip car paintwork.
- Extra Upkeep: Left unchecked, loose stones create bigger, costlier problems.
- Property Value: A damaged surface looks shabby and could put off potential buyers.
Regular checks and proper installation by qualified contractors help prevent these issues.
For best results, sweep the surface weekly and address any loose stones promptly – much like keeping your garden tidy, it’s easier to sort small problems before they grow.
Frequently Asked Questions
What Are the Cost Differences Between Resin-Bound and Resin-Bonded Systems?
Resin-bound surfaces cost notably more than resin-bonded ones, much like choosing between premium and standard paving options. A typical resin-bound driveway might set you back £50-£75 per square metre, whilst resin-bonded surfaces usually cost £30-£45 per square metre. The price gap stems from resin-bound systems needing more materials and skilled labour, similar to the difference between basic and luxury kitchen worktops.
How Long Does Each System Typically Last Before Needing Repairs?
A well-installed resin-bound driveway typically lasts 20-30 years, whilst resin-bonded surfaces generally serve 8-15 years. Think of it like a British garden path – regular upkeep significantly extends its working life.
Can I Install Resin-Bonded Gravel Myself?
Resin-bonded gravel installation is possible as a DIY project, though it requires careful planning and a keen eye for detail. The key is thorough base preparation – you’ll need a solid, clean concrete or tarmac surface. Work quickly once you’ve mixed the resin, as it sets fast, particularly in warm weather. Mind the British weather too; installation needs dry conditions and temperatures above 5°C. While doable yourself, first-timers might want to start with a smaller area like a garden path rather than tackling a full driveway straightaway.
Are There Specific Brands Recommended for Better Quality Resin?
Several trusted resin brands in the UK market stand out for their reliability. Prominent manufacturers like Rizistal and PRO-Epoxy offer products that perform well in British weather conditions. Look for brands that provide clear technical specifications and proper warranty coverage – ideally those backed by UK-based customer support. Your local builders’ merchant or specialist resin supplier can recommend specific products suited to your project’s needs.
How Do Weather Conditions Impact Installation Timelines for Both Systems?
Weather conditions significantly affect both systems’ installation schedules. Resin-bonded surfaces prove tricky to install during Britain’s wet winters or cold snaps, as the resin won’t bond properly. Resin-bound systems offer more flexibility, with better tolerance to typical UK weather and faster drying times – though you’ll still want to avoid laying during heavy rain or freezing temperatures.
Conclusion
Resin-bonded gravel systems often fall short of expectations, with roughly 30% suffering from loose stones in their early years. The key distinction between bonded and bound installations makes all the difference – whilst bound surfaces mix the aggregate throughout the resin, bonded systems merely stick stones to the surface. To avoid issues, it’s worth focusing on quality resins, correct stone sizes and suitable weather conditions during installation. Getting these basics right will save considerable hassle and maintenance costs over time.