Poor resin-bound gravel installation can lead to serious problems like cracking, sinking and drainage issues, much like a poorly laid patio. Without proper base preparation and correct depth, you'll likely face structural failures – imagine a wobbly garden table with uneven legs. Installing during wet or cold weather can ruin the resin mix, whilst getting the mixing ratios wrong results in weak spots and uneven colouring, rather like a badly mixed cake. These blunders often mean costly repairs down the line. Getting it right first time saves both money and hassle, making professional installation worth considering.
Key Takeaways
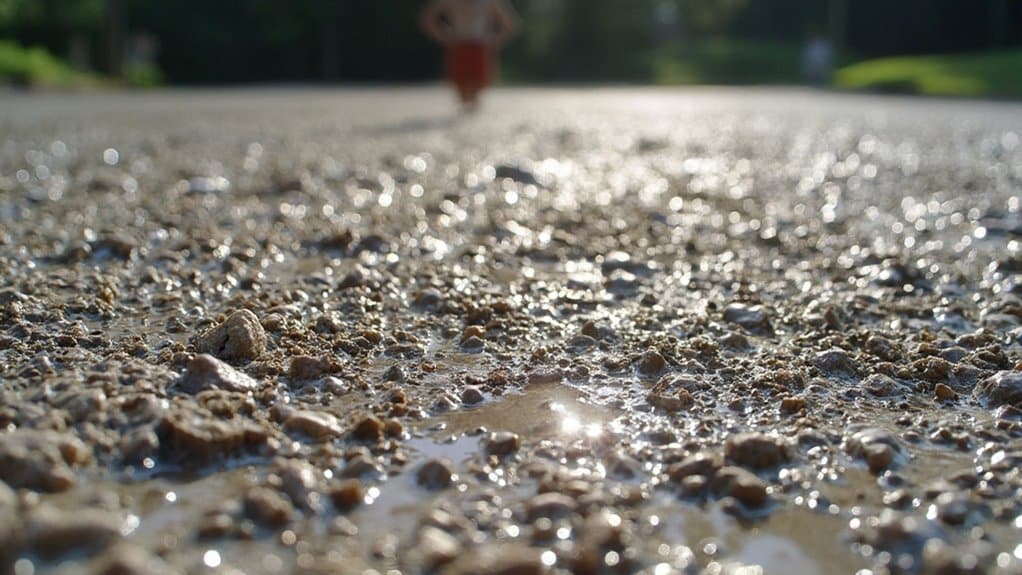
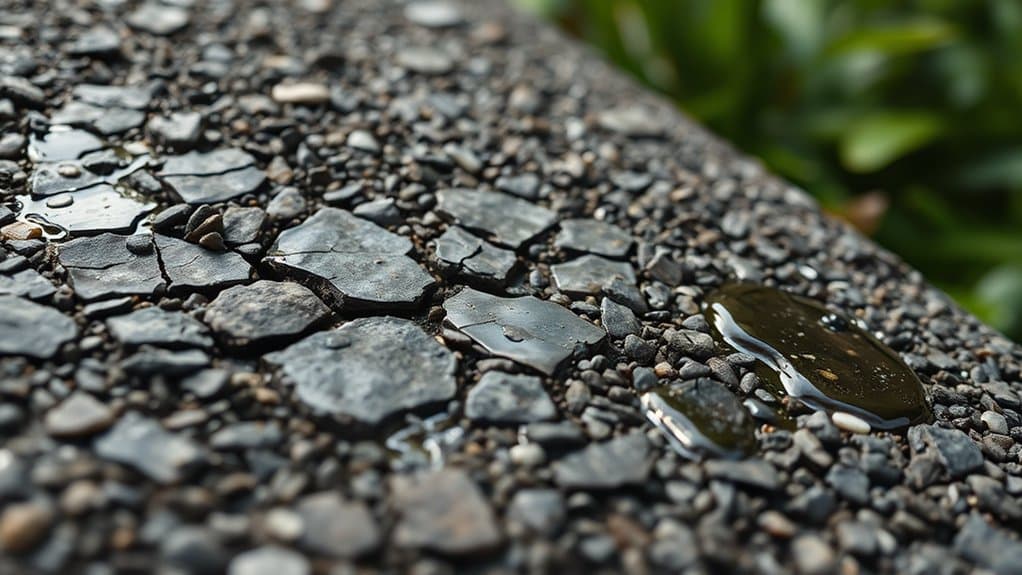
Poor groundwork means your resin-bound surface will likely crack and sink, whilst rainwater won't drain properly – a real headache during British downpours.
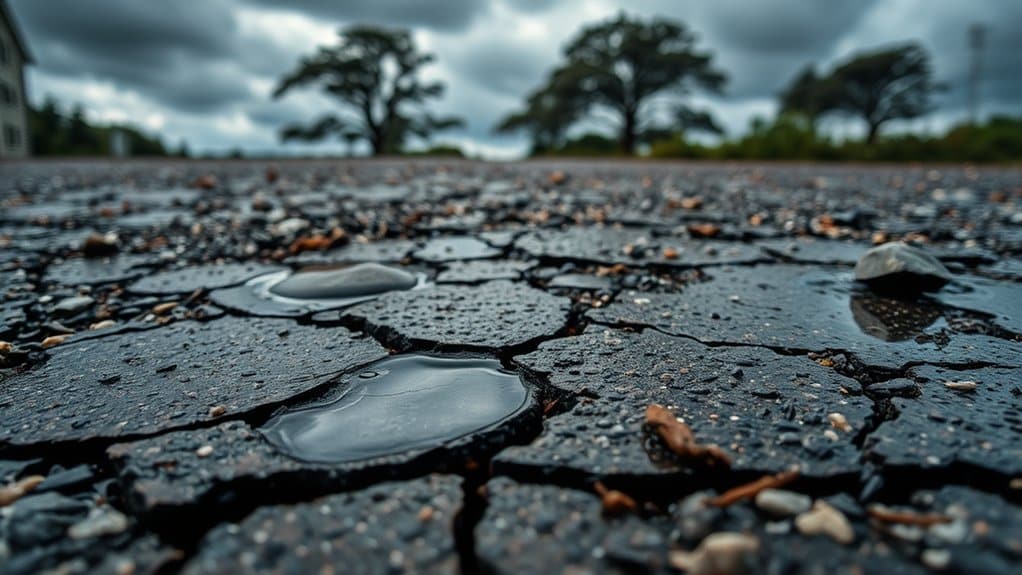
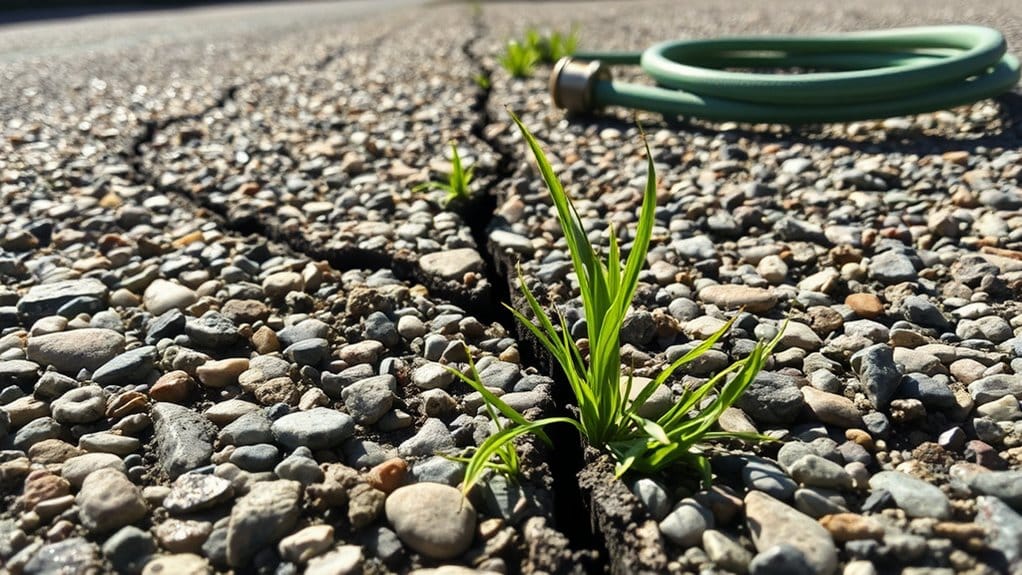
Getting the depth wrong creates weak areas in your driveway or patio, leading to expensive fixes when the surface starts breaking down.
Laying resin in dodgy weather (quite common in the UK) can ruin the mixture, stopping it from setting properly – rather like trying to paint outdoors in the rain.
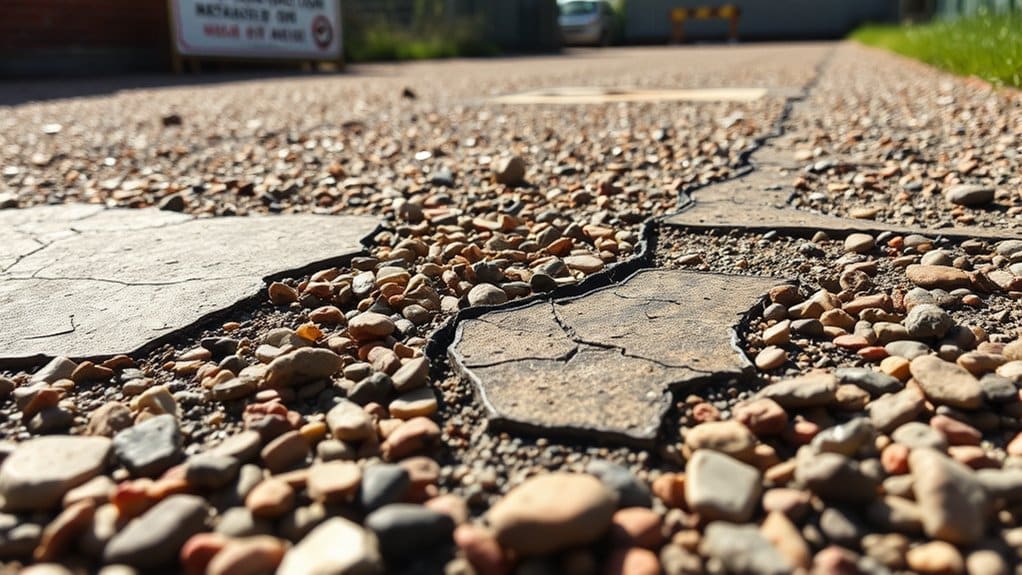
Shoddy workmanship shows up quickly through patchy colouring, uneven finish and loose stones scattered about – not a good look for your property and potentially dangerous underfoot.
Installation mistakes rack up maintenance bills over time, as you'll need constant repairs to sort out the botched job.
Inadequate Base Preparation
Poor base preparation will ruin your resin-bound gravel surface from the start.
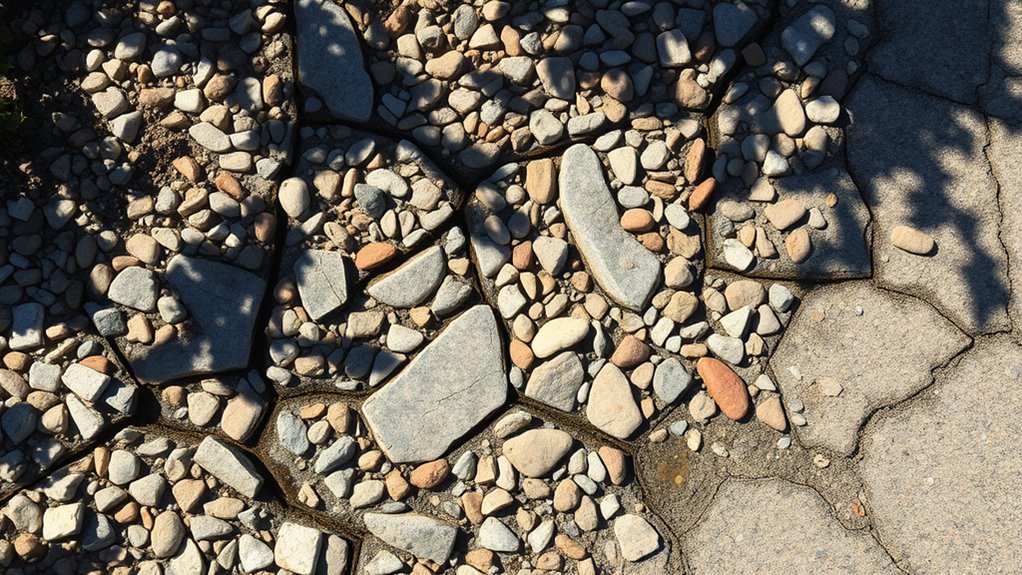
Think of it like building a house on shaky foundations – it simply won't last. Without a solid base, your surface will crack and sink under everyday use, whether that's cars on your driveway or foot traffic on your garden path. Proper substrate preparation, including a solid sub-base such as tarmac or concrete, is essential for long-lasting surfaces. A stable base not only prevents cracking but also supports effective water management, which is essential in areas prone to flooding.
Drainage is crucial in our British weather. A badly prepared base means water won't drain properly, leading to puddles and damage, particularly during our wet winters.
If the primer isn't applied correctly or you've used the wrong base materials, the resin surface might peel away like a poorly hung wallpaper.
The end result? A shorter lifespan for your investment and repairs that'll cost you more than doing it properly the first time.
Save yourself the headache and ensure your base is properly prepared – it's the cornerstone of a lasting resin-bound surface.
Application in Adverse Weather
Weather plays a crucial role in resin-bound gravel installation – get it wrong, and your driveway or patio could fail. Follow these key points:
1. Rain is a No-Go: Even light rain will spoil the mix. If your garden furniture's getting wet, it's too damp to lay resin. Wait for completely dry conditions to ensure proper cure times for the resin.
2. Mind the Temperature: Think British weather – if it's below 5°C or above 25°C, the resin won't cure properly. Optimal installation temperature is critical for ensuring a successful application.
Summer heatwaves and winter frosts are your worst enemies.
3. Watch the Humidity: Much like a muggy summer's day can stop paint from drying, high humidity affects resin curing. High humidity can hinder resin bonding, making it essential to check the forecast and aim for clear, dry days.
Mixing and Storage Issues
Mixing and Storage: Key Points
Getting your resin-bound gravel mix and storage right is vital for a top-quality finish.
| Issue | Problems | Solutions |
|---|---|---|
| Wrong Mix Ratios | Surface becomes weak and brittle | Follow manufacturer's ratios precisely |
| Damp Materials | Resin won't grip properly | Keep materials in a dry shed or garage |
| Poor Mixing | Patchy, uneven finish | Mix thoroughly for the stated time |
| Dirty Aggregate | Stones won't stick properly | Clean stones before use |
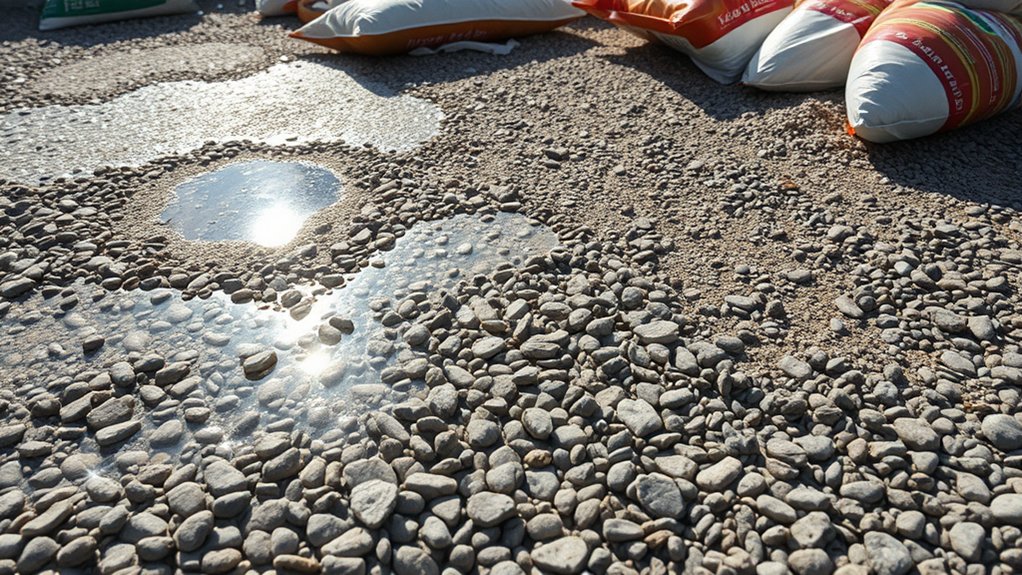
Poor mixing or storage can cause stones to come loose and create unsightly patches. Think of it like baking – the right measurements and proper preparation make all the difference. Additionally, improper mixing can lead to drainage issues that may cause puddles and flooding, further affecting the overall durability of your driveway. Regular checks for loose stones and timely repairs can help maintain the integrity of your surface. Stick to proper storage and mixing guidelines to ensure your driveway or path stays solid and smart-looking for years.
Depth and Coverage Problems

Proper Depth and Coverage: Essential Guide
Getting the right depth and coverage for your resin-bound gravel is crucial for a lasting surface. Much like laying a building's foundation, these measurements directly affect durability.
Depth Requirements
- Install at least three times deeper than your largest stone size (like using 6mm stones needs 18mm depth)
- Never lay less than 10mm deep, as thin layers crack like a poorly-made biscuit
- Proper depth costs more upfront but saves money by lasting longer
Common Mistakes
- Skimping on depth to save money (false economy)
- Uneven coverage leading to weak spots
- Installing too thinly over large areas
Cutting corners on depth or coverage inevitably leads to repairs and replacements.
Much better to pay once and install correctly than face constant maintenance costs.
Curing and Post-Installation Issues
The curing phase of resin-bound surfaces is vital to get right. Walking on the surface too early can spoil the finish – much like stepping on wet concrete.
Hot weather poses particular risks, as excessive heat can prevent proper bonding, rather like trying to set jelly on a warm day. For best results, keep all foot traffic off the surface for at least 24 hours, and vehicles for 48-72 hours.
In summer months, consider installing during cooler morning hours to ensure proper curing.
Early Foot Traffic Damage
Early Foot Traffic Damage
Walking on resin-bound gravel before it's fully cured can seriously damage the surface – much like stepping on wet cement. The material simply isn't hard enough to bear weight, leaving unsightly marks and dips that spoil the finish.
To protect your new surface:
- Block off the area with cones and hazard tape
- Put up clear 'Keep Off' signs
- Keep an eye on the weather – rain and hot sun can affect curing time
Think of it like a fresh paint job – you wouldn't walk on it straight away.
If damage does occur, you'll likely need professional help to sort it out properly, which can be costly and time-consuming.
The best approach is prevention: keep everyone off the surface until it's properly set. Your installer should tell you exactly how long to wait, typically 24-48 hours depending on conditions.
Inadequate Curing Conditions
Poor curing conditions can ruin your resin-bound gravel installation.
Install only when temperatures are between 5°C and 35°C, with humidity levels of 30-85%.
Be aware that hot weather speeds up curing, whilst cold weather can stretch it to 48 hours.
Ground temperature often differs from air temperature, so check both.
Without the right conditions, you risk the surface peeling away, cracking or becoming discoloured.
Check the weather forecast beforehand and protect your new surface from rain or extreme temperatures to ensure it lasts.
Long-Term Maintenance and Durability
Long-Term Maintenance and Durability
Proper maintenance of resin-bound gravel ensures lasting durability, much like caring for a garden path. A sound foundation and awareness of British weather conditions are crucial for success. Without proper care, your surface might develop problems similar to a poorly maintained driveway.
Essential maintenance steps:
- Regular Checks: Sort out any loose stones straight away – just as you'd fix a wobbly paving slab to prevent bigger issues.
- Drainage Care: Keep water channels clear, particularly important during our wet winters. A blocked drain can turn your path into a puddle.
- Weed Management: Pull out weeds before they take hold – they're as unwelcome here as they're in flower beds.
These simple steps, carried out regularly, help maintain your resin-bound surface in top condition throughout the British seasons.
Aesthetic and Safety Concerns
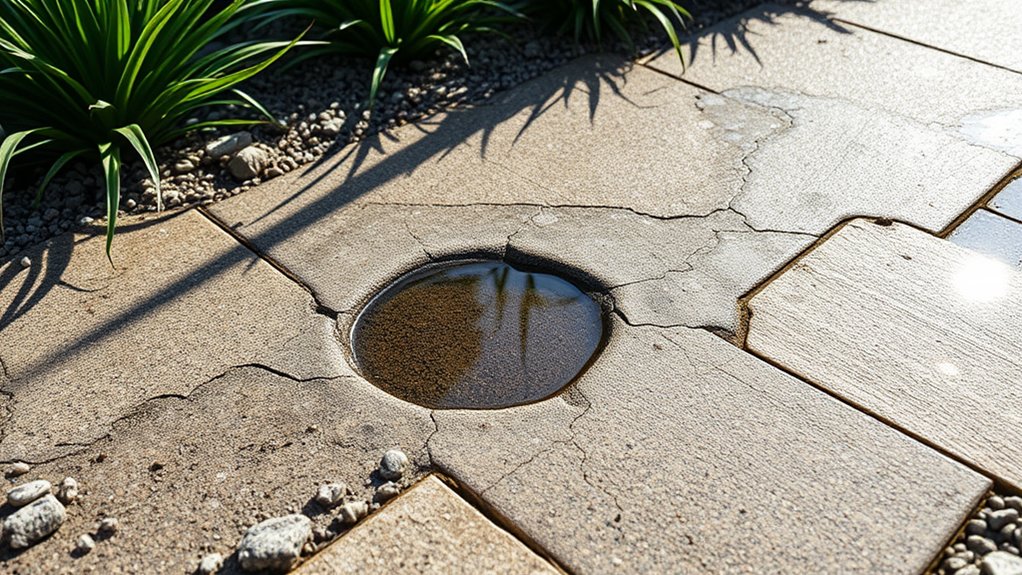
Proper installation of resin-bound gravel plays a crucial role in your property's kerb appeal, but poor workmanship can create both visual and safety problems. Common aesthetic issues stem from incorrect depth, wrong mixing ratios and rushed curing, which cause the surface to break down. Safety risks develop when the surface cracks or comes loose, creating trip hazards.
| Aesthetic Issues | Safety Risks |
|---|---|
| Discolouration | Cracked, uneven ground |
| Rust marks | Loose surfaces causing trips |
| Patchy finish | Poor drainage and puddles |
| Weak spots | Dips and soft areas |
| Loose stones | Unstable weight-bearing |
These problems can be avoided with proper installation techniques that prioritise both looks and safety. Regular maintenance checks help spot early warning signs before they become serious issues.
Cost Implications of Poor Installation
Poor resin-bound gravel installation can hit your wallet hard.
Basic repairs often start at £500, whilst complete replacement of a driveway could set you back thousands.
Common mistakes like incorrect mixing ratios or laying during wet weather lead to costly issues such as cracking and delamination.
These defects don't just need immediate attention – they create ongoing maintenance headaches that drain your finances year after year.
A botched DIY job might save money initially, but sorting out problems afterwards typically costs far more than getting it right first time with professional installation.
Repair and Replacement Costs
Poor installation of resin-bound gravel can lead to hefty repair and replacement costs. A basic cost breakdown shows:
- Resurfacing Costs: £9.50 to £13 per square metre
- Labour Costs: £650 to £985 for a 12-square-metre area
- Material Costs: Including resin, aggregate and essential supplies
The repair process is straightforward: assess the damage, prepare the site properly, choose suitable materials, and apply them correctly.
Think of it like fixing a botched paint job – you'll need proper preparation to avoid doing it twice.
Always test the repair thoroughly to ensure it's sound, saving money in the long run. Following these steps helps avoid the financial sting of poor installations.
Increased Maintenance Expenses
Poor installation of resin-bound gravel drives up maintenance costs through various ongoing problems.
When contractors lay insufficient resin or incorrect depths, the surface deteriorates faster, forcing you to clean and maintain it more often. You might need to pressure wash your driveway yearly and reseal areas regularly – tasks that wouldn't be as frequent with proper installation.
The British weather doesn't help either; UV rays and our changeable climate can worsen surface damage, particularly when the initial work wasn't done properly.
These issues create a costly cycle of repairs that could have been avoided with professional installation from the start. Getting it right first time saves both money and hassle in the long run.
Common Mistakes to Avoid

Common Installation Mistakes to Avoid
Getting resin-bound gravel right is crucial for a lasting driveway. Watch out for these key mistakes:
1. Poor Base Work: Your base must be properly compacted with MOT Type 1 stone.
A weak foundation leads to dips and cracks – much like building a house on sand.
2. Wrong Mix Proportions: Each manufacturer specifies exact resin-to-stone ratios (usually 6-8%).
Getting this wrong means your surface could end up too brittle or too soft.
3. Rushed Installation: Take time with expansion joints and careful trowelling.
A rushed job shows up quickly in uneven patches and poor finish – particularly noticeable when it rains.
These basics matter – skimp on any of them and you'll likely face costly repairs down the line.
Frequently Asked Questions
How Can I Identify a Poorly Installed Resin-Bound Surface?
Look out for these telltale signs of a dodgy resin-bound surface: patchy or uneven areas (like puddles forming after rain), visible cracks running through the surface, and noticeable colour differences across sections. A proper installation should be uniform and level, rather like a well-laid carpet. Poor workmanship often shows up when installers rush the mixing process or lay the surface in unsuitable weather conditions, leading to a surface that's likely to fail within months rather than lasting years.
What Are the Signs of Moisture Damage in Resin-Bound Gravel?
Common signs of moisture damage in resin-bound gravel include clouding, discolouration and bubbling on the surface. Whilst these issues might seem minor at first, they often signal deeper problems. Spotting and sorting these early helps prevent costly repairs and keeps your driveway or path looking smart.
Can I Repair Minor Issues on My Resin-Bound Surface Myself?
Yes, you can tackle minor repairs on your resin-bound surface yourself. For small cracks, use a suitable resin filler from your local DIY shop. Simply clean the damaged area, apply the filler with a trowel and allow it to cure properly. For loose stones, brush away debris and apply a matching resin mix to bind them back in place. If you spot shallow dips, level them with fresh resin-bound material. Just ensure you match the original colour and stone size for a seamless finish.
How Does Improper Installation Affect Property Value?
Improper installation can slash property value much like shabby paintwork. House hunters view poorly laid driveways as red flags, often leading to reduced offers. The cost of putting things right can be substantial, both to restore kerb appeal and ensure proper function.
What Are the Environmental Impacts of Resin-Bound Gravel Installations?
Consider the environmental effects when choosing resin-bound gravel for your driveway or garden path. Whilst these surfaces offer good drainage and reduce flood risks, they rely on petrochemical-based resins that aren't renewable. The gravel itself often comes from quarried stone, impacting local landscapes. To balance aesthetics with eco-friendliness, look into recycled aggregate options or permeable alternatives like reinforced grass grids, which achieve similar practical benefits with less environmental impact.
Conclusion
Poor installation of resin-bound gravel can result in serious issues for your driveway or patio. Common problems include uneven surfaces, premature deterioration and unsightly patches. Without proper base preparation, the surface may crack or shift over time – much like a poorly laid patio. Installing during wet or cold weather affects how well the resin bonds with the aggregate. Rushing the curing process often leads to patchy colouring and loose stones. To avoid these problems, it's crucial to follow proper installation methods and weather guidelines, or better yet, hire a qualified contractor.