
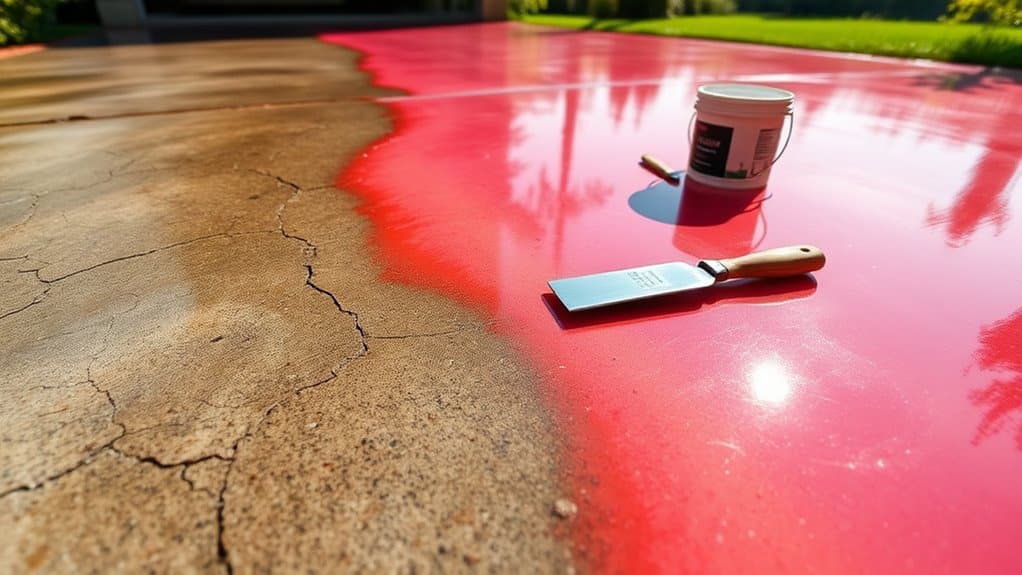
Transform your ageing concrete driveway with a resin overlay for a robust, smart finish. First, check your existing surface for cracks and dips to ensure it's structurally sound. Give the area a thorough clean, repair any damage, and lay down a UV-resistant primer. Finally, pour the resin mixture, combined with stone aggregates, to create a smooth, uniform surface. Much like laying a new carpet over old floorboards, a resin overlay offers a fresh start without the hassle of removing the original concrete.
Key Takeaways
Five key benefits of resin driveway overlays:
- Transform your tired concrete driveway with a sleek resin finish, boosting your home's kerb appeal with countless colour and pattern options.
- Unlike gravel or loose stone, the smooth, joint-free surface stays put and looks tidy year-round – no more scattered stones on your lawn.
- Meet UK drainage regulations with a water-permeable surface that prevents puddles and flooding, particularly helpful during British winters.
- A properly installed resin overlay can add decades to your driveway's life, making it a sound investment for your property.
- Basic upkeep is straightforward – a regular sweep and occasional power wash will keep your driveway looking fresh, saving money on repairs.
Understanding Resin Overlay Benefits
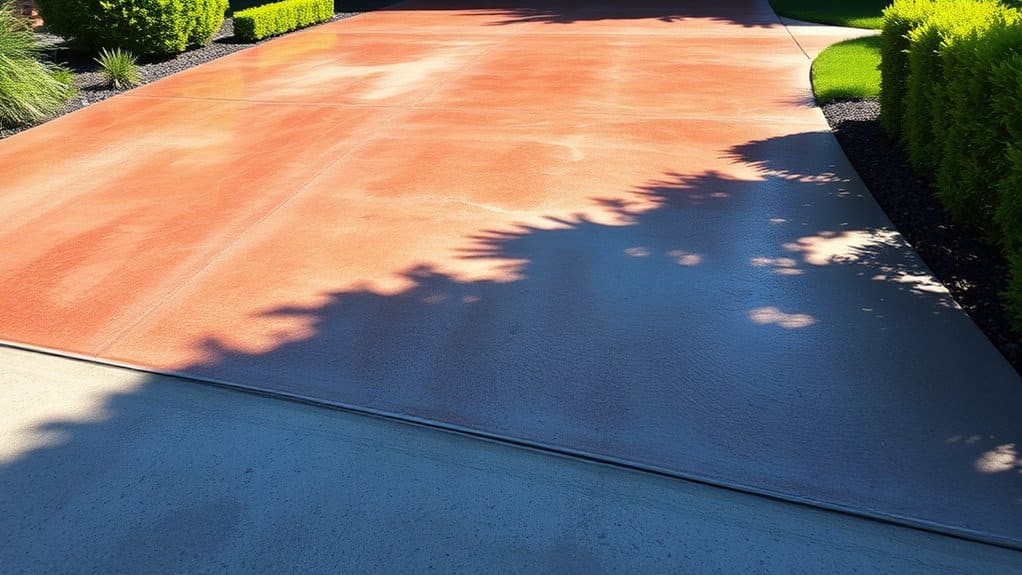
The benefits of resin driveways are worth considering for any property upgrade. The striking appearance immediately boosts kerb appeal, with plenty of colours and finishes to match your home's look. Unlike traditional surfaces, resin creates a smooth, joint-free finish without loose stones, keeping its smart appearance for years.
These driveways are particularly suited to British weather, as their permeable surface lets rainwater drain through naturally, preventing puddles and surface water. This design meets SUDS regulations for sustainable drainage, making them an environmentally sound choice. Additionally, the permeable surface allows for effective water drainage, which helps to maintain the integrity of both the driveway and surrounding areas. The use of recycled materials in the resin further enhances its eco-friendliness.
The long-lasting nature of resin means fewer replacements, reducing waste and environmental impact.
Practical benefits include excellent durability and minimal upkeep. The surface naturally resists weeds and remains slip-resistant in wet conditions – a crucial feature for our climate. A quick sweep and occasional power wash keep it looking fresh.
Investing in a resin driveway delivers both kerb appeal and practical value that lasts.
Preparing Your Driveway Base
Check your driveway base thoroughly before applying a resin overlay.
Look for cracks (similar to those you might spot in old concrete paths), damaged areas and uneven spots that need fixing. Creating a solid foundation is essential, as sub-base construction plays a significant role in the overall durability of the resin overlay.
Think of it like preparing a wall before painting – the surface must be clean and solid. Ensuring the structural integrity of your driveway is crucial to a successful installation.
Sort out any problems first, much as you'd fill holes in plasterwork, to ensure the overlay bonds properly and lasts for years to come.
Assess Base Condition
Assessing your driveway's base condition is crucial for a lasting surface. Check the existing base layers of rock, gravel and sand. Your subsoil quality will affect overall stability, so pay close attention to its state. Recent statistics indicate that a properly prepared base can extend the lifespan of a driveway by up to 50% in some cases.
You'll need to dig roughly 8 to 13 centimetres for the concrete, plus 5 centimetres for the base layer to ensure proper strength. Remove all vegetation, rocks and debris from the area. Then, compact the ground thoroughly until you can't see footprints – use either a hand tamper or mechanical compactor. This step prevents weak spots from forming later.
Sort out drainage by creating a gentle slope or fitting a trench drain; poor water management will cause erosion problems down the line. Finally, lay and compact a 5-centimetre gravel base. This provides the essential foundation for your resin overlay, giving your new driveway the best chance of lasting for years to come.
Clear and Repair
After checking your driveway's base is sound, clear and repair the surface before applying resin.
Three essential steps:
- Clear Debris: Sweep with a stiff broom or wire brush to remove dirt, leaves and vegetation. Apply weed killer to any growth in cracks.
- Clean Surface: Use a pressure washer to remove stubborn dirt and stains. Let the surface dry completely.
- Fill Cracks: Clean cracks thoroughly with a wire brush or pressure washer. Apply crack sealant with a caulking gun for small gaps.
For cracks wider than 12mm, use hot-mix asphalt or cold patch. Level the filler and allow proper setting time.
Proper preparation prevents future problems.
Take time with each step to ensure your resin driveway lasts.
Requirements for Resin Application
Before applying resin to your concrete driveway, check its current state. Spot any cracks, uneven patches or damage. Clean thoroughly using a 3,000 PSI pressure washer to remove dirt and mould. Complete necessary repairs and ensure proper mechanical profiling for optimal surface texture.
Key Requirements:
| Requirement | Details |
|---|---|
| Stable Base | Driveway must be solid with no cracks. |
| Permeable Base | Ensures proper drainage for resin types. |
| Substrate Preparation | Prepare based on material for stability. |
| Primer Application | Use UV-stable primer for better adhesion. |
| Proper Thickness | Apply at 12-24mm thickness. |
Proper application techniques boost durability and lifespan. A well-prepared base prevents future problems and delivers a professional finish. Much like painting a wall, preparation is just as important as the application itself. Additionally, ensure that the minimum depth of 18mm is maintained for optimal durability and performance.
Mixing Resin Bound Gravel

Mixing Resin Bound Gravel
Three essential steps for mixing resin bound gravel:
- Pre-mix the Resin: Mix Part A of the resin for 10-20 seconds, then add Part B. Mix until completely uniform.
- Aggregate Preparation: Use a forced action mixer to blend your chosen aggregates for 30 seconds, ensuring even distribution.
- Combine Resin and Aggregate: Pour mixed resin into the aggregates and start timing to maintain consistency.
For best results, use a slow-speed mixer to avoid creating air pockets. Timing is crucial – mix within specified timeframes to prevent colour variations and ensure proper curing. Remember that correct mixing ratios are essential for achieving a strong bond between the aggregate and resin.
Select clean, dry stones that match your required ratios, typically 3 parts aggregate to 1 part resin by weight.
Add remaining aggregates and sand gradually, mixing for 3-5 minutes until all stones are fully coated with resin.
This careful process creates a strong, attractive surface perfect for British driveways and paths, capable of withstanding our varied weather conditions.
Laying the Resin Surface
The proper laying of a resin surface demands thorough preparation to ensure longevity and quality finish.
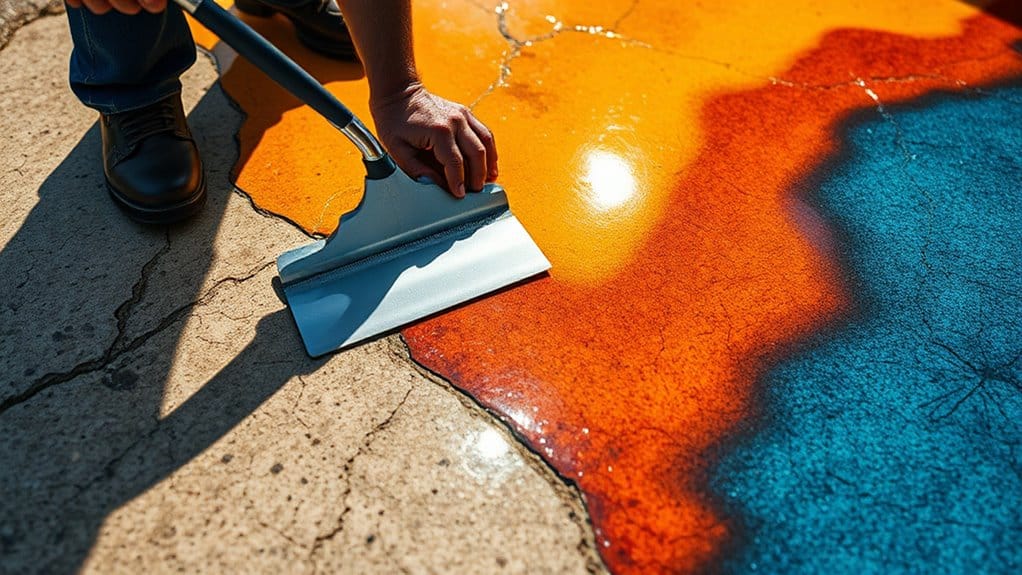
First, check your concrete base for cracks and dips. Use a pressure washer to clean thoroughly, removing old sealants for better adhesion. Fix any holes and level uneven patches for a proper foundation.
Apply a UV-resistant primer suited to resin surfaces – this step is crucial for British weather conditions. If damp is likely to be an issue, fit moisture barriers. Let the surface dry completely after cleaning before adding resin.
When working around expansion joints, don't apply resin directly over them. Instead, fit aluminium and rubber expansion beads to handle movement.
Choose between permeable or non-permeable drainage based on your requirements. For permeable drives, crushed stone makes an excellent base – much like a typical garden path setup. This permeability is important as it prevents flooding and complies with Sustainable Urban Drainage Systems (SuDS)(https://www.example.com).
Strengthen the base where needed and consider coloured resin options to match your property. Ensure the final surface is level and seamless using hand trowelling, then allow proper curing time as specified by the manufacturer.
Cost and Installation Considerations
Cost and Installation Considerations
Key factors to weigh up before starting your resin project:
1. Average Cost: Installation typically costs £9 to £14 per square foot. A standard double driveway measuring 5m x 8m would cost between £3,500 and £7,800.
2. Regional Variations: Prices fluctuate across the UK, with London and the South East generally commanding higher rates than other regions.
Northern areas often see more competitive pricing.
3. Cost Efficiency: Choosing a resin overlay proves more economical than ripping up and replacing an existing concrete driveway – often saving 30-40% on total project costs.
Maintenance Tips for Longevity
Maintaining Your Resin Driveway
Regular care keeps your resin driveway looking smart and lasting longer. Sweep weekly with a stiff broom to prevent leaves and dirt from settling, which can lead to moss. For stubborn marks like tyre stains, use white spirit and an emulsifier, followed by gentle pressure washing.
Different seasons need different attention. Clear fallen leaves more often in autumn, whilst winter needs just occasional sweeping.
Come spring, check for any damage from the cold months. Summer calls for light washing with cool or lukewarm water to keep things tidy.
Watch out for common issues year-round. Remove weeds as soon as you spot them, and stick to mild soaps for cleaning—harsh chemicals can damage the surface.
Mop up any oil or fuel spills straight away with soapy water and a soft brush. Keep the pressure washer on low, and never use boiling water, as both can harm the resin.
These simple habits will keep your driveway in top condition and save money on repairs.
Frequently Asked Questions
How Long Does a Resin Overlay Last?
A resin overlay typically lasts 15-25 years with proper care, much like a quality fitted kitchen. The longevity depends heavily on the installation quality and chosen materials. Regular maintenance is essential – you'll want to clean it routinely and reseal it periodically, rather like maintaining a wooden deck. British weather conditions make proper installation particularly important to prevent premature wear.
Can I Use Resin Overlay in Colder Climates?
Yes, resin overlays perform well in British cold weather conditions. The material offers excellent durability and resists cracking during winter months. For best results, ensure proper surface preparation, adequate daylight exposure, and use a suitable catalyst to manage curing times – much like setting concrete on a chilly autumn morning. Installation during milder temperatures, typically above 10°C, yields optimal results.
Is Resin Overlay Suitable for Slopes?
Resin overlays work well on slopes when properly installed. The resin bonds firmly with the existing surface, providing excellent grip and preventing slips – particularly useful for steep driveways or garden pathways. The material allows rainwater to drain effectively, reducing puddles and ice formation in winter. Whilst costlier than traditional surfaces like tarmac, resin overlays require minimal upkeep and maintain their appearance for years, making them a practical choice for sloped areas around British homes.
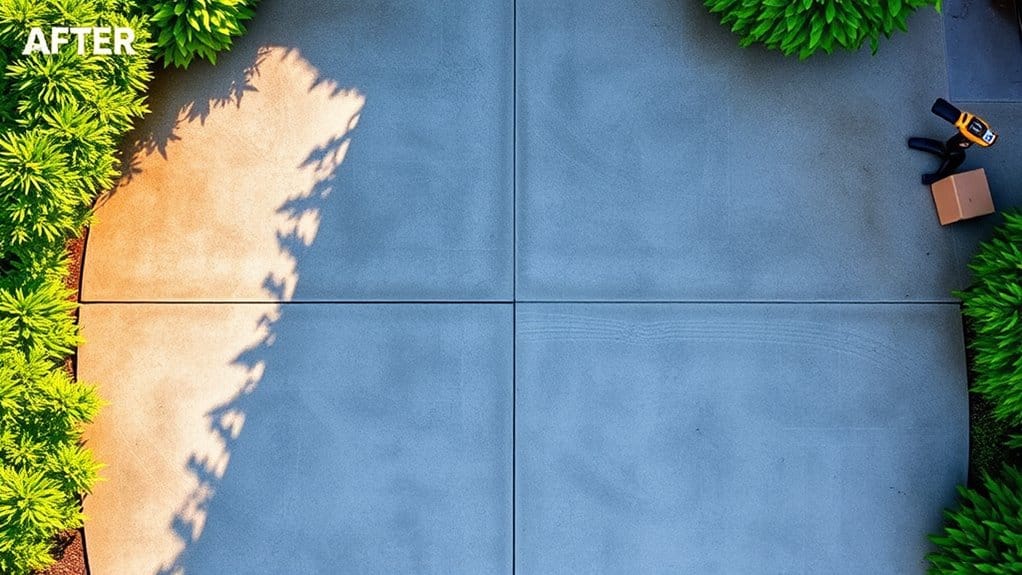
How Soon Can I Drive on the New Surface?
Drive times vary by vehicle: light cars can use the surface after 24 hours, whilst larger vehicles should wait 36 hours for proper curing. HGVs and delivery vans must wait the full period to prevent surface damage.
Can I Apply Resin Overlay Myself?
Yes, you can apply a resin overlay as a DIY project, but you'll need proper tools for the job. Essential equipment includes a mixing drill, squeegee and trowel to ensure a level, professional finish. It's similar to icing a cake – the right tools make all the difference to the end result.
Conclusion
A resin overlay can transform your tired concrete driveway whilst boosting your property's value. Estate agents report that well-maintained driveways can increase home values by 10-15% across the UK. Proper preparation and expert application create a hard-wearing, non-slip surface that withstands British weather conditions. Simple upkeep keeps your driveway looking smart and functioning properly for years to come.