
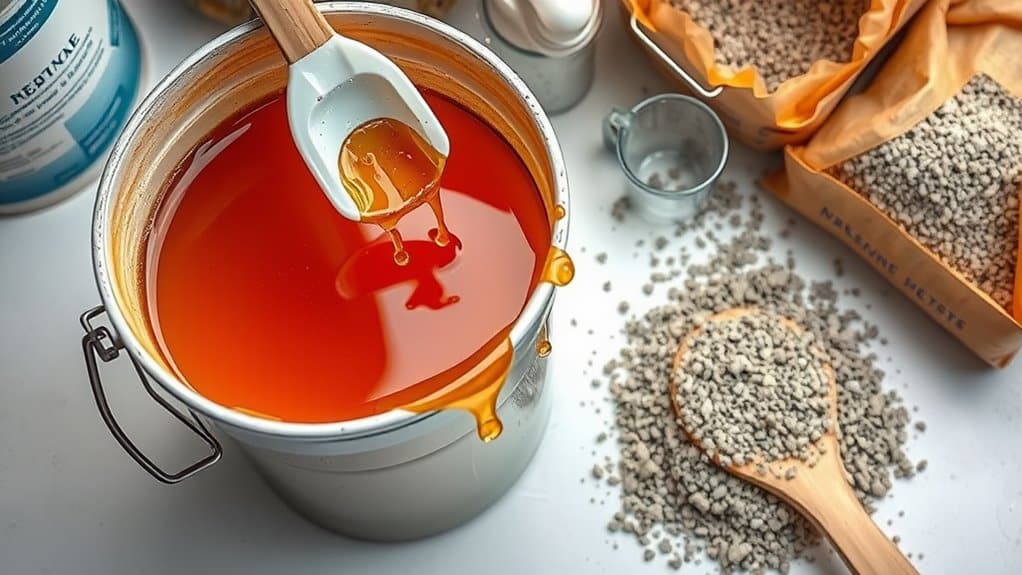
Proper resin bound patio installation starts with a solid MOT Type 3 sub-base, which needs thorough compacting. Mix the components in a forced action mixer: Part A resin, accelerator, Part B hardener, aggregates and sand, maintaining a 2:1 resin ratio – much like getting the right mix for a proper cup of tea. Using a trowel or squeegee, spread the mixture evenly across your prepared surface, applying firm pressure for a uniform finish. Leave it to cure, keeping it shaded from direct sunlight. Finish with a UV-resistant sealant for lasting protection against our British weather. Think of it as putting a proper coat on your patio – essential for our unpredictable climate.
Key Takeaways
- Dig out the area to proper depth, ensuring you've got a clean, level base – much like preparing soil for a garden bed. Lay MOT Type 3 sub-base without cracks or faults.
- Mix your resin parts (A and B, plus accelerator) with stones and sand in a 2:1 ratio. Use a forced action mixer – regular cement mixers won't do the job properly.
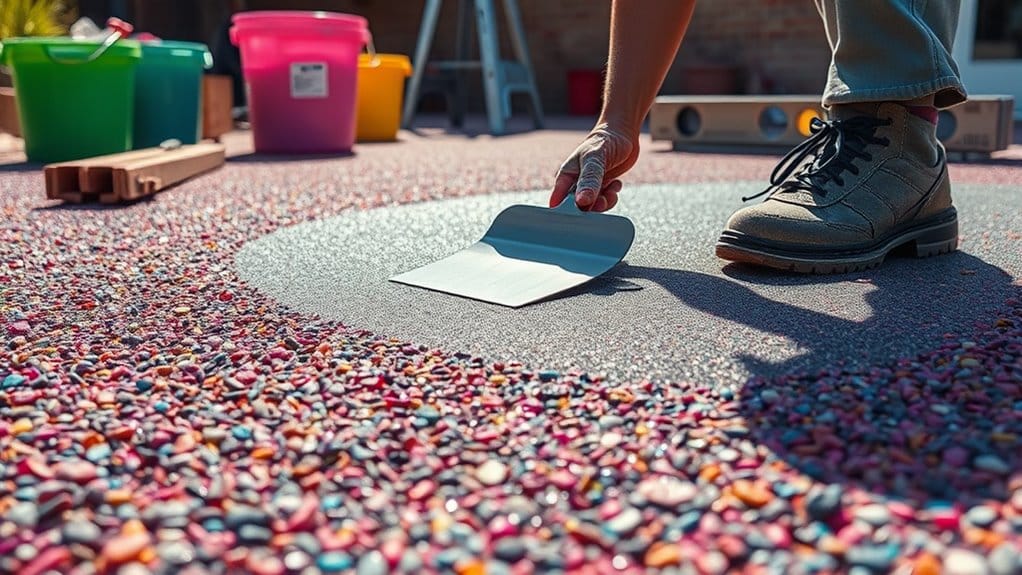
- Spread the mixture evenly using a trowel or squeegee, keeping steady pressure like buttering bread. This prevents air bubbles which could weaken the surface.
- Let it cure properly according to your manufacturer's instructions. Keep it covered if it's particularly sunny or wet – British weather can be unpredictable.
- Once cured, apply UV-resistant sealant. Keep your patio looking smart with regular brushing and an occasional pressure wash, just as you would with decking.
Preparing the Base
Strong base preparation makes or breaks a resin bound patio's success. Start by digging out the existing surface to the proper depth, giving you a clean area to work with.
MOT Type 3 sub-base works brilliantly here – it drains well and won't shift about once properly laid. For permeable surfaces like porous tarmac or concrete, check they meet SUDS requirements to avoid puddles forming. It's important to ensure that the excavation depth is adequate to accommodate drainage and base materials to enhance durability.
After excavation, spread your sub-base material and compact it thoroughly to prevent future sinking. The surface should be dead level and clear of any plant matter – roots and weeds will only cause problems later. Proper excavation ensures a high-quality installation that is essential for the longevity of your patio.
Give existing surfaces a good once-over for cracks or damage, sorting these out before moving forward. Getting the depth right is crucial, especially for driveways that'll need to handle cars.
Nail these basics, and you'll have a solid foundation that'll keep your patio looking smart for years to come.
Mixing the Resin
Mixing the Resin
Once your base is ready, proper resin mixing is crucial for a lasting, attractive patio finish. Follow these steps carefully:
| Step | Action | Duration |
|---|---|---|
| 1. Mixing Part A | Mix Part A in a rubber container | 10-20 seconds |
| 2. Add Accelerator | Add accelerator if needed | During Part A mix |
| 3. Mixing Part B | Add Part B and mix until uniform | 60 seconds |
| 4. Aggregate Addition | Add aggregates to forced action mixer | As instructed |
| 5. Adding Sand | Gradually add C52 sand | Until evenly mixed |
You'll need a sturdy forced action mixer and proper safety gear. Keep your workspace clean to avoid contamination, and clean your tools promptly after use. The correct 2:1 resin ratio and precise mixing times are essential – much like following a recipe. Getting these details right prevents patchy colouring and ensures your resin bound patio looks professional and lasts for years. Additionally, using a permeable system ensures compliance with SUDS regulations, allowing for effective drainage. Properly mixing your resin enhances aggregate bonding and contributes to the overall durability of your finished surface.
Applying the Mixture
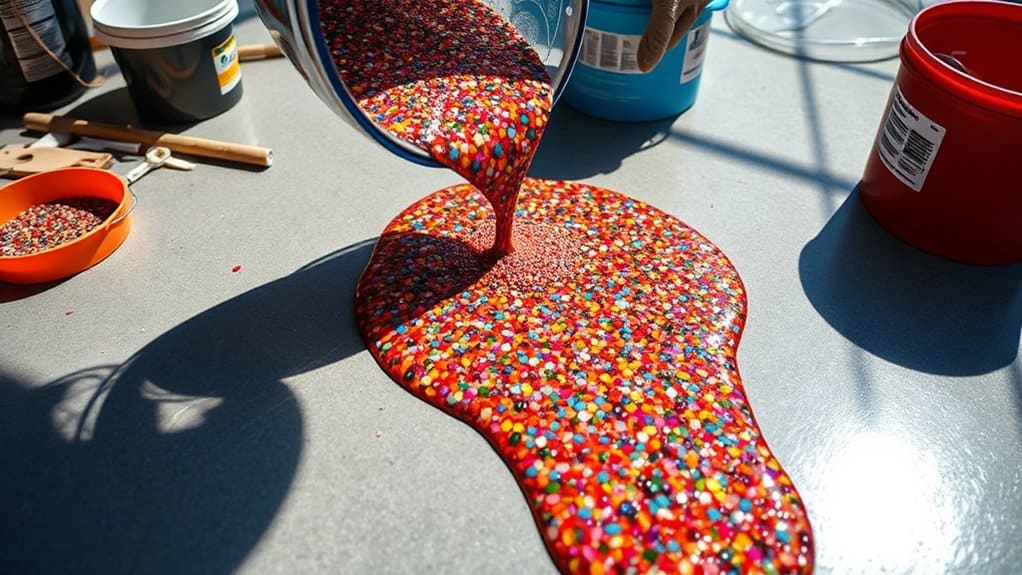
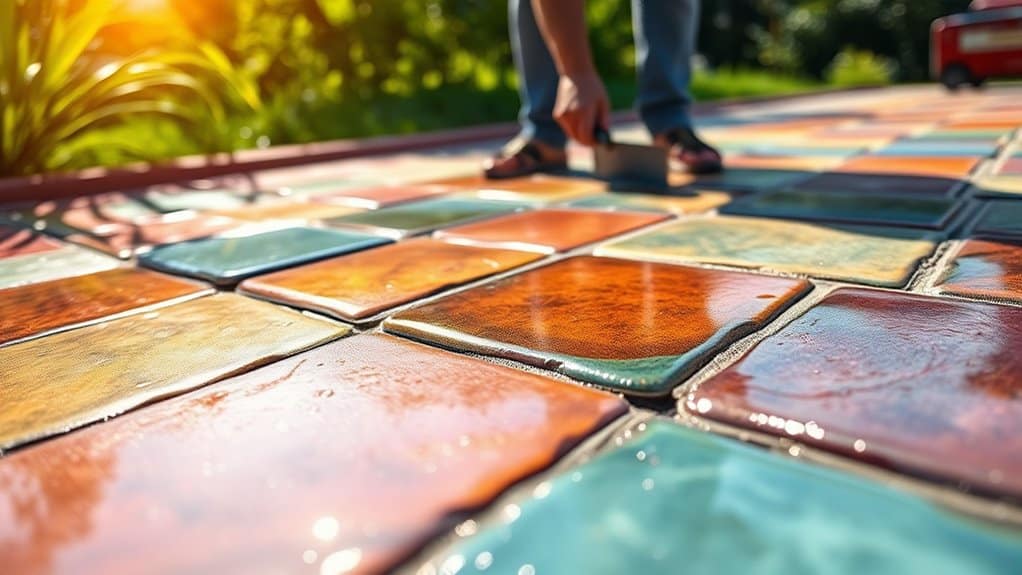
Apply the resin-aggregate mixture evenly across the prepared surface using a trowel or squeegee.
Maintain steady pressure whilst spreading to ensure uniform thickness throughout – much like buttering bread. This process not only ensures a consistent application but also minimizes air pockets that can compromise the surface quality.
The curing process is crucial for proper bonding, so allow the full recommended setting time. Additionally, this step is vital because a well-cured surface enhances the patio's long-lasting durability.
Rushing this step risks poor adhesion and surface quality.
Application Techniques Overview
Application Techniques Overview
Essential to check all preparation steps before applying resin bound mixture, as these directly affect results. Ensure the surface is completely dry, dust-free and clear of weeds for proper bonding.
Mix resin in a forced action mixer, then add aggregate gradually, ensuring even mixing within four minutes.
Apply the mixture using a trowel or squeegee with steady pressure for even thickness. Work from one corner in manageable sections, especially on larger areas. This method ensures better control and consistent finish.
Level the surface with a squeegee or shovel, then smooth with a plasterer's float. A light mist of water on the float helps achieve a better finish.
Work quickly whilst the mixture remains workable – this is crucial for durability. Following these steps will create a robust, attractive resin bound surface.
Curing Process Importance
The curing process directly impacts your resin bound patio's durability and strength. When resin and hardener mix, they create chemical reactions that turn your mixture into a solid surface. Poor mixing leads to weak spots, so thorough blending is crucial.
British weather affects curing times, which normally take 24-48 hours in ideal conditions. Always check your manufacturer's guidelines, as rushing the process weakens the final result.
Keep the area well-ventilated and protect fresh resin from direct sun or rain. For temperatures below 15°C, you might need an accelerator to ensure proper curing.
Don't walk on the surface whilst it cures, and maintain good airflow throughout. Think of curing like letting a cake set – rush it, and you'll spoil the end result.
Getting this step right means your patio will last for years to come.
Ensuring Uniform Distribution
Uniform Distribution for Resin Bound Patios
Getting an even spread of aggregate is vital for a quality resin bound patio. Mix your resin and hardener thoroughly first, then gradually add the aggregate whilst stirring constantly. This ensures proper coating and consistent texture across the surface.
Watch out for dry patches as you mix – every bit of aggregate needs a proper resin coating to create a solid finish. Always use the same resin batch for each section to avoid colour variations.
When laying the mixture, work methodically. Begin in one corner and move across the area using steady trowel pressure to maintain even thickness.
Use back-and-forth strokes to spread the mixture, then level it with a squeegee or shovel. Finish by smoothing with a plasterer's float. Proper installation requires careful preparation of a solid sub-base to ensure stability.
These straightforward mixing steps will give you a long-lasting, smart-looking patio.
Choosing the Right Materials
Selecting Materials
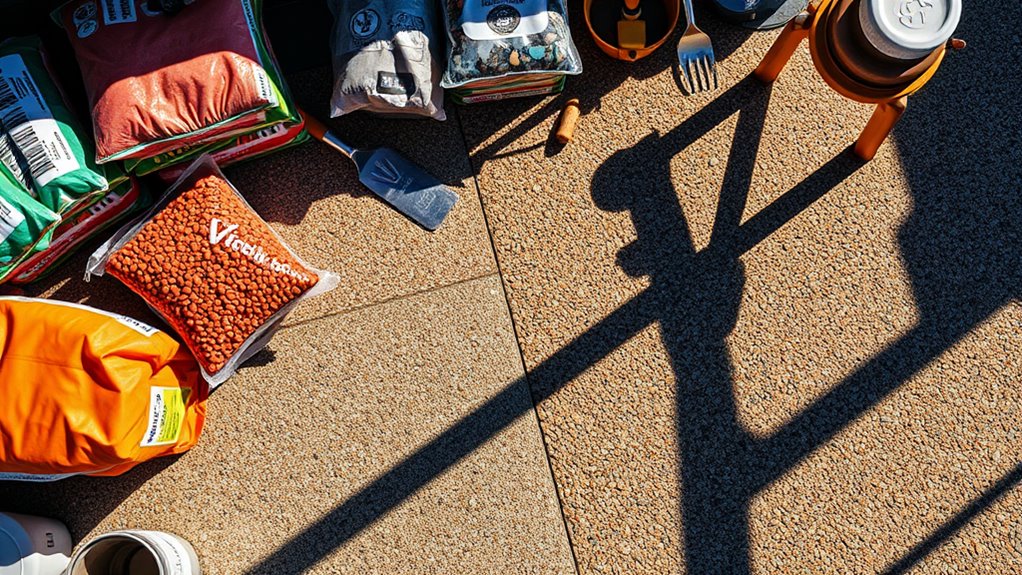
Choose a resin type that suits British weather conditions – UV-stable options work best for our climate. For driveways and patios, pick aggregates between 2-5mm in size, whilst paths can use slightly finer grades. Rounded stones offer better drainage than angular ones. Always ensure you consider resin characteristics for performance enhancement when making your selection.
Essential safety kit includes:
- Protective gloves
- Safety goggles
- Dust mask
- Steel toe-capped boots
- Overalls
Top tip: Light-coloured aggregates show less wear and tear than darker ones, particularly on high-traffic areas like front paths.
Quality materials might cost more initially but save money on repairs down the line. Most DIY shops and builders' merchants stock suitable resins and aggregates – just ensure they're compatible with each other before buying.
Resin Types Overview
Choosing the right resin for your patio is vital for lasting results and visual appeal. Different types suit different needs:
Epoxy resin delivers outstanding durability and sticks brilliantly to surfaces, ideal for busy areas. It's non-porous, which means wine spills and BBQ stains won't seep in – perfect for British garden parties.
Polyurethane works well in the UK's changeable weather. It flexes with ground movement during frost and handles our summer sun without cracking or fading.
Acrylic resin offers strength whilst being eco-friendly. It's brilliant for creative designs and can cope with minor ground shifts without breaking.
Polyester resin remains the most popular choice, mainly because it's cost-effective and sets quickly. It's spot-on for standard patio installations and holds its shape well.
Match these features with your patio's requirements – consider foot traffic, local weather patterns and budget to pick the best option for your garden.
Aggregate Selection Tips
Choosing Aggregates for Your Patio
After selecting your resin type, the aggregate choice will determine both the practical performance and look of your patio. Key factors include durability and visual appeal.
Quick Comparison Guide:
| Aggregate Type | Durability Factors | Aesthetic Appeal |
|---|---|---|
| Natural Stone | Highly durable, weather-resistant | Timeless elegance, varied colours |
| Recycled Glass | Hardness varies, eco-friendly | Vibrant finish, modern look |
| Gravel | Cost-effective, varying hardness | Traditional look, size options |
| Rounded vs. Angular | Smooth finish vs. textured grip | Different visual impacts |
Select aggregates that match your property's colour scheme and offer good moisture and UV resistance. Smaller stones create smoother surfaces, whilst larger ones add texture. Always use washed and kiln-dried aggregates to prevent damp issues.
For example, rounded pebbles work well in modern gardens, while angular stones suit traditional settings. Natural stone proves particularly popular in UK gardens, offering excellent durability against our varied weather conditions.
Protective Gear Importance
Essential Protective Gear for Resin-Bound Patio Installation
Proper protective gear is crucial when installing a resin-bound patio. Start with heavy-duty gloves to shield your hands from harsh chemicals and tools – particularly important as resin and hardeners can severely irritate skin.
Protective goggles are essential to guard against splashes and fumes during mixing. Wear long-sleeved shirts and trousers to minimise skin exposure. A proper respirator mask is vital, much like those used in paint spraying, to protect your lungs from harmful vapours.
Always work in a well-ventilated space – if working indoors, keep windows and doors open. Clear your workspace of trip hazards and ensure the surface is clean and dry.
Keep petrol, solvents and other flammable items well away from the work area. Use masking tape on edges and joins to prevent resin stains – much like preparing walls for painting.
These basic safety measures will help ensure a smooth installation whilst protecting your health.
Environmental Considerations

Resin-bound patios offer key environmental benefits worth considering. Their permeable surface allows rainwater to soak through naturally, helping maintain groundwater levels and reducing surface water runoff – particularly useful given the UK's frequent rainfall.
This design also helps filter out harmful pollutants before they reach local streams and rivers.
The materials used are environmentally sound, combining natural stone with UV-resistant resin. You can opt for recycled materials like crushed glass or reclaimed stone, which cuts down on the need for new quarrying.
The installation causes minimal ground disruption, helping preserve existing plant life and local wildlife habitats.
These surfaces last for many years, meaning fewer repairs and replacements compared to traditional paving. Their robust nature prevents common issues like cracking and movement, whilst the straightforward installation process keeps carbon emissions low.
The natural drainage also helps maintain proper water distribution in your garden's ecosystem.
For British homeowners looking to make environmentally conscious choices, resin-bound patios represent a practical solution that balances outdoor living needs with ecological responsibility.
Final Touches and Curing
Once your resin-bound surface is laid, proper finishing and curing are vital. Level and smooth the resin mixture using a trowel, ensuring even coverage throughout. Check for any air bubbles or patchy areas, adding extra resin where needed.
The curing process must follow your manufacturer's guidance. Keep the area well-ventilated but protect it from direct sunlight and harsh weather. Don't allow any foot traffic or heavy items on the surface whilst it sets.
After curing, apply a UV-resistant sealant suited to British weather conditions. You'll need to reseal every couple of years to maintain protection.
Regular sweeping and occasional pressure washing will keep your patio looking smart, but do check periodically for any damage requiring attention.
Remember to save your product documentation for future reference, particularly regarding maintenance schedules and recommended cleaning products.
Frequently Asked Questions
How Long Does a Resin Bound Patio Last?
A properly installed resin bound patio lasts 15-25 years with normal wear and tear. Quality UV-stable resins and regular maintenance, such as annual pressure washing, can push the lifespan to 30 years. Much like a well-kept block paving or concrete driveway, your resin surface will serve as a durable outdoor space for decades.
Can I Install Resin Bound Gravel Myself?
DIY resin bound gravel installation is possible, though it requires careful planning and attention to detail. A solid concrete or tarmac base is essential, similar to laying a garden patio. The process demands proper tools, precise mixing ratios and swift application, as resin sets quickly in British weather conditions. Whilst the initial cost savings are appealing, first-time installers should start with smaller areas, like a garden path, before tackling larger projects such as driveways. Most DIY shops across the UK stock the necessary materials, but specialist suppliers often provide better quality products and technical support.
What Maintenance Is Required for Resin Bound Patios?
Regular cleaning with soapy water and a soft brush keeps resin-bound patios in top condition. Spot-clean any spills straightaway, particularly oil or wine stains, to prevent lasting marks. Check your patio twice yearly for signs of wear or loose stones, and sort any issues quickly to avoid bigger problems down the line. A pressure washer on low setting works well for stubborn dirt, but avoid harsh chemicals that might damage the resin surface.
Are Resin Bound Patios Slippery When Wet?
Resin bound patios offer excellent grip in wet conditions thanks to their textured surface. Unlike smooth paving, the natural aggregate finish creates a non-slip surface that's particularly useful during Britain's rainy weather. Think of it as having built-in grip – similar to how walking boots have treaded soles for better traction.
How Does Temperature Affect Resin Curing Time?
Temperature plays a vital role in resin curing; warm conditions accelerate the process, whilst cold temperatures slow it down. For best results, maintain temperatures between 20-25°C (room temperature) – much like keeping bread dough in an airing cupboard for optimal rising. Working in temperatures below 15°C can leave your resin tacky and uneven, rather like trying to set jelly in the fridge.
Conclusion
A properly installed resin bound patio provides both durability and visual appeal to your outdoor space. Following the outlined steps ensures a professional finish that will serve you well for years. The end result is a smooth, low-maintenance surface that works brilliantly in British weather conditions and complements any garden setting. Recent installations across UK homes have shown how resin bound surfaces can transform a basic garden into a practical, stylish entertainment area whilst maintaining proper drainage – essential for our climate.