To address uneven texture in resin-bound gravel, begin with proper preparation of the sub-base and follow the manufacturer’s mixing ratios for optimal adhesion and stability. Ensure your aggregates are clean and correctly sized, and take environmental conditions into account during installation. If you notice uneven surfaces, you can use grinding and patching methods to smooth them out. Regular maintenance, such as sweeping and pressure washing, will help prolong the life of your installation. Explore additional tips to improve both the appearance and durability of your gravel surface.
Key Takeaways
- Make sure to prepare the sub-base properly and choose stable materials to prevent shifting and cracking that can cause uneven surfaces.
- Follow the manufacturer’s guidelines for resin-to-aggregate ratios of 5-7% by weight to achieve a smooth and durable finish.
- Use forced-action mixers to ensure an even coating and consistent mixing, which helps avoid colour variations and maintain a uniform texture.
- Inspect and fill in any uneven areas using resin repair kits, allowing sufficient curing time for a flawless result.
- Regular maintenance, such as sweeping and pressure washing, is essential to keep the surface in good condition and to prevent debris build-up.
Understanding the Causes of Uneven Texture
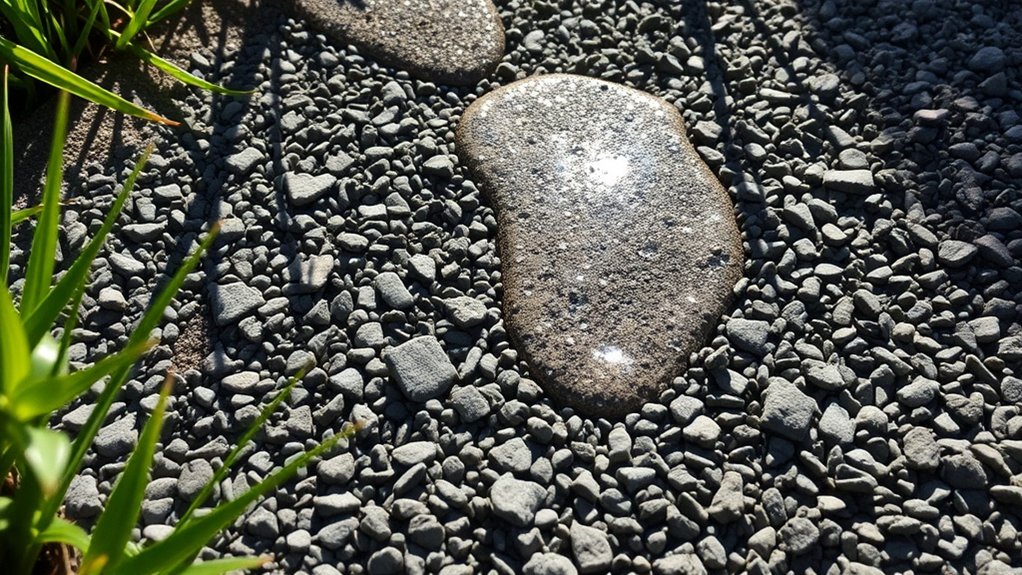
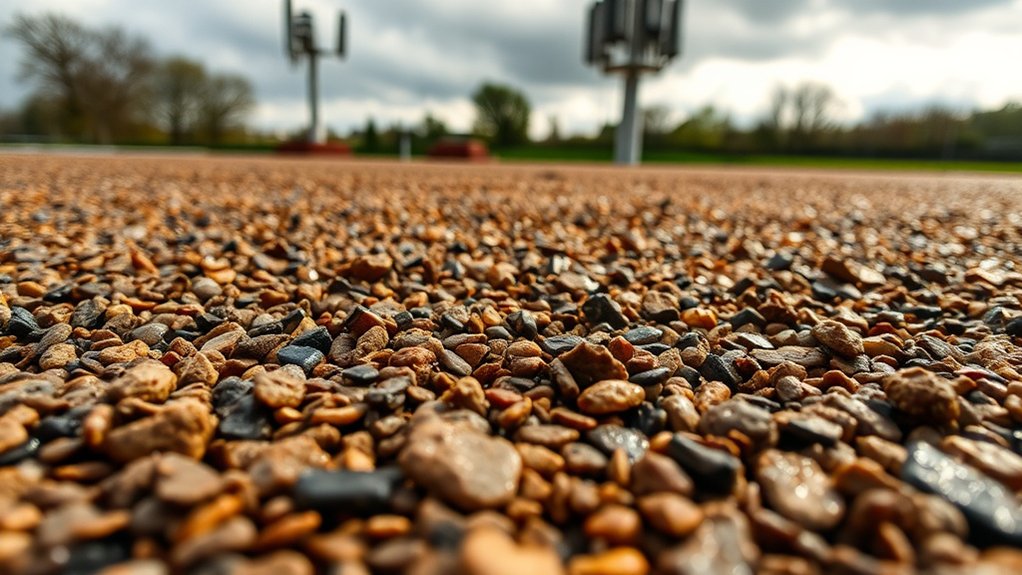
When considering the causes of uneven texture in resin-bound gravel, it’s important to understand several key factors that can affect the final surface quality.
Firstly, poor sub-base preparation is crucial; if the sub-base isn’t properly compacted or stable, it can result in surface undulations. Inadequate base preparation can lead to shifting and cracking over time, further exacerbating unevenness. Additionally, proper ground preparation ensures that the resin has a solid foundation to adhere to, which is vital for achieving an even surface.
Installation techniques also matter; for example, working in damp or extreme weather conditions can interfere with resin curing, causing inconsistent textures.
Using aggregates of different colours or sizes can lead to visible patchiness as well.
Moreover, incorrect resin-to-aggregate ratios can undermine smoothness.
Lastly, good site organisation and workflow are essential to avoid cold joints and other inconsistencies, thereby enhancing the overall finish of your resin-bound gravel surface.
Importance of Proper Mixing Techniques
To achieve a perfect resin-bound gravel finish, proper mixing techniques are vital. Always adhere to the manufacturer’s recommended ratios and opt for a forced-action mixer. This ensures that every particle is evenly coated. Additionally, using a specialist UV-stable binder will enhance the durability of the surface.
Maintaining consistent batch mixing is crucial; it enhances texture and prevents unwanted colour variations that could ruin your project. For instance, mixing a small batch by hand may lead to uneven results, while a forced-action mixer guarantees uniformity every time. Properly mixing the resin and aggregates also ensures optimal bonding strength between the materials, which is essential for a long-lasting installation.
Manufacturer-Recommended Ratios
Achieving the perfect resin-bound gravel surface relies on sticking to the manufacturer’s recommended ratios for resin and aggregate. Generally, aim for a ratio of about 5-7% resin to aggregate by weight, which typically means mixing 3 parts aggregate to 1 part resin. If you’re using larger aggregates, you may need to increase the resin to ensure full coverage. It’s essential to measure both components accurately using separate containers to maintain these ratios. For specific epoxy systems, a precise 3:1 resin to hardener ratio is crucial for reliable performance, as proper mix ratios significantly contribute to the surface’s durability and longevity. Additionally, using washed, kiln-dried stones in your mixture can further enhance bonding efficiency and reduce potential maintenance issues down the line.
Forced-Action Mixing Benefits
Proper mixing techniques are crucial for achieving a high-quality resin-bound gravel surface, as they directly impact both the appearance and strength of the final product.
Forced-action mixers are particularly effective in this regard, ensuring that the aggregates are evenly coated and promoting a uniform texture. Their active blades lift and fold the materials, preventing clumping and resin puddles that can cause uneven surfaces.
By sticking to specific mixing times, you can avoid weak spots and ensure consistent colour throughout the batch.
These mixers also reduce segregation and layering, resulting in a homogeneous mix ready for placement.
Batch Mixing Control
Even with the benefits of forced-action mixing, the significance of batch mixing control should not be underestimated. Effective batch mixing strategies ensure your resin-bound gravel has a consistent texture. Here’s a straightforward guide:
| Technique | Purpose | Benefits |
|---|---|---|
| Consistent Timing | Prevents batch variations | Ensures uniform colour |
| Aggregate Coating | Achieves even distribution | Avoids uneven surfaces |
| Clean Equipment | Reduces contamination | Preserves batch consistency |
Best Practices for Surface and Substrate Preparation
To create a perfect resin-bound gravel surface, ensure your substrates are clean and dry.
Remove any substances that could affect adhesion, and check the stability of your base materials.
Clean and Dry Substrates
When preparing a substrate for resin-bound gravel, it’s crucial to ensure it’s clean and dry for a lasting finish.
Here are some straightforward steps to achieve this:
- Power Wash: Utilise a pressure washer to remove dirt and organic matter effectively.
- Dry Thoroughly: Give the surface sufficient time to dry completely; avoid applying in wet conditions.
- Final Sweep: Conduct a thorough sweep to eliminate any remaining debris or dust.
Following these steps will help you achieve a smooth and durable surface for your resin-bound gravel.
Stable Base Materials
Selecting stable base materials is crucial for a durable resin-bound gravel surface. Choose materials like asphalt or solid concrete, ensuring they’re free from cracks or damage.
For new concrete, allow a curing period of at least 28 days; for asphalt, wait 7 days before proceeding.
Prepare the base by excavating 150–200mm and laying a geotextile membrane for stability. Next, spread MOT Type 1 aggregate to form a solid sub-base, compacting it with a whacker plate to ensure density.
Make sure the sub-base is level to facilitate proper drainage, directing water away from the surface.
Applying a primer is key, particularly in high-traffic areas, as it enhances adhesion and helps maintain the durability and visual appeal of your resin-bound gravel.
Environmental Factors Affecting Installation
Environmental factors significantly influence the installation of resin-bound gravel. Variations in temperature, moisture, and site conditions can affect the curing process and the final texture quality.
Here are some key considerations for a successful installation:
- Temperature Control: Ideally, aim for temperatures between 5-25°C. Conditions outside this range can lead to rapid curing or poor adhesion, resulting in uneven textures.
- Moisture Management: Installation on wet surfaces is a no-go; it can cause the resin to slide and compromise bonding. Ensure proper drainage to keep the area dry.
- Site Conditions: Clear the site of any debris and minimise nearby vegetation. This helps avoid contamination that could disrupt the smoothness of the surface.
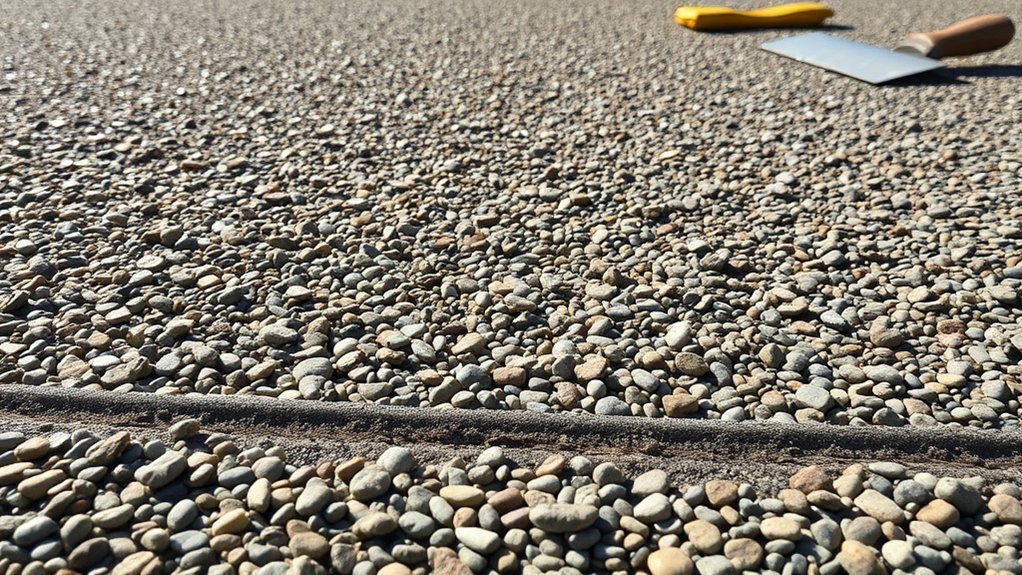
Techniques for Correcting Uneven Texture

If you notice uneven texture in your resin-bound gravel, try grinding and sanding to smooth out the bumps.
You can also use patching and reapplication techniques to restore the surface’s original look and feel.
Addressing these issues quickly ensures a long-lasting and attractive finish.
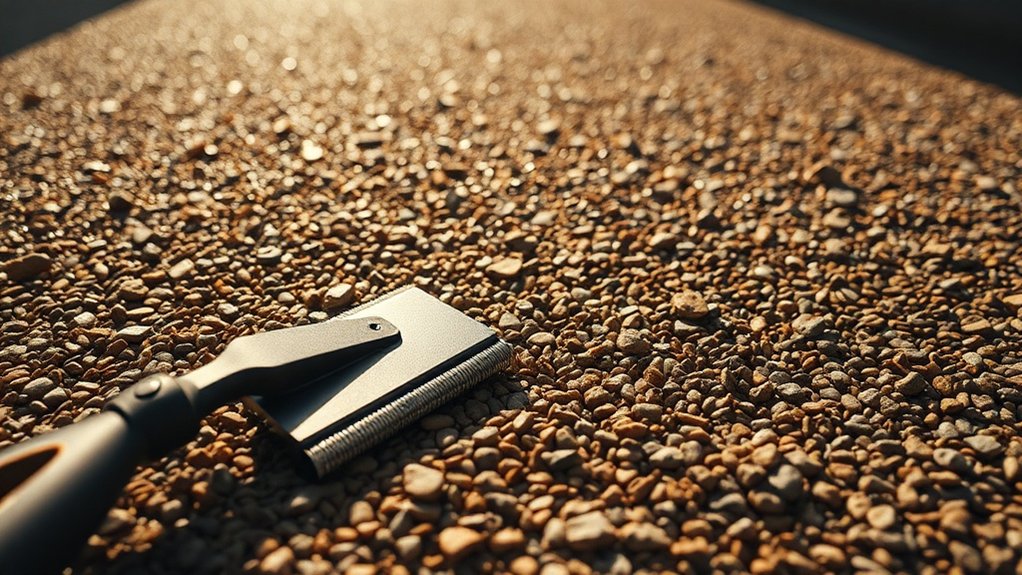
Grinding and Sanding Techniques
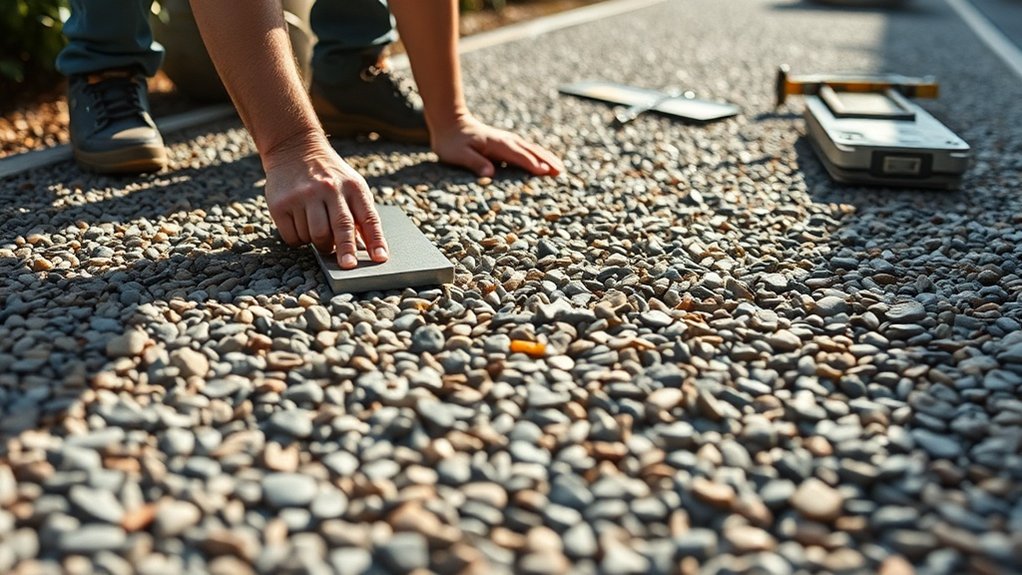
Correcting uneven texture in resin-bound gravel requires a straightforward approach to grinding and sanding. Here’s how to achieve a smooth, even surface:
1. Grinding Techniques: Begin with a heavy-duty angle grinder fitted with coarse discs (40-60 grit). Gradually move to medium (80-120 grit) and then fine (150-220 grit) discs for a smooth finish.
Pay particular attention to high spots, working in overlapping passes to avoid creating dips.
2. Sanding Methods: Use an orbital sander with fine-grit paper to address minor rough areas. For tighter spaces, sanding blocks can be effective while ensuring you maintain the durability of the resin.
3. Surface Preparation: Clean the area thoroughly, check that the resin has fully cured, and always wear suitable personal protective equipment (PPE) to safeguard yourself during the process.
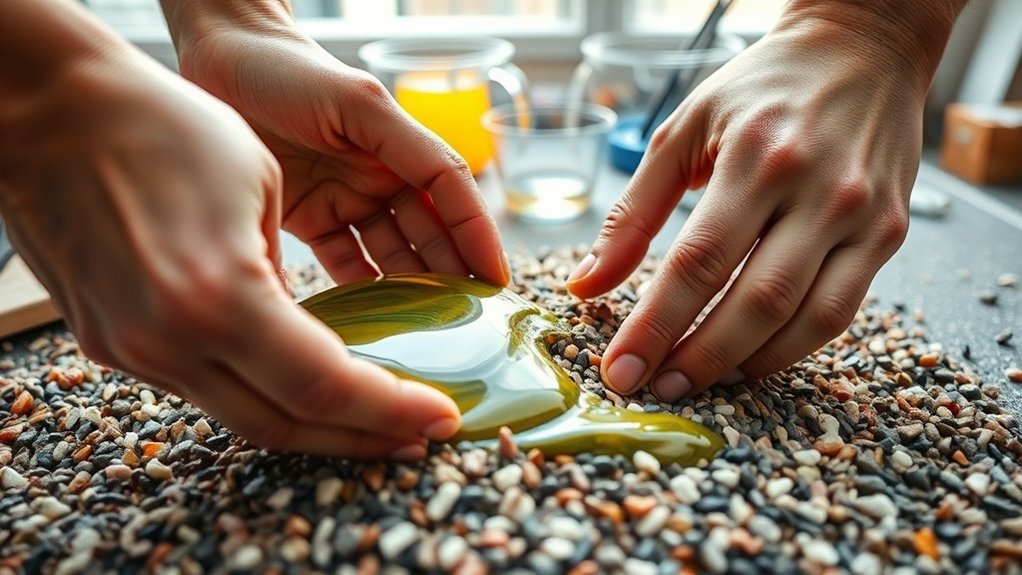
Patching and Reapplication Methods
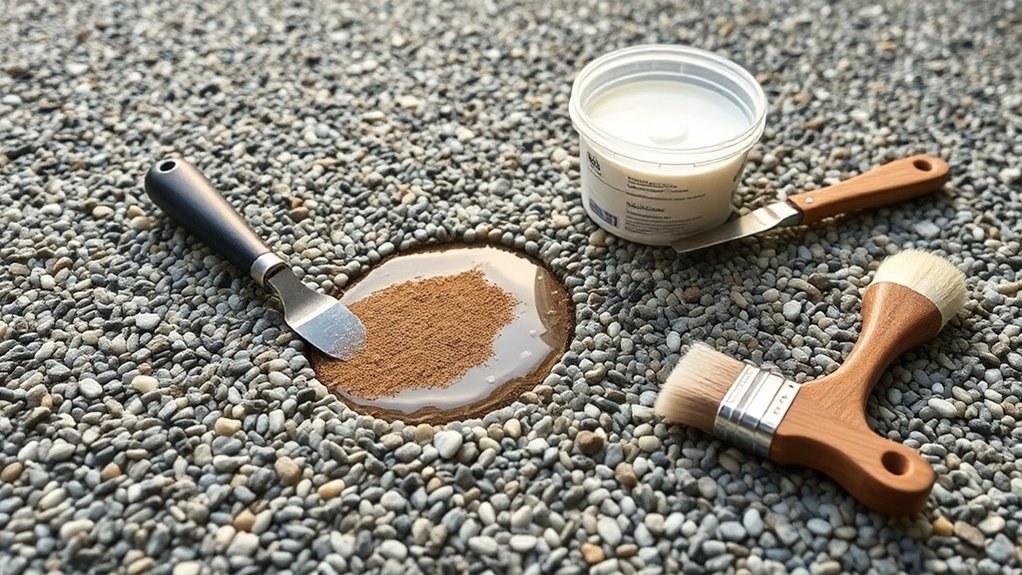
To achieve a smooth surface with resin-bound gravel, you’ll need to use effective patching and reapplication methods after grinding and sanding.
Start by inspecting any uneven areas to determine the best patching techniques. Clean the surface thoroughly and choose an appropriate resin repair kit. Use a trowel to apply the patching mixture evenly, ensuring a smooth finish. Allow it to cure as per the instructions, usually for 24-48 hours.
For reapplication, mix resin and aggregate using forced-action mixers, following the recommended ratios. Apply in thin layers, compacting each layer to prevent settling.
Keep an eye on the weather during installation to ensure optimal curing conditions. By following these steps, you can improve both the durability and appearance of your resin-bound gravel surface.
Effective Patch Repair Methods
To effectively repair uneven texture in resin-bound gravel, follow these straightforward steps for a solid surface adhesion:
- Inspect and mark the damaged areas. Remove any loose resin and stones to reveal a stable base.
- Clean the area thoroughly with a stiff brush or pressure washer to remove dirt and debris, ensuring a strong bond.
- Allow to dry completely before applying new resin to prevent curing problems.
Next, choose a matching aggregate and a UV-resistant resin.
Apply the mixture in layers, using the right tools for a smooth finish.
Keep an eye on the levelness as it cures, making adjustments as necessary for a seamless repair.
The Role of Professional Installers
While you might be tempted to install resin-bound gravel yourself, hiring professional installers can significantly improve the quality and durability of your surface.
Experts ensure proper surface preparation, including correct excavation and levelling, which helps avoid uneven textures. They also time the installation to suit the weather, which is crucial for the resin to cure properly.
Professional installers understand surface drainage, reducing the chances of water damage and uneven settling. Their knowledge allows them to mix the right resin-to-aggregate ratios, preventing lumps and ensuring a uniform finish.
With their skilled application and finishing techniques, you’ll get a smooth, level surface that lasts.
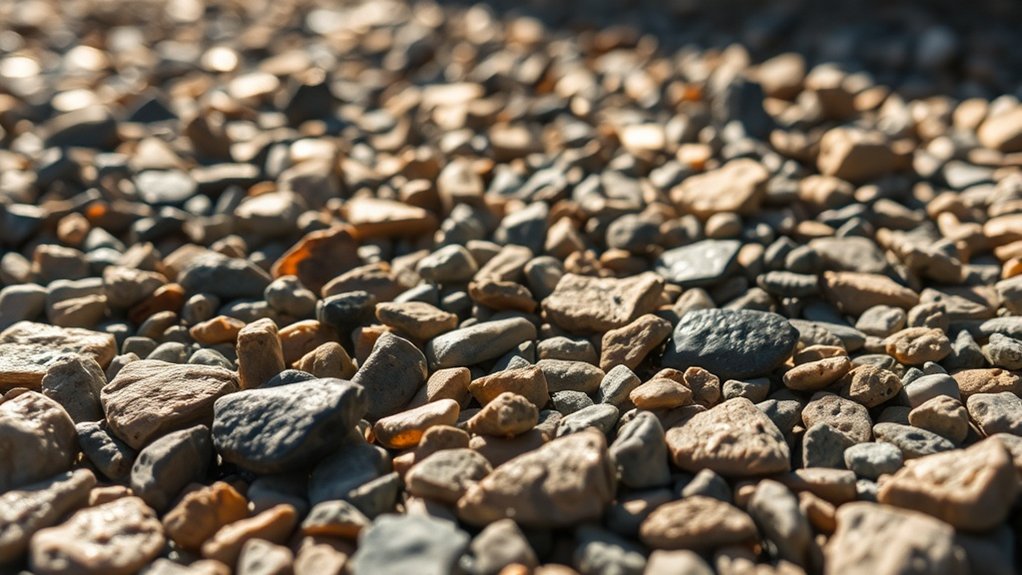
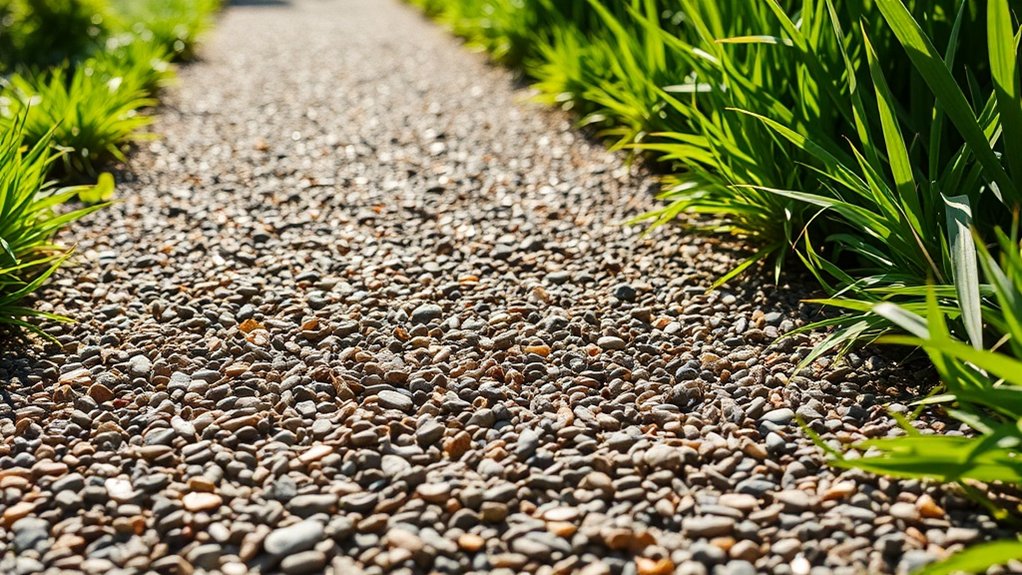
Choosing the Right Aggregate Size and Type
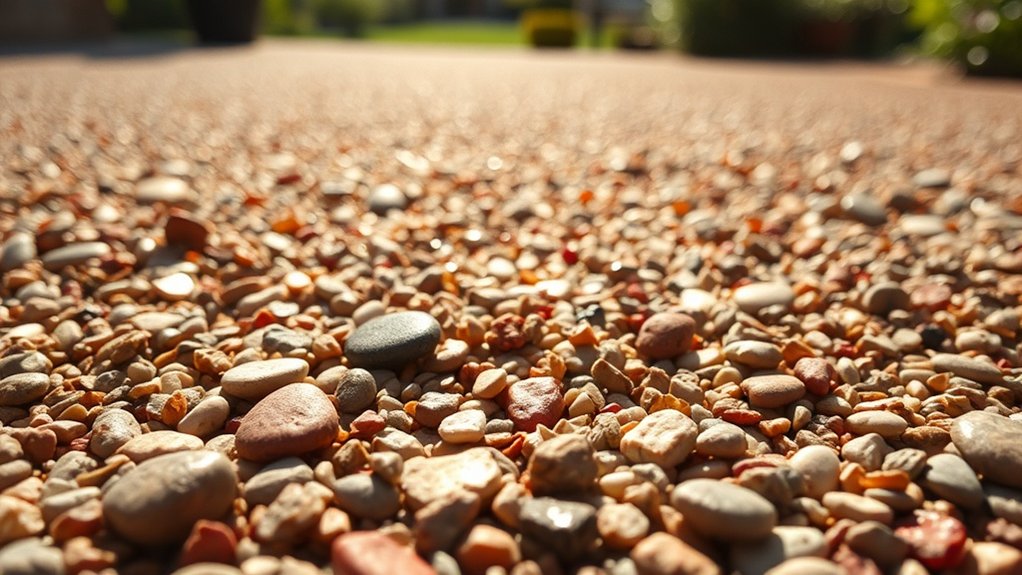
Choosing the right aggregate size and type is crucial for a durable and attractive resin-bound gravel surface. Here are some key considerations:
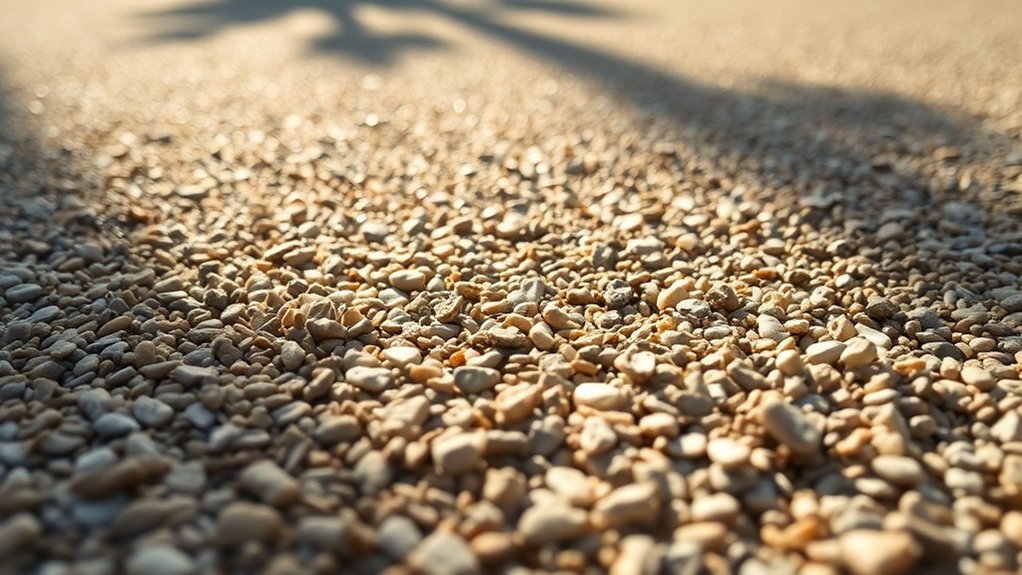
- Aggregate Size: Opt for aggregates sized between 2-5mm. This range provides a balanced surface texture that looks good and performs well.
- Aggregate Type: Select natural, angular aggregates. They not only enhance the appearance but also create a better mechanical interlock, ensuring stability.
- Texture Control: Mixing different sizes can improve drainage and add visual interest, helping to avoid a flat look.
Monitoring Weather Conditions During Installation
How can you ensure a successful resin-bound gravel installation? Start with careful weather monitoring. Aim for temperatures between 5°C and 25°C for optimal curing. High humidity or moisture can affect adhesion, so check the conditions before you begin. Here’s a quick reference for essential weather conditions:
| Condition | Ideal Range | Action Required |
|---|---|---|
| Temperature | 5°C – 25°C | Plan installation accordingly |
| Humidity | 40% – 70% | Use hygrometers to verify levels |
| Rain Forecast | No rain for 24 hrs | Postpone installation if rain is predicted |
Plan your installation around these factors. Avoid days with heavy dew or rain to achieve a smooth, even finish.
Maintaining Adhesion With Proper Surface Cleaning
To keep your resin-bound gravel surface in top condition, regular cleaning is crucial. Here are three straightforward practices to follow:
- Daily Sweeping: Use a stiff broom to remove debris and prevent buildup. Sweep in the direction of the aggregate pattern for the best results.
- Gentle Washing: Use a pressure washer set to a maximum of 150 bar, keeping the nozzle at least 20 cm away to avoid damaging the resin.
- Stain Management: Address stains quickly using mild detergents or appropriate treatments, ensuring the chemicals are safe for the surface.
These simple steps will help maintain both the appearance and longevity of your gravel surface.
Long-term Benefits of Well-Installed Resin-Bound Gravel
Investing in well-installed resin-bound gravel isn’t only about choosing an attractive surface; it’s about securing a long-lasting solution that can endure for up to 30 years with the right care.
This material significantly outlasts traditional options like concrete or tarmac. With high-quality, UV-stable resins, your surface will resist fading and deterioration from sunlight.
The blend of natural stone aggregates and specialised resin provides flexibility, reducing the risk of cracking and erosion as it adapts to ground movement.
Professional installation ensures the ideal resin-to-aggregate ratio, boosting durability.
Regular upkeep, such as sweeping and jet washing, prevents dirt build-up and further extends the life of your investment.
Enjoy a long-lasting, low-maintenance solution tailored to your needs.
Enhancing Aesthetic Appeal Through Design Flexibility
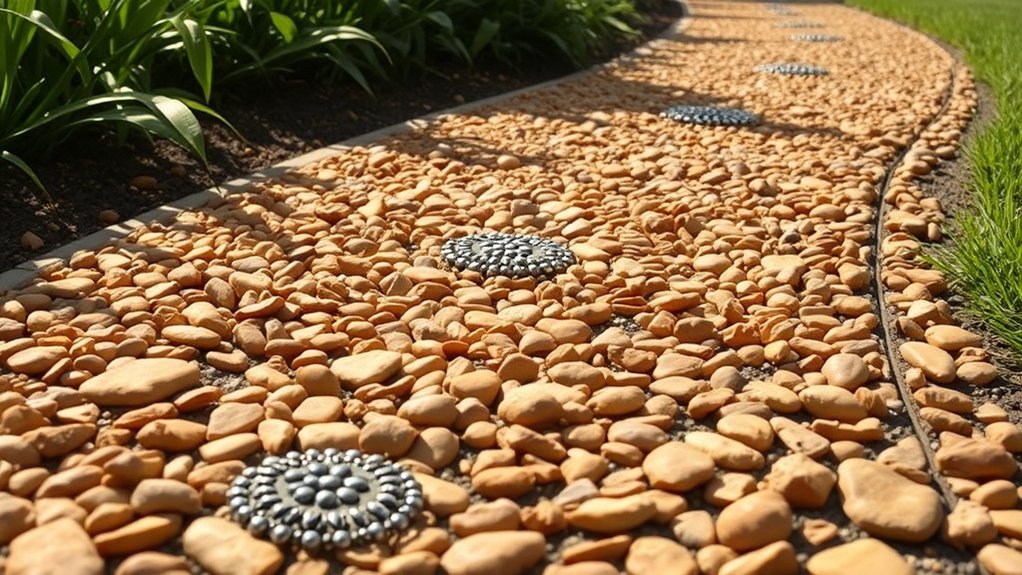
Resin-bound gravel offers both durability and exceptional design flexibility, enhancing the aesthetic appeal of any space.
Here are some ways to personalise your design:
- Vibrant Colour Combinations: Select from modern greys, warm golds, or earthy greens to create the desired atmosphere.
- Unique Patterns: Incorporate logos or geometric shapes for a distinctive touch to your surfaces.
- Texture Variability: Choose smooth finishes for a sleek look or add crushed glass for improved slip resistance.
This versatility allows you to transform any area into a visually striking environment while promoting sustainable landscaping.
With resin-bound gravel, your design possibilities are nearly endless, making it an ideal choice for any project that prioritises both beauty and practicality.
Frequently Asked Questions
How Long Does Resin-Bound Gravel Typically Last When Installed Correctly?
When installed properly, resin-bound gravel can last between 15 and 25 years. The lifespan largely depends on the quality of materials used and the installation techniques employed. For instance, using high-quality aggregates and ensuring a solid base can significantly enhance durability. With the right approach, you can expect a long-lasting and reliable surface for your driveway or pathway.
Can Resin-Bound Gravel Be Installed Over Existing Asphalt Surfaces?
Yes, you can install resin-bound gravel over existing asphalt surfaces. However, it’s essential to prepare the surface properly by cleaning and leveling it. This ensures good adhesion and results in a durable, attractive finish that can handle foot and vehicle traffic. For example, resurfacing a worn driveway with resin-bound gravel can significantly enhance its appearance and longevity.
What Are the Maintenance Requirements for Resin-Bound Gravel Surfaces?
To maintain resin-bound gravel surfaces, regularly clean them by sweeping and hosing them down. For any repairs, tackle stains and damage without delay using appropriate methods. Consistent maintenance and inspections will help prevent further issues.
How Does Temperature Affect the Curing Process of Resin-Bound Gravel?
Think of curing resin-bound gravel like baking a soufflé; temperature plays a crucial role. The curing process speeds up in warmer conditions, but too much heat can lead to problems. Conversely, cooler temperatures slow down curing, which may cause surface imperfections. It’s all about finding that perfect balance for a successful finish.
Is Resin-Bound Gravel Suitable for High-Traffic Commercial Areas?
Yes, resin-bound gravel is highly durable and can handle heavy foot and vehicle traffic. This makes it a great option for busy commercial areas where both strength and visual appeal are important. For instance, it’s perfect for retail parks, outdoor cafes, and walkways that see a lot of use.
Conclusion
In summary, tackling uneven texture in resin-bound gravel is crucial for both durability and safety. You might think that making corrections is complicated, but with the right techniques and preparation, achieving a smooth finish is quite straightforward. By identifying the causes, following best practices, and keeping an eye on conditions, you can improve the surface and ensure it lasts. Investing in a properly installed resin-bound gravel surface will benefit you in terms of both functionality and appearance.