
Testing resin quality in resin-bound gravel requires several practical checks:
Start with a thorough look at the surface – spotting any cracks, bubbles or discolouration. Check how the surface reacts to water by pouring a small amount in one area; quality resin should show minimal water absorption.
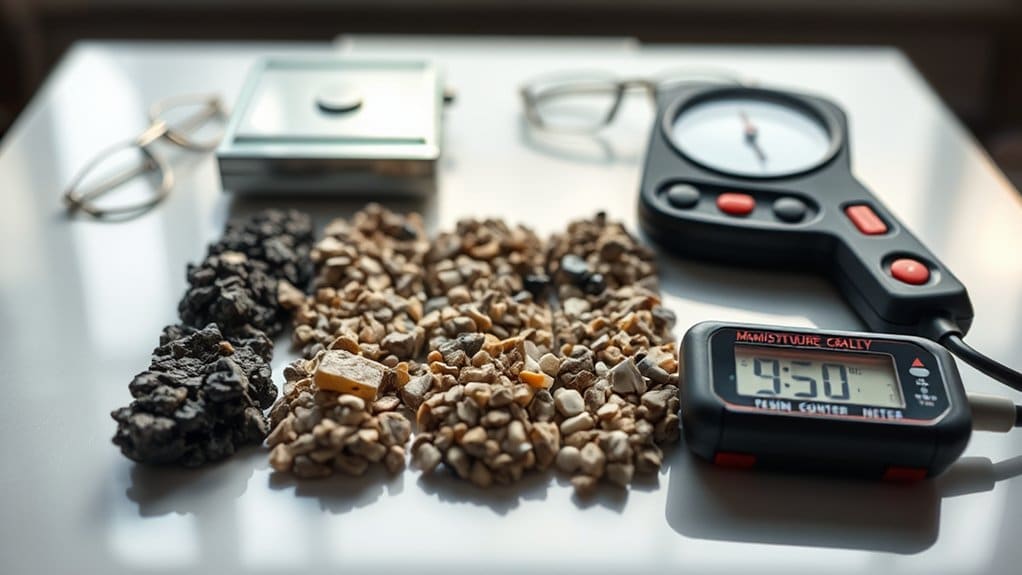
Use a moisture metre (commonly found at UK builder's merchants) to measure dampness levels. The reading should be consistently low across different areas.
For density testing, compare sample sections – proper resin-bound gravel should feel firm and compact, without loose stones or soft spots. A simple way to check is by pressing a coin edge against the surface; it shouldn't leave marks.
Test durability by checking areas with heavy foot traffic or where cars regularly park. These spots shouldn't show significant wear compared to less-used areas.
Temperature changes often reveal quality issues, so examine the surface during both cold mornings and warm afternoons. Quality resin shouldn't crack or become tacky as temperatures shift.
If you spot problems, it's worth getting a professional assessment, particularly if the installation is fairly new or under warranty.
Key Takeaways
5 Essential Tests for Resin-Bound Gravel Quality:
- Look for obvious defects under good light – check for even colour and stone distribution, much like inspecting a freshly painted wall. A magnifying glass helps spot subtle flaws.
- Check moisture levels with a water metre – crucial for British weather conditions. Regular testing helps prevent those annoying bubbles and peeling you might get with damp materials.
- Calculate density by weighing a sample piece – rather like checking if a Christmas pudding is properly baked. Follow British Standards Institute methods for reliable results.
- Run ash tests to spot unwanted bits that might weaken the bond – think of it as sifting flour for lumps before baking. This keeps your surface up to safety code.
- Test strength and chemical resistance whilst monitoring weather conditions during laying – vital for our changeable climate. The right temperature and humidity are as important as picking a dry day for the job.
Visual Inspection Techniques for Resin Quality

Visual inspection is crucial for checking resin quality in gravel surfaces. First, examine the surface thoroughly for any obvious flaws – much like checking a freshly painted wall for drips or patches.
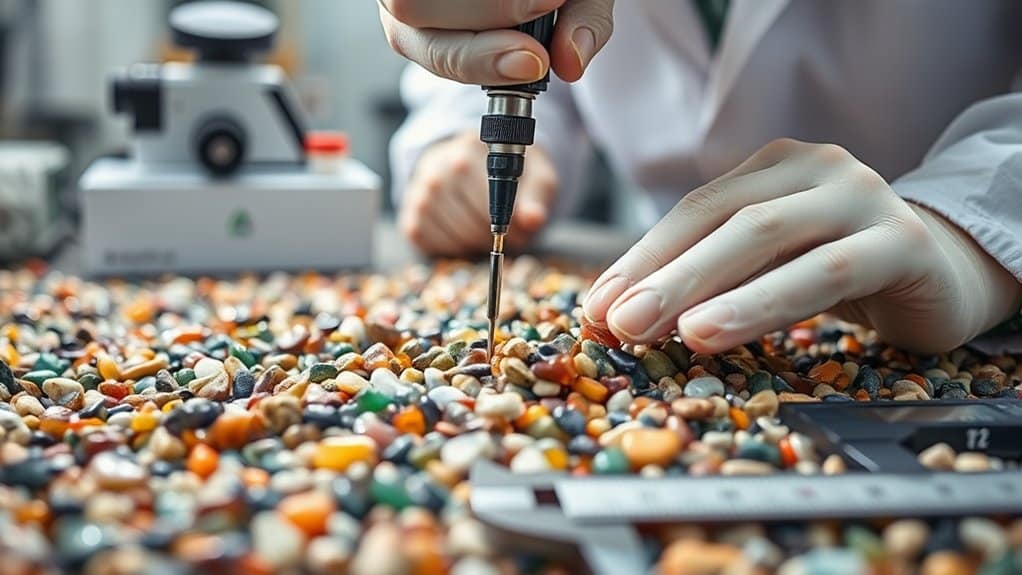
Use a magnifying glass or digital microscope for close-up views of problem areas. Look for consistent colouring across the entire surface; any patches or changes in shade could signal mixing issues. It's important to consider proper mixing ratios when assessing the overall quality of the resin application.
Check that stones are evenly distributed throughout the resin, similar to ensuring fruits are well-spread in a cake mixture. Good lighting makes all the difference – position your torch or work light at different angles to spot imperfections, but watch out for glare that might mask defects.
If you're doing multiple inspections, take regular breaks to keep your eyes fresh. These basic checks will help spot common problems before they become major issues. Implementing non-destructive testing (NDT) methods can further enhance the evaluation process by detecting flaws that are not visible to the naked eye.
Regular practice improves your ability to spot even subtle faults quickly.
Assessing Moisture Content in Resin Samples
Moisture Content Assessment in Resin Samples
Proper moisture measurement in resin samples proves vital for British manufacturers, directly impacting product quality and moulding success. Getting it right prevents costly defects and production delays. Monitoring water activity ensures that excess moisture is detected early, helping to avoid production issues.
Key points for accurate moisture testing:
- Water activity metres offer quick, reliable readings without specialist training – ideal for routine quality checks on factory floors.
- Choose suitable drying methods based on precision requirements:
- Gravimetric analysers work well for day-to-day testing
- Karl Fischer titration suits high-precision needs, common in aerospace applications
- Mind the testing environment – drafts from open warehouse doors or high humidity can skew readings.
A consistent moisture testing regime helps maintain quality standards whilst reducing waste, particularly crucial for UK-based injection moulding operations working with hygroscopic materials like nylon or ABS.
Measuring Apparent Density of Resin
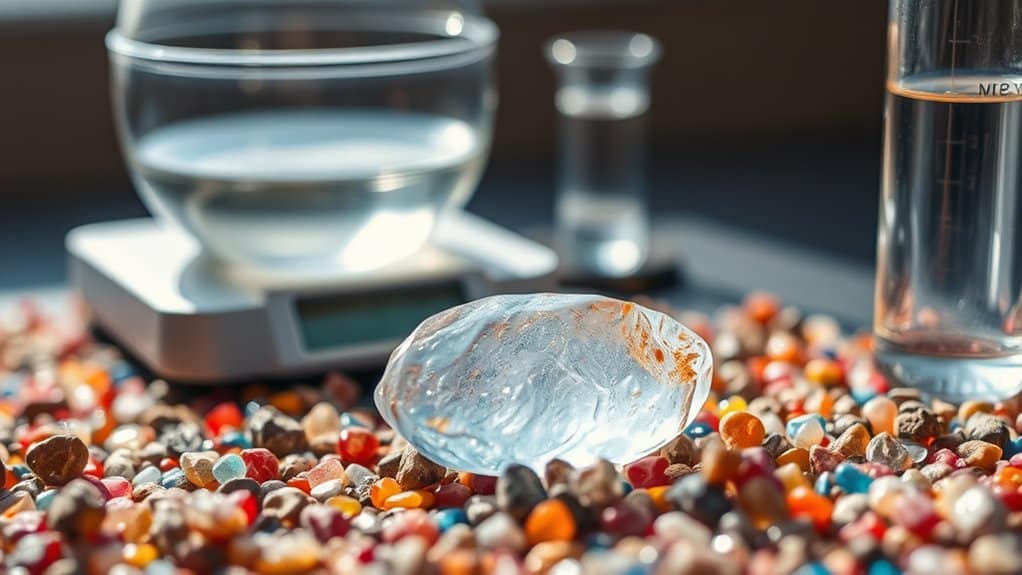
Measuring resin's apparent density is crucial for ensuring quality in resin-bound materials. First, gather your samples and check they've been properly cured at the right temperature. Follow British Standards Institution (BSI) guidelines to measure density accurately, making sure to account for any air pockets. You'll need a quality digital scale for weight and volumetric flasks for volume measurement. Keep in mind that resin's thickness can affect your readings. To work out apparent density, simply divide the mass by volume. If your readings are consistent across samples, you've likely got uniform quality. Different readings might mean problems with mixing or curing. Getting these measurements right is vital – it's what makes the difference between a stable, long-lasting resin surface and one that might fail early on. A quick tip: Think of it like making sure you've got the right mix for a cake – too dense or too light, and it won't turn out right. The same goes for resin-bound surfaces used in British driveways and paths. Additionally, utilizing standard test methods can help ensure that your density measurements are reliable and consistent.
Evaluating Void Volume Within Resin

Evaluating void volume within resin plays a crucial role in determining how well resin-bound surfaces will perform.
Much like checking for air pockets in concrete, measuring the spaces between resin and aggregate helps assess the material's overall strength.
British Standards testing methods, including density measurements and microscopic analysis, ensure accurate void content readings.
These measurements directly impact the final product's durability – think of it like checking a sponge's ability to hold water.
The fewer unwanted gaps present, the stronger and longer-lasting the resin surface will be.
Importance of Void Volume
Void Volume in Resin-Bound Gravel
The amount of space between stones in resin-bound gravel directly affects how well your driveway or path performs. Too many gaps can weaken the surface, much like a poorly-packed box that's likely to collapse.
Consider these key points:
- Water seeps into voids like rain into a sponge, potentially causing damage over time.
- British weather, particularly frost-thaw cycles, can worsen existing gaps.
- More gaps mean less strength – imagine trying to park your car on an increasingly unstable surface.
A properly laid resin surface should have minimal voids, ensuring it withstands both daily foot traffic and the occasional delivery lorry. Additionally, maintaining optimal permeability rates ensures effective water drainage and helps prevent surface flooding.
Regular checks for developing gaps, particularly after harsh weather, help maintain the surface's strength and appearance.
Testing Methods Overview
Various testing methods are crucial for checking resin-bound gravel quality in the UK. Load testing shows how well the surface handles vehicle and foot traffic, whilst durability checks reveal its resistance to everyday wear and tear.
Getting the right mix of stone sizes and types is vital for proper bonding with the resin – much like ensuring the right ingredients for a solid cake mix. Regularly checking for aggregate size is essential to ensure the optimal texture and grip of the surface.
Site conditions and proper mixing ratios during installation make a big difference to how well the surface performs. It's worth keeping an eye on weather conditions too, as temperature and moisture can affect the final result.
Regular checks and following British Standards help ensure your resin-bound surface stays strong and reliable, whether it's for a driveway, garden path or commercial space.
Conducting Ash Analysis for Impurities

Getting ash analysis right reveals any inorganic impurities in aggregates that might affect resin bonding.
Simply prepare your samples, heat them at high temperatures to burn off organic matter, then examine what's left. The resulting ash content shows exactly what contaminants you're dealing with, helping ensure your resin bonds properly.
It's rather like burning wood in a fireplace – what remains tells you what minerals and metals were present in the original material.
Importance of Ash Analysis
Ash Analysis in Resin Applications
Proper ash analysis is vital for checking resin quality in gravel installations across the UK. The process spots unwanted materials that could affect how well the surface performs.
Testing reveals common contaminants like heavy metals and organic compounds – both of which can impact the surface's strength and safety.
Main advantages of ash testing:
- Better Material Choice: Spots top-quality resins that last longer
- Performance Insight: Shows how pure the resin is, helping predict surface life
- Safety Standards: Catches harmful substances to meet UK regulations
The process is particularly useful for British contractors working with resin-bound driveways and paths, where consistent quality is essential for our wet climate.
Steps for Conducting Analysis
Five key steps ensure reliable ash analysis for resin impurities.
First, set up properly calibrated muffle furnaces and crucibles to achieve complete burning at high temperatures.
Second, take representative resin-gravel samples, grinding them into a fine powder whilst keeping them free from outside contamination.
Third, carry out ashing between 500°C and 600°C, with a gradual temperature rise to stop samples from splitting.
Fourth, analyse elements using X-ray fluorescence, comparing them against known impurity patterns.
Fifth, work out ash content and spot common impurities like silica, then put your findings in a clear report.
These steps are particularly crucial for UK manufacturers working with specialised resins, where even small impurities can affect product quality.
Testing Uniaxial Compressive Strength of Resin

Testing Resin Strength Under Pressure
Proper uniaxial compressive strength (UCS) testing is vital for measuring how well resin holds up under pressure – particularly important if you're working with resin-bound driveways or pathways.
Key steps for reliable testing:
- Polish sample ends until perfectly flat, much like levelling a worktop
- Use specialised compression machinery that controls pressure steadily
- Track stress levels and any changes in shape throughout the test
This straightforward approach ensures you'll get trustworthy results about your resin's durability.
Think of it as putting the resin through its paces, similar to testing a support beam's strength before using it in construction.
Young's Modulus and Its Importance in Resin Performance
Young's Modulus plays a crucial role in how resin performs, especially in resin-bound gravel driveways and paths. Think of it as a measure of the resin's stiffness – much like the difference between a rigid plastic container and a flexible rubber band. The higher the modulus, the better the resin withstands weight and pressure without warping.
The resin's strength depends on several factors: what it's made from, the size of stones used, and how it sets. Just as concrete needs proper conditions to reach full strength, resin must cure correctly to achieve optimal performance.
Testing the resin's tensile strength helps ensure your surface will last. It's particularly important for areas that'll face heavy use, like car parks or busy walkways. By getting these measurements right, you're more likely to end up with a surface that not only looks good but stands up to daily wear and tear.
Understanding these basics helps you make better choices about resin-bound surfaces and ensures they'll serve their purpose for years to come.
Assessing Chemical Resistance Through Ph Tests
Testing pH Levels for Chemical-Resistant Resin Surfaces
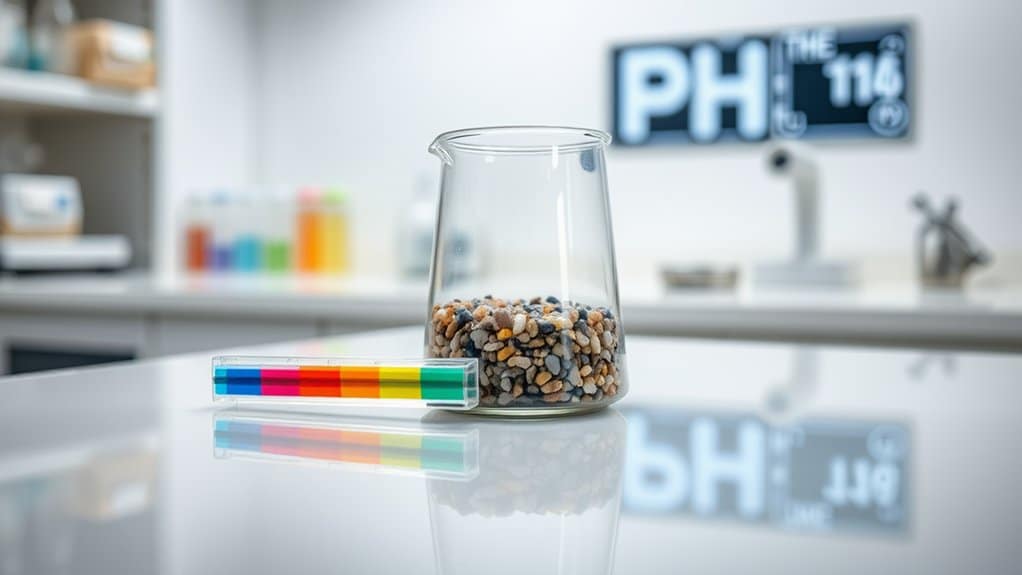
Checking pH levels is vital to ensure resin-bound surfaces last properly, as pH directly affects how well the resin stands up to chemicals. A pH stability test shows whether your resin can cope with both acidic and alkaline substances.
Use pH strips or a digital meter to get reliable readings.
Key steps:
- Match your pH results with UK and European standards
- Test your resin against everyday chemicals like cleaning products
- Check how pH affects the bond between resin and stone
The stronger your resin's chemical resistance, the better it will handle common spills, weather exposure and regular cleaning.
Most quality resins should cope well with pH levels between 3 and 11, though exact ranges vary by manufacturer.
Evaluating Temperature and Humidity Resistance

Testing temperature and humidity effects on resin is crucial for UK installations.
Cold or damp conditions typical of British weather can seriously impact how resin cures and performs long-term. Much like how butter hardens in the fridge, resin becomes less workable in cold temperatures below 5°C.
High moisture levels, common during UK winters, may cause clouding and bubbling in the final surface.
For best results, install resin-bound gravel on dry days when temperatures stay between 5-25°C. Regular weather checks and proper timing help avoid costly fixing of defects later.
Temperature Impact Analysis
Temperature's Impact on Resin Performance
Temperature plays a crucial role in resin and gravel installations, but proper planning helps manage its effects. For best results, work between 5°C and 25°C – typical British weather conditions for most of the year.
Cold weather below 5°C:
- Slows down curing time
- Risks poor bonding
- May create weak spots
Hot weather above 25°C:
- Makes resin set too quickly
- Creates mixing difficulties
- Can leave uneven surfaces
Think of resin like a cake mix – too cold and it won't set properly, too hot and it bakes unevenly.
Adjusting catalyst levels helps balance these effects, much like adjusting oven temperature for baking.
Humidity Effects Assessment
Humidity significantly affects resin-bound surfaces during installation and curing. The sweet spot for humidity lies between 40% and 70%.
Too much moisture slows down curing and extends working time, whilst too little speeds up curing but may cause the surface to become brittle.
A decent hygrometer is essential for accurate moisture readings. Avoid laying resin when there's a risk of rain or morning dew, as moisture will compromise the bond strength and surface finish.
It's worth checking the Met Office forecast before starting any installation.
Good airflow around the work area helps control moisture levels. Think of it like drying clothes – you wouldn't dry them in a stuffy room.
These simple steps ensure your resin surface sets properly and lasts longer.
Remember: A properly controlled environment during installation means fewer headaches and better results for your resin-bound project.
Application-Specific Testing for Resin-Bound Gravel

Testing Resin-Bound Gravel for Specific Uses
To ensure your resin-bound gravel suits its intended purpose, you'll need proper testing against UK standards. Essential checks include:
- Slip resistance testing via pendulum method, particularly crucial for public paths and driveways
- Chemical resistance checks – especially important if the surface will face exposure to petrol, oil or de-icing salts
- Bond strength testing to confirm the resin can handle expected foot and vehicle traffic
Common applications require different focus areas:
- Driveways: Test for vehicle weight and oil resistance
- Pool surrounds: Check chlorine compatibility and wet slip resistance
- Public walkways: Ensure compliance with accessibility standards
The right tests will vary based on where you're installing the surface. A residential driveway needs different testing compared to a commercial car park or garden path.
Frequently Asked Questions
What Are the Signs of Poor-Quality Resin in Gravel Applications?
Signs of poor-quality resin become apparent through irregular viscosity and weak bonding strength. Look for gravel stones that easily come loose or patches where the resin appears thicker in some areas than others – much like poorly mixed paint on a wall. These faults typically lead to an uneven surface that won't last as long as it should, spoiling both the practical use and look of your gravel driveway or path.
How Often Should Resin Quality Tests Be Conducted?
Regular resin testing is vital for UK manufacturers, with frequency depending on three key factors: what your resin's made of, where you store it, and how much you use. For most industrial applications, monthly testing is standard, though high-volume operations might need weekly checks. Think of it like checking engine oil – regular inspections catch problems before they affect production. Testing helps spot issues like moisture contamination or degradation early on, saving both time and materials in the long run.
Can I Test Resin Quality at Home?
Basic resin testing can be done at home through visual checks and mixing trials. Simply examine the resin for clarity, consistency and proper curing. Whilst home testing gives a rough idea of quality – much like checking milk before use – it's not as reliable as professional lab testing. For best results with important projects, consider getting your resin properly tested.
What Environmental Factors Affect Resin Performance?
Weather patterns and temperature shifts significantly impact resin behaviour. Cold weather makes resin thicker and more difficult to work with, whilst high temperatures speed up hardening and risk causing distortion. For best results, maintain steady conditions during application – think of working in a garage rather than outdoors on a changeable day. This ensures proper curing and long-lasting results.
Are There Specific Industry Standards for Resin Testing?
Different industries follow specific standards to test resin quality and performance. In the UK, manufacturers must comply with British Standards (BS) and European Standards (EN) for resin testing. Common tests measure properties like tensile strength, chemical resistance and cure time. For example, resins used in construction must pass weathering tests, whilst those in dental work require biocompatibility testing. These standards ensure consistent quality across all applications, from flooring to marine coatings.
Conclusion
Testing resin quality in resin-bound gravel is vital for long-term durability. Through visual checks and chemical resistance tests, you can spot potential issues before they become problems. Think of resin like the foundation of a house – get it right, and your surface will last for years; get it wrong, and you'll face costly repairs. A thorough quality assessment takes time but proves essential for a reliable installation that stands up to British weather.