Speed up resin-bound gravel curing by maintaining temperatures between 10°C and 30°C. Mix in specialist UV accelerators, like those from Addagrip, to reduce setting times. Use a forced action mixer for proper blending – much like mixing cement, it needs to be thorough and even. Before laying, ensure the surface is clean and properly primed. Keep an eye on the weather forecast, as rain or excessive moisture will hamper the process. A warm, dry day is ideal for quick curing, similar to waiting for paint to dry in good conditions.
Key Takeaways
Simple Ways to Speed Up Resin-Bound Gravel Curing:
- Add a UV resin accelerator (like Addagrip) to slash curing time from several hours to mere minutes.
- Keep temperatures between 10°C and 30°C – think typical British spring day temperatures for best results.
- Mix resin quickly – no more than 15-20 seconds to prevent the mixture from getting too hot.
- Check that your surface is bone-dry and dust-free for proper bonding (just as you’d prep a wall before painting).
- Watch the weather forecast – avoid laying on rainy or damp days, as British weather can be rather unpredictable.
Understanding Ideal Curing Temperatures
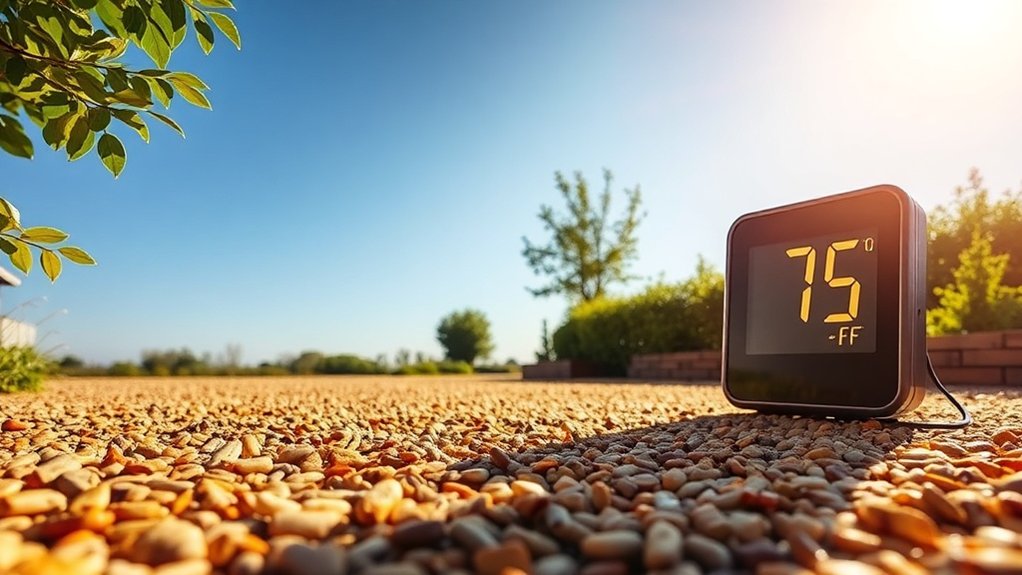
Ideal curing temperatures are crucial when working with resin-bound gravel. The sweet spot lies between 5°C and 25°C – think of a mild British spring day. Working below 5°C (typical winter morning) makes the resin sluggish and more likely to be affected by moisture. Above 25°C (hot summer afternoon), the resin sets too quickly, making it tricky to mix and spread properly. Excessive moisture can lead to gas bubbles in the resin, which may compromise the quality of your installation. Additionally, monitoring local weather forecasts is essential to avoid installation issues during the curing process.
Whilst some UV-stable resins can handle up to 30°C, it’s best to avoid these higher temperatures to prevent rushed work. Keep an eye on the weather forecast and ambient temperature throughout your project. If you’re concerned about temperature extremes, proper curing agents can help manage the process and ensure your surface turns out properly.
The Role of Accelerators in Resin Curing
The right curing temperature is crucial for optimal resin performance, with accelerators serving as vital catalysts in the process. These additives dramatically reduce curing times from hours to minutes when properly used. Proper curing ensures a more reliable and durable finished product through complete polymerisation. Additionally, using catalysts leads to improved strength and durability, making the final surface more resilient to wear and tear over time. Using quality aggregate material further enhances the final product, ensuring superior performance and aesthetics.
| Accelerator Type | Benefits |
|---|---|
| Addagrip UV Resin Accelerator | Quick cure times |
| BoundWorx® Accelerator | Effective in cooler temps |
| General Use | Enhances strength and longevity |
Think of accelerators as the equivalent of using fast-acting yeast in bread-making – they speed up the process without compromising quality. Most UK contractors favour accelerators during autumn and winter months, when ambient temperatures can slow standard curing times.
Best Practices for Mixing Resin Components
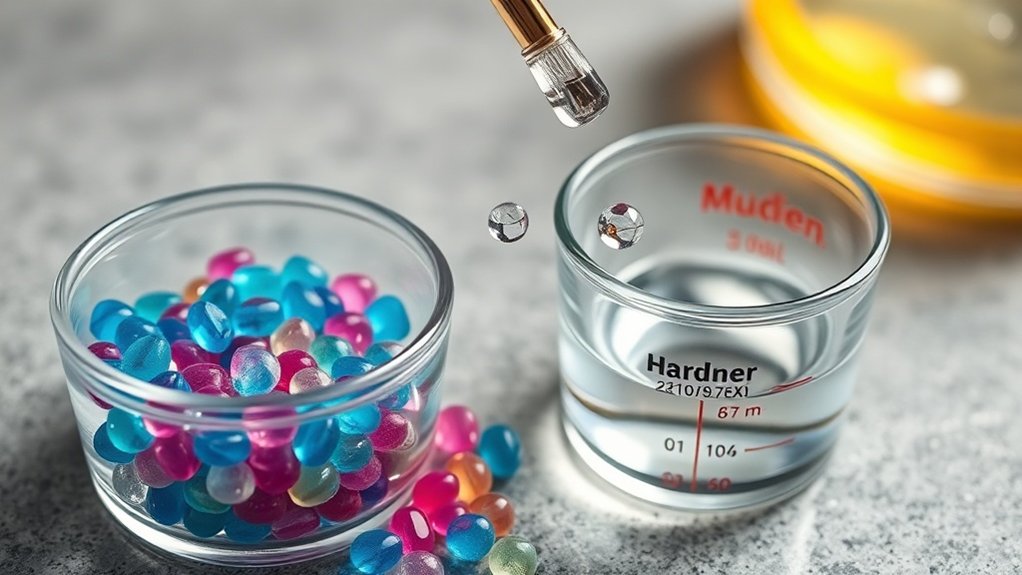
Essential Mixing Guidelines for Resin Components
Getting your resin mix right is crucial for a proper finish. Follow these straightforward steps:
- Choose a forced action mixer – regular cement mixers won’t cut it and risk patchy results.
- Start with a third of your aggregate in the mixer.
- Mix resin parts A and B in a spotlessly clean bucket (even tiny bits of dirt can spoil the batch).
- Tip your mixed resin onto the aggregate, followed by sand to ensure proper strength.
- Always measure precisely – guesswork leads to weak spots and failed projects. Ensuring proper material calculations can significantly improve your mixing outcome.
- Keep your kit clean – scrape out old resin and use fresh buckets to avoid contamination.
Additionally, ensure concrete or tarmac base is strong enough for intended use to support the resin-bound surface properly.
A properly mixed batch should look uniform and glossy. If it’s streaky or has unmixed patches, you’ll need to start again.
Importance of Surface Preparation
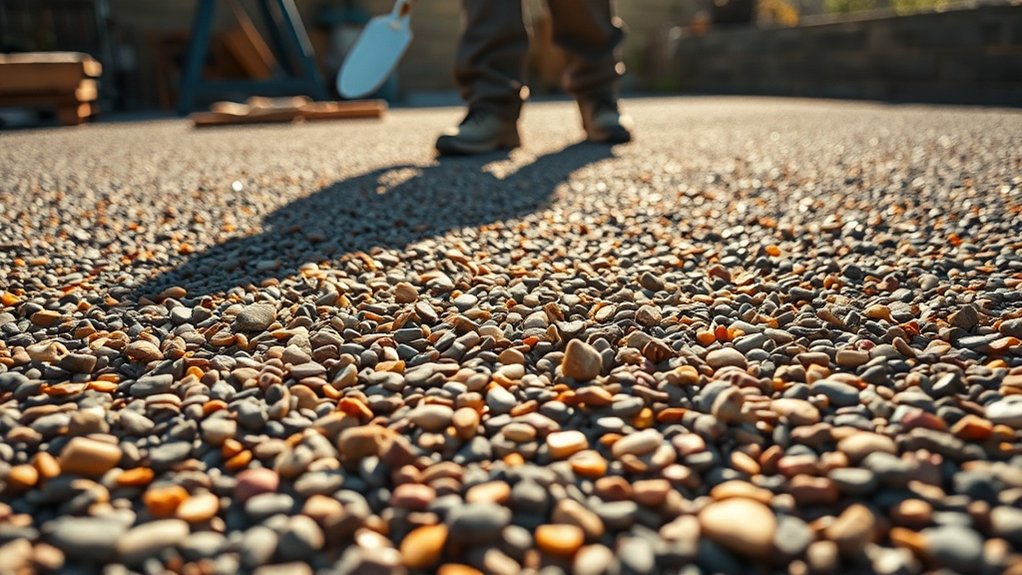
Proper surface preparation is vital before applying resin. Even the best-mixed resin will fail without a clean, stable base.
First, thoroughly remove all dust, dirt and grease – these block proper adhesion and mess up the curing process. A good hoover or pressure wash sorts this nicely.
Your base must be level and well-compacted to ensure even coverage – nobody wants puddles or thin patches that won’t cure properly.
Keep the surface bone dry, as moisture leads to weak spots. For porous surfaces like concrete, use a primer to stop the resin from soaking in.
These basic prep steps make all the difference between a lasting finish and a botched job.
Application Techniques for Optimal Curing
Proper Application Methods for Perfect Curing
Getting resin-bound gravel right comes down to solid technique. Much like baking a cake, it’s all about following the correct steps for the best results:
- Stick to the maker’s resin-to-aggregate mix ratios – it’s crucial for proper chemical bonding.
- Always use a forced action mixer – think of it as whisking cake batter, you need thorough mixing without air pockets.
- Once mixed, work quickly (within 10-15 minutes) before the mixture starts to thicken.
- Spread evenly in thin layers (15-25mm) – rather like icing a cake, uneven patches won’t set properly.
- Use proper resin tools – standard building kit simply won’t do the job properly.
Essential kit includes:
- Forced action mixer
- Specialist trowels
- Spiked shoes
- Depth gauges
- Edge profile tools
Weather Conditions and Their Impact on Curing
Weather conditions significantly affect how resin-bound gravel cures, impacting both speed and quality.
The sweet spot for humidity sits between 40% and 70% – too high and it’ll take ages to cure and might look patchy, too low and it’ll cure too quickly and could crack.
Rain is your worst enemy. If it’s forecast within 24-48 hours of laying, don’t even think about starting the job as it’ll weaken the mixture and stop it from sticking properly.
Temperature-wise, you’ll want between 5°C and 25°C for the best results. Anything outside these numbers risks compromising the strength and longevity of your surface.
For best results in the British climate, always check your local weather forecast before starting any resin-bound project. A quick check could save you from a costly redo.
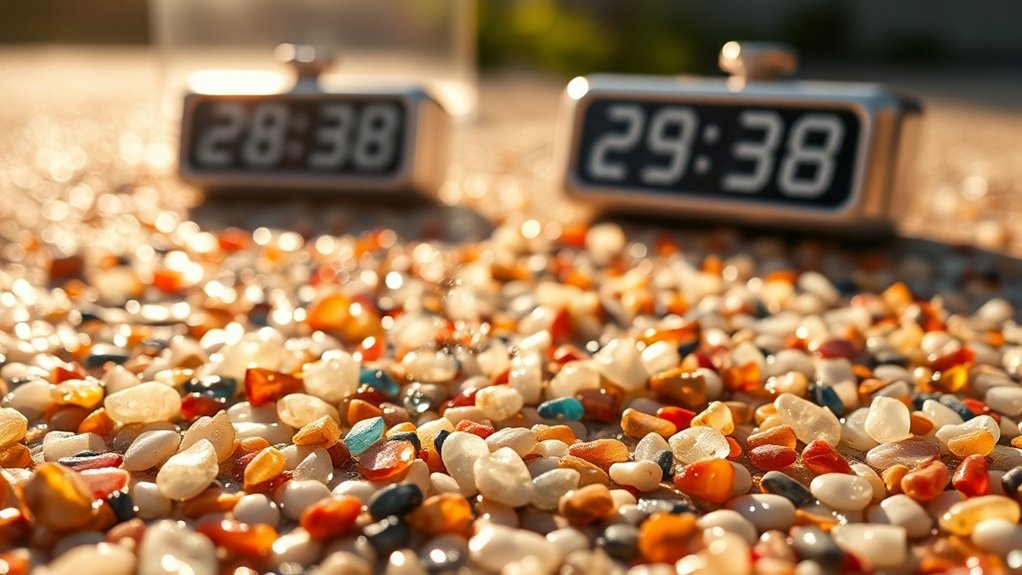
Monitoring Curing Times Effectively
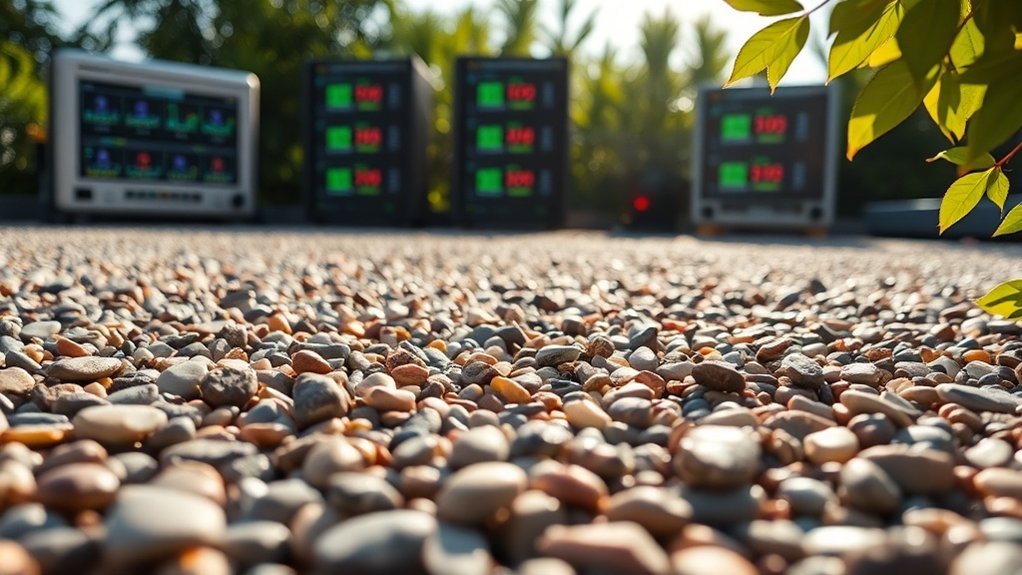
Monitor curing times by tracking both temperature and weather conditions.
Best results occur between 5°C and 25°C – typical British room temperature range.
Keep a reliable thermometer handy and check local weather forecasts before starting your project.
Poor conditions, like heavy rain or freezing temperatures, will affect the final outcome and waste time and materials.
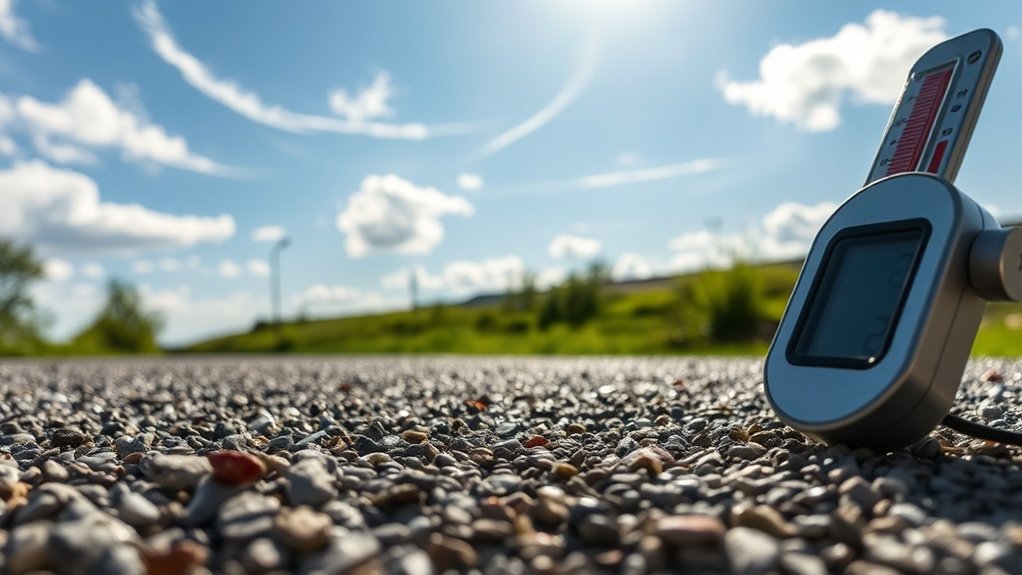
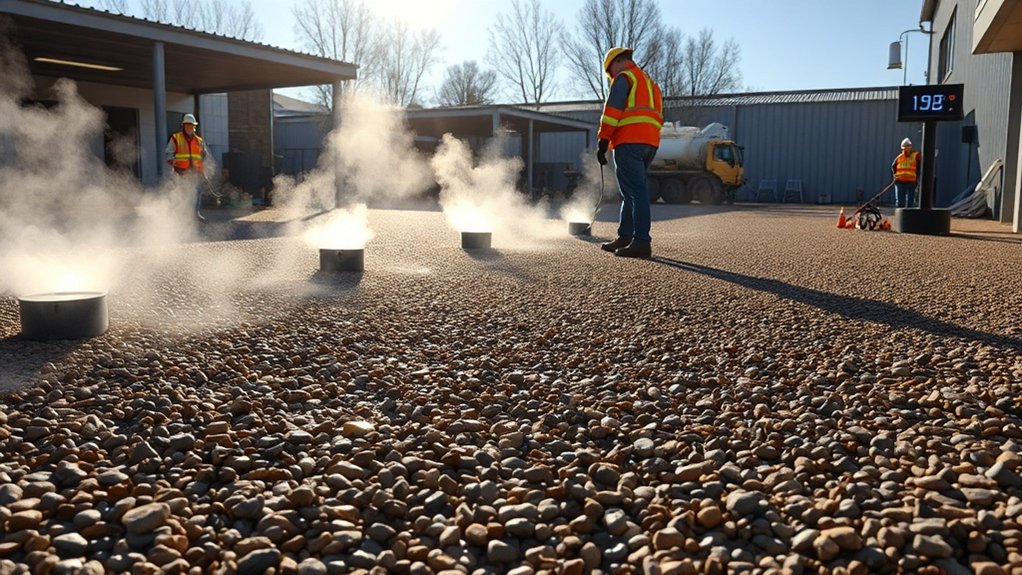
Ideal Temperature Monitoring
Temperature Monitoring Essentials
Proper temperature control during resin-bound gravel curing is crucial, with optimal temperatures between 5°C and 25°C.
Key monitoring methods include:
- Digital temperature sensors tracking air temperature
- Data loggers recording daily fluctuations
- Thermal imaging cameras identifying cold or hot spots
- Local weather apps providing hourly forecasts
- Mobile alerts warning of temperature breaches
Most UK installers find digital sensors particularly useful during spring and autumn when temperatures can be unpredictable.
Setting up mobile alerts proves especially handy during overnight curing, when temperatures typically drop below optimal levels.
Weather Condition Awareness
Understanding Weather for Resin-Bound Gravel Installation
Proper weather awareness ensures your resin-bound gravel sets correctly, delivering a strong, attractive finish. British weather can be unpredictable, so checking the forecast is essential before installation.
| Weather Factor | Ideal Condition | Effect on Curing |
|---|---|---|
| Rain | No rain for 24-48 hours | Prevents moisture interference |
| Humidity | Low to moderate | Supports faster, consistent curing |
| Wind | Gentle to moderate | Minimises contamination risk |
| Temperature | Stable, mild | Encourages uniform curing |
Avoid installation during wet weather or high humidity – typical challenges in the UK climate. These conditions water down the resin mixture, compromising its strength. Think of resin like a cup of tea – adding too much water weakens it.
Best results come from installing during stable, mild weather, much like a pleasant spring or autumn day. Strong adhesion needs dry conditions, similar to waiting for paint to dry on an outdoor fence.
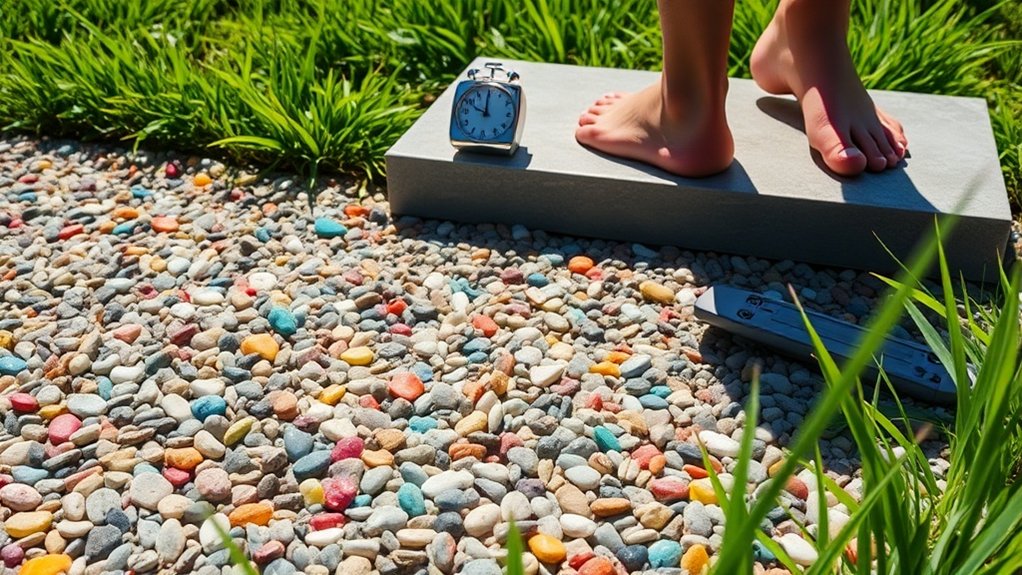
Handling and Foot Traffic Post-Application
Post-Application Traffic Guidelines
Proper handling of your resin-bound surface after installation ensures its long-term strength and quality:
- Allow 6-8 hours before walking on the surface; wait 24-48 hours for regular use.
- Ensure surface is dry and spotless before laying resin (much like painting a wall).
- Keep wheelie bins, garden furniture and heavy items off the surface whilst curing.
- British weather matters – rain and damp conditions slow curing time considerably.
- Choose quality sub-base materials (like MOT Type 1) to prevent soft spots forming under foot.
The first 48 hours are crucial – treat your new surface like fresh concrete.
Once fully cured, your resin-bound gravel will handle normal daily wear without issue.
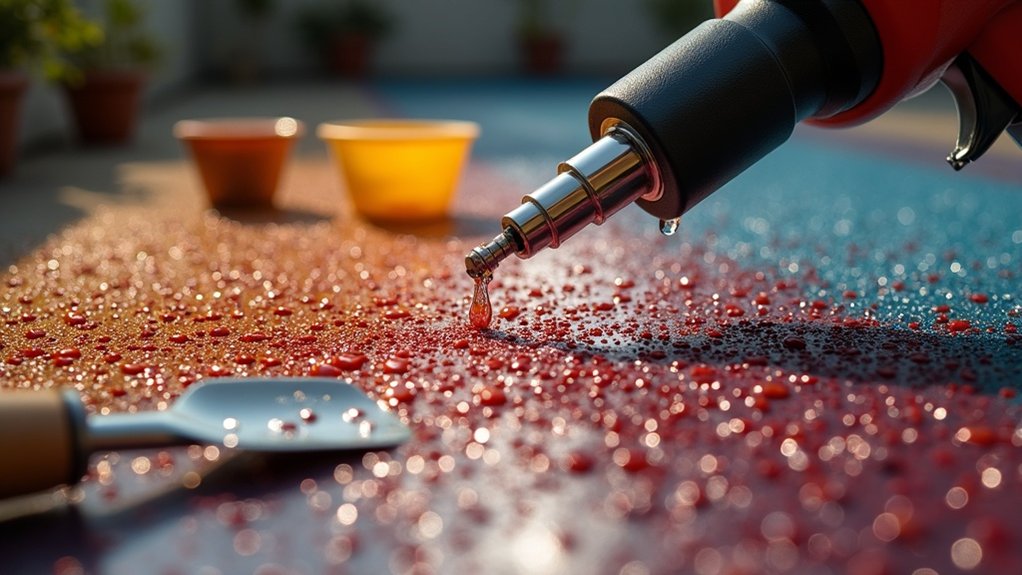
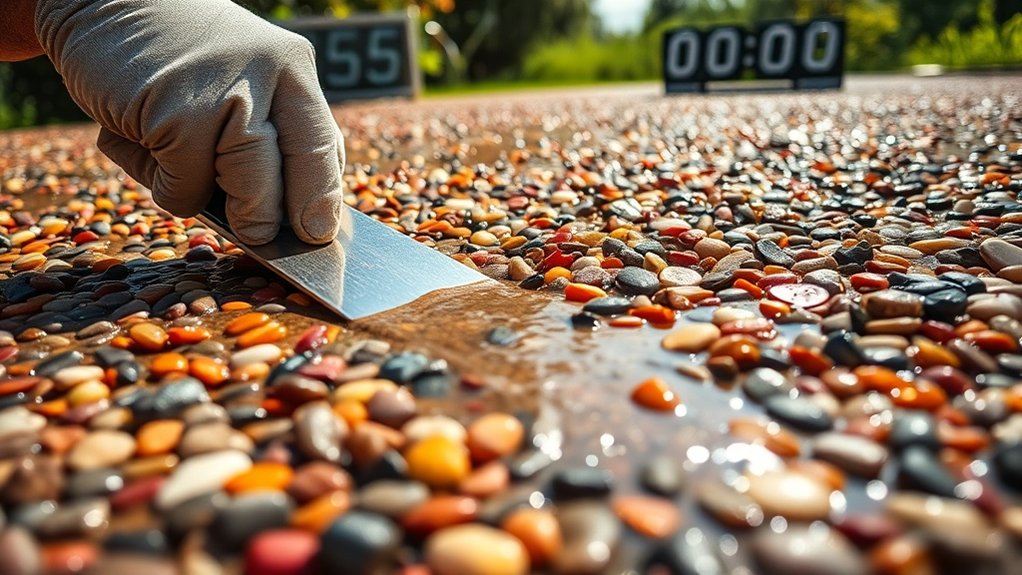
Utilizing Accelerated Curing Methods
Proper accelerated curing can significantly speed up the setting time of resin-bound gravel.
Chemical catalysts such as Addagrip UV Resin Accelerator boost the hardening process, but you’ll need to measure doses carefully with syringes to achieve the right mix. Keep mixing time to 15-20 seconds to prevent overheating.
The ideal curing temperature sits between 10°C and 30°C – much like a mild spring day. If it’s too cold, you might need heating equipment to maintain these conditions.
A forced action mixer (rather than a standard cement mixer) ensures even blending, whilst adding anti-slip aggregates straight after spreading helps create a more durable surface.
Before starting, always check that your chosen curing compounds work with your specific resin type, as incompatible products can weaken the final surface.
When done properly, these methods deliver both faster curing times and a stronger finish.
Frequently Asked Questions
Can I Use Household Items as Accelerators?
Using household items as curing agents isn’t advisable. These materials don’t have the proper chemical makeup needed for effective curing, which can lead to weak spots and structural problems. For reliable results and long-lasting projects, it’s best to use proper commercial accelerators from DIY shops or specialist retailers.
What Happens if I Mix Too Quickly?
Mixing too hastily leads to poor resin consistency and trapped air bubbles, weakening the final product. Steady, proper mixing ensures even curing and prevents surface blemishes – much like stirring paint thoroughly to avoid streaks. Taking your time now means fewer costly touch-ups later.
Is It Safe to Cure Resin in Direct Sunlight?
Curing resin in sunlight is generally safe, but you’ll need to watch the temperature. Too much heat can spoil the curing process and cause flaws in your work. For best results, choose a mild day and place your resin in filtered sunlight, much like you’d position a houseplant behind a sheer curtain. Direct summer sun might be too intense, whilst spring or autumn conditions often work brilliantly.
How Can I Tell if the Resin Is Curing Properly?
Check resin curing by monitoring several key signs: Watch the colour and texture – it should be uniform throughout. Press gently with your finger – properly cured resin feels hard and won’t leave marks. The surface shouldn’t feel sticky or tacky to touch, rather like a smooth plastic. If you spot uneven patches or the resin stays soft beyond the recommended cure time, something’s gone wrong with the curing process.
Can I Apply a Second Layer Before the First Cures?
Don’t apply a second resin layer before the first has fully cured. Like building a brick wall, each layer needs proper setting time. Rushing the process can cause the layers to separate, much like wallpaper peeling away. Wait for complete curing to ensure your project stays solid and durable.
Conclusion
Speed up resin-bound gravel curing by maintaining optimal temperatures and using appropriate accelerators. A Sussex-based landscaper achieved a 30% quicker curing time by carefully applying a specialist accelerator and ensuring thorough surface preparation. Keep an eye on the British weather – temperature and humidity significantly affect curing times. Adjust your application methods based on these conditions for best results. These practical steps deliver a properly cured, durable surface more quickly than standard methods.