To repair small cracks in resin-bound gravel surfaces, begin by cleaning the area and examining the cracks’ depth. Use a wire brush to improve adhesion, ensuring the surface is completely dry. Choose a UV-stable, resin-based filler that matches the original colour. Apply the filler smoothly, making sure to eliminate any air pockets, and use a putty knife for a clean finish. Once cured, seal the surface to provide extra protection. For more tips on maintaining your resin-bound gravel surface, keep reading.
Key Takeaways
- Begin by cleaning the crack thoroughly with a wire brush to ensure the repair material adheres properly.
- Select a resin-based filler that closely matches the original colour and aggregate size for a seamless finish.
- Mix the repair material following the manufacturer’s instructions, ensuring a consistent texture for easy application.
- Fill the crack, using a putty knife to smooth it out and eliminate air pockets for a flat surface.
- Once the repair is complete, apply a UV-resistant sealer to protect against weathering and keep the surface looking good.
Surface Preparation Techniques
When preparing a gravel surface for crack repair, it’s important to follow a clear set of surface preparation techniques for effective results.
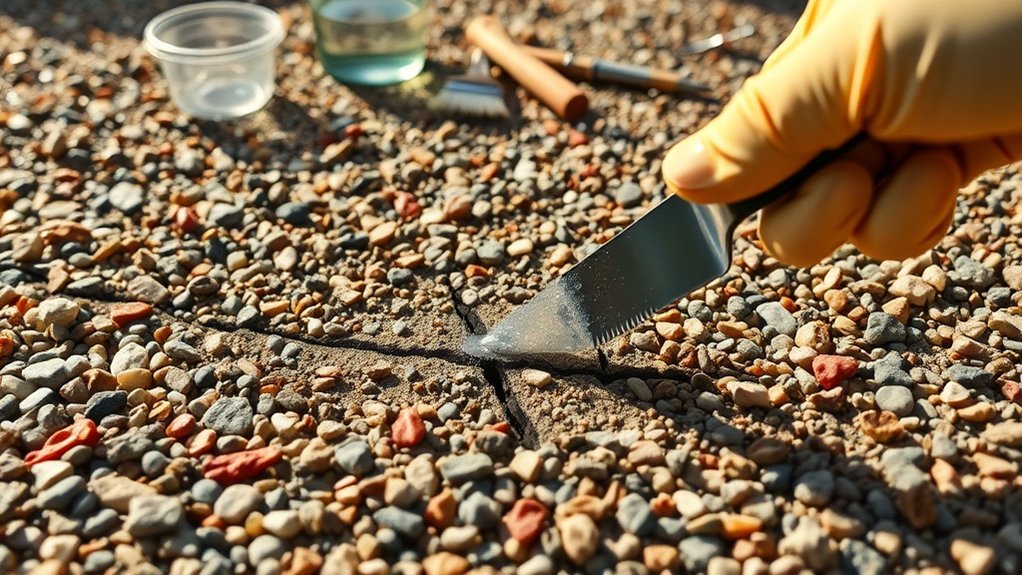
Start with a thorough assessment of the cracks to determine their extent and depth. Remove any debris such as stones, weeds, and dirt to ensure a clean area for repair. Use a wire brush to clean the cracks, which helps improve adhesion of the repair material. Additionally, it’s vital to ensure the sub-base preparation is appropriate, as a solid foundation is essential. Check the base for any deterioration and compact it if needed. Additionally, ensure the surface is resin-bound to provide better durability and longevity after repairs.
Gather your tools, like trowels and scrapers, to make the repair process easier. And don’t forget to wear protective gear to keep yourself safe during preparation.
Selecting the Right Repair Materials
When choosing repair materials for small cracks in gravel surfaces, it’s crucial to consider colour matching for a uniform look. Strength and durability are also essential to endure the UK’s varied weather conditions, while UV stability ensures the repair lasts over time. Selecting the right materials not only improves the overall appearance but also extends the lifespan of your repairs. For instance, opting for a resin-based filler can provide both strength and a good colour match, making it a smart choice for maintaining your gravel surfaces. Utilizing a comprehensive solution like a resin-based repair kit can further enhance the effectiveness of your repairs. It’s also important to ensure that the materials are UV-stable to prevent yellowing and fading over time.
Color Matching Considerations
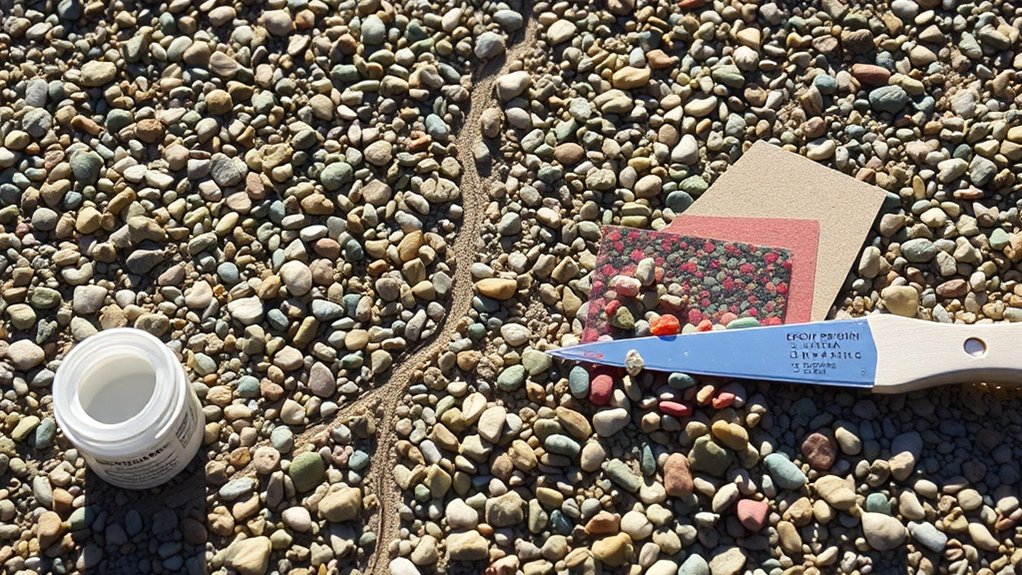
To ensure a smooth repair on gravel surfaces, choosing the right materials is crucial, particularly for colour matching. Here are some practical tips:
- Aim to match the original aggregate size, brand, and colour as closely as possible.
- Conduct small tests with resin-aggregate blends on-site to check for colour consistency. Additionally, resin-bound surfaces can enhance the overall durability of your repairs.
- Combine different aggregates to create custom blends that offer a better visual match.
- Take into account the surrounding environment to enhance the overall look. Additionally, selecting UV-stable resins can help maintain colour retention and prevent fading over time.
Strength and Durability
To achieve a visually cohesive repair, it’s essential to not only match colours but also to choose materials that ensure strength and durability.
High-quality resin compounds are crucial for prolonging the life of your repair, potentially lasting 25 to 30 years. Use the correct resin-to-aggregate mixing ratio to optimise bond strength and crack resistance.
Incorporating premium natural aggregates like marble or granite can significantly enhance mechanical strength, while consistent grading helps minimise stress points, reducing the risk of future cracking.
Always select UV-resistant resins to maintain durability and colour stability. Proper surface preparation and avoiding mixing different resin types will improve adhesion and longevity, ensuring your repairs can withstand environmental stresses and retain their integrity over time.
UV Stability Importance
Choosing the right materials for repairing gravel surfaces is crucial for their durability and performance, particularly regarding UV stability. UV damage can cause surface wear and fading, so it’s important to opt for UV-stable resins.
Here are some key advantages of UV protection:
- Blocks harmful UV rays, preventing chemical breakdown
- Maintains colour and clarity over time
- Extends the lifespan of resin-bound surfaces
- Reduces maintenance needs, saving you time and money
Application Techniques for Repair
To effectively repair small cracks in gravel surfaces, start by properly mixing your chosen repair materials.
Once mixed, fill and smooth the cracks to achieve a seamless finish. This ensures durability and blends the repair with the surrounding area for a tidy appearance.
Mixing Repair Materials
Mixing repair materials for gravel surfaces requires precision and adherence to guidelines for optimal results.
Begin by selecting UV-resistant resin and matching aggregates for consistency.
Use these tools for effective mixing:
- Paddle mixer for resin components
- Forced action mixer for resin and aggregates
- Stopwatch for accurate mixing times
- Personal protective equipment (PPE) for safety
Follow the manufacturer’s mixing ratios closely.
Mix Part A for 10-20 seconds, then add Part B and blend thoroughly for about 60 seconds until you achieve a uniform consistency.
Avoid moisture exposure and adjust mixing times according to the ambient temperature for the best results.
Filling and Smoothing Techniques
Before filling and smoothing cracks in gravel, it’s essential to prepare the surface properly. Start by cleaning the area to remove any dirt and debris for better adhesion. Use a wire brush for deeper cracks and blow away any residual dust.
For cracks wider than 2mm, create a V-shaped groove to optimise filling.
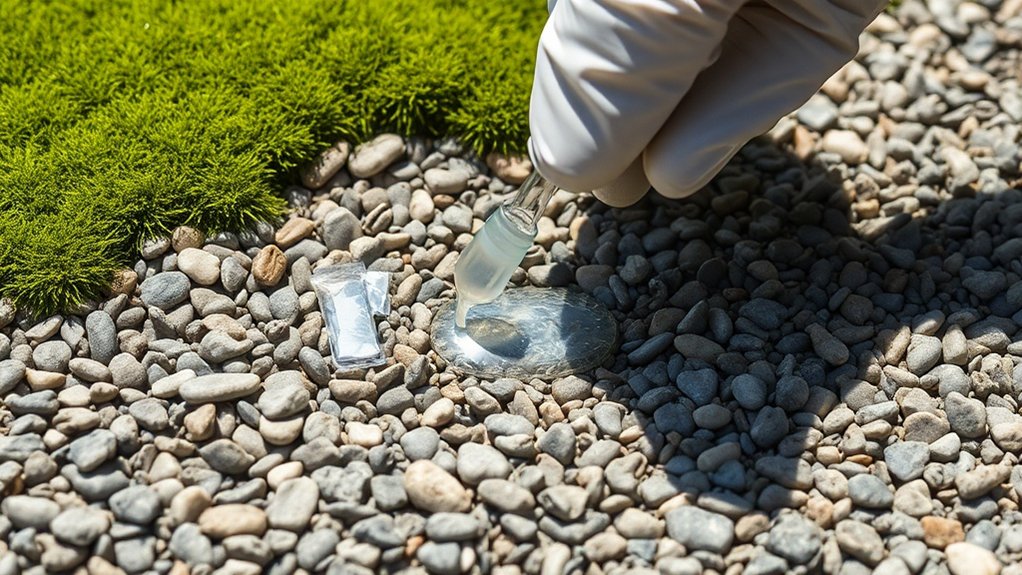
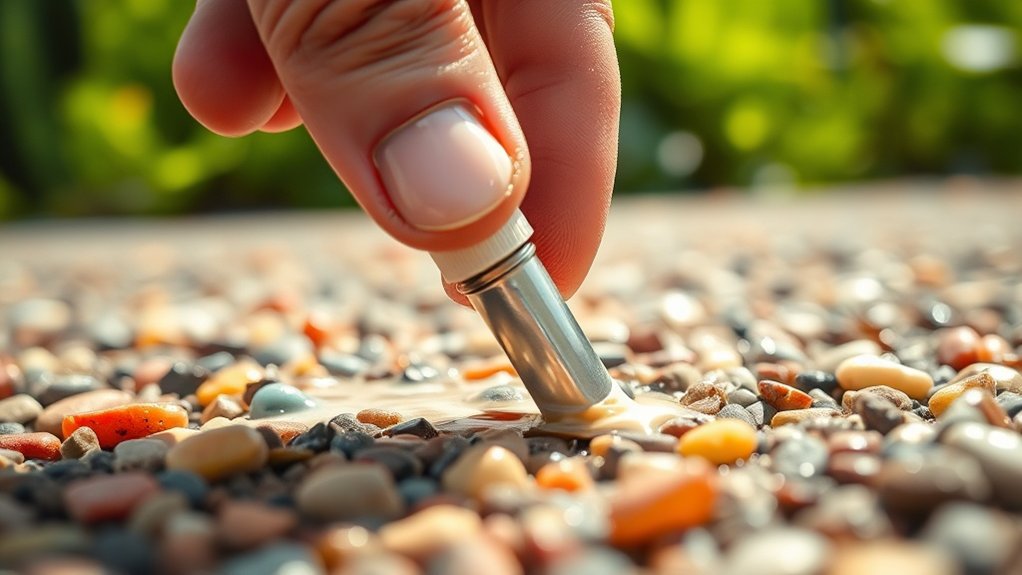
Carefully pour or trowel a mixed resin binder into the cracks, filling them generously. Use flat rubber squeegees or rollers to ensure an even distribution.
After filling, promptly remove any excess resin to achieve a level surface. If needed, lightly sand the area, then apply a UV-resistant sealer to protect your repair.
Finally, clean the surrounding area to keep your work looking tidy.
Curing Process and Timing
Understanding the curing process and timing is essential for achieving a long-lasting repair on gravel surfaces. Several factors influence the effectiveness of your repair:
- Temperature effects: Warmer conditions speed up curing, while colder ones slow it down.
- Environmental checks: Regular monitoring ensures optimal curing conditions.
- Humidity: Excess moisture can hinder the process.
- Resin type: Different resins have varying curing times, which can affect your schedule.
Generally, you can expect a curing time of up to 48 hours. Keep an eye on the weather and avoid repairs during extreme conditions.
A well-prepared base and correct material mixing are crucial for improving the curing process, ensuring a stable and durable surface.
Finishing Touches After Repair
After repairing small cracks in gravel surfaces, it’s important to add some finishing touches for both appearance and durability.
Start by applying a UV-stable wet-look sealer to enhance the gloss and protect against yellowing. Ensure the sealant is applied evenly to avoid patchy areas and to highlight the natural colour of the aggregates.
For a smooth finish, use specialist trowels during the application and avoid overworking the resin, as this can lead to imperfections.
Regular maintenance, such as brushing and occasional pressure washing, will help keep the surface looking fresh.
Finally, check for smoothness and sealer coverage, reapplying as necessary to maintain a consistent, glossy finish across the surface.
Preventing Future Damage to Surfaces
To prevent future damage to gravel surfaces, it’s important to follow a straightforward maintenance routine.
Here are some key steps to help extend the life of your resin-bound surfaces:
- Regularly sweep the area to remove debris and ensure proper drainage.
- Clean up spills immediately with mild detergents to prevent staining and damage to the resin.
- Use suitable cleaning tools, steering clear of high-pressure washers over 150 bar.
- Place protective mats under heavy equipment to evenly distribute weight and reduce stress on the surface.
When to Seek Professional Help
Maintaining gravel surfaces is crucial for their longevity, but even with proper care, damage can occur. If you notice cracks wider than a few millimetres or if they seem to be expanding, it’s time to seek a professional assessment. Pay attention if cracks appear near edges or in high-traffic areas, or if you experience recurring damage. Multiple cracks close together or visible issues with the subbase are also indicators that you need expert help. Attempting DIY repairs on significant damage can result in ineffective fixes, mismatched appearances, and potential safety hazards.
| Criteria | Signs to Watch For | Action Required |
|---|---|---|
| Size of Damage | Cracks > few mm | Professional Help |
| Recurring Damage | Repeated cracks | Expert Diagnosis |
| Visible Subbase Issues | Movement in the underlying base | Reconstruction Needed |
Maintaining Your Resin-Bound Gravel Surface

Maintaining your resin-bound gravel surface is key to keeping it looking good and functioning well.
Here are some straightforward maintenance tips:
- Sweep regularly with a stiff broom to stop debris from accumulating.
- For larger areas, use a non-metal leaf blower to protect the aggregate layer.
- Clean the surface with fresh water and a gentle pressure washer to prevent stains.
- Carry out regular inspections to spot any damage or contamination early on.
Frequently Asked Questions
Can I Use Household Items for Repairs?
Using household items for repairs isn’t effective. It’s best to use the right techniques and materials specifically designed for resin-bound surfaces. This ensures durability and prevents further damage, keeping your surface intact. For example, using superglue might seem quick, but it won’t hold up like proper repair products will.
How Can I Identify Hairline Cracks?
To spot hairline cracks, use simple techniques like low-angle surface inspections under direct light. A magnifying glass can help you examine the cracks closely, especially around edges and areas that are likely to shift. Early detection is key to preventing further damage. For example, check around door frames or window sills where movement is common.
Will Weather Affect the Repair Process?
Yes, the weather has a significant impact on the repair process. For instance, low temperatures can slow down curing, while damp conditions can dilute resin and compromise bonds. It’s essential to ensure dry conditions and optimal temperatures for effective repairs, ensuring a strong and lasting finish.
Is It Safe to Walk on Repairs Before Curing?
It’s not safe to walk on repairs before the curing time is complete. Ideally, wait at least 6-8 hours to ensure it’s safe to walk on. Allowing for a longer curing time improves durability and helps prevent any damage from foot traffic.
Can I Paint Over the Repaired Area?
Yes, you can paint over the repaired area. Just make sure to prepare the surface properly by cleaning it and lightly sanding it. Use paint that is compatible with resin surfaces to ensure good adhesion and longevity.
Conclusion
In summary, fixing small cracks in your resin-bound gravel surfaces is crucial for both appearance and function. By using the recommended methods, you can restore your surface and extend its lifespan, much like a skilled artisan refreshing a fine piece. Remember, regular maintenance can help avoid bigger problems later on. So, invest a little time in upkeep to keep your surface looking great and standing strong, just like it did when first installed.