Common repairs for resin driveways tackle issues like cracking, loose stones, fading and pesky weeds. You’ll want basic tools such as a heat gun, chisel set and forced action mixer, plus matching resin that blends with your existing surface.
First, give the damaged spot a thorough clean. Mix your repair materials precisely – much like following a recipe, getting the ratios wrong can spoil the result.
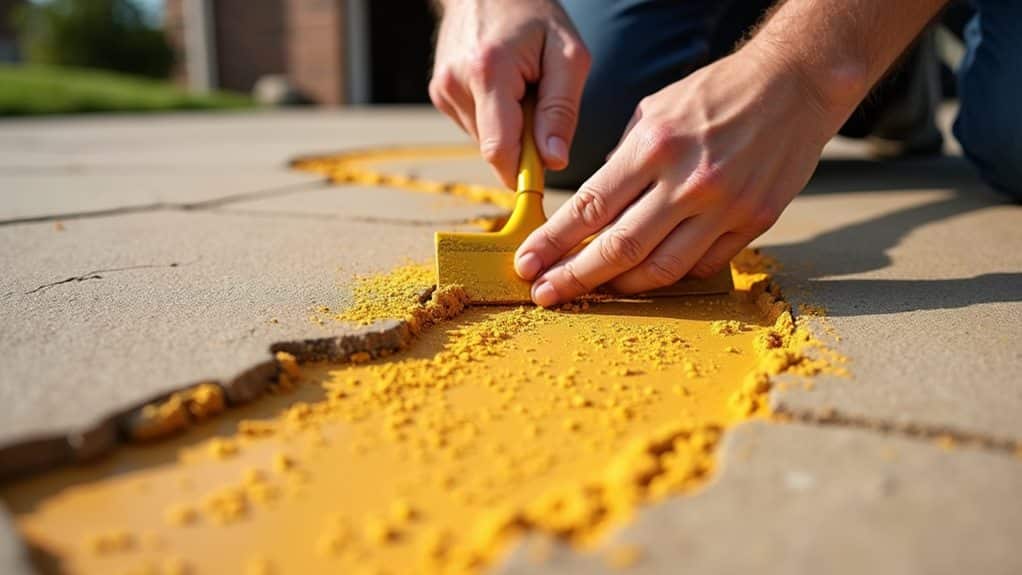
For cracks, work the compatible resin filler in carefully, making sure it sits flush with the surrounding area. Loose stones need fresh resin binding, and a bit of heat helps them stick properly.
A UV-resistant sealant works brilliantly to ward off sun damage and fading – think of it as sunscreen for your driveway.
Whether your repair succeeds largely boils down to using the right materials and proper technique. Most UK DIY shops stock these supplies, but do check the resin matches your existing surface before you start.
Key Takeaways
Clean damaged areas thoroughly with a pressure washer and let dry for 24-48 hours – skip this crucial drying time at your peril.
For cracks, mix matching resin filler using a forced action mixer (you can hire one from most DIY shops) and level it carefully with surrounding surfaces.
Got loose stones? Give the area a good clean, apply resin binder, and use a heat gun to properly bond them. Most British weather conditions suit this repair, but avoid doing it in the rain.
Tackle faded patches with a UV-resistant sealer after cleaning. Pop it on your calendar to reapply every 2-3 years – our British summers may be brief, but UV damage adds up.
Check your driveway every 6-12 weeks and pull out any weeds straight away. A quick inspection now saves you from costly repairs later, especially after harsh winter months.
Understanding Resin Driveway Damage Types
Common damage types affecting resin driveways can significantly impact their lifespan, but spotting issues early is key.
Regular maintenance, including thorough sweeping and quick clean-up of spills, helps prevent most common problems.
Four main types of damage typically occur:
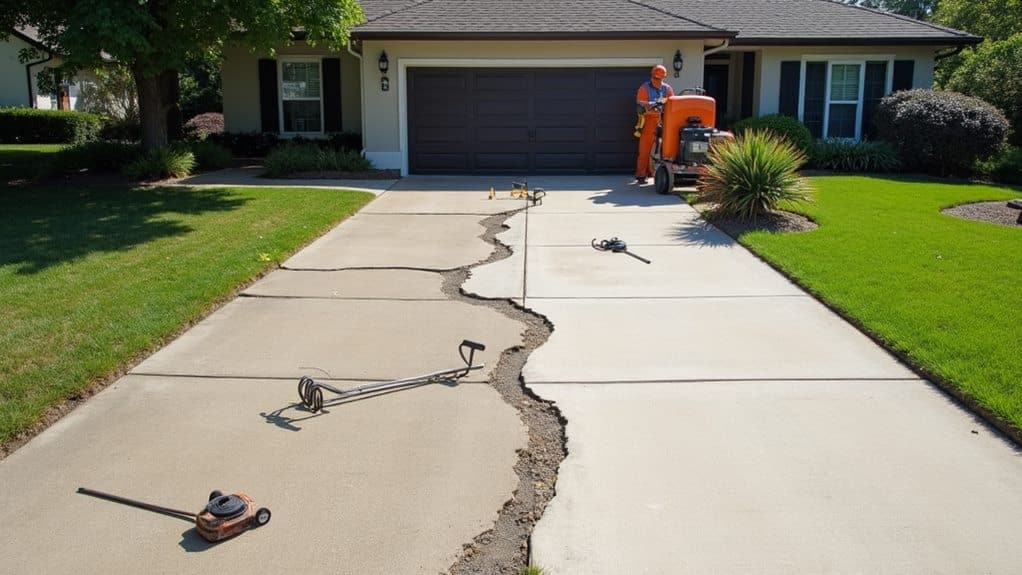
- Cracks: These develop from heavy loads, weather changes or poor installation. Sort them quickly, as they’ll only get worse and cost more to fix later.
- Loose stones: When stones start coming loose, it’s usually down to poor mixing during installation or the resin-aggregate bond breaking down. This needs prompt attention to prevent further deterioration.
- Discolouration: Most noticeable on lighter surfaces, this often stems from sun damage. Always insist on UV-resistant materials during installation to minimise this risk.
- Weed growth: Small gaps can let weeds take hold. Regular checks and swift removal of any plant growth will protect your driveway’s structure.
Regular inspections help catch these issues before they become major problems.
If you’re unsure about any damage, it’s worth consulting a professional rather than letting the problem worsen.
Essential Tools and Materials
Essential equipment and materials for resin driveway repairs include a heat gun for seamless blending, chisels for crack preparation, and a trowel for proper resin application.
A forced action mixer ensures proper blending of repair materials – be sure to follow the manufacturer’s mixing guidelines.
The key material is matching resin binder to maintain consistency with your existing surface. For loose stone repairs, you’ll need identical aggregates to match your current driveway.
Basic cleaning supplies are crucial: a stiff-bristled brush and standard household detergent work well for surface prep.
A pressure washer, whilst not essential, proves invaluable for creating an optimal bonding surface by removing all dirt and debris.
When fixing cracks, ensure you’ve got sufficient resin binder and fillers to complete repairs in one go to avoid visible joining lines.
Repairing Cracks and Surface Gaps

Repairing Cracks and Surface Gaps in Resin Driveways
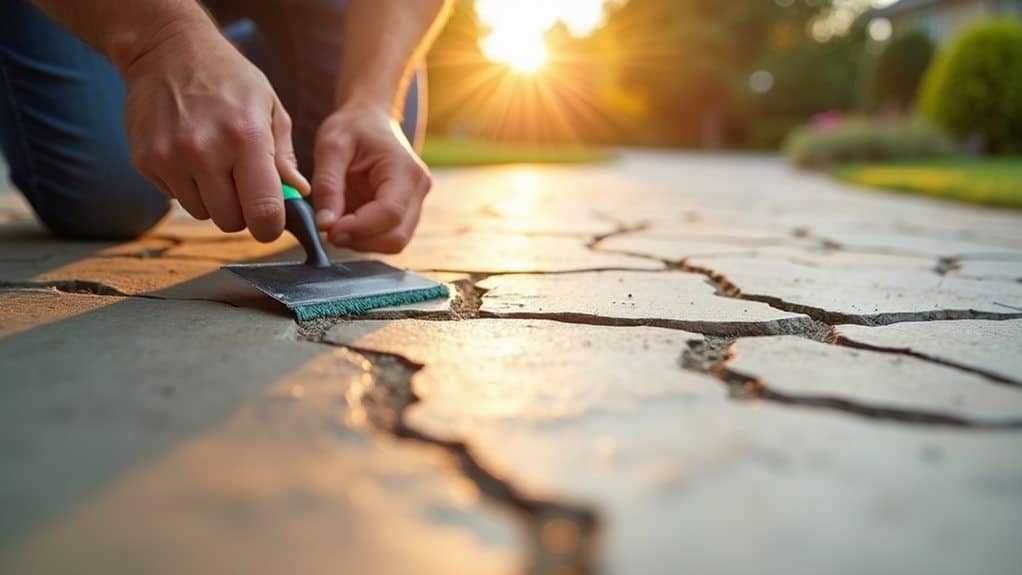
Fixing cracks and gaps in resin driveways needs careful prep work and precise application. First, thoroughly clean the damaged spots and clear away any loose bits – this ensures the repair materials will bond properly with the existing surface.
Mix your repair materials with a forced action mixer, following the correct resin-to-aggregate ratios for the best results.
For cracks, apply a matching resin filler that’s compatible with your driveway’s current material. Use a heat gun to blend the repair into the surrounding area for a smooth finish.
Keep the repaired section level with the rest of the driveway to prevent trip hazards and ensure proper water drainage.
For surface gaps, clean out any loose stones before starting. Apply resin binder and press fresh stones into the mix until they’re firmly set.
Think of it like filling a missing tooth in a smile – you want it to look natural and seamless.
Check repaired areas regularly, as recurring problems might signal deeper issues needing attention. Prompt maintenance will save you from costlier repairs down the line.
Addressing Loose Stone Issues

Loose stones commonly appear on resin driveways when the bond between aggregates and binding agents fails. Swift action is vital to prevent further damage to your driveway surface.
| Step | Action | Time Required |
|---|---|---|
| Preparation | Clean affected area thoroughly | 15-20 minutes |
| Application | Apply resin binder to loose sections | 20-30 minutes |
| Finishing | Heat and press stones into surface | 30-40 minutes |
Clean the affected area first to remove dirt and debris that could affect bonding. Next, apply a suitable resin binder to the exposed area. Press the stones firmly back into place, ensuring they’re level with the surrounding surface. A heat gun helps the stones integrate better with the existing surface.
Regular checks of your resin driveway will help spot loose stones early. Finding and fixing problems quickly maintains your driveway’s look and structure, preventing costlier repairs later on. Much like checking your car’s oil, routine driveway inspections save money in the long run.
Restoring Faded and Discolored Areas

A simple, once-yearly maintenance routine can prolong your resin driveway’s lifespan.
First, give the surface a thorough clean with a pressure washer to shift built-up dirt.
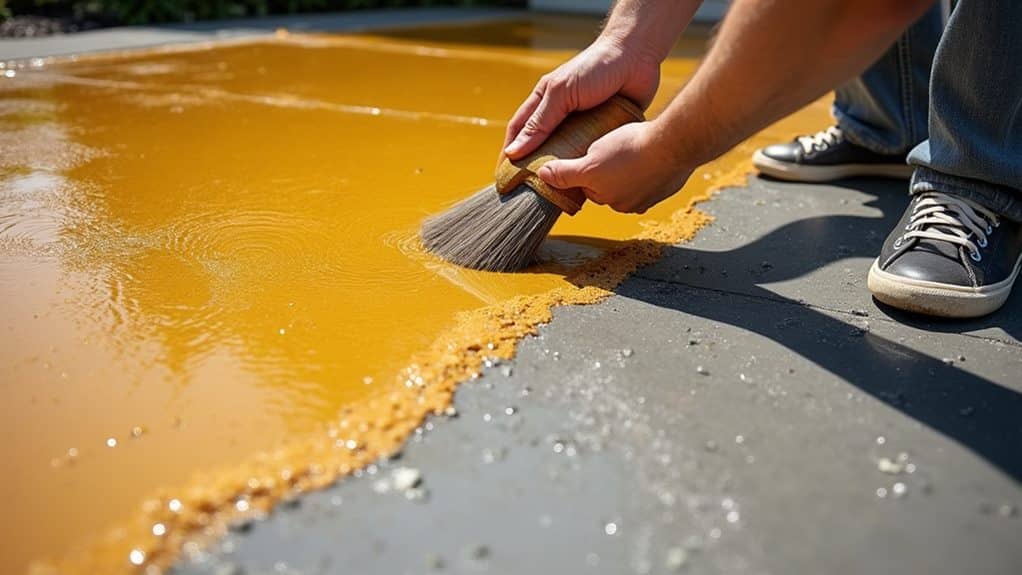
Then apply a specialist resin restorer across the faded areas, taking care to spread it evenly.
Finish with a UV-resistant sealer – this both protects against future sun damage and keeps the restored colour looking fresh.
This approach works particularly well on driveways that have dulled from exposure to British weather and sunlight.
Cleaning Before Color Restoration
Colour Restoration: Essential Cleaning Steps
A proper clean is vital before restoring your resin driveway’s colour. Good surface prep ensures products stick properly and stops old problems from coming back.
Whilst using a forced action mixer during installation helps prevent discolouration, regular upkeep remains crucial. Before any colour treatment, you must clear all dirt and check the surface thoroughly.
Essential cleaning steps:
- Pressure wash the entire surface, keeping steady pressure to shift dirt without damaging the resin.
- For tough stains, use a basic household cleaner mixed with water, working in small areas.
- Give it several good rinses to remove all cleaning products – leftover detergent can mess up the colour restoration.
- Let it dry completely – usually takes 24-48 hours in typical UK weather.
After cleaning, check carefully for any remaining issues that need sorting before the colour work begins.
Consider adding a UV-resistant sealer afterwards to protect your driveway and keep it looking fresh for longer.
Applying UV-Resistant Sealants
UV-resistant sealants protect resin driveways from sun damage and fading. A proper application starts with thorough pressure washing to ensure the sealant bonds correctly to your resin-bound surface.
| Step | Action |
|---|---|
| 1 | Pressure wash surface thoroughly |
| 2 | Allow surface to dry completely |
| 3 | Apply UV-resistant sealant evenly |
| 4 | Let cure per manufacturer specs |
Wait until the surface is completely dry before applying the sealant. Use a roller or professional sprayer to ensure even coverage across the entire surface – much like painting a wall. This prevents patchy protection and maintains your driveway’s appearance.
Your driveway will need resealing every 2-3 years, similar to treating a wooden fence. Light-coloured stones need particular attention, as they’re more prone to UV damage. Always check the manufacturer’s guidelines for application timing and weather conditions – ideally, choose a dry day with moderate temperatures for the best results.
Maintaining Color Vibrancy
Maintaining Colour in Your Resin Driveway
Resin driveways naturally lose their lustre from sunlight exposure and everyday use. A proper maintenance plan will keep your driveway looking fresh whilst protecting against future fading.
When well-maintained, resin surfaces can look great for decades, thanks to their impressive strength of up to 400 tonnes per cm².
Start with a thorough pressure wash to shift built-up dirt that dulls the surface. Check how much the colour has faded – badly faded patches might need a specialist resin restorer.
Essential steps:
- Pressure wash the entire surface, paying special attention to stained areas
- Use a resin restorer on any faded patches
- Apply a UV-protective sealer across the whole driveway
- Clean and reseal every 2-3 years
Top tip: When installing a new resin driveway, darker colours tend to show less visible fading.
Don’t wait for noticeable colour loss – regular upkeep is far more effective than trying to restore a severely faded surface.
Preventing Future Driveway Problems

Proper installation is crucial for a lasting resin driveway. Choose UV-resistant materials and iron-free aggregates to build a solid foundation.
A qualified contractor will ensure proper sub-base preparation and dry weather conditions for the best results.
Check your driveway every 6-12 weeks to spot any problems early on. Look out for drainage issues, seal any small cracks straight away, and use protective sealants to guard against sun damage.
Regular maintenance will save you money and hassle in the long run.
Proper Installation Best Practices
Proper Installation Best Practices
A sound installation creates the foundation for a lasting resin driveway that stands up to everyday wear. The key to success lies in proper preparation, quality materials and expert application.
Essential equipment includes a forced action mixer (minimum 100kg capacity) to ensure thorough blending of materials for consistent results.
Critical installation steps:
- Lay a solid tarmac sub-base for flexibility and support to prevent cracking.
- Use UV-stable resins and quality aggregates mixed at correct ratios to prevent fading.
- Plan proper drainage with appropriate slopes whilst maintaining surface permeability.
- Thoroughly clean and level the surface before applying the resin mixture.
Whilst DIY is possible, working with skilled installers often proves worthwhile. They’ll ensure correct mixing ratios, proper application techniques and suitable curing conditions – all vital for a durable, attractive finish that withstands British weather and daily use.
Remember: The quality of installation directly affects how well your resin driveway performs over the years. Cutting corners during installation typically leads to costly repairs later.
Regular Maintenance Schedule
Regular maintenance is vital to keep your resin driveway looking good and staying strong. A proper maintenance routine prevents costly repairs and makes your driveway last longer.
| Maintenance Task | Frequency |
|---|---|
| Sweeping | Every 6-12 weeks |
| Pressure Washing | As needed |
| Surface Inspection | Quarterly |
| Sealant Application | Every 1-3 years |
| Weed Control | Monthly |
Sweep your driveway every 6-12 weeks to clear debris and protect the surface. For tough stains, use a pressure washer with a fan setting, keeping at least 200mm away from the surface to prevent damage. Check your driveway every three months for loose stones, cracks or discolouration – spot these early to avoid bigger problems later.
Apply a UV-resistant sealant every 1-3 years to prevent fading and strengthen the surface. Deal with weeds straight away by pulling out the entire root and filling any gaps with resin-aggregate mix to stop them coming back. Stick to this maintenance schedule and your resin driveway will stay practical and smart-looking.
Weather Protection Tips
Weather Protection for Resin Driveways
Protecting your resin driveway from British weather demands practical steps to prevent damage and maintain its appearance. Regular checks and proper maintenance help spot problems early, whilst appropriate cleaning methods keep the surface in top condition. A quality UV-resistant sealant is vital, especially for lighter driveways that tend to show wear more quickly.
Essential protective steps:
- Set up proper drainage to avoid puddles, which can cause damage during winter freezes.
- Apply UV-resistant sealant every 3-5 years, particularly on sun-exposed areas.
- Use protective mats when clearing snow to prevent scratches from metal shovels.
- Avoid sudden temperature changes, such as using hot water to clean during cold spells.
Clear fallen leaves regularly, especially in autumn, as they trap moisture against the surface.
For icy conditions, skip harsh de-icing chemicals and use grit or cat litter instead – they’re gentler on the resin whilst providing good grip.
For effective cleaning, use a standard pressure washer on a moderate setting.
If you spot any cracks or damage, get them sorted quickly to prevent further deterioration from rain and frost.
Professional Repair or DIY Decision

Choosing Between Professional and DIY Resin Driveway Repairs
The choice between professional repair and DIY for your resin driveway boils down to damage severity and your practical skills. A proper assessment of both is essential before making your decision.
| Factor | DIY Repair | Professional Repair |
|---|---|---|
| Cost | Lower initial outlay | Higher upfront cost |
| Tools | Need to buy specialist kit | All tools provided |
| Warranty | No guarantee | Typically included |
| Time | Research and DIY time needed | Swift completion |
Minor problems like small cracks or loose stones are often suitable for DIY repair. You’ll need basic materials such as resin binders and a heat gun, and these fixes are manageable if you’re handy with home repairs.
Substantial damage, drainage problems, or extensive cracking calls for professional help. Experts come equipped with proper tools and know-how to ensure quality repairs, from ground preparation to final application. Their work typically comes with a guarantee, which proves invaluable for major repairs.
Frequently Asked Questions
Can You DIY a Resin Driveway?
Installing a resin driveway is not a suitable DIY project. The process demands specialist tools and proper technical knowledge that most homeowners simply don’t have. Much like fitting a new boiler or rewiring your house, this job requires professional expertise to ensure proper installation and longevity. Whilst you might save money initially by attempting it yourself, poorly laid resin driveways often crack, bubble or peel – leading to costly repairs down the line. Best to leave this one to the qualified experts.
What Are the Problems With Resin Driveways?
Resin driveways can quickly develop several frustrating problems. UV rays may cause noticeable yellowing and fading, whilst heavy vehicles can lead to unsightly cracks. Common issues include loose stones working their way free, stubborn weeds pushing through, and uneven patches where the surface has started to sink. These troubles often emerge within the first few years after installation.
Can You Recoat a Resin Drive?
Recoating a resin driveway is perfectly doable and essential for maintaining its appearance. First, thoroughly clean the surface and ensure it’s completely dry. Apply a UV-resistant sealer using proper resin repair methods – your manufacturer’s guidelines are crucial here. Most UK driveways need recoating every 3-5 years to protect against our varied weather conditions.
What Maintenance Does a Resin Driveway Need?
A resin driveway requires straightforward upkeep: sweep every six to twelve weeks (more often during autumn for fallen leaves), give it a thorough pressure wash once yearly, treat with UV sealant as needed, and tackle any weeds straight away. Regular maintenance protects your driveway’s appearance and longevity.
Conclusion
Maintaining your resin driveway needn’t be daunting. Regular upkeep, swift repairs and proper protection will help it last longer. From filling small cracks to resealing worn areas and securing loose stones, most repairs are quite manageable with basic DIY skills and the right equipment. For serious damage, it’s worth calling in the experts. Think of it this way: prevention is cheaper than fixing, fixing is cheaper than replacing, and quick action saves your wallet.
