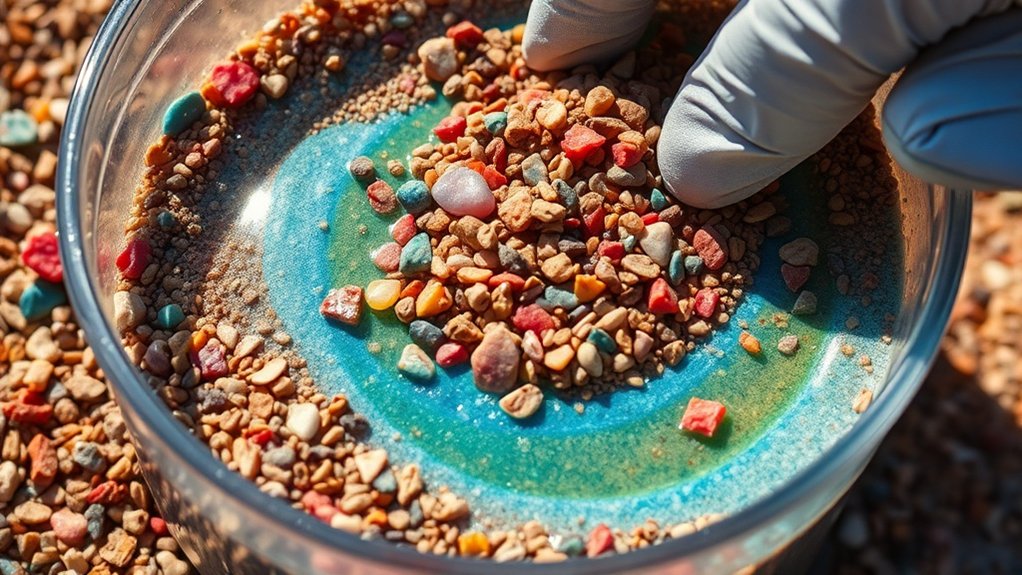
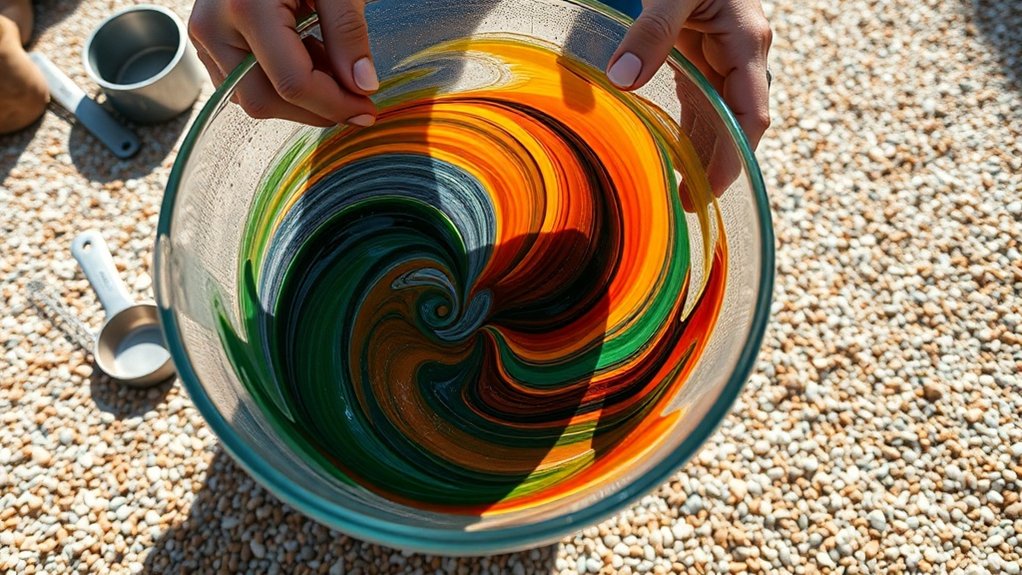
Mixing resin-bound gravel colours is straightforward when you follow a few key steps. Choose complementary aggregates like traditional Cotswold stone or Scottish granite, then pair them with eye-catching materials such as crushed glass or coloured quartz. A cement mixer works brilliantly for blending, keeping to roughly 7% resin to aggregate ratio. Mix small amounts first and check how they look in both sunlight and shade. Think about combining subtle tones like Thames Valley Cream with bolder options – much like choosing paint colours for your home. This method ensures a distinctive finish that’s uniquely yours.
Key Takeaways
Select varied stone aggregates in complementary colours to match your property’s style. Mix lighter and darker stones for added depth and visual interest.
Sample your chosen aggregates in both natural daylight and evening conditions to ensure they work well together before committing to larger quantities.
Work with proper resin kits – they’re pre-measured for the correct 7% resin-to-aggregate ratio, ensuring even colouring throughout.
Mix in small, manageable batches to maintain colour consistency. The resin sets quickly, so don’t prepare more than you can lay in 30 minutes.
Record your mixing process, including exact quantities and timing. These details prove invaluable when you need to match colours for future projects or repairs.
Selecting the Right Resin for Your Project
The right resin choice for your gravel project boils down to several essential factors.
Most UK projects benefit from polyurethane-based resins, which stand up well to our variable weather. UV resistance is crucial – much like choosing a good garden fence paint, it prevents yellowing and deterioration in direct sunlight. Additionally, weather-resistant resins are critical for outdoor applications to withstand various environmental conditions.
For proper binding, the resin must grip your chosen stones firmly, whilst maintaining enough flexibility to cope with typical British ground movement and temperature changes. Ensuring a solid base performance is vital for long-term durability and functionality.
Our wet climate means weather resistance is non-negotiable; your resin must handle everything from summer downpours to winter frost.
If you’re after SuDS compliance, particularly common in new UK developments, specific permeable resins are available.
Lastly, opt for eco-friendly, non-toxic options – especially important if you’re installing near children’s play areas or garden spaces.
Choosing and Mixing Stone Aggregate Colors
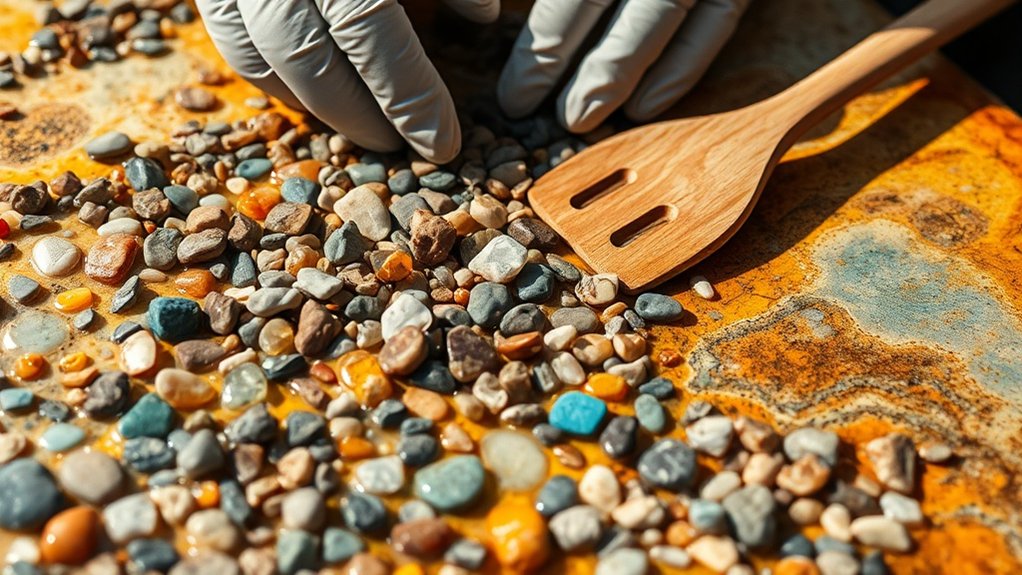
Choosing Stone Aggregate Colours for Resin Driveways
Selecting the right stone aggregate colours for your resin-bound driveway or path requires careful consideration to achieve an attractive, lasting finish. The UK market offers numerous options to suit different property styles:
Natural Aggregates:
- Cotswold (warm beige)
- Scottish granite (grey to black)
- Red granite (rich burgundy tones)
- Yorkshire cream
Specialist Options:
- Crushed glass for added sparkle
- Coloured quartz for modern schemes
- Marble chips for premium finishes
Key Considerations:
- Match colours to your house brick or stone
- Consider local planning requirements
- Blend multiple aggregates for unique effects
- Ensure colour compatibility with chosen resin
- Incorporating colorful aggregates can elevate the visual appeal of your driveway. Additionally, many suppliers provide color matching services to help you achieve the perfect blend.
Most UK installations favour neutral tones that complement traditional architecture, though contemporary properties often suit bolder colour combinations.
Testing samples in different lights helps ensure satisfaction with the final choice.
Essential Mixing Techniques for Resin and Aggregates
Strong mixing methods ensure top results when working with resin and aggregates. A proper heavy-duty mixer will blend your resin components thoroughly, whilst measuring aggregates beforehand helps achieve even colour distribution. It’s crucial to use clean aggregates to ensure optimal bonding and reduce maintenance issues. Getting these basics right delivers both an attractive finish and stronger surfaces for your resin-bound gravel project. Additionally, utilizing DIY resin-bound surfaces allows homeowners to create durable and low-maintenance outdoor spaces.
Proper Mixing Equipment
The right mixing equipment is significant for achieving a flawless resin-bound gravel surface. Choosing the correct mixer types guarantees even coating and peak performance. Here are key considerations for your mixing setup:
- Forced Action Mixers are essential for uniform mixing, avoiding dry patches.
- SoRoTo Forced Action Mixers offer durability and reliability, handling large batches efficiently.
- Paddle Mixers should be used for pre-mixing resin components without introducing air bubbles.
- Motor Power matters; a strong motor guarantees consistent mixing without strain.
- Equipment Durability is important; the mixer must withstand abrasive aggregates and sticky resins for long-term use.
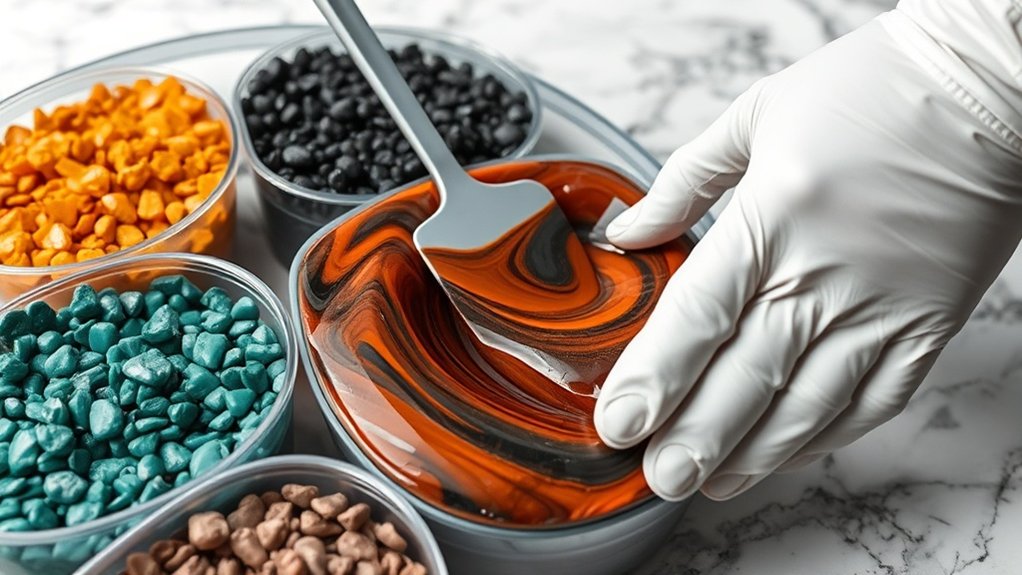
Color Distribution Techniques
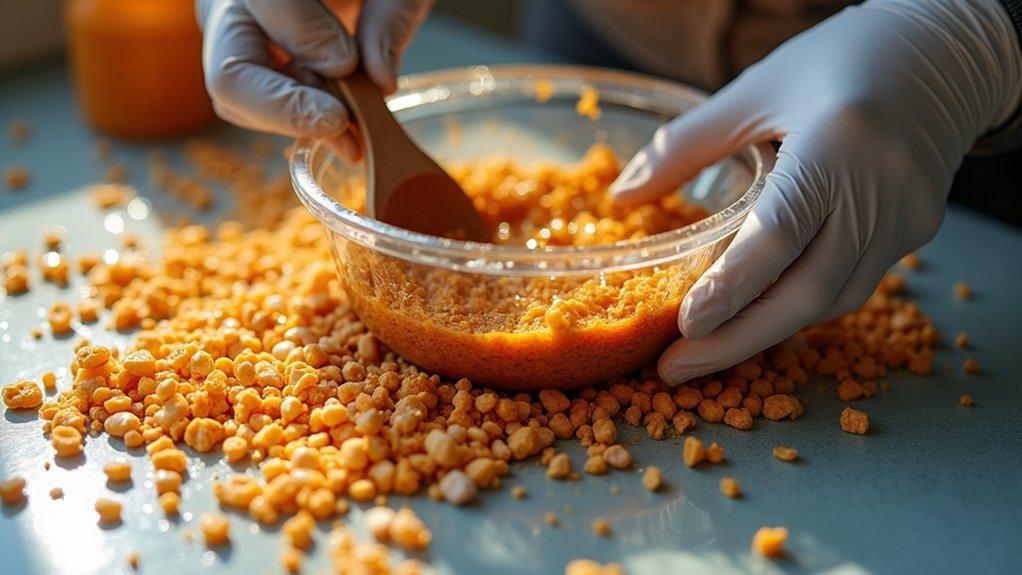
Achieving top-notch resin-bound gravel surfaces requires proper colour distribution know-how. Start by measuring and mixing your coloured aggregates before adding the resin – much like creating a proper Yorkshire pudding mix, you’ll want everything well-proportioned.
Mix base colours first, then add accent stones to create visual interest. Give dry aggregates a thorough blend to prevent any lumps forming, ensuring colours spread evenly throughout.
Watch your mixture’s wetness – it should look uniformly coated, like a properly mixed cement. Work in small batches to stop the resin setting too quickly, giving you better control over the finished look.
This measured approach helps you craft that smart, professional finish favoured in British driveways and paths.
Maintaining Proportion Control and Coverage
Mixing Resin-Bound Gravel: Getting the Mix Right
Perfect proportion control and coverage make all the difference between a lasting, attractive resin driveway and a botched job. Key points to remember:
- Use complete resin kits – don’t try to split them
- Stick to manufacturer’s mixing ratios (typically 7% resin to aggregate)
- Calculate your area in square metres before starting
- Mix resin parts properly – set a timer to ensure thorough blending
- Check depth as you lay – like spreading jam on toast, you want even coverage
Think of it like baking – precise measurements and proper mixing deliver reliable results every time.
Cutting corners on proportions leads to weak spots and patchy finish.
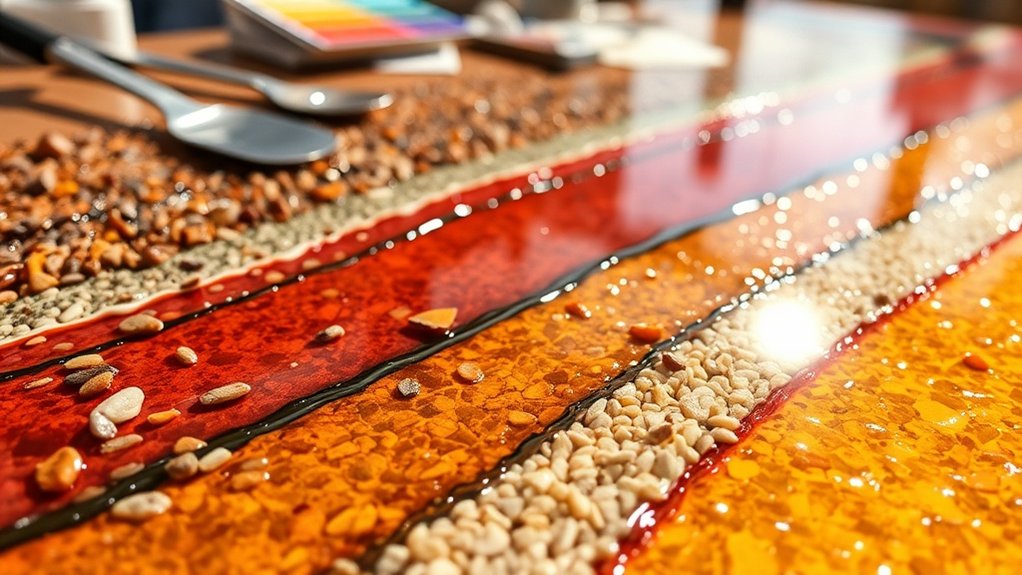
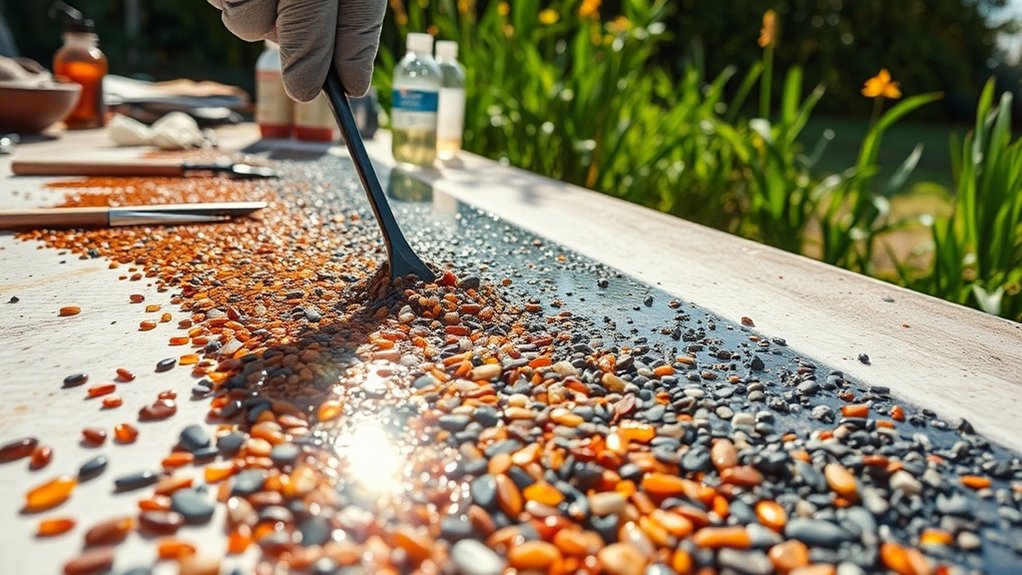
Application Techniques for a Flawless Finish
Clear application steps ensure a perfect finish.
Pour your resin-bound gravel mix onto a clean, dry base in small, workable sections. Use a metal trowel or screed to spread evenly, keeping to the thickness your supplier recommends.
Don’t overwork the mixture – it’ll only cause problems with texture and separation.
When working on slopes, apply thin layers from bottom to top for proper adhesion.
Keep an eye on the weather, as warm conditions speed up curing times. You’ll need to work faster on hot days to achieve the best results.
Following these steps carefully will give you a tough, attractive surface that lasts.
Layering Techniques for Optimal Performance
Proper layering is vital for a durable resin-bound driveway or path. Keep each layer between 30-40mm thick – about the height of two pound coins stacked together.
Much like preparing a garden bed, ensure your base is thoroughly clean and firmly compacted. Think of it as laying a carpet; any bumps or debris underneath will show through and cause problems later.
A well-prepared surface helps the resin bond properly and prevents the layers from separating over time.
Proper Layer Thickness
Layer Thickness Guide for Resin-Bound Gravel
The right layer thickness makes all the difference between a lasting resin surface and one that fails prematurely. For best results:
Driveways and Heavy Use
- 18mm minimum with 3-6mm aggregate
- Critical for vehicle traffic and heavy loads
Pathways and Light Use
- 15mm suitable for foot traffic areas
- Perfect for garden paths and patios
Essential Guidelines
- Layer depth should be three times your largest stone size
- Never go below 16mm on any trafficked area
- Keep thickness even across the whole surface
A properly laid thickness prevents common issues like cracking, loose stones and premature wear.
Problems that often crop up within months when corners are cut on depth.
Compaction and Surface Preparation
A solid base for resin-bound gravel requires thorough compaction and surface preparation to ensure lasting results. Begin with a well-compacted sub-base to prevent future settling and movement. Use a plate compactor whilst maintaining proper moisture levels. For existing surfaces, clear all debris and apply primer to non-porous areas to boost adhesion. Layer the resin-bound gravel thinly, compacting each layer for maximum strength.
| Step | Importance |
|---|---|
| Compaction Techniques | Ensures base stability |
| Surface Cleaning | Boosts surface adhesion |
| Layering Approach | Strengthens structure |
| Finishing Techniques | Creates even texture |
These steps establish a robust foundation for your project.
Considering Temperature and Weather Impacts
Temperature and Weather: What You Need to Know
Proper temperature control makes or breaks resin-bound gravel installation. Follow these essential guidelines:
- Install between 5°C and 30°C for optimal curing
- Check the forecast – avoid rain and morning dew to prevent moisture issues
- Let materials adjust to ambient temperature (like bringing cold resin up to working temp)
- Watch out for sun-heated surfaces, particularly in summer when patios can get scorching
- Choose mild, dry days around 12-18°C – typical spring or autumn conditions are perfect
Keep in mind that British weather can be unpredictable, so always have contingency plans and monitor the forecast closely before starting your project.
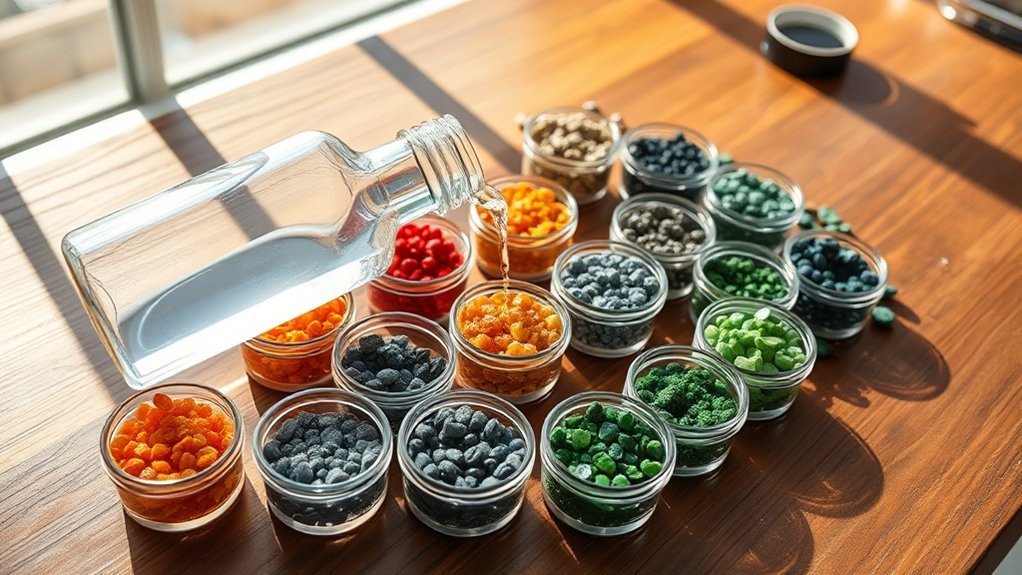
Conducting Small Batch Tests for Consistency
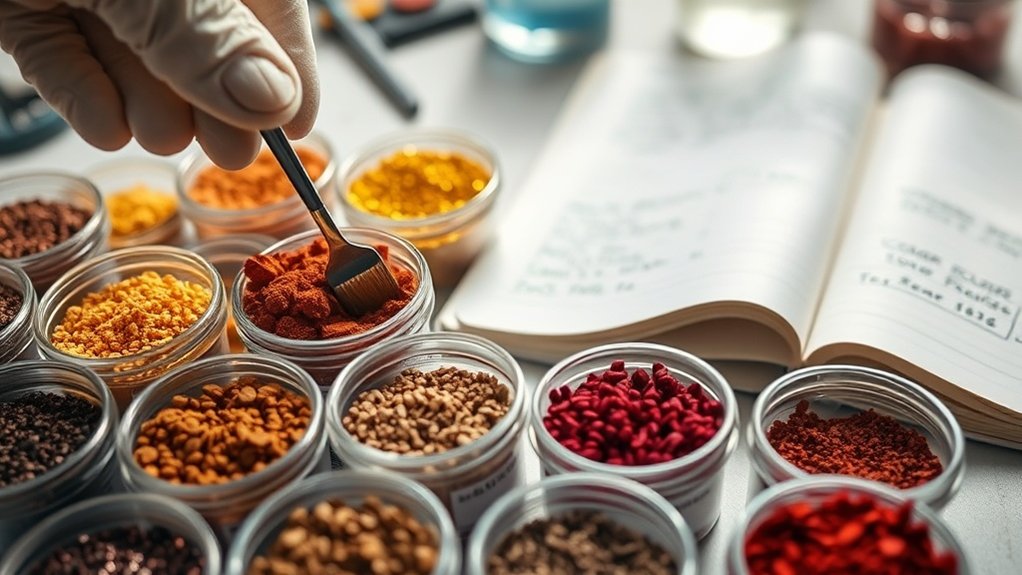
Testing small batches ensures your resin-bound gravel matches your desired colour perfectly.
Mix a test amount of resin and aggregate using the same ratios you’ll need for the full project. Work in a controlled space to avoid temperature and moisture issues affecting the mix.
Use a drill with a paddle mixer for roughly 90 seconds, and write down your mixing times and quantities.
When testing colours, add pigments bit by bit to see how they change the shade. Keep detailed notes of pigment amounts and weather conditions.
This approach helps you nail the right colour and ensures larger batches will look spot-on, giving you a consistently smart finish across your project.
Final Touches and Maintenance for Longevity
Maintaining Your Resin-Bound Surface
Regular upkeep ensures your resin-bound gravel looks pristine and lasts longer. A proper maintenance routine, much like caring for your garden path, keeps the surface in top condition.
Essential maintenance points:
- Clear fallen leaves and garden debris promptly to avoid staining
- Book professional resealing every 3-5 years for proper waterproofing
- Check shaded corners for moss and weeds, particularly after wet spells
- Shield vulnerable areas during harsh weather with temporary covers
- Use only manufacturer-approved cleaning products to avoid surface damage
Common sense checks like sweeping weekly and tackling spills straightaway will help maintain your investment.
Think of it like caring for your car – regular attention prevents costly repairs later.
Frequently Asked Questions
Can I Use Recycled Aggregates for Resin-Bound Gravel?
You can use recycled aggregates in resin-bound gravel surfaces. Using recycled materials is both cost-effective and environmentally sound. Just ensure your aggregates are thoroughly cleaned and angular-shaped for proper bonding with the resin. Think of materials like crushed glass, recycled concrete or reclaimed stone – they all work brilliantly when properly sourced and prepared. The key is quality control: your recycled aggregates must be free from dust and debris to create a lasting, attractive finish.
What Safety Gear Should I Wear During Mixing?
Whilst mixing, wear chemical-resistant gloves, protective goggles and suitable clothing to ensure your safety. Like wearing a raincoat in wet weather, proper safety gear protects you from splashes and spills. Stick to recommended mixing methods and safety guidelines to avoid contact with harmful substances and keep your workspace safe.
How Do I Clean Tools After Using Resin?
Clean resin tools thoroughly, just as you would wash paint brushes after decorating. Soak items in isopropyl alcohol or specialist resin cleaner, then wipe and scrape away residue. Regular cleaning prevents build-up and keeps tools in top working order.
Can I Add Color Pigments to the Resin?
Adding colour pigments to resin requires proper technique. Use only resin-specific colourants and mix them carefully to maintain the chemical balance. Standard paint or dye won’t work properly and could prevent proper curing. For best results, choose quality epoxy pigments from UK suppliers and follow the manufacturer’s mixing ratios – typically no more than 6% pigment to resin. This ensures your coloured resin cures properly and maintains its appearance over time.
What Is the Best Time of Year for Installation?
Spring or autumn are ideal times to install resin-bound gravel in the UK. Both seasons typically bring milder temperatures and less rain, creating perfect conditions for the resin to cure properly. Avoid summer installations when it’s too hot, or winter when frost and heavy rain can affect the finish.
Conclusion
Mixing resin-bound gravel colours offers a practical way to create distinctive driveways and paths. Think of it like mixing paint – combining different shades can yield unique results that set your property apart. The right blend of aggregates, whether using local Cotswold stone with Welsh slate or mixing standard buff with grey, creates a durable surface that’s uniquely yours. Keep it simple: choose two to three complementary colours, test small samples first, and ensure even distribution when mixing. Getting the balance right means you’ll have a surface that looks smart whilst standing up to British weather.