To install resin-bound gravel for maximum longevity, start with thorough surface preparation by cleaning and priming the area. Mix the resin and aggregate carefully, ensuring you maintain the correct ratios and use suitable tools. Apply the mixture evenly to a depth of 30-40mm, and use finishing tools to achieve a smooth surface. It’s also wise to consider drainage solutions to avoid water pooling, as this can lead to damage over time. Pay attention to environmental factors to ensure durability. Follow these essential tips for a successful installation.
Key Takeaways
- Start by thoroughly cleaning the surface and checking for any loose materials. This ensures strong adhesion and extends the lifespan of your resin-bound gravel.
- Mix the resin and aggregate correctly, aiming for a resin ratio between 7% and 15% for the best bonding strength.
- Apply the mixture evenly at a depth of 30-40mm, using the right tools to achieve a smooth finish without over-compacting the surface.
- Incorporate effective drainage systems and maintain a minimum slope of 1.5% to avoid water pooling and enhance durability.
- Carry out regular maintenance like sweeping and inspections to tackle debris, cracks, and weeds, helping to keep the surface in good condition.
Importance of Surface Preparation
Proper surface preparation is crucial for ensuring the longevity and durability of resin-bound gravel installations.
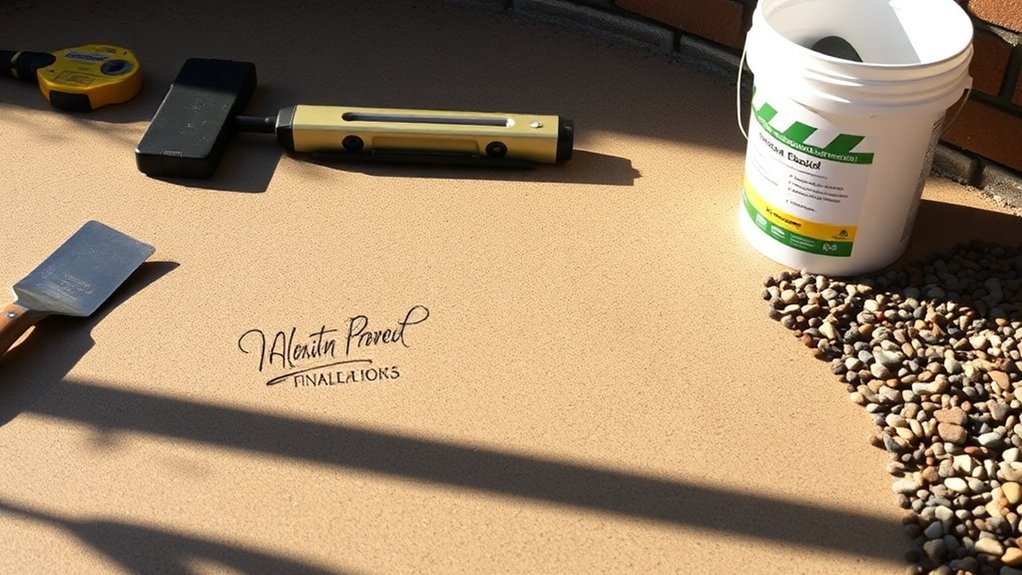
Start by cleaning the surface thoroughly, removing any weeds, moss, dirt, and debris, as these can create weak spots that affect adhesion. For concrete or tarmac, use a pressure washer or mechanical sweeper to prepare the base before applying primer. Additionally, the surface texture must be suitable for optimal bonding, so ensuring it’s roughened can greatly enhance adhesion.
Check for loose or flaking materials and eliminate any oil stains or chemical residues that may disrupt bonding. Ensure the surface is completely dry; moisture can interfere with resin curing and weaken the final product. Additionally, applying the right primer is key to enhancing adhesion and preventing peeling, so be sure to inspect for full coverage before laying the resin-bound gravel. Proper preparation is crucial for ensuring the mixture sets correctly and achieves the desired results.
Correct Mixing of Resin and Aggregate
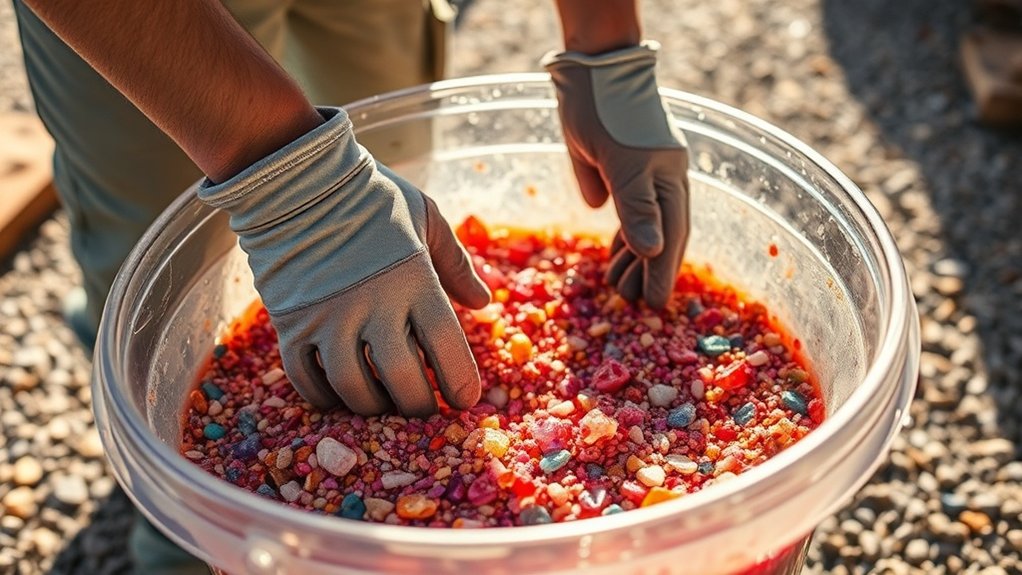
Once the surface is prepared, the next step is to mix the resin and aggregate correctly for optimal performance.
Select the appropriate resin types and aggregates; generally, using 7% to 15% resin by weight of the aggregate works well.
Utilise forced action mixers or paddle mixers, and don personal protective equipment such as gloves and masks.
Start by mixing the aggregates before adding the thoroughly blended resin, ensuring moisture control to avoid crystallisation. Properly washed and kiln-dried aggregates enhance the resin bond and improve the overall appearance of the surface.
Keep mixing times consistent to achieve colour uniformity and optimal curing times.
For better texture and grip, consider incorporating a fine aggregate like C52 sand.
After use, always clean your mixing tools thoroughly to prevent contamination, ensuring a strong and durable resin-bound surface. Additionally, using a reliable forced action mixer is crucial for achieving the desired consistency and quality in your resin-bound gravel installation.
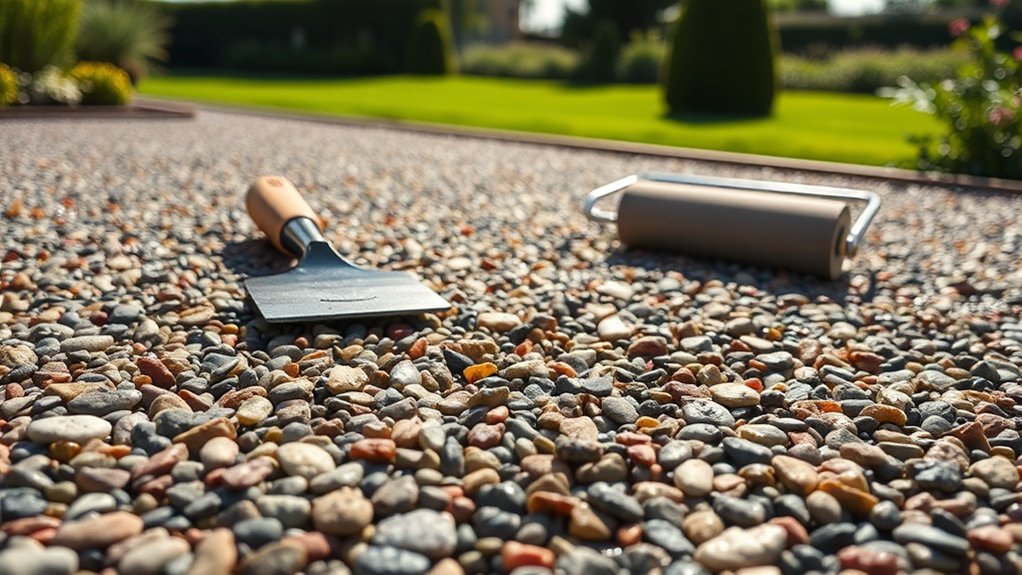
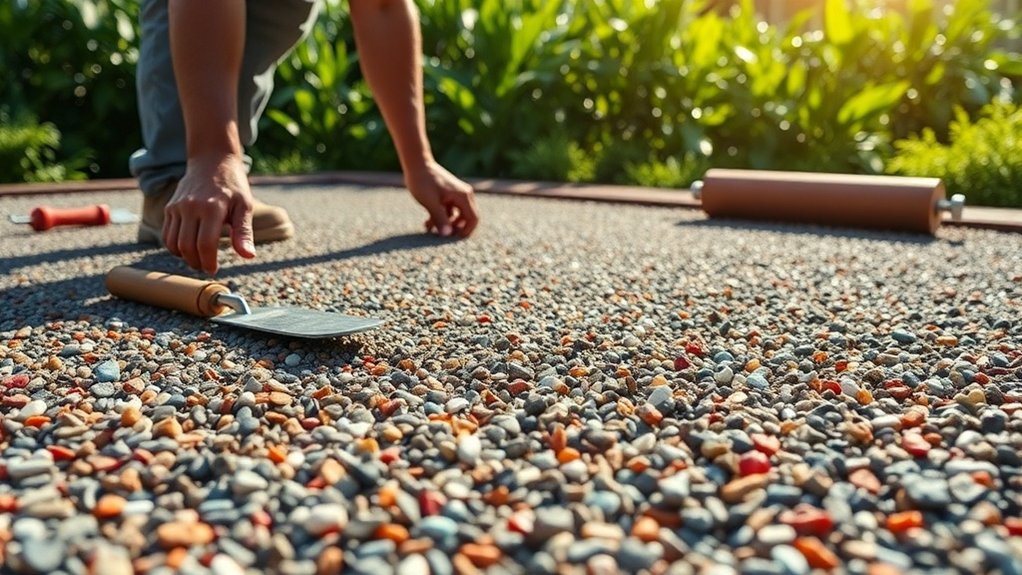
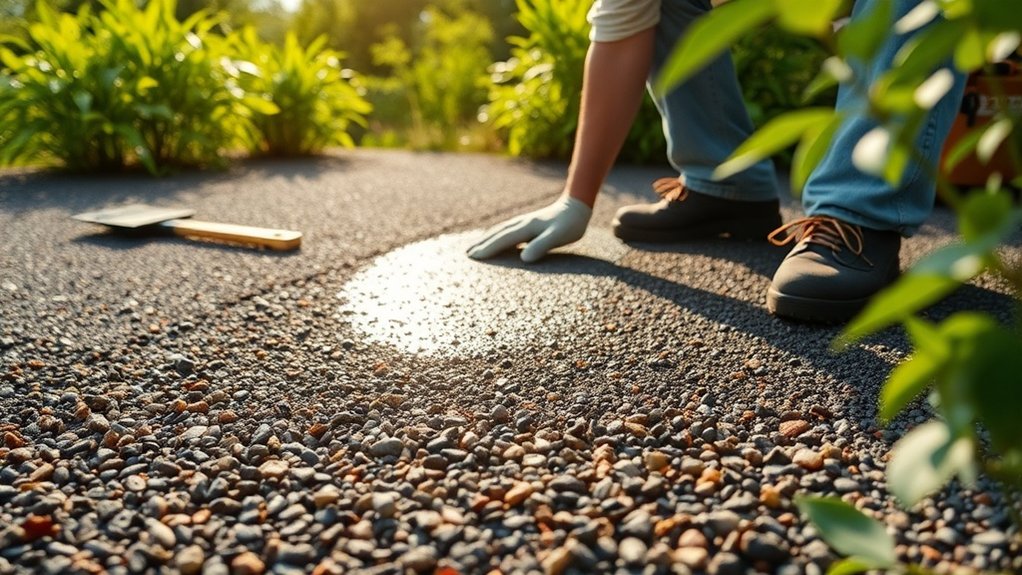
Application Techniques for a Smooth Finish
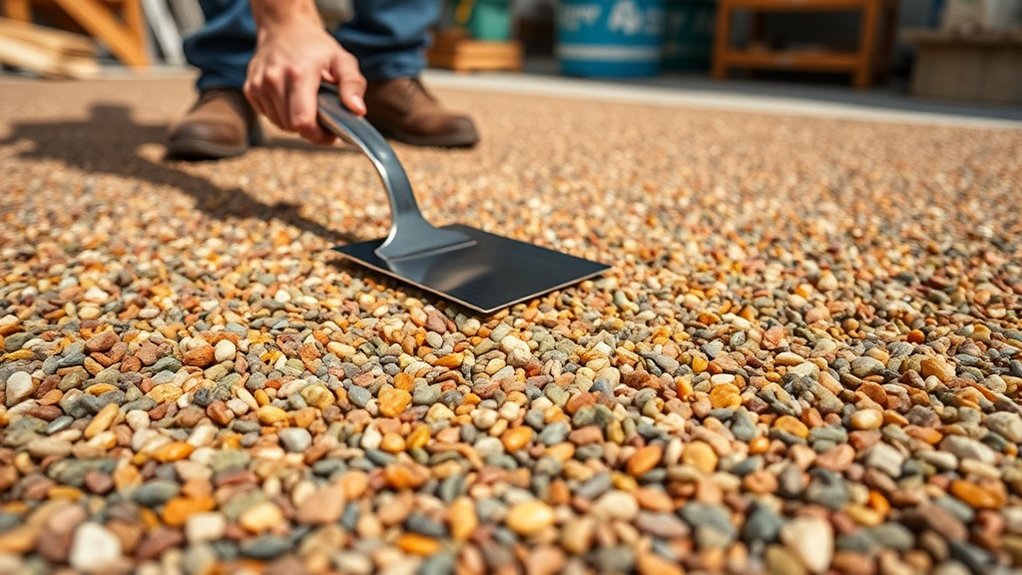
To achieve a smooth finish with resin-bound gravel, it’s essential to use the right application techniques for both durability and visual appeal.
Begin by spreading the resin-bound mixture evenly over the prepared surface, aiming for a consistent depth of 30-40mm. Use flat trowels or floats to smooth the surface without over-compacting, ensuring the stones sit flush. Ensuring proper surface preparation is vital, as it contributes significantly to the longevity of the finished surface.
Incorporate finishing tools like steel or plastic trowels and rollers to consolidate the mixture and remove any air pockets. It’s crucial to work quickly—ideally within 10-20 minutes after mixing—to avoid issues with curing. Proper ground preparation is essential for successful installation, as it ensures the stability of the surface beneath.
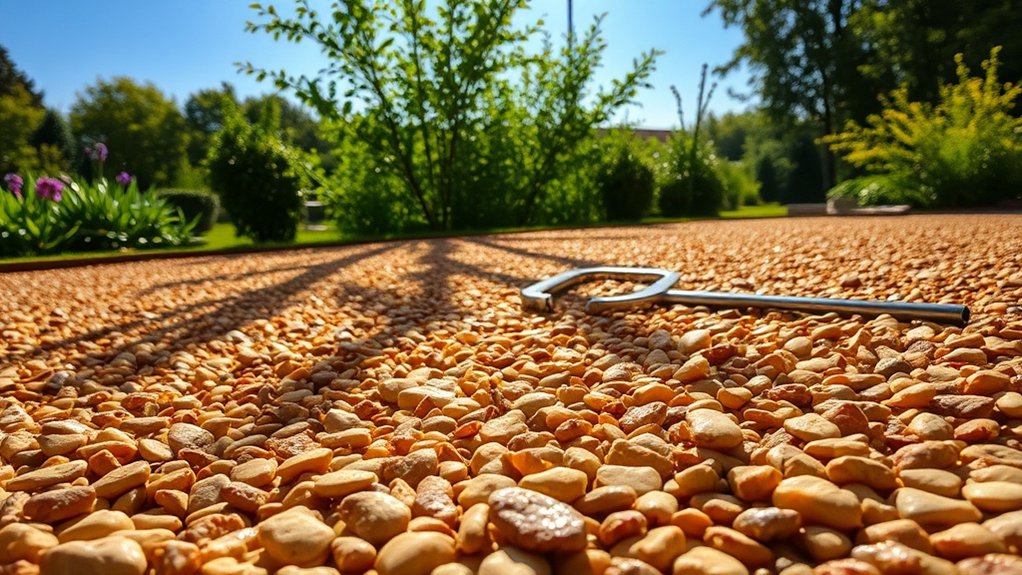
For edges, use precise hand tools to maintain clean lines. Remember to regularly clean your tools to prevent resin buildup, which will help you achieve a flawless and long-lasting finish.
Environmental and Weather Conditions
When installing resin-bound gravel, it’s crucial to consider the environmental and weather conditions to ensure durability and long-lasting performance.
Extreme temperatures can cause the resin to crack or soften, so opting for UV-stable resins is wise, especially in sunnier parts of the UK.
Heavy rainfall and high humidity can also weaken the resin bond, making effective drainage vital to prevent delamination.
By selecting quality materials that suit your local climate, you can ensure your installation withstands tough conditions.
Regular maintenance, such as applying sealants and conducting inspections, will help protect against moisture damage and extend the lifespan of your resin-bound gravel.
Base and Drainage Considerations
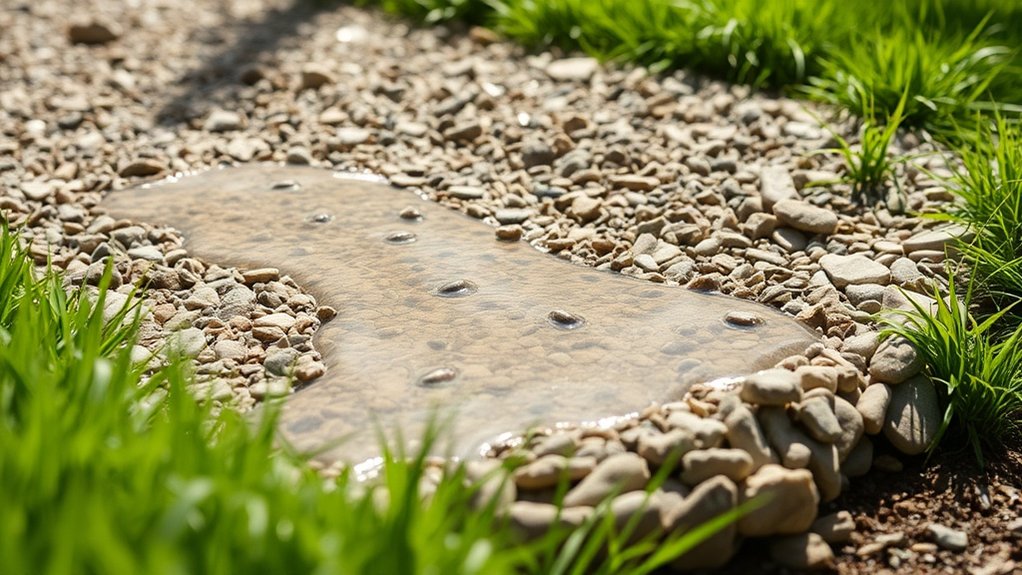
Choosing the right base and drainage solutions is crucial for a successful resin-bound gravel installation, as they significantly affect the system’s durability and performance.
- Opt for a base material such as porous concrete or MOT Type 3 sub-base to ensure effective water management.
- Ensure your drainage systems meet SuDS (Sustainable Drainage Systems) requirements to avoid water pooling.
- Maintain a minimum slope of 1.5% to optimise runoff and drainage efficiency.
- Incorporate geotextile membranes to prevent soil migration and improve drainage performance.
Edge Restraints and Containment
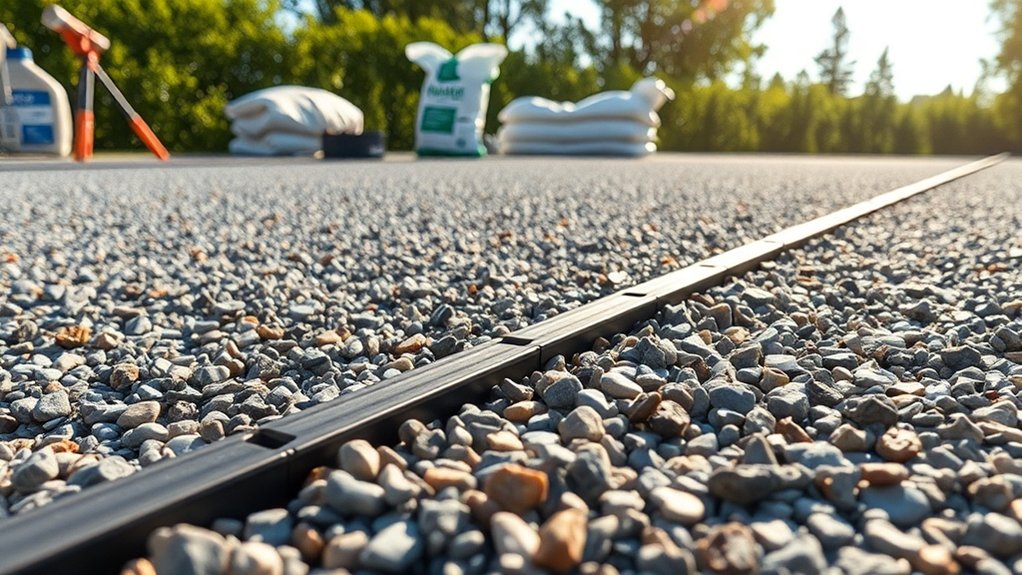
When installing resin-bound gravel, choosing the right edge restraints is crucial for both stability and appearance. Options include aluminium, plastic, and traditional block paving, each with its own benefits.
Knowing how to install these restraints properly ensures a secure, professional finish, helping to prevent issues like edge raveling and surface wear. For instance, aluminium is lightweight and durable, while block paving can enhance the overall look of your garden or driveway.
Types of Edge Restraints
Choosing the right edge restraint is crucial for the effectiveness and durability of your resin-bound gravel installation, as it affects both containment and appearance.
Different edge restraint materials provide distinct structural benefits for various uses:
- Granite Setts: These are tough and weather-resistant, making them suitable for both traditional and modern designs.
- Block Paving: An economical and sturdy option, ideal for both residential and commercial projects.
- Precast Concrete Edging: A flexible and cost-effective choice that offers strong support.
- Aluminium Profiles: These decorative trims need backing to ensure proper containment.
Selecting the right type will enhance both the function and look of your installation.
Installation Techniques Explained
For a successful resin-bound gravel installation, it’s essential to master the techniques for edge restraints and containment.
Begin by choosing robust materials such as brick, stone, or pre-cast concrete for your edging, ensuring they’re laid on a solid base. Install the edge restraints level with the finished surface to reduce gaps and prevent spillage. Use the right tools to keep everything aligned and level during installation.
When applying the resin-bound gravel, slightly overfill above the edge height to allow for compaction, then trim any excess material before it cures.
Consider using temporary supports during curing to maintain the integrity of the edges. Regularly check the joints and apply flexible sealants to accommodate any movement and prevent water from seeping in.
Paying attention to these details will enhance the longevity and performance of your installation.
Maintenance and Long-Term Care
To ensure your resin-bound gravel lasts, regular cleaning is vital.
Sweep the surface often to stop debris from building up, and use a gentle pressure washer when necessary—just be careful not to damage the resin.
Additionally, implementing strategies to prevent damage will help keep it looking good and functioning well over time.
Regular Cleaning Practices
Maintaining your resin-bound gravel surface is crucial for its longevity and appearance. Here are some straightforward cleaning practices to follow:
- Sweep regularly to stop debris from building up.
- Use a gentle pressure washer, ensuring the pressure stays below 150 bar.
- Remove any debris and stains quickly to prevent lasting damage.
- Set up a seasonal cleaning routine to tackle specific issues.
By sticking to these habits, you’ll enhance your cleaning frequency and improve debris removal.
Regular sweeping with a stiff broom, followed by a gentle wash, helps keep the surface permeable and intact.
Address any stains promptly and keep an eye out for moss or weeds to ensure your resin-bound gravel lasts longer and looks great.
Damage Prevention Tips
Regular cleaning is essential for keeping your resin-bound gravel surface in top shape, but taking proactive steps to prevent damage is crucial for its long-term durability and appearance.
Focus on seasonal maintenance by promptly removing leaves to avoid staining and deter algae growth. Regularly check for cracks and frost damage, particularly during winter months. Ensure water doesn’t pool, as this can lead to freeze-thaw problems, and manage weed growth by pulling them out by hand to maintain the integrity of the surface. For spills, use mild cleaners and steer clear of harsh chemicals. Lastly, ensure proper drainage and maintain your landscaping to reduce the spread of weed seeds.
| Action | Timing | Purpose |
|---|---|---|
| Remove leaves | Autumn | Prevent staining |
| Inspect for cracks | Seasonal | Early damage assessment |
| Use gentle cleaners | As needed | Maintain surface integrity |
Common Mistakes to Avoid

When installing resin-bound gravel, overlooking common mistakes can lead to serious problems later on.
To ensure a long-lasting finish, keep these installation blunders in mind:
- Ensure proper base preparation; insufficient stability can result in sinking.
- Use high-quality resin and stick to mixing ratios to maintain bond strength.
- Avoid installation in wet or extremely hot conditions to prevent curing issues.
- Design effective drainage systems to avoid water pooling and surface damage.
Benefits of Professional Installation
Choosing professional installation for resin-bound gravel not only boosts the visual appeal of your surfaces but also ensures excellent performance and durability.
Experts ensure proper base preparation and select materials that suit your soil type and climate, enhancing longevity. Their knowledge guarantees correct grading and drainage, helping to prevent future issues like settling and flooding.
Skilled professionals mix resin and aggregate accurately, ensuring strong bonding and resistance to wear. They also adhere to regulations, providing documentation that can increase your property’s value.
With a seamless finish and anti-slip properties, professional installation enhances safety and usability.
Ultimately, hiring professionals reduces maintenance needs, ensuring your resin-bound surfaces remain attractive and functional for years to come.
Frequently Asked Questions
How Long Does the Resin-Bound Gravel Last?
Resin-bound gravel can last up to 25 years with proper maintenance. To ensure its longevity, regularly clean the surface and maintain good drainage. This helps prevent wear and potential damage, keeping your driveway or path looking its best for years.
Can I Install Resin-Bound Gravel Myself?
Yes, you can install resin-bound gravel yourself. With the right techniques and DIY tips, you can transform your driveway. Just ensure the surface is clean, properly prepared, and that you mix the materials correctly for a durable and attractive finish. It’s much like laying a patio; preparation is key for a long-lasting result.
What Colors and Textures Are Available for Resin-Bound Gravel?
Resin-bound gravel comes in a range of colours, including Harvest Gold and Riviera, as well as textures like Cappuccino and Alpine. These options not only enhance the visual appeal but also ensure that your surface fits well with both modern and traditional styles.
Is Resin-Bound Gravel Suitable for Driveways?
Yes, resin-bound gravel is a great choice for driveways in the UK. It’s durable and looks good too. To ensure a successful installation, make sure you have a solid sub-base, use angular aggregates, and add anti-slip materials for safety, especially when cars are driving over it.
How Does Temperature Affect the Installation Process?
Temperature significantly affects installation conditions. In colder weather, curing is slowed down, while excessive heat can compromise the strength of resin. For example, if you’re installing flooring in winter, it may take longer to set, increasing the risk of damage. Conversely, installing in high temperatures can lead to weak adhesion. Keeping to the recommended temperature range ensures proper bonding and durability, minimising issues like cracking or warping both during and after the installation process.
Conclusion
In summary, taking the time to install resin-bound gravel correctly can significantly prolong its lifespan. A well-prepared surface can boost durability by as much as 30%. Prioritise surface preparation, accurate mixing, and efficient drainage to achieve a robust and attractive finish. Remember, neglecting maintenance or falling into common traps can affect performance. In the end, opting for professional installation could save you both time and money, resulting in a stunning, long-lasting surface.