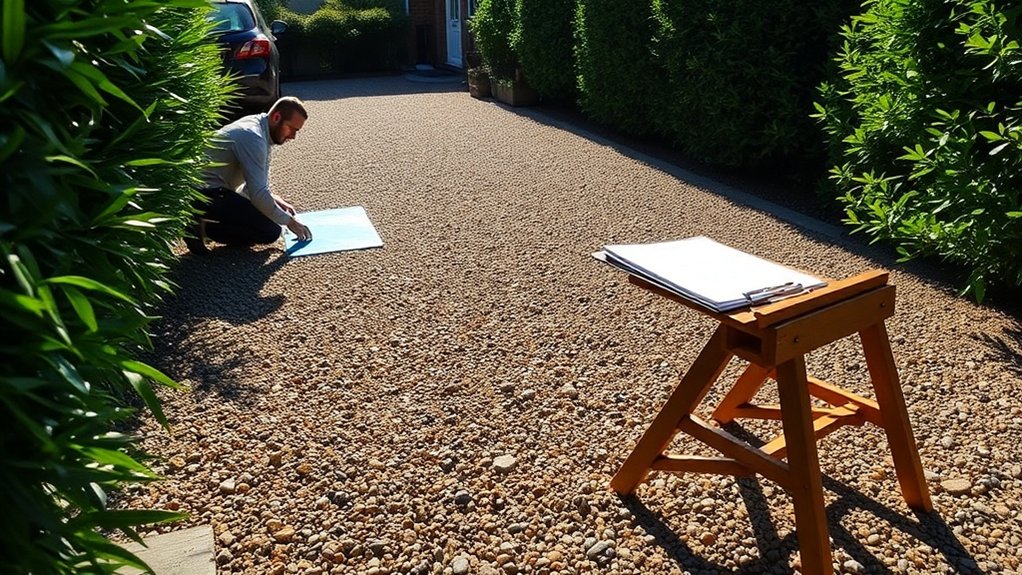
To gain approval for a resin-bound gravel driveway, start by reviewing your local planning regulations. If your driveway is over 5 square metres of non-permeable surface, you’ll probably need to submit a planning application. Ensure your design complies with Sustainable Drainage Systems (SuDS) to effectively manage water runoff. If your home is situated in a conservation area, you may need additional permissions to ensure your driveway fits with the local character. By understanding these requirements, you can make the installation process smoother and stay compliant.
Key Takeaways
- Check local planning regulations to see if you need permission for a resin-bound gravel driveway, considering the surface type and size of the area.
- Conduct a property assessment that takes into account zoning laws, flood zones, and existing drainage systems before submitting your application.
- Make sure your design complies with Sustainable Drainage Systems (SuDS) to effectively manage surface water runoff and prevent flooding.
- Reach out to your local council and community groups, especially if your property is in a conservation area or near listed buildings.
- Prepare and submit a detailed planning application that includes design plans, material specifications, and drainage solutions to increase your chances of approval.
Understanding Planning Regulations for Driveways
When planning to install a driveway, it’s crucial to know the planning regulations that may apply. If you’re creating a new driveway that didn’t exist before, you’ll likely need to submit a planning application, especially if it connects to a public road.
Even if you’re modifying an existing driveway, regulations could apply if it impacts boundary structures or nearby properties.
If your driveway surface is non-porous and over 5 square metres, you’ll need planning permission to address drainage issues. Additionally, planning permission is necessary to ensure that the project aligns with local regulations and community standards. Notably, compliance with Sustainable Drainage Systems (SuDS) is essential to prevent flooding.
While some projects might fall under permitted development rights, these can differ depending on your local council’s policies. Always check with your local planning authority early on to ensure compliance and avoid delays in your driveway project.
For example, if you’re paving over a large area with tarmac, it’s best to confirm your plans first.
The Difference Between Resin-Bound and Resin-Bonded
When deciding between resin-bound and resin-bonded driveways, it’s important to note the differences in permeability, installation methods, and appearance.
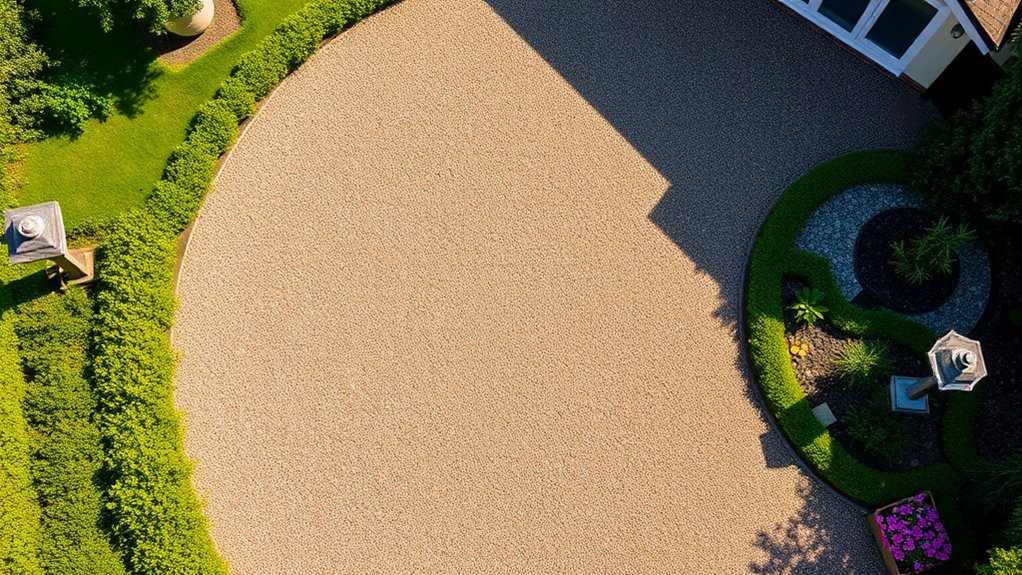
Resin-bound driveways provide a smooth, durable surface that drains water effectively, making them a good choice for areas with heavy rainfall. Additionally, the installation method for resin-bound driveways requires a pre-mixed application, which contributes to their seamless finish. This method also ensures that these surfaces remain stable during heatwaves, thus enhancing their longevity.
On the other hand, resin-bonded driveways have a textured finish and can vary in permeability, which might affect water drainage.
Surface Permeability Comparison
Understanding the differences in surface permeability between resin-bound and resin-bonded driveways is crucial for effective drainage and environmental compliance.
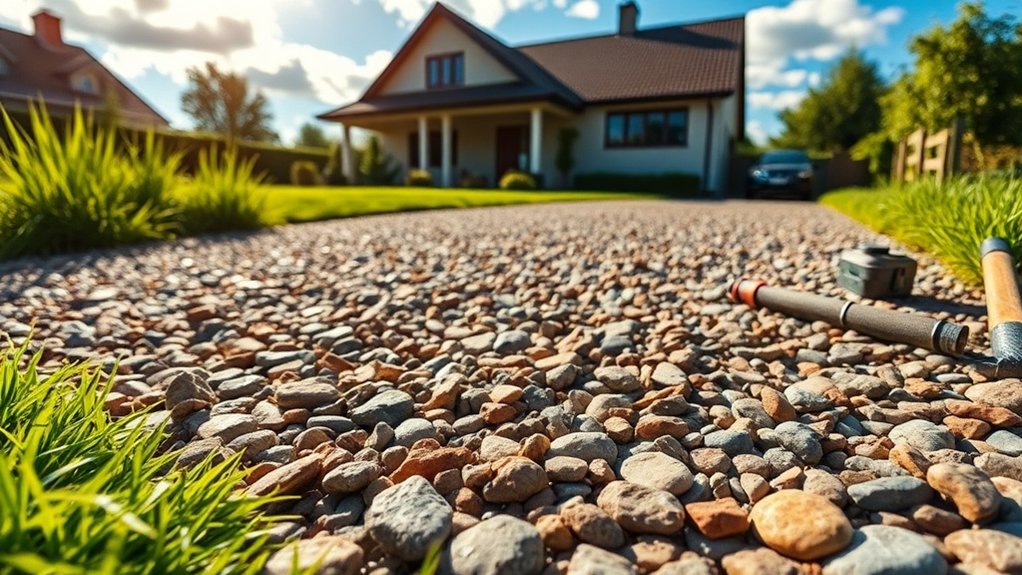
Resin-bound surfaces allow water to seep through the gaps between aggregates, promoting natural drainage and reducing flood risks. To keep these surfaces permeable, regular maintenance like jet washing is necessary to prevent clogging. This is achieved by constructing them on layers of gravel or crushed stone that facilitate water storage and gradual infiltration. Furthermore, proper sub-base installation is essential for maintaining the permeability of resin-bound surfaces.
In contrast, resin-bonded surfaces are non-permeable, leading to water runoff and potential pooling issues. This can increase the demands on drainage systems.
If you’re looking for an environmentally friendly option, a resin-bound driveway is the way to go, as it supports Sustainable Drainage Systems and effectively manages surface water.
Installation Techniques Explained
Resin-bound and resin-bonded driveways both enhance the look and functionality of your property, but their installation methods are quite different.
For resin-bound driveways, it’s crucial to prepare the surface thoroughly, ensuring it’s clean and stable. This method involves mixing resin with aggregates and applying it in layers, usually around 18mm thick.
On the other hand, resin-bonded driveways use less resin and simply bond aggregates to a pre-prepared surface.
Curing times also vary: resin-bound driveways require 24 hours without foot traffic.
While both techniques benefit from grid work for even coverage, understanding these distinct methods is vital for achieving the desired durability and appearance.
Aesthetic and Durability Differences
Both resin-bound and resin-bonded driveways have their own aesthetic qualities, but they differ significantly in durability and appearance.
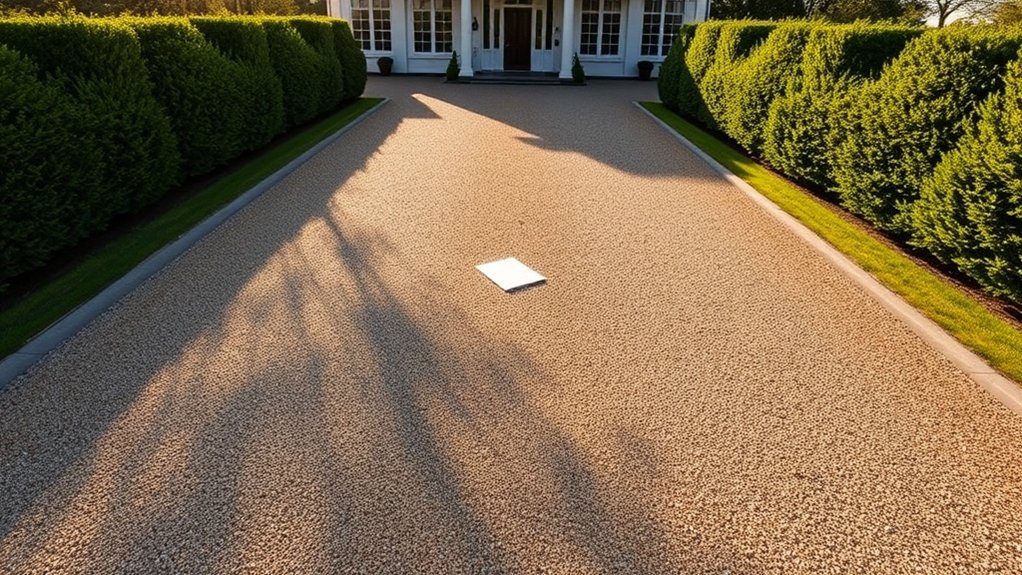
Resin-bound driveways offer a smooth, seamless finish with a glossy, consistent look, allowing for a wide range of colour and aggregate options. They’re highly durable, able to withstand heavy traffic and resist cracking, often lasting over 25 years with minimal upkeep.
On the other hand, resin-bonded surfaces have a textured, gravel-like appearance that can seem uneven and may require more maintenance due to loose stones. While they provide a rustic charm, they don’t match the long-lasting durability and uniform appearance of resin-bound driveways.
Therefore, for both beauty and practicality, resin-bound driveways are the better choice.
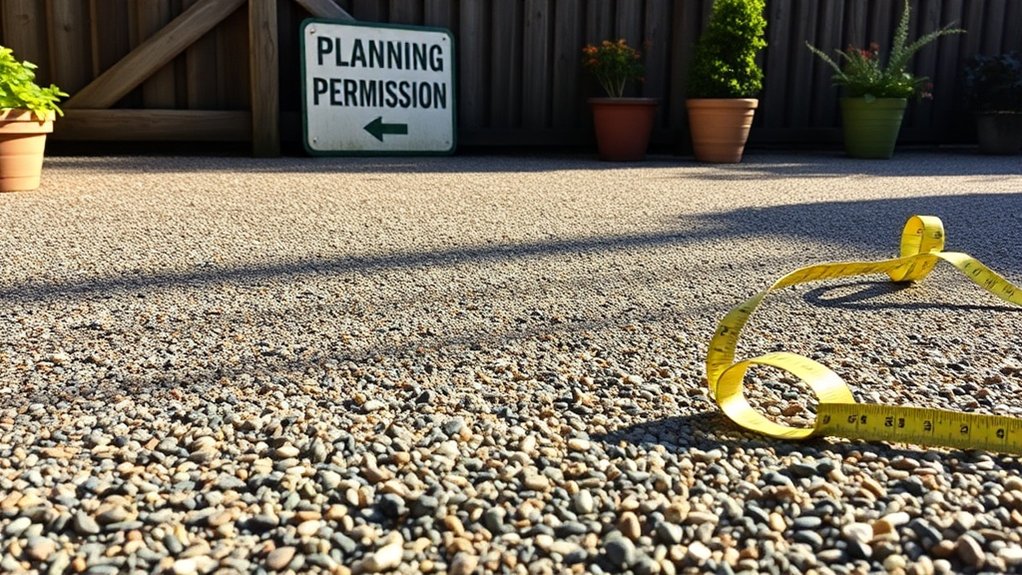
Checking Local Authority Requirements
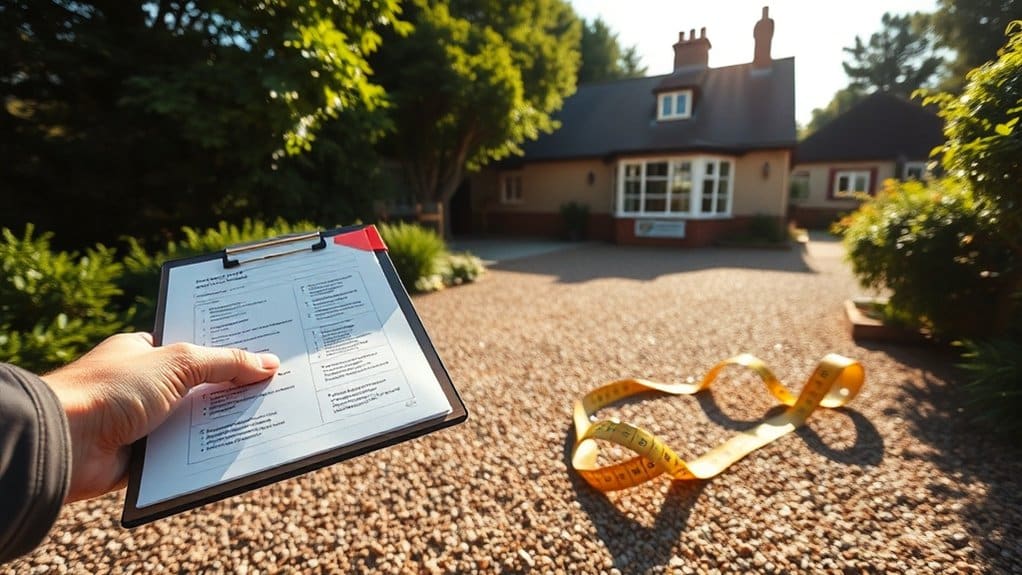
Before you lay down your new driveway, it’s crucial to check your local authority’s requirements to avoid any unexpected issues.
Whether you need planning permission depends on the type of surface you choose and the specifics of your property.
For instance, if you’re considering a permeable surface to manage water runoff, you may have fewer restrictions.
Familiarising yourself with these guidelines can help ensure a smoother approval process and compliance with local regulations.
Planning Permission Necessity
When planning to install a driveway, it’s crucial to check your local authority’s requirements to ensure compliance with regulations.
Resin-bound driveways are advantageous as they’re permeable, typically allowing construction without the need for planning permission, regardless of size.
However, if you choose an impermeable resin-bonded surface that exceeds 5 square metres, you’ll likely need to apply for planning permission. This is important to avoid unexpected costs and ensure proper surface water management.
Always verify with your Local Planning Authority (LPA) about any specific rules for your property, as exceptions may apply.
Local Authority Guidelines
Understanding local authority guidelines is crucial for anyone planning to install a driveway, as these rules can significantly affect your project. Local authorities regulate various aspects, such as size, layout, and material choices, especially in conservation areas or near listed buildings.
For instance, using resin bound materials can be beneficial due to their permeability, which helps manage stormwater and aligns with environmental regulations. However, it’s important to ensure you comply with all local rules.
If you’re in a heritage site, you may need special permissions, and your design must fit in with the local aesthetics. Engaging with community groups can help maintain the character of the area.
Lastly, regular maintenance of your resin-bound driveway is essential to stay compliant and avoid penalties, ensuring it remains functional and visually appealing.
Importance of SUDS Compliance
SUDS compliance is crucial for meeting regulatory standards and improving your driveway’s environmental performance. By using permeable materials like resin-bound gravel, you allow rainwater to soak into the ground, reducing surface water runoff and minimising local flooding risks. This also eases the burden on traditional drainage systems.
Moreover, SUDS benefits go beyond just compliance; they help recharge groundwater and reduce pollution in nearby rivers and streams.
A SUDS-compliant driveway also enhances usability by preventing puddles and slippery surfaces, making it safer for your family. Ultimately, following SUDS principles demonstrates your commitment to sustainability and can increase your property’s value through improved functionality and aesthetics.
Special Considerations for Conservation Areas

Installing a driveway in a conservation area demands careful thought regarding aesthetics and environmental impact, as local regulations typically enforce stricter guidelines to protect the area’s historic character.
It’s essential to consult with local planning authorities to ensure your resin-bound gravel driveway meets conservation standards. Choose materials that blend with the architectural style and landscape, opting for colours and textures that complement the local surroundings.
Stay mindful of permeability requirements to adhere to Sustainable Drainage Systems (SuDS) principles. Additionally, check for Tree Preservation Orders as safeguarding heritage trees is crucial.
When submitting your plans, include detailed designs that reflect your commitment to environmental sensitivity, which will aid in a smoother approval process.
Assessing Property and Location Factors
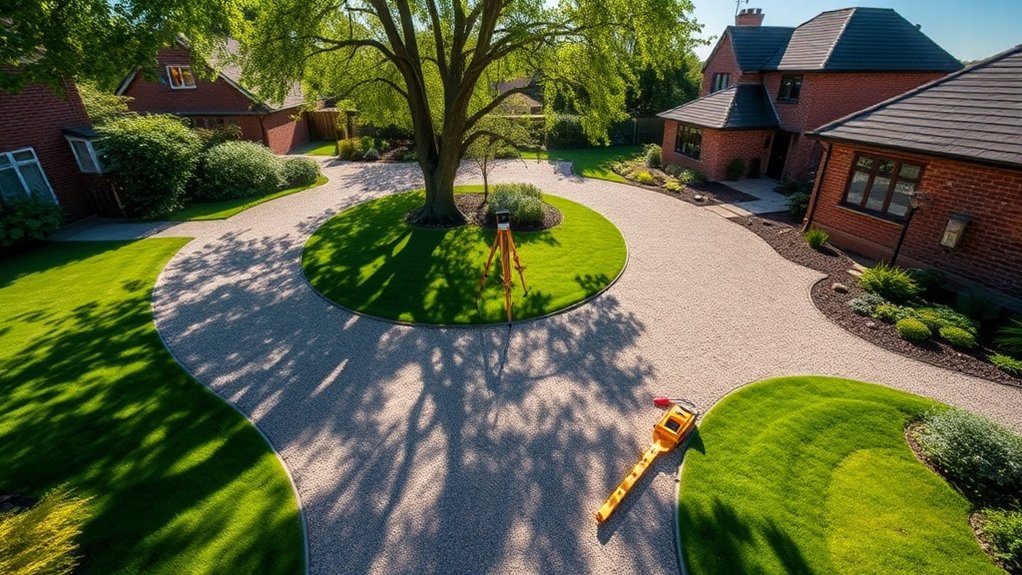
When planning a new driveway, it’s essential to evaluate both property and location factors that could affect your project.
Begin with a thorough property assessment, paying attention to local zoning regulations—most councils require planning permission for impermeable surfaces over 5m².
However, opting for permeable resin-bound gravel could save you some trouble, as it usually complies with Sustainable Urban Drainage Systems (SUDS) guidelines.
Location is equally important; if you’re near flood zones or areas with poor drainage, you’ll need to plan carefully to ensure proper water runoff.
Consider the soil type and existing drainage infrastructure, as these factors can significantly impact how well water drains away.
Always check with your local planning office to clarify any additional regulations that may apply.
Taking a well-informed approach will make the approval process smoother and more efficient.
Ensuring Proper Design and Technical Specifications
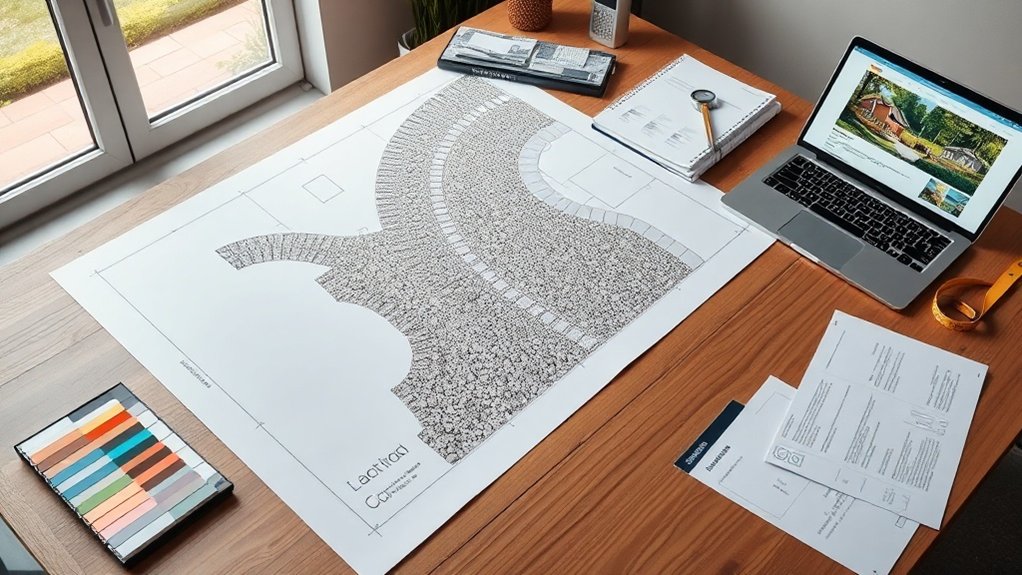
Ensuring proper design and technical specifications is crucial for the longevity and performance of your driveway.
For instance, adhering to a minimum thickness of 18mm for standard aggregates helps prevent weak spots and premature failure. It’s also important to install a sub-base of at least 100mm, made from MOT Type 3 aggregate, to ensure stability.
Don’t forget to include a geotextile membrane to stop weed growth.
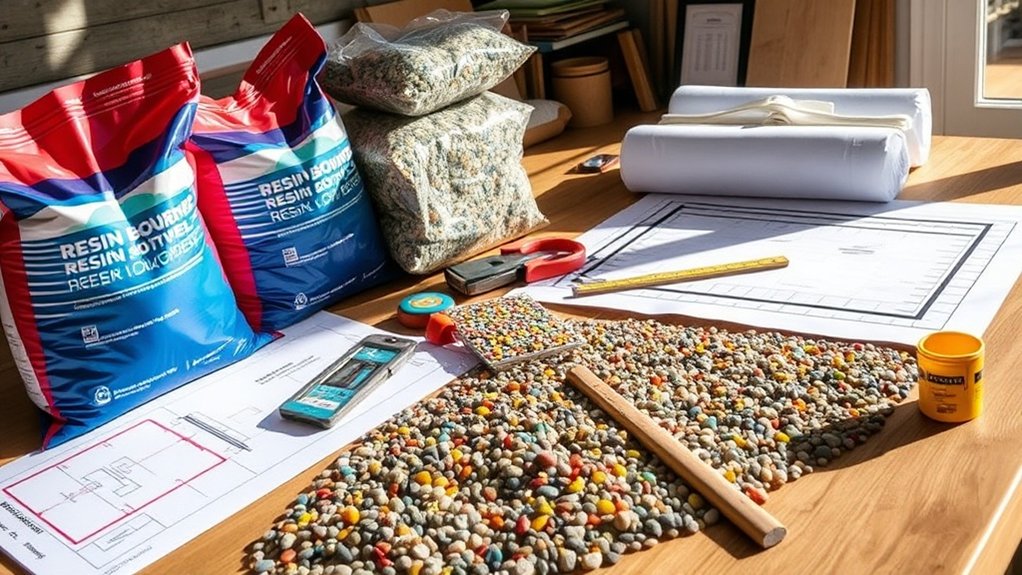
When mixing your two-component UV-stable polyurethane resin with aggregates, accuracy is key to achieving maximum adhesion and durability.
Remember, failing to follow these specifications can void warranties and shorten your driveway’s lifespan.
Paying attention to these details not only boosts durability but also ensures compliance with UK regulations and standards.
Preparing for Installation: Key Steps
Before installation, assess the existing surface to ensure it can support your driveway’s intended use.
Once you’ve confirmed its integrity, clean the area thoroughly, removing any debris that could affect performance.
Finally, ensure proper drainage is in place to manage water runoff effectively, helping to prevent future issues.
Assess Existing Surface
To prepare for installing a driveway, it’s essential to assess the existing surface, paying close attention to its condition and structural integrity. This inspection is vital for ensuring durability.
Here’s how to identify damage effectively:
- Look for cracks, potholes, and uneven patches that need fixing.
- Check for stability—any shifting or sinking areas may need replacing.
- Evaluate the structural integrity; ensure the base can bear traffic loads.
- Assess drainage; poor falls can cause water to pool.
Once you’ve noted these issues, document your findings for future reference.
Addressing these concerns will help prepare the surface and ensure a long-lasting resin-bound driveway.
Clean and Prepare Area
Clean and prepare the area thoroughly to establish a strong base for your resin-bound driveway. Start by excavating the driveway area to approximately 150mm, removing topsoil and any unsuitable materials.
Clear out vegetation, loose stones, and debris to ensure a stable surface. If you find damaged sections, dig down to at least 200mm for proper repair.
Check existing hard surfaces for cracks and fix them to avoid future problems. Use a jet wash to remove dust and organic matter, ensuring a clean base.
Lastly, install sturdy edging along the boundaries to contain the resin and enhance stability. This careful preparation is crucial for a successful installation.
Ensure Proper Drainage
Ensuring proper drainage is vital for your resin-bound driveway, as poor water management can lead to surface pooling and structural problems.
Here are some effective drainage solutions to consider:
- Channel Drains: Ideal for sloped surfaces, these drains efficiently redirect water away.
- Soakaways: These systems allow excess water to seep back into well-draining soil, preventing overflow.
- French Drains: By directing water away through gravel-filled trenches, these drains help keep the surface dry.
- Aco Drains: Particularly useful with a concrete subbase, they enhance drainage performance.
Implementing these solutions will help maintain the integrity of your driveway and prevent future issues.
The Installation Process Explained
To install a driveway effectively, it’s important to follow the process carefully.
Start by digging out the area to a depth of 150mm and lay a solid sub-base using MOT Type 1 or Type 3 stone. Make sure to compact it well with a vibrating plate compactor, and create a slight slope for drainage.
Next, clean the base thoroughly using appropriate tools and apply a primer if you’re working with concrete.
When mixing the resin, opt for UV-stable polyurethane and blend it with kiln-dried aggregates at a ratio of 3:1. Pour the mixture and spread it evenly with specialist trowels.
Allow it to cure undisturbed for 6 to 8 hours. By sticking to these steps, you’ll achieve a strong, high-quality resin-bound driveway that will last.
Common Pitfalls to Avoid
Even with a solid installation process, many homeowners face pitfalls that can jeopardise their driveway project.
Here are some common missteps to avoid:
- Ignoring Aggregate Selection: Choose high-quality, UV-stable aggregates that are appropriately sized to ensure durability and compliance with standards.
- Neglecting Base Preparation: An unstable or poorly prepared base can lead to problems down the line. Make sure it’s dry, free from weeds, and properly primed.
- Improper Curing Techniques: Avoid installing during damp weather, as this can affect the resin bonding and the overall finish quality.
- Skipping Documentation: Keep records of materials used and any permeability tests conducted to meet local authority requirements.
Maintaining Your Resin-Bound Gravel Driveway
Maintaining your resin-bound gravel driveway is crucial for keeping it looking good and lasting longer. Start with regular maintenance by sweeping it weekly or every two weeks to clear away leaves and debris.
Each month, give it a thorough clean using a hose or a low-pressure wash—just avoid anything over 150 bar. Use pH-neutral cleaning products or mild soapy water, steering clear of harsh chemicals that could damage the resin.
If you spot any oil or fuel stains, tackle them quickly with warm water and an absorbent like cornstarch.
In winter, use non-corrosive de-icers and keep the surface clear of ice by sweeping regularly. Keep an eye out for weeds; remove them by hand.
Consider resealing your driveway every 1-2 years to protect it from UV damage. Following these simple steps will help ensure your driveway stays in excellent condition.
Frequently Asked Questions
How Long Does a Resin-Bound Driveway Typically Last?
A resin-bound driveway typically lasts between 15 to 25 years when installed and maintained properly. To increase its lifespan, regular cleaning is essential, and using high-quality materials for any repairs can help maintain its appearance and durability. For example, sweep away debris and wash with water to prevent staining.
Can I Install a Driveway Myself, or Hire a Professional?
You can install your driveway yourself, but be prepared for a challenging task that may take longer than expected. On the other hand, hiring professionals ensures you get expert advice, efficient service, and quality results. This can save you time and provide peace of mind, knowing your driveway will be durable and well-finished.
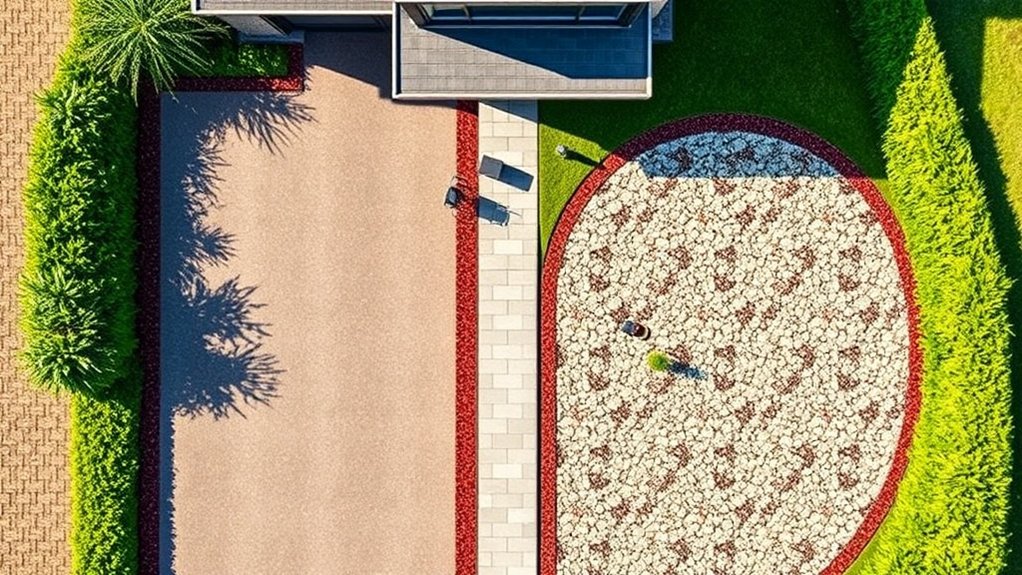
What Colors and Textures Are Available for Resin-Bound Driveways?
You have a wide selection of colours for resin-bound driveways, such as golden, cream, and slate grey. There are also texture options, from smooth to granular. These choices can significantly enhance your driveway’s appearance and nicely complement your home’s style.
How Does Weather Affect the Installation of a Resin-Bound Driveway?
Weather plays a crucial role in the installation of a resin-bound driveway. Temperature and humidity are key factors; excessive heat or moisture can compromise the quality of the finish. For best results, aim to install on a dry, mild day. For example, a day with temperatures between 10°C and 25°C and low humidity is ideal. Avoid wet or windy conditions, as these can lead to issues with adhesion and curing.
Is It Possible to Repair a Damaged Resin-Bound Driveway?
Yes, you can repair a damaged resin-bound driveway using effective methods. Regular cleaning and applying UV protection can help extend its lifespan and keep it looking good. For instance, if you notice cracks or loose stones, it’s best to address these issues promptly to prevent further damage.
Conclusion
To secure approval for your resin-bound gravel driveway, it’s essential to understand local regulations, ensure compliance with Sustainable Drainage Systems (SuDS), and prepare adequately. For example, check whether planning permission is needed, especially if your property is in a conservation area. By adhering to your local authority’s requirements and steering clear of common mistakes, you can simplify the installation process. With regular maintenance, your driveway will enhance your property’s appearance and durability. Embrace the process and look forward to the benefits!