To fix resin-bound gravel that won’t set properly, start by identifying problem areas such as loose stones or uneven curing. Remove any uncured sections with a scraper and ensure the substrate is thoroughly cleaned. Follow proper mixing techniques by using sharp-edged aggregates and maintaining the correct resin-to-aggregate ratio. Also, pay attention to aesthetic consistency and choose suitable weather conditions for installation, as this can help avoid future issues. Following best practices will improve your results further.
Key Takeaways
- Check for any soft or sticky patches to pinpoint uncured resin and evaluate adhesion problems.
- Thoroughly clean the surface to prepare for repairs and ensure a strong bond.
- Use a forced action mixer to maintain the correct resin-to-aggregate ratio for any future mixes.
- Keep an eye on environmental conditions, making sure temperatures and humidity levels are suitable during application.
- For any uncured areas, remove the affected materials and apply fresh resin, following the correct mixing methods.
Identifying the Problem Areas
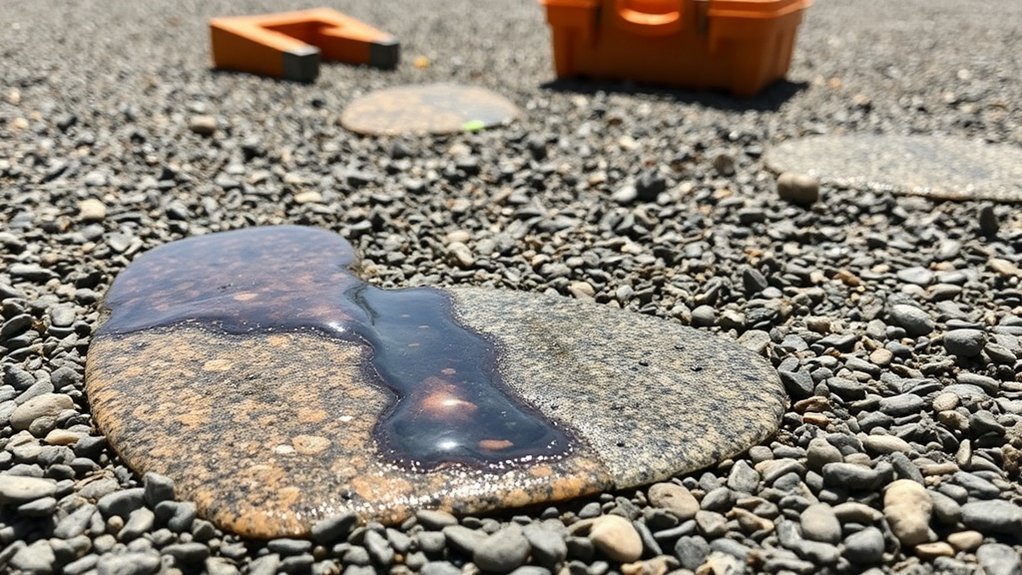
When assessing a resin-bound gravel surface, it’s essential to pinpoint specific problem areas that could compromise its durability.
Look for bonding issues, like loose stones, which suggest poor adhesion between the resin and the aggregate. Check the resin-to-aggregate ratio; insufficient resin due to improper mixing can cause stones to come loose. Additionally, inaccurate mix ratio can lead to inadequate coverage and further bonding problems. Proper installation technique is crucial to prevent cracks under pressure.
The substrate is also crucial; ensure the base material is well-compacted to avoid cracking and pitting.
Using incompatible base materials can lead to uneven stress distribution, which worsens surface deterioration. Additionally, check for differences in adjoining substrates that might result in uneven curing and subsequent cracks.
Addressing these issues promptly will help ensure the longevity and performance of your resin-bound gravel surface.
Steps to Remove Uncured Sections
To effectively remove uncured sections of resin-bound gravel, start by identifying the soft or sticky areas. Once you’ve found these spots, carefully remove any loose material to ensure a clean working surface. Then, thoroughly clean the substrate to prepare it for the next treatment or repair. Understanding the nature of resin, particularly its uncured state, is crucial for effective removal and ensuring a successful repair. Additionally, ensuring a clean and dry base before reinstalling resin is essential for establishing proper bonding strength.
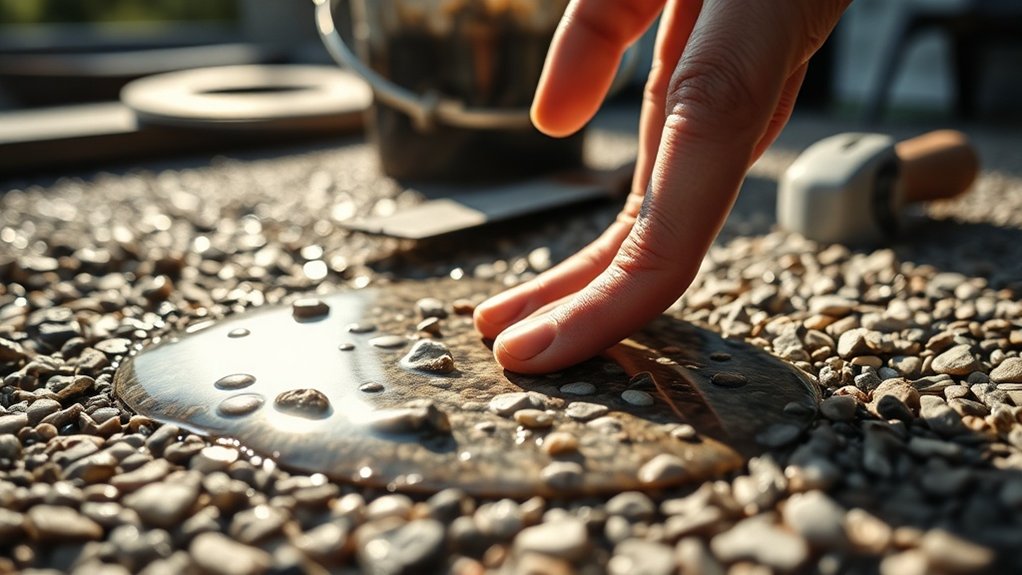
Identify Uncured Areas
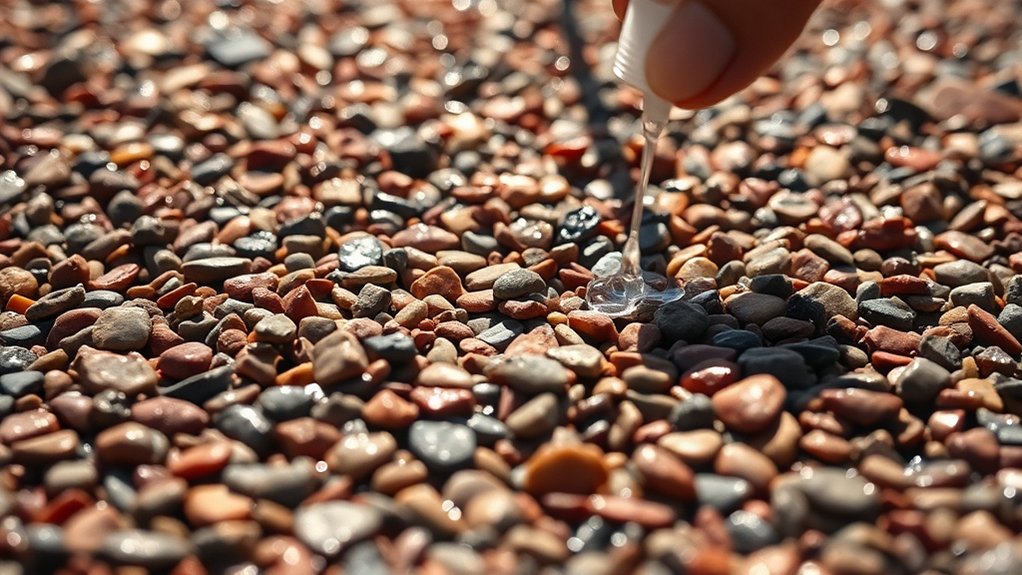
Identifying uncured areas in resin-bound gravel is crucial for achieving a durable and visually appealing surface. Begin by visually inspecting for any sticky or tacky patches, which indicate incomplete curing. Look for discolouration or variations in gloss compared to fully cured sections. If you gently press the surface and find any uneven texture or softness, this suggests uncured resin. Use a plastic scraper to test specific areas; if the resin lifts easily, it’s likely uncured. Additionally, if gravel moves freely, this indicates inadequate resin binding. Keep in mind the cure time and the quality of resin, as these significantly affect the final result. Proper installation techniques are vital for achieving a durable driveway, so ensure you follow manufacturer guidelines during repairs. By accurately identifying these sections, you can effectively carry out repairs and restore your gravel surface. Proper removal methods are essential to avoid damaging the underlying surface.
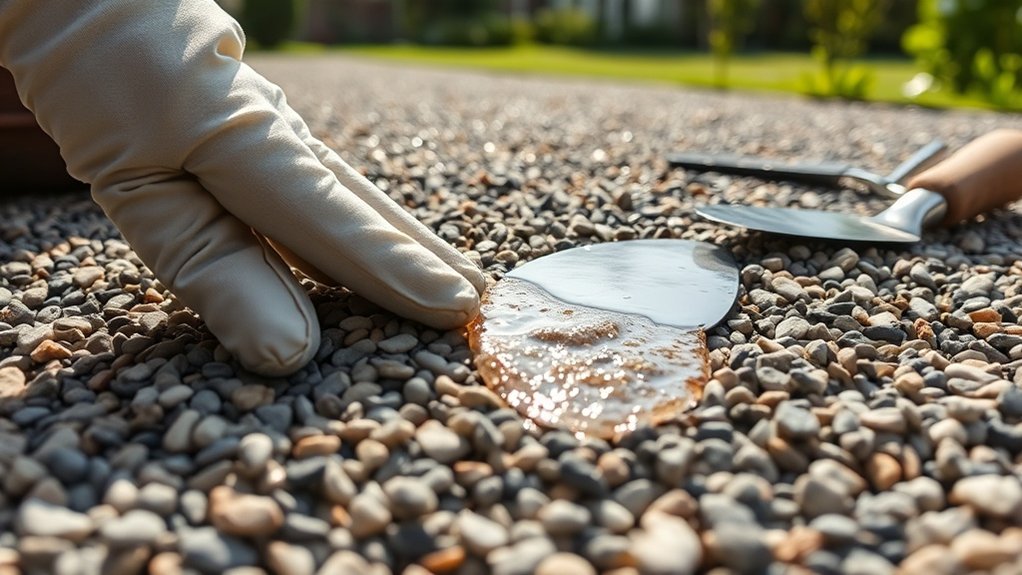
Remove Loose Material
Removing loose material is crucial for maintaining the integrity of uncured resin-bound gravel. Start by using a plastic scraper or putty knife to gently lift any loose sections without harming the underlying surface.
For stubborn areas, you may need to tap or chisel carefully. If you encounter hardened spots, sand them down with coarse grit paper, then switch to finer grit for a smooth finish.
Next, apply a solvent such as acetone or isopropyl alcohol to the uncured resin, allowing it to soak in for effective softening. Always test the solvent on a small, hidden area first.
Dispose of all removed materials correctly to avoid contamination. Remember to wear protective gloves and ensure proper ventilation throughout the process.
Clean Substrate Thoroughly
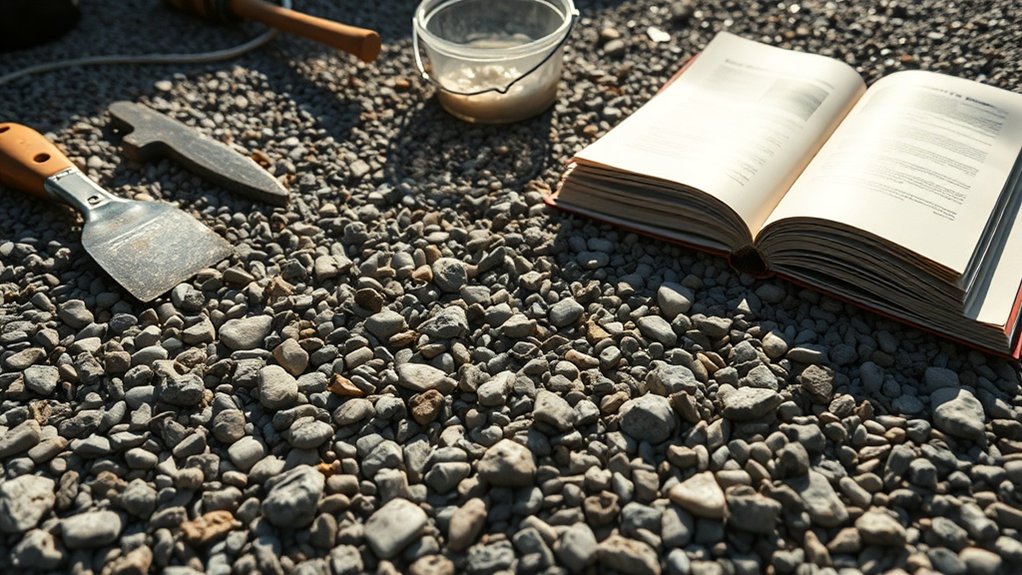
Cleaning the substrate thoroughly is crucial for tackling uncured sections of resin-bound gravel. Start by clearing the area of any debris to prevent damage during cleaning. Use a stiff broom, a garden hose, and a low-pressure washer if necessary. Regular maintenance, such as sweeping and gentle washing, is key to keeping your substrate in good condition.
| Step | Action |
|---|---|
| 1. Clear Area | Remove debris and loose materials. |
| 2. Use Tools | Use a stiff broom and garden hose. |
| 3. Inspect Sections | Identify and check uncured areas. |
For tough stains, you might consider using oxalic acid, but do so with caution. Always favour gentle cleaning methods to avoid damaging the aggregate, ensuring the substrate remains in optimal condition.
Proper Mixing Techniques for Repair
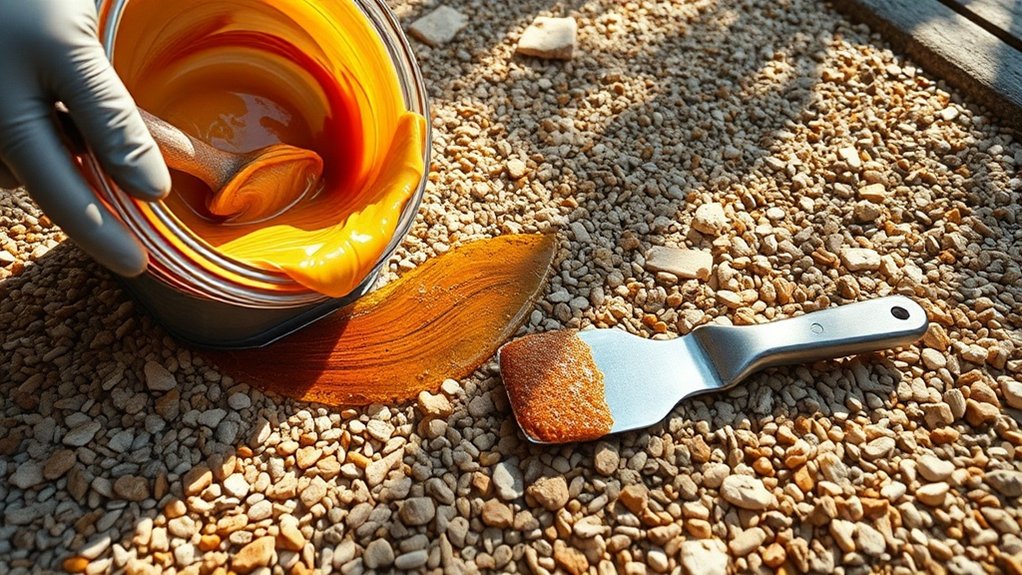
When mixing resin-bound gravel for repairs, using the right techniques is crucial for a durable finish.
Start with a forced action mixer, like the Rhinovator, for a consistent blend; avoid concrete mixers as they won’t achieve the same uniformity.
Mix Part A for 10-20 seconds before adding Part B, then combine everything for no more than 4 minutes.
Be mindful of the weather; in colder conditions, you may need to mix for a bit longer or use accelerators.
Opt for sharp-edged aggregates of varying sizes to improve texture and grip, ensuring they’re dry to prevent clumping during mixing.
Ensuring Aesthetic Consistency
To ensure aesthetic consistency in resin-bound gravel, concentrate on effective colour matching, appropriate aggregate selection, and careful surface finishing.
For instance, choosing aggregates that complement each other can create a seamless look.
Paying attention to these aspects will enhance the overall design and keep your surface looking attractive over time.
Color Matching Techniques
To ensure aesthetic consistency in resin-bound gravel installations, it’s crucial to choose colours that harmonise with your property’s architecture.
Start by assessing your home’s style and select shades that complement it. Use colour blending techniques to create a unified look, ensuring all chosen colours work well together to prevent patchiness.
Test larger samples to see how different shades look in natural light and alongside nearby structures. Incorporate a variety of tones for added depth, while adhering to local planning regulations.
Lastly, prioritise UV stability and weather resistance to keep the colours vibrant over time. Consulting with professionals can offer valuable guidance in achieving your desired colour scheme effectively.
Aggregate Selection Guidelines
Selecting the right aggregates is crucial for both aesthetics and structural integrity in resin-bound gravel installations. Focus on using hard materials like granite or quartz, which are durable and can withstand wear and tear, ensuring a long-lasting surface.
It’s also important to ensure the aggregates are clean; dust and organic matter can hinder proper resin bonding, resulting in weak surfaces. Make sure to thoroughly clean and mechanically dry your aggregates, keeping moisture content below 0.5% before mixing.
For a consistent appearance, opt for aggregates that are uniform in colour and size, ideally within the 2–5mm range for residential driveways. This not only enhances the look but also maintains structural integrity, preventing issues like patchy surfaces and early degradation.
High-quality aggregates are essential for a durable and attractive resin-bound gravel installation.
Surface Finishing Touches
Achieving a consistent look in resin-bound gravel surfaces requires careful attention to detail, as even small imperfections can spoil the overall appearance.
Start by trowelling the mixture to remove excess aggregate and level the surface for a uniform texture. Use finishing tools like power floats to compact the material and improve smoothness, which helps to minimise visible flaws.
Products like “Ultrabind Glide” can make spreading easier and reduce trowel marks. Consistent lighting and wetting techniques, such as pressure washing, can enhance highlights and decrease patchiness.
Pay close attention to edge finishing and transitions to avoid abrupt changes in texture or colour. Following these steps ensures a visually appealing, uniform surface that remains intact over time.
Ideal Weather Conditions for Application
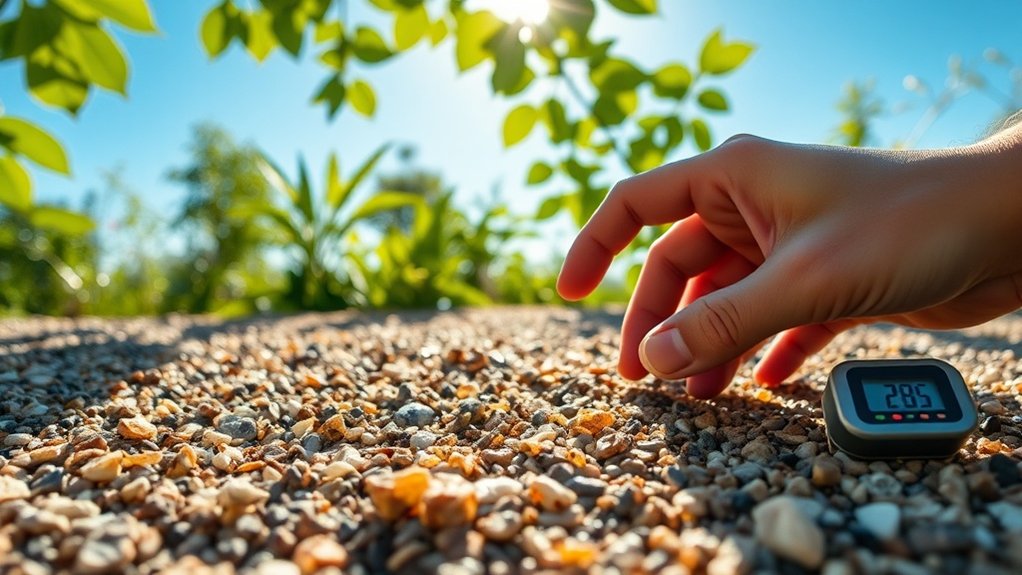
When installing resin-bound gravel, it’s crucial to know the ideal weather conditions for a successful application. The temperature should be between 10°C and 25°C, with 23°C being optimal. Avoid installing if it’s below 5°C or above 25°C. Ensure the conditions are dry; there should be no moisture on the surface, and check the forecast for at least 24 hours without rain.
| Weather Factor | Ideal Condition | Cautionary Note |
|---|---|---|
| Temperature | 10°C – 25°C | Avoid below 5°C or above 25°C |
| Moisture | Completely dry | No surface wetness |
| Humidity | Low to moderate | High humidity can delay curing |
Keep an eye on the weather to avoid issues with curing and adhesion.
Best Practices for Future Installations
To ensure a successful resin-bound gravel installation, it’s crucial to focus on surface preparation and mixing techniques.
Start by thoroughly cleaning the surface with a high-pressure washer to remove any dirt and debris. Level the base by filling in any cracks or potholes for stability. Use a solid base material, such as concrete or compacted gravel, to support the resin-bound mixture.
When mixing, stick to the recommended ratio of resin to aggregate, which is typically 3:1, and use a forced-action mixer for an even consistency. It’s important to mix each batch consistently to maintain quality.
Lastly, consider drainage solutions and install flexible edging to create clear boundaries, which will help prevent spillage and ensure a durable, long-lasting surface.
Frequently Asked Questions
How Can I Test if My Resin Has Cured Properly?
To check if your resin has cured properly, use methods such as surface firmness checks, scratch tests, and pull-off adhesion tests. Look for signs like a consistent sheen and resistance to solvents. For example, if you gently scratch the surface with your fingernail and it doesn’t leave a mark, that’s a good sign. If the resin feels hard and shows no tackiness, it’s likely cured correctly.
What Tools Do I Need for Removing Uncured Resin?
You’ll need scraping tools, solvents like acetone, and safety equipment such as gloves and goggles. Statistics indicate that half of accidents happen due to insufficient safety measures, so always prioritise proper protective gear when removing resin.
Can I Apply More Resin Over Partially Cured Areas?
No, you shouldn’t apply more resin over partially cured areas. If the resin hasn’t fully cured, it can lead to poor adhesion, resulting in delamination and other issues. Always ensure that each layer is completely cured before adding another. For example, think of it like painting a wall: if the first coat isn’t dry, the second coat won’t stick properly.
How Long Should I Wait Before Repairing Resin-Bound Gravel?
It’s best to wait 24 to 48 hours after applying resin before making any repairs. This allows the surface to cure properly, helping to avoid issues like poor adhesion and unsightly finishes. For example, if you apply resin on a Monday, aim to wait until Wednesday or Thursday to start any repairs. This patience ensures a lasting result.
Is It Safe to Walk on Resin-Bound Surfaces Before Full Curing?
Walking on resin-bound surfaces before they have fully cured can be risky. It’s best to wait at least 6 to 8 hours for light foot traffic. This helps to prevent any permanent marks or damage, ensuring the surface remains strong and durable. For instance, think of it like walking on freshly laid concrete—it’s tempting, but waiting is key to maintaining a good finish.
Conclusion
In conclusion, fixing resin-bound gravel that won’t set is akin to repairing a worn-out carpet—each component needs attention. Start by pinpointing the problem areas, using the correct mixing techniques, and ensuring suitable weather conditions. This approach will help restore the quality and appearance of your surface. Remember, the secret to durable results lies in careful preparation and execution. By following these straightforward practices, your future installations will demonstrate lasting strength and appeal.