To create a DIY resin-bound gravel slope installation, start by ensuring the gradient is safe and effective for drainage, ideally between 1.5% and 5%. Prepare a stable sub-base using robust materials like MOT Type 3 aggregate. Make sure to use porous materials for good drainage. Mix your resin and aggregates thoroughly, aiming for a 7% resin-to-aggregate ratio. Keep an eye on the weather, particularly humidity levels. By following these steps, you’ll lay a solid foundation for a lasting installation.
Key Takeaways
- Ensure the slope gradient is between 1.5% and 5% for proper drainage and structural stability.
- Use a minimum 18mm layer of resin and strong base materials like MOT Type 3 for long-lasting results.
- Thoroughly prepare and compact the sub-base to prevent movement and improve stability.
- Mix the resin and aggregates at a recommended ratio of 7% for the best bonding and coverage.
- Install effective drainage solutions, such as channel drains, to manage water runoff and avoid pooling.
Understanding Slope Gradient and Safety
When planning a resin-bound gravel installation on a slope, understanding the gradient is crucial for safety and durability. Gentle slopes can enhance the appearance, while steep gradients pose challenges that need careful consideration. Ensure the resin layer is at least 18mm thick to prevent cracking and instability. Proper grading and compaction of the slope’s base are essential to avoid movement and maintain strength. Additionally, excellent water drainage capabilities ensure compliance with local drainage regulations to reduce flood risks. Implementing drainage solutions at key areas will further enhance the structural integrity of your installation.
Ensuring a Stable Sub-Base
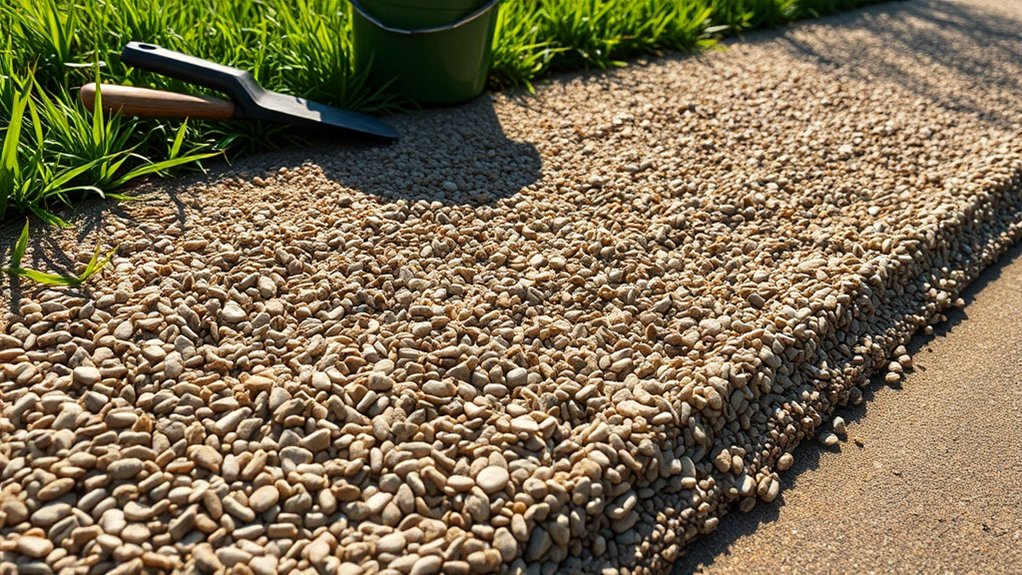
To ensure a stable sub-base for your resin-bound gravel slope, consider the right slope gradients, select robust base materials, and incorporate effective drainage solutions. A carefully planned sub-base improves stability and aids in proper water runoff, minimising potential future problems. Using AC14 open textured tarmac as a base material can enhance the strength and permeability of the installation, ensuring a durable surface. Additionally, consulting with load-bearing support options will ensure your sub-base meets the necessary requirements for long-lasting performance.
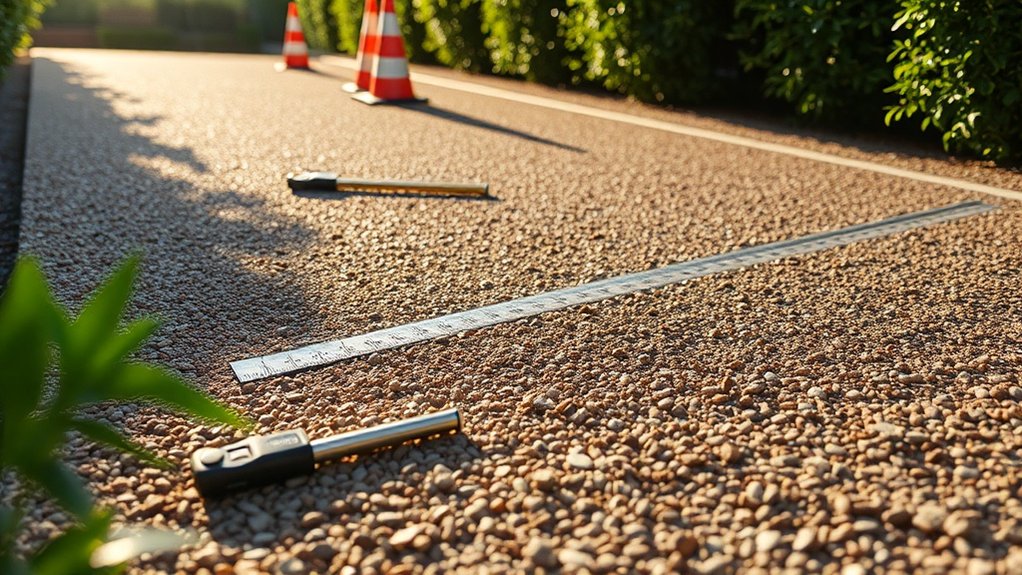
Ideal Slope Gradients
Getting the right slope gradient is crucial for a stable sub-base in resin-bound gravel installations. For optimal performance, aim for gradients of up to 5% (approximately 1 in 20), which work best for resin surfaces. If your analysis shows slopes between 5% and 10%, be ready to use specialised techniques to manage resin flow. Slopes exceeding 10% will need extra structural support and proper drainage to avoid issues like resin runoff before it cures. Always ensure a minimum fall of 1.5% (1 in 66) for effective drainage. Additionally, a clean and stable foundation, as highlighted by the importance of proper surface preparation, is essential to promote long-lasting results. By carefully controlling these gradients, you can minimise gravitational forces and improve the long-term durability and appearance of your installation. Furthermore, ensure the proper drainage channels are in place to handle water runoff effectively.
Solid Base Materials
Choosing the right base materials is crucial for a stable sub-base in your resin-bound gravel installation.
Consider using MOT Type 3 aggregate for its strength and permeability, or macadam and open textured tarmac for their durability and porosity.
If you’re opting for concrete, ensure it’s at least 100mm thick with a high strength rating to support heavy traffic.
Asphalt is also a great choice, known for its smoothness and durability in resin applications.
For optimal stability, compact each layer thoroughly, ideally between 100mm and 250mm deep, and take care of any underlying soil conditions.
Effective Drainage Solutions
When installing a resin-bound gravel slope, effective drainage is crucial for a stable sub-base. Start with porous materials like MOT Type 1 to ensure water can pass through easily.
Consistent compaction is important; it allows for drainage while preventing settling. Aim for a gradient of at least 1:80 to encourage natural water runoff.
Add channel drains along the downhill edges to catch surface water, connecting them to soakaways for proper water management.
For subsurface drainage, consider French drains with perforated pipes wrapped in geotextile fabric. Make sure to regularly check and maintain these systems to clear debris and avoid blockages, ensuring your installation stays functional and stable over time.
Effective Drainage Solutions
When installing your resin-bound gravel slope, effective drainage is crucial to prevent water build-up and erosion.
Plan drainage channels thoughtfully and consider soakaway methods that help excess water seep into the ground.
Proper drainage won’t only improve the durability of your installation but also its overall performance.
Drainage Channel Design
Effective drainage channel design is crucial for preserving resin-bound gravel slopes, as it helps prevent water build-up that can cause erosion and damage.
To improve the look of drainage channels, consider using slot drains that blend in with the surface while effectively capturing runoff. Position these channels along the edges of slopes to intercept excess water, ensuring they follow the natural gradient for optimal performance.
Regular maintenance, such as clearing debris and checking for blockages, is essential. Use durable materials like polymer concrete for longevity, and ensure the channels have a slight gradient to direct water to designated drainage points.
Soakaway Installation Techniques
Managing water runoff is essential, not just on the surface but underground too, and this is where soakaway systems prove invaluable.
Start your soakaway design with a percolation test to check if your soil can absorb water properly. Carefully excavate the chosen area, removing any debris or stones.
Next, lay a base of pea shingle or sharp sand for stability and drainage. Wrap your plastic crates in a geotextile membrane to prevent blockages, then connect the inlet pipe securely to the membrane to avoid leaks.
Finally, backfill the area with compacted materials to support the structure. This straightforward approach will help you create an efficient soakaway, minimising localised flooding and supporting groundwater levels.
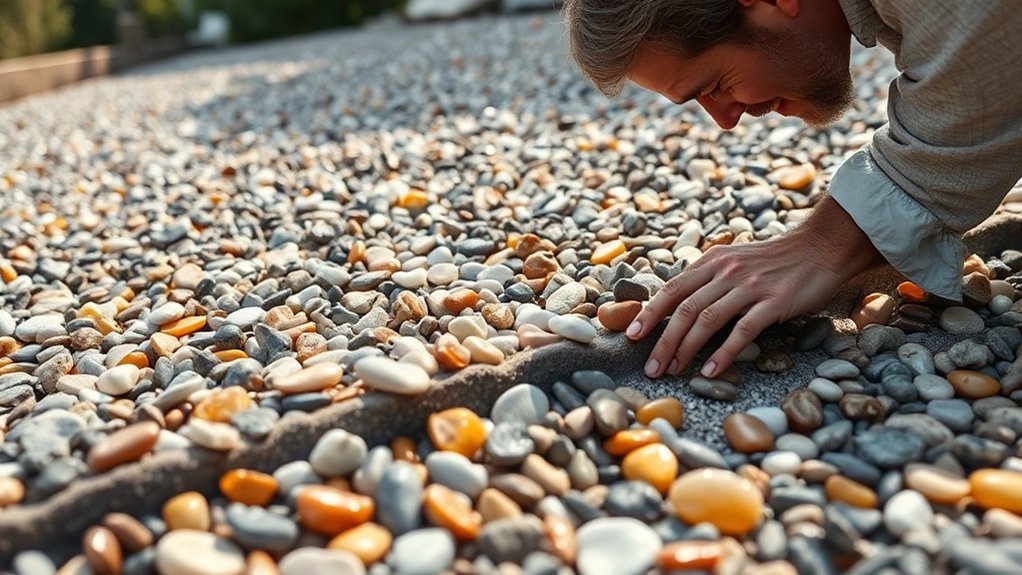
Choosing the Right Materials
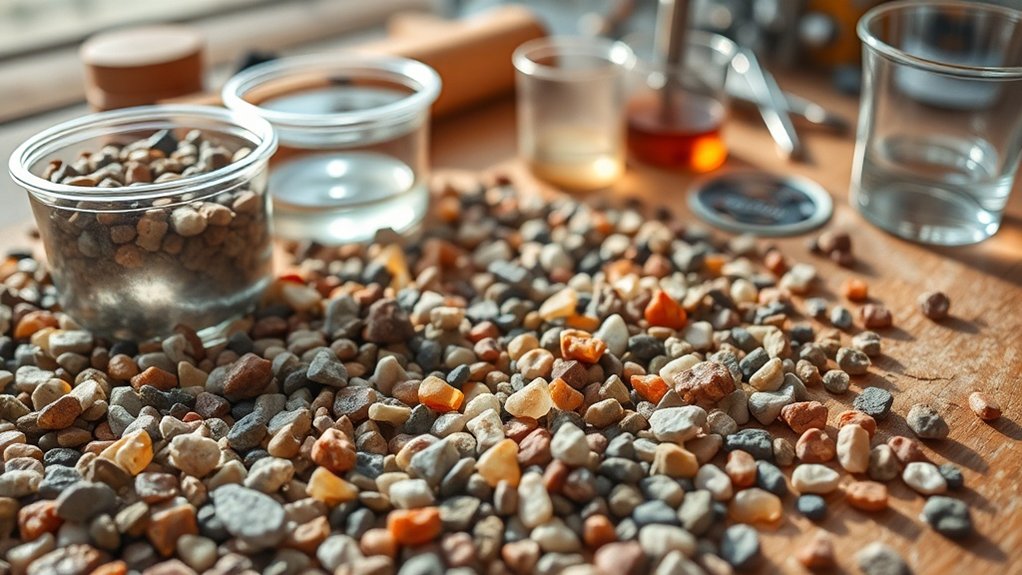
Choosing the right materials for your DIY resin-bound gravel slope is crucial for durability and functionality.
Start with angular stones between 1-6mm for better grip, especially on slopes. Opt for washed or crushed stone to ensure cleanliness and porosity, which helps with water drainage and prevents pooling.
For the resin, select a polyurethane-based option that’s UV-stable and flexible, allowing for slight base movements without cracking. Make sure to apply the resin in dry conditions, ideally when temperatures are above 5 degrees Celsius.
Consider aggregates with recycled content for a more sustainable choice.
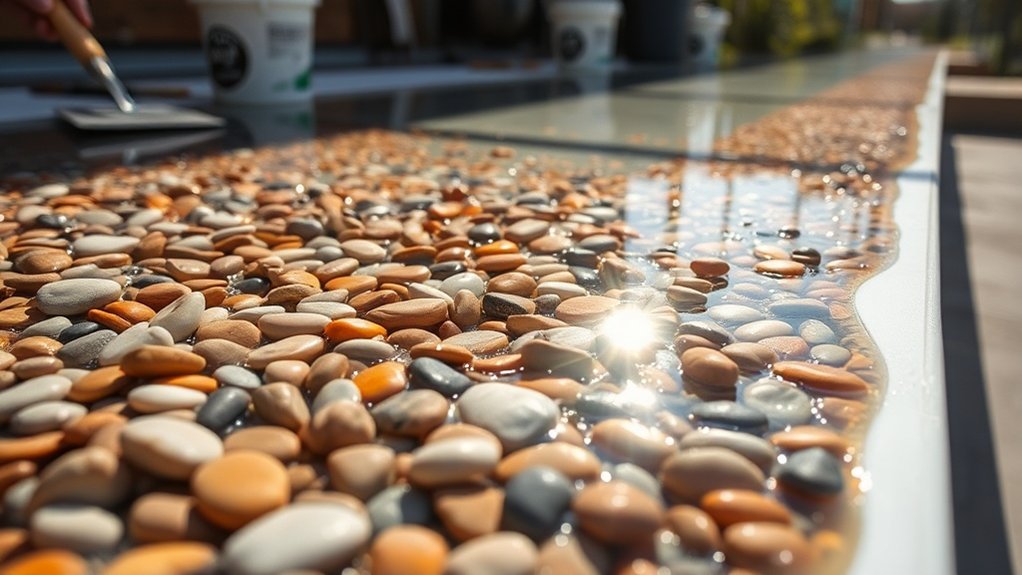
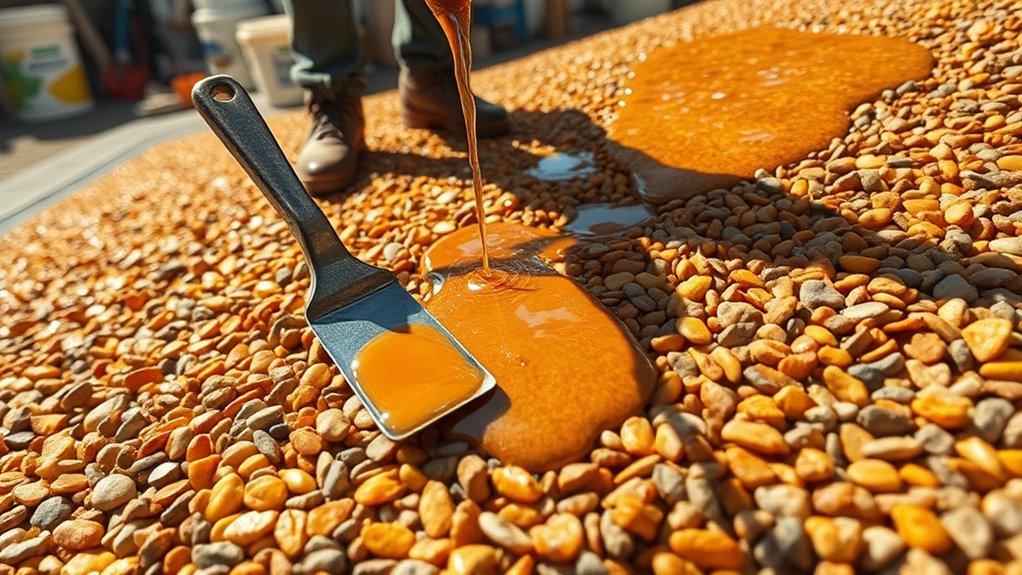
Mixing Resin and Aggregate Properly
Getting the resin-to-aggregate ratio right is crucial for a durable and attractive surface. Aim for about 7% resin by weight.
As you mix, pay attention to your methods and timing; thorough mixing ensures each aggregate is properly coated for optimal performance.
Remember to include anti-slip additives, as these can significantly improve safety and traction on your finished slope.
Correct Resin Ratios
When mixing resin and aggregate for a resin-bound gravel slope, it’s crucial to achieve the correct resin ratio for durability and performance.
Aim for a resin content between 7% and 15% by weight of the aggregate, typically mixing 3 parts aggregate to 1 part resin.
However, you may need to adjust this based on the size and texture of the aggregate. For example, finer aggregates may require a higher resin ratio for full coverage.
Always weigh your materials for consistency and carry out a test mix to ensure the ratio suits your specific needs before proceeding with the full installation.
Mixing Techniques Overview
To create a high-quality resin-bound gravel slope, it’s crucial to master the mixing techniques for resin and aggregate. Here’s a straightforward guide:
- Choose the Right Mixing Equipment: Use a forced action mixer for thorough blending; standard household tools aren’t suitable for larger batches.
- Stick to Recommended Mixing Times: Timed mixing ensures consistency and prevents colour variation—aim for two to three minutes in the mixer.
- Layer Your Materials Properly: Start with the aggregate and gradually add the resin to ensure even coverage and avoid dry spots.
- Check the Final Mix: Before using, ensure the mixture looks like wet sand, with all stones evenly coated.
These techniques are essential for creating a durable and stable slope.
Adding Anti-Slip Additives
Mixing resin and aggregate properly is crucial for both the appearance and safety of your slope.
To improve anti-slip properties, add materials like crushed glass to your resin mix. Ensure a minimum resin-to-aggregate ratio of 7% for optimal bonding.
Combining crushed glass with sand can create a textured finish that enhances grip while still looking good. For extra safety, sprinkle anti-slip crushed glass on the surface before the resin sets.
Using angular stones and non-slip aggregates will further enhance stability on slopes. Recycled glass is a great eco-friendly option.
This combination will create a durable, high-friction surface that can withstand various weather conditions, ensuring your installation remains safe and visually appealing.
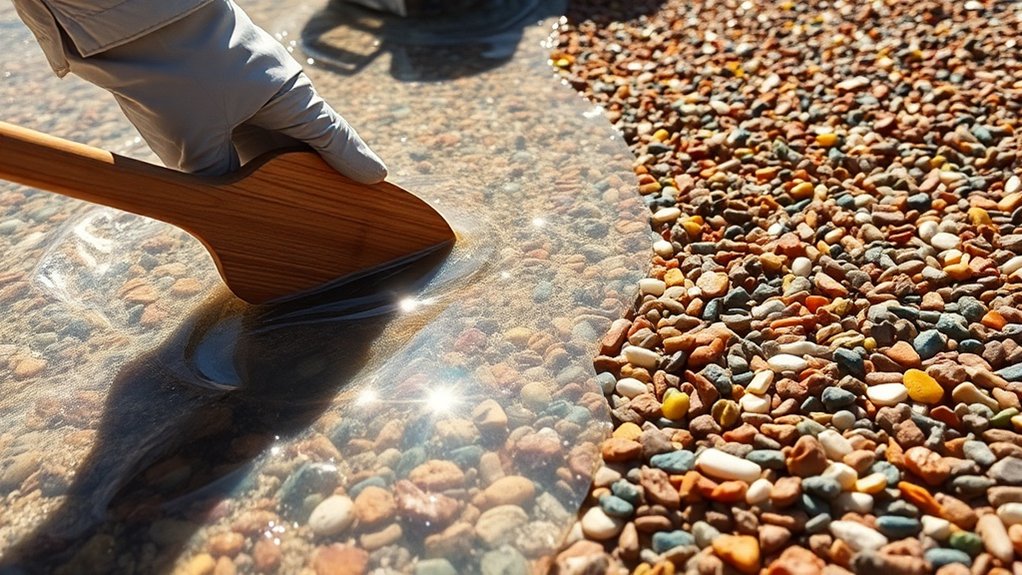
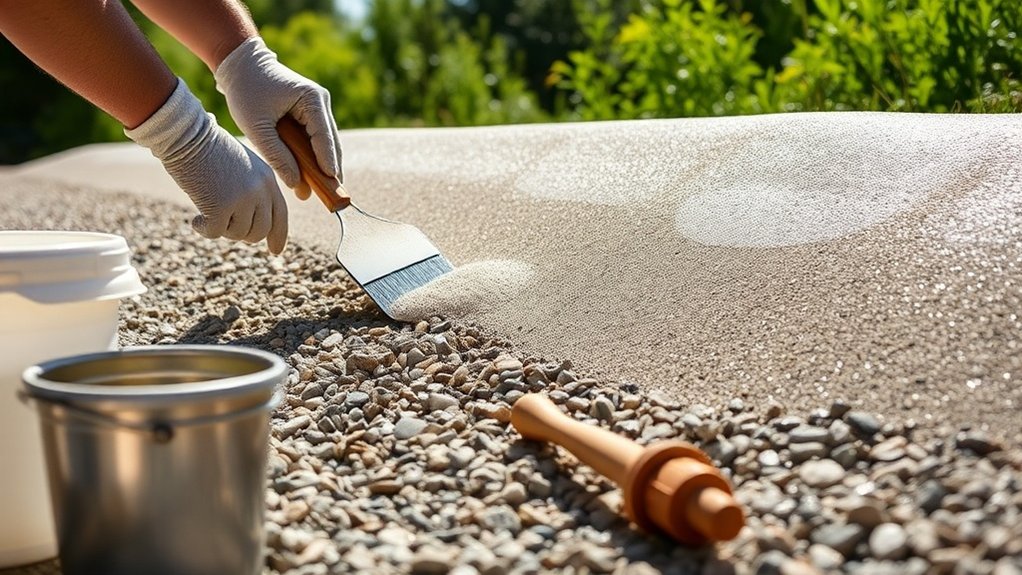
Application Techniques for Even Coverage
To achieve even coverage when applying resin-bound gravel on slopes, it’s essential to follow a few straightforward techniques:
- Grid Marking: Clearly outline your work area to help maintain consistent coverage.
- Manageable Piles: Break the mixture into smaller piles for easier spreading and better control.
- Use Leveling Tools: A spirit level is invaluable for checking evenness and making adjustments as necessary.
- Final Compaction: Ensure the surface is compacted thoroughly to prevent settling and promote durability.
Environmental Conditions for Installation

When installing resin-bound gravel on slopes, it’s crucial to consider environmental conditions to ensure a long-lasting finish. Weather plays a significant role in moisture management during the installation process. For optimal results, aim for air temperatures between 5°C and 30°C. Avoid installation on rainy days, as damp conditions can compromise the resin bond.
| Condition | Recommendation |
|---|---|
| Temperature | 5°C – 30°C |
| Rain | Do not install if raining |
| Humidity | Keep a close eye on levels |
Make sure proper drainage systems are in place, and be mindful of strong winds that can disrupt the application. Always check the stability of the substrate and its moisture content before proceeding to ensure a reliable installation.
Safety Precautions and Planning
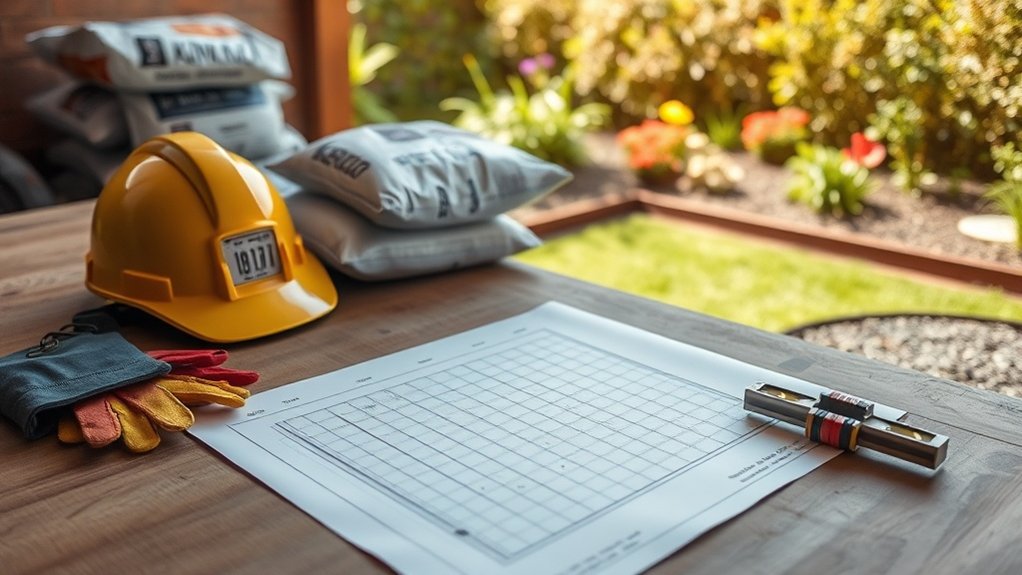
To ensure a safe and efficient resin-bound gravel installation on slopes, it’s essential to focus on thorough planning and safety measures.
Start with a detailed risk assessment to pinpoint any potential hazards.
Here are some key safety precautions to consider:
- Provide all workers with appropriate safety gear, including gloves, goggles, non-slip boots, and hard hats.
- Carry out a comprehensive ground inspection to ensure stability and check for any debris before starting the installation.
- Design effective drainage systems to avoid water pooling, which could compromise the surface’s integrity.
- Clearly mark boundaries and secure the work area with signage to prevent unauthorised access.
Maintenance Tips for Longevity
To keep your resin-bound gravel slope in top condition, regular maintenance is key.
Start by removing moss promptly to prevent slipping and surface decay. Sweep the area with a stiff broom and use non-metallic leaf blowers for larger sections. For a thorough clean, hose down or gently pressure wash the slope, ensuring you keep the pressure below 150 bar and maintain a safe distance.
Make it a habit to inspect your drainage system monthly, particularly after heavy rain, to prevent water pooling.
Lastly, check the anti-slip treatments and UV protection every few years to ensure safety and maintain the appearance of your installation.
Troubleshooting Common Issues
Troubleshooting common issues with your resin-bound gravel slope can significantly improve its performance and lifespan. Here are some key areas to consider:
1. Resin Curing: Avoid installing during rainy weather and manage temperatures carefully.
Rapid curing can compromise the bond strength.
2. Aggregate Selection: Choose angular, well-graded aggregates and ensure the resin-to-aggregate ratio is correct for optimal bonding.
3. Surface Preparation: Make sure the base is thoroughly dry and apply a primer to boost adhesion and stop stone migration.
4. Slope Management: Keep an eye on the gradient and drainage to prevent water pooling and ensure effective resin bonding.
Frequently Asked Questions
How Long Does Resin-Bound Gravel Take to Cure Fully?
Resin-bound gravel usually takes between 24 to 48 hours to cure completely, but this can vary based on the weather. For instance, warmer temperatures can speed up the curing process, while high humidity or rain might prolong it. So, if you’re planning a project, it’s best to check the forecast!
Can I Install Resin-Bound Gravel Over Existing Concrete Surfaces?
Yes, you can install resin-bound gravel over existing concrete surfaces. It’s similar to giving your car a protective coat; proper surface preparation is key to ensuring a long-lasting finish. This not only boosts the appearance but also enhances durability and helps prevent future problems.
What Tools Are Essential for a DIY Resin-Bound Gravel Project?
For your DIY resin-bound gravel project, you’ll require mixing equipment, such as a sturdy drill, along with surface preparation tools like primer applicators. Don’t forget finishing tools, such as trowels, to ensure a quality and consistent installation.
Is It Possible to Customize the Color of the Resin-Bound Gravel?
Yes, you can customise the colour of resin-bound gravel by using colour mixing techniques and resin pigments. By blending different aggregates and adding dyes, you can achieve unique shades that suit your design preferences and complement your property’s features. For instance, if you want a warm earthy tone, you might mix brown aggregates with a hint of red pigment.
How Do I Handle Bubbles in the Resin During Application?
To manage bubbles in resin during application, mix slowly to effectively remove air. Pour in thin layers, using heat if necessary to help trapped air escape. This approach ensures a smooth, flawless finish for your project.
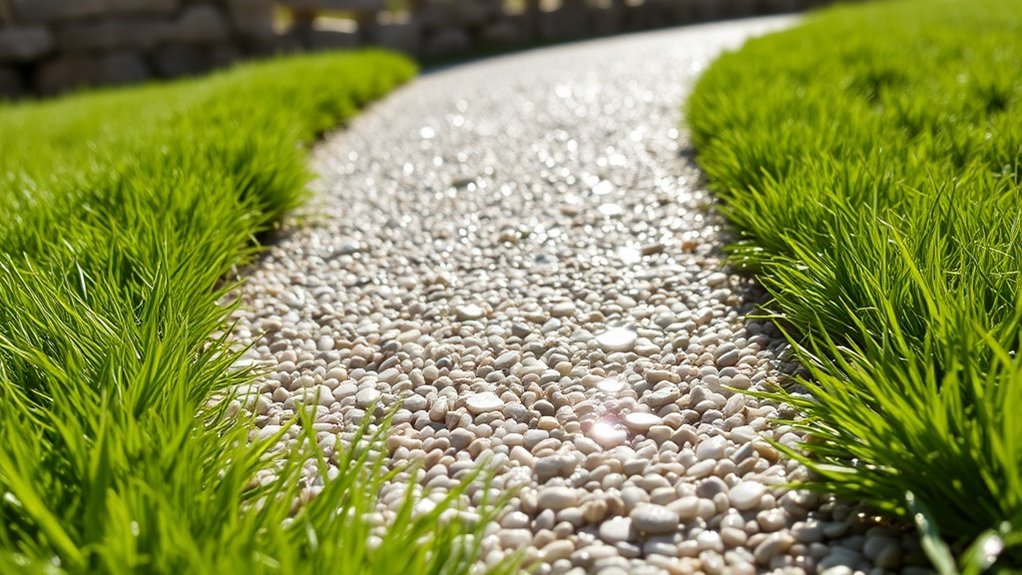
Conclusion
In summary, by following these steps for a DIY resin-bound gravel slope installation, you can achieve a durable and attractive surface. Did you know that a well-installed resin-bound surface can decrease water runoff by as much as 30% compared to traditional tarmac? By focusing on drainage and the right materials, you enhance your property while also supporting environmental sustainability. With proper planning and maintenance, your installation can deliver lasting benefits for many years.