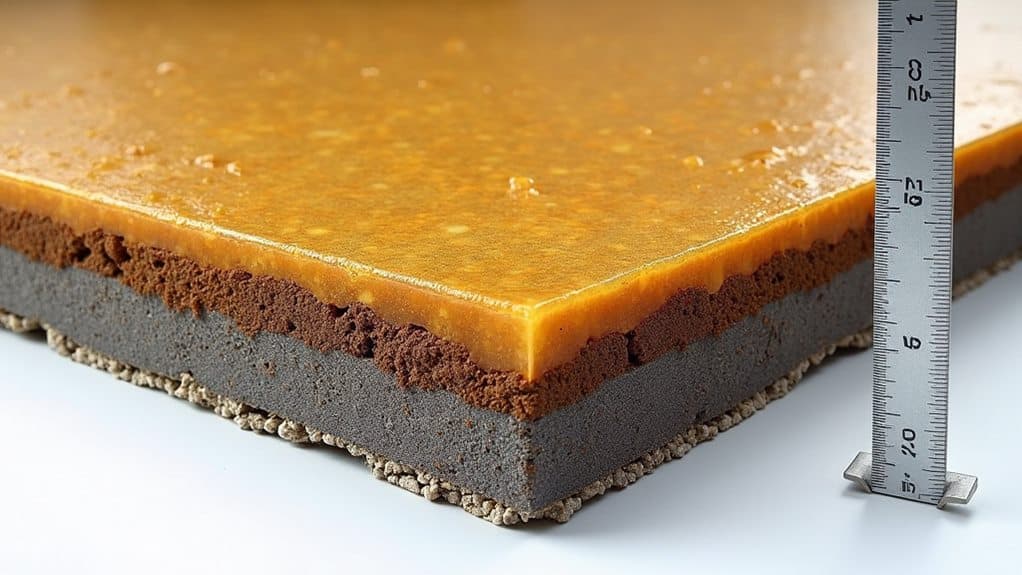
A proper resin driveway needs to be 18mm thick for standard 3-6mm aggregates, though depths can vary from 15-25mm based on stone size. For lasting results, ensure the overall thickness is at least three times that of your largest stone.
The base layer is crucial – lay at least 100mm of MOT type 3 aggregate over a geotextile membrane to stop weeds pushing through.
Getting a professional to install your resin driveway is worth every penny, as precise depth control and proper mixing are vital for achieving the expected 15-20 year lifespan.
Think of it like building layers of a cake – each layer needs the right thickness and proper preparation for the whole thing to work properly.
Skimping on depth or cutting corners with DIY installation often leads to costly repairs down the line.
Key Takeaways
Resin driveways need an 18mm minimum depth when using stones sized 3-6mm, though most installations sit between 15-25mm.
For best results, make your driveway at least three times thicker than your largest aggregate stone. Think of it like making sure a pebble is fully covered in cement.
The foundation matters just as much – lay a solid 100mm base layer and compact it properly before adding your resin surface.
Going thinner than 16mm is asking for trouble. You’ll likely end up with cracks and surface damage, especially with Britain’s changeable weather.
Whilst DIY might be tempting, professional installation is worth every penny. A properly laid resin driveway will last 15-20 years, but only if installed correctly with quality materials.
Remember: A rushed job now means repairs later, so it’s better to do it right the first time round.
Standard Resin Driveway Depth Requirements
For aggregates between 3mm to 6mm, the minimum depth requirement of 18mm is non-negotiable. This standard ensures your driveway’s longevity and strength, backed by thorough industry testing.
UV-stable polyurethane and proper stone ratios are vital for achieving the correct thickness. Most installations range from 15-25mm, based on your chosen aggregate and specific needs.
A qualified contractor with proper depth-laying experience is crucial. Skimping on depth to save money typically backfires, leading to cracks and early failure.
Your contractor must maintain precise, even depth across the entire surface. Whilst a thinner layer might seem cost-effective initially, it’s a false economy that often results in costly repairs or full replacement within a few years.
Base Layer Specifications
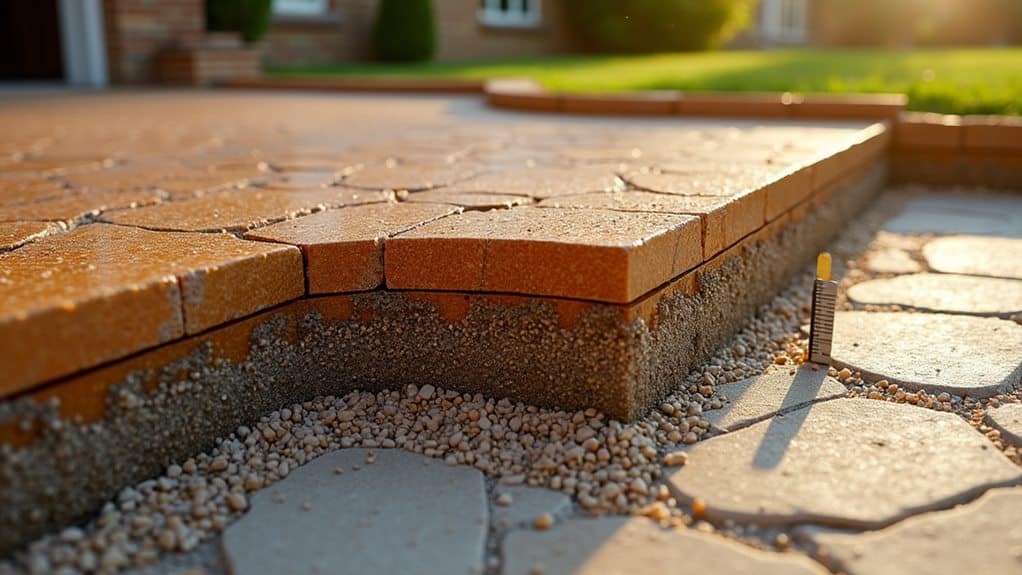
Base Layer Requirements
A solid base layer is crucial for a lasting resin driveway. Your base must be at least 100mm thick – this isn’t negotiable, as it provides the essential support needed for daily use.
When properly installed, resin driveways can handle impressive loads of up to 400 tonnes per cm².
MOT type 3 aggregate makes an ideal sub-base material. For best results, build your base in layers for added strength.
Always lay geotextile membrane underneath to stop weeds from growing through and damaging the surface.
If using concrete as your base, you must let it cure for at least 7 days before applying resin.
Proper compaction at each stage is vital – skip this step and you risk an uneven surface and settlement problems later on.
Aggregate Size and Thickness Correlation
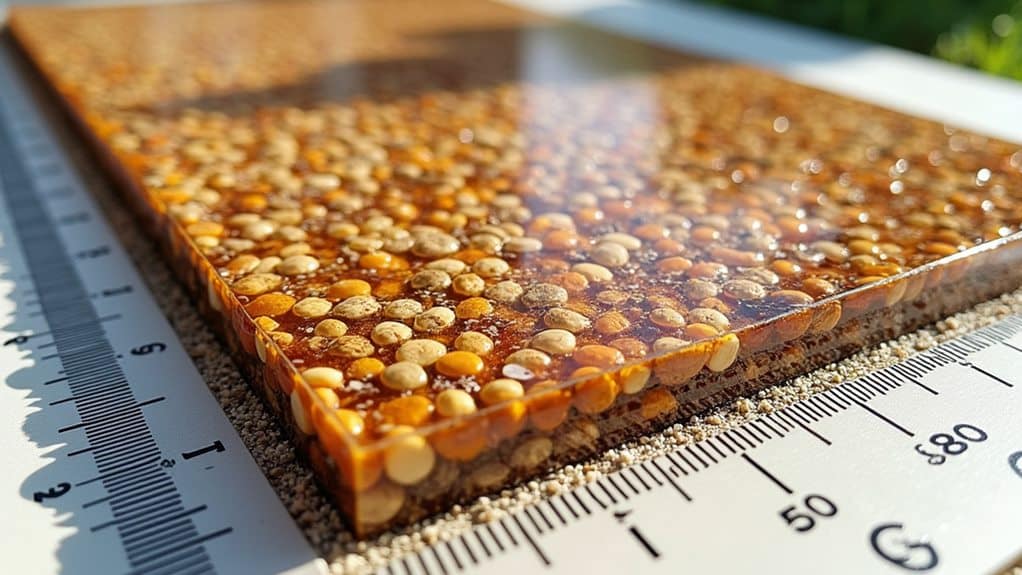
The thickness of a resin driveway must be at least three times the size of your largest stone.
For common 3-6mm aggregates, an 18mm depth ensures proper stability.
When installed correctly, resin surfaces can handle loads up to 400 tonnes per square centimetre – roughly the weight of a small passenger aircraft.
Larger stones need deeper depths to stay secure, but you’ll want at least 16mm thickness regardless of aggregate size.
Your contractor might suggest greater depths based on how you’ll use the driveway and which materials you choose.
Sizing Guide For Depth
Essential Depth Guidelines for Resin Driveways
The key rule for resin driveway depth is simple: maintain a minimum thickness of three times your largest aggregate size. For example, if using 6mm stones, your driveway needs at least 18mm depth.
Common UK aggregate sizes:
- 3mm stones = 9mm minimum depth
- 6mm stones = 18mm minimum depth
Experienced contractors ensure correct depth measurements, which are crucial for both durability and appearance.
Skimping on depth often leads to cracking and surface failure, resulting in costly repairs down the line.
Professional installation matters because:
- Correct mixing of resin and aggregate requires expertise
- Proper depth assessment varies with ground conditions
- Even spreading ensures consistent wear
Sticking to these depth requirements helps create a driveway that not only looks smart but stands up to Britain’s weather conditions and regular vehicle use.
Always check that your chosen installer understands and follows these crucial measurements.
Aggregate Mix Ratios
Aggregate Mix Ratios
Getting the right mix between aggregates and resin is crucial for a lasting driveway surface. The proper balance of these materials determines how well your driveway will hold up over time. Poor resin ratios often lead to early surface failure, so it’s essential to get it right from the start.
A forced action mixer with 100kg capacity or more ensures the materials blend properly.
Follow the three-times rule when planning your installation: your surface depth should be three times the size of your largest aggregate. For example, 6mm stones require an 18mm depth minimum. Adding sand to your aggregate mix boosts strength by up to 25% and improves grip in wet conditions.
Watch out for common mixing mistakes that could ruin your driveway. Too little resin makes the surface weak and unstable, whilst too much creates brittleness.
Aim for just enough resin to coat each aggregate particle thoroughly – this ensures both strength and a quality finish.
Layer Thickness Standards
Layer Thickness for Resin Driveways
The essential rule for resin driveway thickness is simple: the depth must be three times the size of your largest aggregate. For standard 3mm to 6mm aggregates, aim for an 18mm minimum thickness to ensure a hard-wearing surface.
The correct mix with kiln dried sand is vital for creating a strong, durable finish. Skimping on depth is a costly mistake. Laying less than 16mm risks early wear, cracking and surface failure.
Maintaining even depth across the entire driveway is crucial for structural stability. Quality contractors understand how aggregate size affects required depth and will adjust specifications based on your site conditions.
Getting the thickness right from the start prevents expensive repairs later. Think of it like building a house – without proper foundations, the structure won’t last.
This measured approach to layer thickness isn’t merely advisory – it’s essential for creating a durable resin driveway that stands the test of time.
Essential Sub-Base Preparation Steps
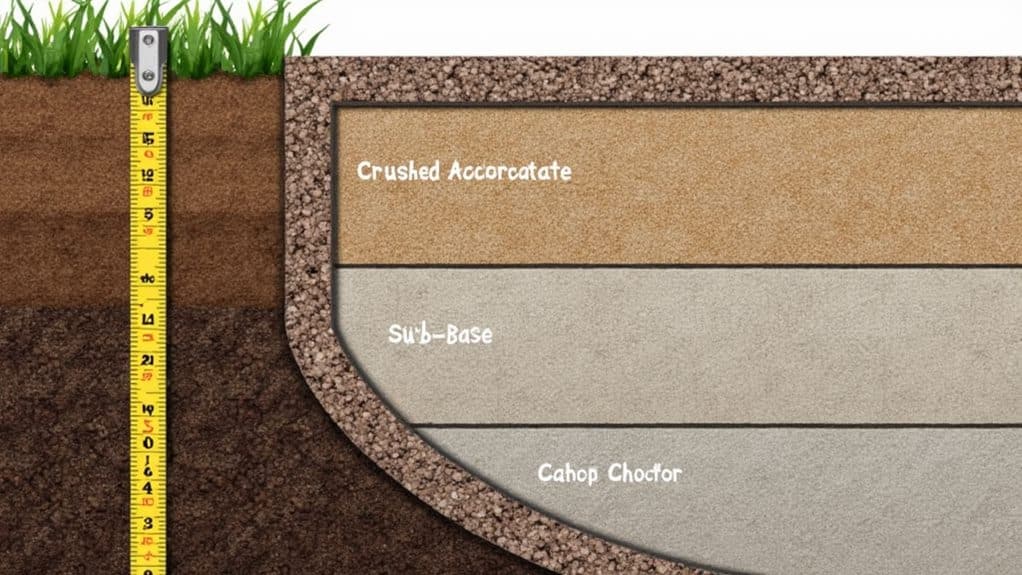
Proper Sub-Base Preparation for Resin Driveways
A solid resin driveway starts with precise sub-base preparation. The foundation must be at least 100mm thick and properly compacted to prevent future sinking or damage.
| Preparation Step | Critical Requirements |
|---|---|
| Surface Clearing | Clear vegetation and debris, fix existing damage |
| Moisture Control | Base must be fully dry before resin work begins |
| Edge Installation | Fit proper edging to maintain shape |
The surface must be perfectly level – much like laying patio slabs – as any bumps or dips will show through the final finish. Temperature and moisture levels need constant monitoring throughout installation. Any standing water or damp patches will stop the resin from bonding properly.
Edge restraints are essential, not optional. Think of them as picture frames – they hold everything in place and maintain the driveway’s shape over time. A final sweep for debris and thorough inspection of repairs should be your last step before the resin goes down.
Weather Impact on Installation Depth
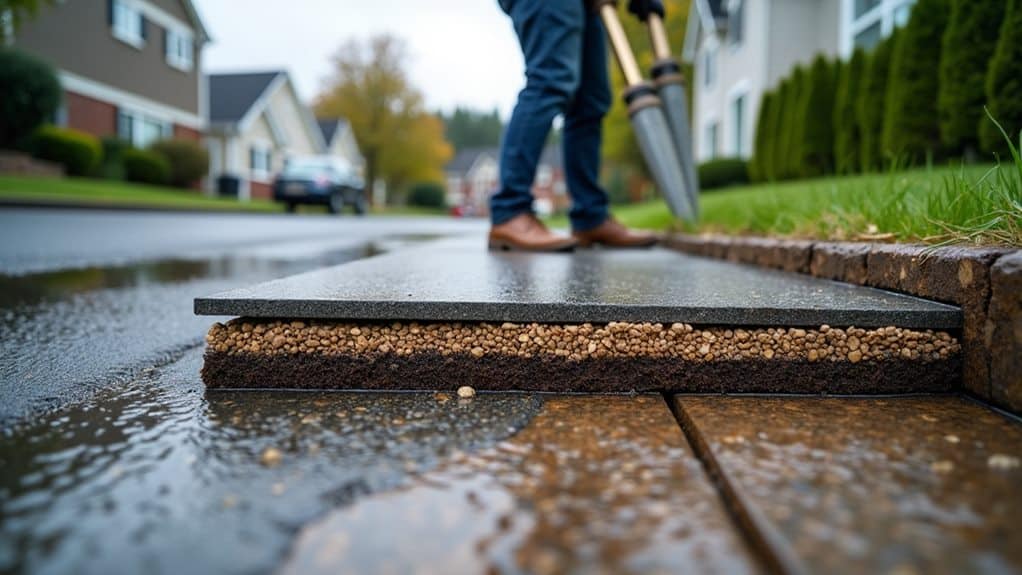
Weather conditions significantly affect resin driveway installation depth. Temperature plays a crucial role in how the resin cures and bonds with aggregates.
UV-stable resins offer better performance during temperature changes – much like a good winter coat adapts to different conditions – whilst non-UV options may turn yellow or crack over time.
Keep humidity below 80% to ensure even depth across your driveway. The temperature must stay at least 3°C above the dew point during installation – think of it like preventing condensation on your bathroom mirror.
Avoid installing during rain or damp conditions, as moisture will prevent proper resin thickness and bonding. Just as you wouldn’t paint your garden fence in the rain, installing a resin driveway needs dry weather for best results.
Temperature Effects During Curing
Temperature Effects During Curing
Temperature is crucial for a successful resin driveway installation, directly affecting both the curing process and final depth. The ambient temperature must stay at least 3°C above the dew point throughout installation. For optimal results, maintain temperatures between 5°C and 25°C and follow proper surface preparation.
Key temperature factors to monitor:
- Check weather forecasts to avoid rain during and after installation – moisture will damage the resin.
- Keep humidity under 80% to prevent moisture issues affecting depth.
- Install during stable temperatures for even curing across all layers.
- Avoid hot weather, which can speed up curing and harm surface quality.
Temperature variations during installation can lead to uneven curing rates across your driveway, potentially affecting its depth and long-term durability.
Much like waiting for paint to dry, rushing the process or installing in poor conditions will compromise the final result.
Rain and Moisture Concerns
Moisture poses a major challenge when installing resin driveways in the UK’s often-wet climate. Check weather forecasts and surface moisture carefully before starting work – ideal conditions are crucial for a proper finish.
UV-stable resins work best in our climate, offering better protection against moisture damage and maintaining flexibility in varying conditions. Use a hygrometer to ensure humidity stays below 80%, as higher levels can disrupt the curing process.
Avoid any rain during installation, particularly when the resin is bonding with the aggregates. The temperature needs to be at least 3°C above the dew point to stop condensation forming, which would spoil the surface finish.
Any trapped moisture during installation can lead to a soft, bouncy surface – definitely not what you want for a driveway.
For proper drainage that meets SUDS regulations, install a porous sub-base. This allows rainwater to filter through naturally rather than pooling on top.
A well-designed drainage system keeps your resin driveway stable and prevents water logging, which is especially important given our British weather.
Professional Installation Best Practices
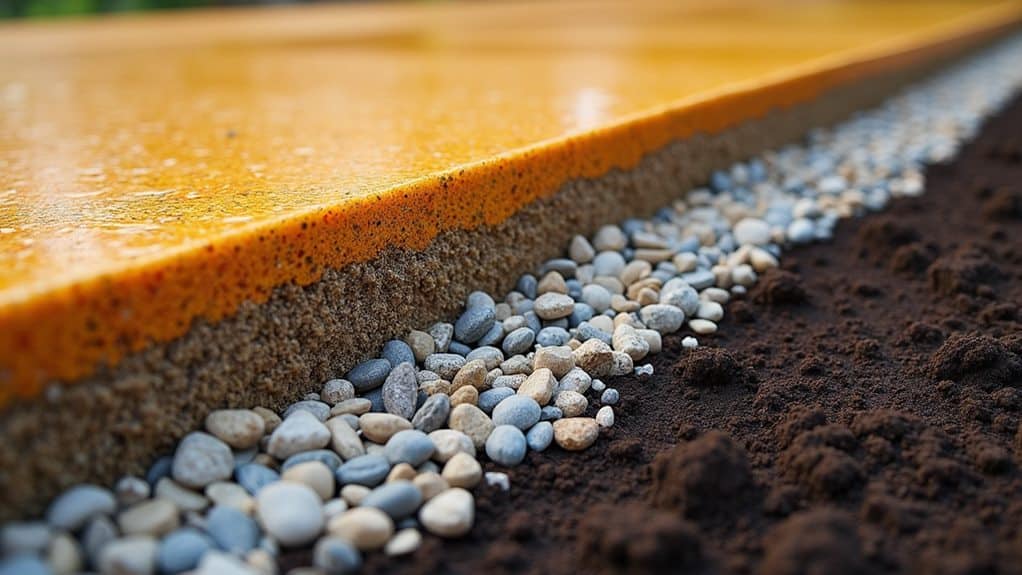
Professional Resin Driveway Installation Guide
Proper installation of resin driveways requires strict attention to detail and British industry standards. For Resin Bound systems, ensure an 18mm minimum depth for lasting durability. A forced action mixer (100kg+ capacity) is vital for thorough blending. The sub-base must be clean, stable and properly prepared before laying any resin.
Key installation steps:
- Check weather conditions – surface temperature must be 3°C above dew point to avoid moisture issues.
- Mix resin and aggregates precisely, using quality materials for optimal strength.
- Clean base surface thoroughly and ensure it’s completely dry before priming.
- Lay resin mixture at 18mm minimum depth (three times your chosen aggregate size).
These aren’t optional guidelines – they’re essential for a professional finish. Your chosen contractor should regularly check quality throughout installation, ensure sufficient materials are on hand, and maintain consistent application standards.
Getting these basics right directly affects your driveway’s lifespan and performance.
Remember: A properly installed resin driveway can last 15-20 years, whilst poor installation often leads to early repairs and additional costs.
Common Depth-Related Issues
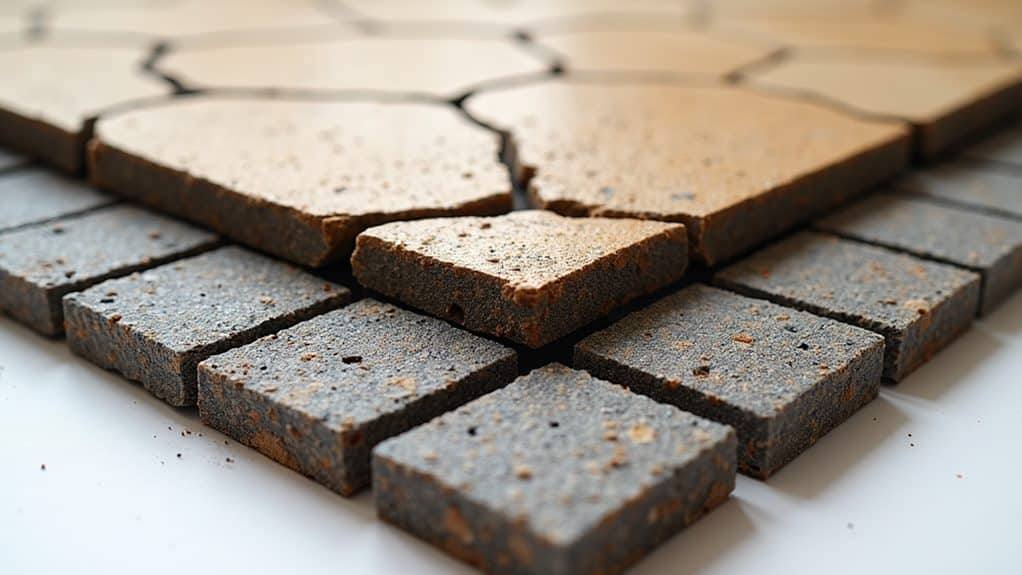
Poor depth in resin driveways (anything under 16mm) causes major structural issues, as thin layers can’t handle vehicle weight properly.
Getting the depth right requires expert installation and proper groundwork – it’s not a DIY job.
Skimping on depth typically leads to cracks and shifting, especially if the sub-base isn’t prepared correctly.
You’ll spot trouble areas where the surface is uneven, with thinner patches wearing down faster than the rest of your driveway.
Insufficient Layer Problems
Poor resin driveway thickness causes serious problems that slash its durability and function. The minimum 18mm depth is non-negotiable – anything less leads to costly repairs. Only trust skilled UK contractors who properly mix resin and aggregates on-site.
Skimping on depth triggers these issues:
- Unstable, bouncy surface when resin depth is less than three times your largest stone size.
- Cracks and damage from poor base support, particularly during British weather swings.
- Bumpy patches and stress points causing ripples and dips.
- Fast-developing wear that needs early repairs or complete replacement.
Think of it like laying carpet – too thin a layer won’t protect what’s underneath and wears through quickly. Quality contractors ensure proper thickness throughout, saving you from these headaches.
While thinner layers might seem cheaper initially, they’ll drain your wallet through endless repairs. The right thickness isn’t just box-ticking – it’s protecting your investment.
Proper installation by experienced UK contractors means getting it right first time, avoiding the bother and expense of putting things right later.
Cracking From Base Movement
Cracks in resin driveways typically occur due to movement in the layers beneath. When laying a resin driveway, you must consider the crucial link between surface depth and base stability. A forced action mixer with the right aggregate mix ensures even material spread to prevent cracking. The surface needs at least 16mm thickness to withstand damage, especially when the base shifts.
Poor base compaction often leads to trouble. Without proper compaction levels, the subbase settles unevenly, creating weak points in your resin surface. This becomes particularly tricky in British summers when concrete bases expand and stress the resin above.
Multiple layers underneath can make these problems worse, so getting the right installation depth is vital. Keep an eye on your base layer through regular checks to spot movement early. Look out for dips or shifts, as these warn of future cracks.
A proper thickness during installation and routine base monitoring will help prevent surface cracks. The key is combining suitable depth with thorough base preparation for a lasting, crack-free resin driveway.
Uneven Surface Distribution
Uneven Surface Distribution
Uneven surface distribution poses a significant risk during resin driveway installation, alongside base movement concerns. Professional installation is essential for proper curing and bonding.
Resin Bound driveways require precise depth control and thorough surface preparation. Any thickness below 16mm will create an uneven surface, compromising both durability and looks.
Key factors to prevent uneven surfaces:
- Use a minimum 18mm depth for 3-6mm aggregates to ensure proper coverage
- Hire experienced contractors familiar with correct application methods
- Ensure base layer is properly levelled and compacted before resin application
- Check thickness regularly during installation to avoid costly repairs later
Poor depth control during installation typically causes uneven resin surfaces. Much like laying a carpet, maintaining consistent thickness throughout is crucial for a long-lasting, professional finish.
Most UK homeowners find that investing in proper installation saves considerable hassle and expense down the line.
Proper thickness control prevents common issues seen in British driveways, such as puddles forming after rain or visible patches where the surface has worn unevenly.
Think of it as spreading butter on toast – too thin in places will lead to problems.
Long-Term Performance Factors
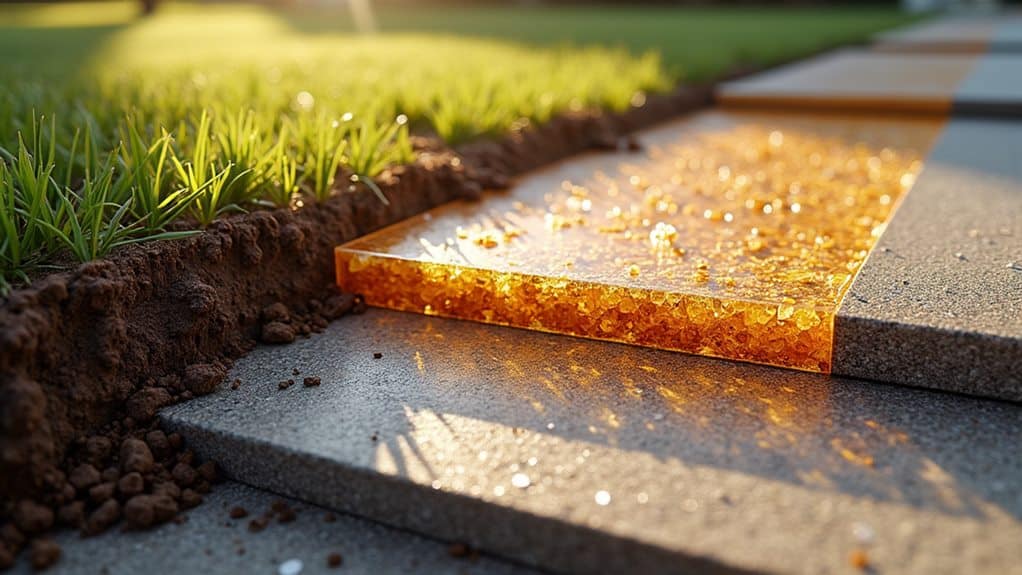
Long-term success of your resin driveway depends on several key factors, with proper thickness being crucial. The surface must maintain an 18mm minimum thickness to prevent early wear and structural problems. A UV-stable resin blend helps maintain flexibility and prevents both cracking and colour fading.
The thickness requirement isn’t random – much like how a thin ice sheet cracks easily, a resin surface needs proper depth to handle British weather and daily use. Your driveway needs a solid foundation at least 100mm deep to properly support the resin layer. For best results, the resin thickness should be three times the size of the largest stone used in the mix.
Poor thickness often leads to problems, particularly in summer when heat can cause thin surfaces to warp and crack. Think of it like a chocolate bar left in the sun – too thin, and it’ll bend and break.
Working with qualified contractors who understand these requirements is essential. Whilst it might be tempting to save money by scaling back on thickness, this usually leads to costly repairs down the line.
To protect your investment, stick to the recommended specifications and use experienced installers. It’s far better to do the job properly first time than to deal with repairs later.
Material Selection and Depth Guidelines
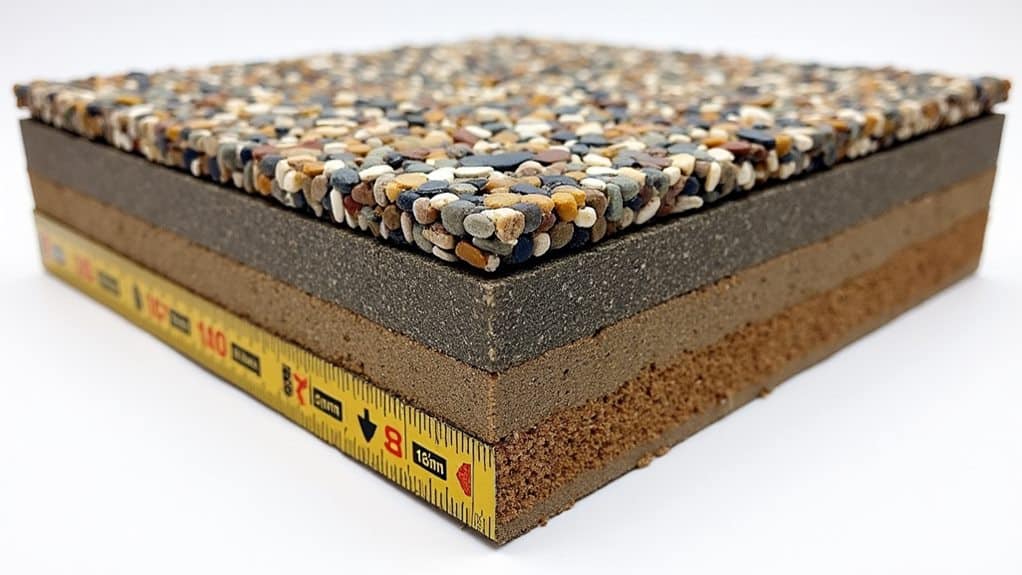
Resin Driveway Material and Depth Standards
The right materials and correct depth are crucial for a lasting resin driveway. Your driveway needs a minimum thickness of 18mm, laid over a solid base like porous concrete or tarmac. This 18mm depth isn’t random – it’s worked out at three times the size of the largest stone in your resin mix. A properly installed resin driveway can handle weights up to 400 tonnes per square centimetre whilst staying structurally sound.
Key requirements for installation:
- A properly prepared base with suitable sub-base materials to prevent shifting
- Minimum 18mm thickness when using standard 3-6mm stones
- Professional fitting to ensure even depth throughout
- Quality materials that bond well with the base layer
Skimping on thickness or rushing base preparation will lead to early wear and costly repairs.
Choose experienced contractors who understand these technical needs – they’ll ensure your driveway meets all depth requirements for the best durability and performance.
Using quality materials and following proper depth guidelines means your resin driveway should serve you well for years to come.
Most reputable UK contractors offer guarantees on their work, provided you maintain the surface properly.
Quality Control During Installation
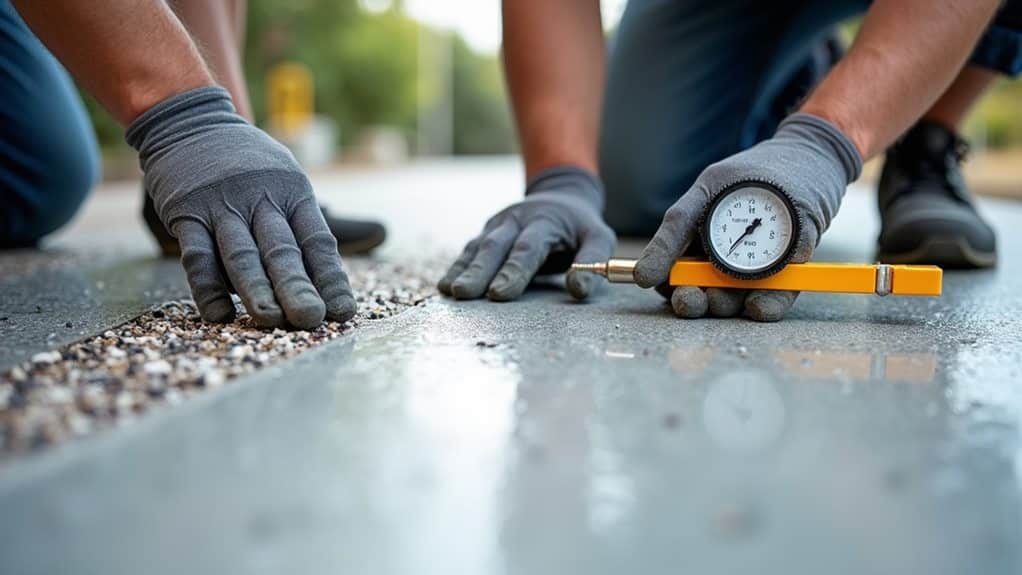
Quality Control During Installation
Proper quality control is crucial for resin driveway installation and requires close attention to several key factors. The mixing of resin and aggregates demands exact ratios to avoid soft, unstable surfaces. A forced action mixer (minimum 100kg capacity) ensures thorough material blending. Your chosen contractor must measure and mix these components precisely to maintain consistency throughout.
The British weather significantly impacts installation quality. Avoid laying resin driveways in rain or extreme heat – moisture damages the resin’s strength, whilst high temperatures speed up curing and can spoil the finish. The primer coat needs particular care, as over-application often leads to poor adhesion and reduced durability.
Skilled contractors prove essential for maintaining quality standards during installation. They monitor vital factors like temperature and humidity whilst ensuring proper surface prep and application methods. Their expertise helps prevent common mistakes that could affect your driveway’s performance.
Regular checks at each stage ensure your resin driveway meets professional standards.
Frequently Asked Questions
What Is the Minimum Depth of a Resin Driveway?
The minimum depth for a resin driveway is 18mm for optimal performance, though depths may vary depending on installation requirements. As a rule of thumb, ensure the depth is three times that of your largest aggregate size. For typical domestic driveways in the UK, this depth provides reliable durability whilst maintaining proper surface integrity.
What Is the Best Base for a Resin Driveway?
For a resin driveway, porous concrete or tarmac provide the strongest foundation, provided they’re installed over MOT type 3 sub-base. Proper drainage is essential for the base layer to ensure your driveway remains stable and durable throughout British weather conditions.
What Are the Pitfalls of Resin Driveways?
Resin driveways come with several crucial drawbacks: they’re costly to install, need regular upkeep, require expert fitting and can be sensitive to harsh weather conditions – all factors that might affect their long-term value for your property.
How Do You Prepare the Ground for a Resin Driveway?
Level your ground thoroughly and ensure proper drainage to prevent water pooling. Use MOT Type 1 as your base material – it’s the standard choice for UK driveways. Each layer needs proper compaction with a plate compactor or roller. Essential to check your soil’s stability first; simply jumping on the ground won’t do – get a proper assessment. Many British homeowners skip this crucial step and regret it later when cracks appear.
Conclusion
The correct depth makes or breaks a resin driveway. For a robust installation that lasts, you’ll need a 100mm sub-base topped with a 15-20mm wearing course. These measurements aren’t just numbers – think of them as your driveway’s foundation, much like the footings of a house. Skimping on depth is a costly mistake that leads to dips, cracks and early repairs. Stick to these specifications, and your resin driveway will serve you properly for years to come.
