
The amount of resin needed for resin-bound gravel ranges between 7% and 10% of your total mixture weight. Driveways and areas with vehicle traffic require the higher 10% ratio, whilst pedestrian paths can use the lower 7%. Your aggregates must be thoroughly clean and dry to ensure proper bonding. Smaller stones typically need more resin to achieve proper coverage – much like painting a surface with fine texture versus a smooth one. For best results, calculate your requirements carefully before mixing to avoid costly waste and ensure a professional finish.
Key Takeaways
Precise resin measurements are crucial for a sturdy finish:
- Use 5-7% resin for paths and patios, whilst driveways need 7-10% of total mixture weight
- Calculate your area in square metres and desired depth before ordering
- Add a 10% buffer to your calculations – it's better to have a bit extra than run short
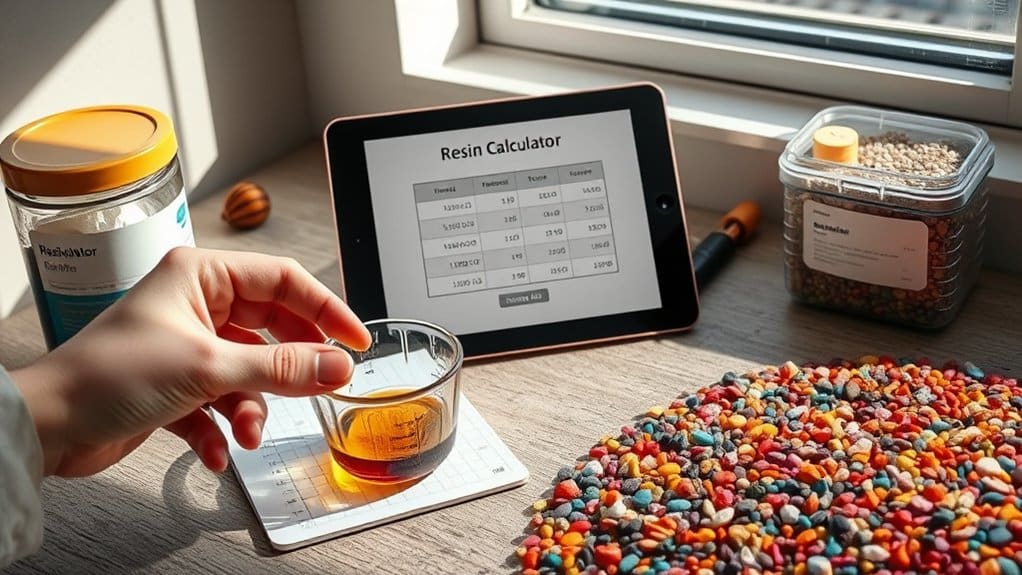
- Pop your measurements into a Resin Bound Calculator for quick, accurate figures
- Keep your aggregates bone-dry and debris-free for the best bond
For example, a typical 30m² driveway at 18mm depth would need roughly 15-18kg of resin. Think of it like making concrete – the right mix ratio ensures a proper set.
Understanding Resin-Bound Gravel Mix Design
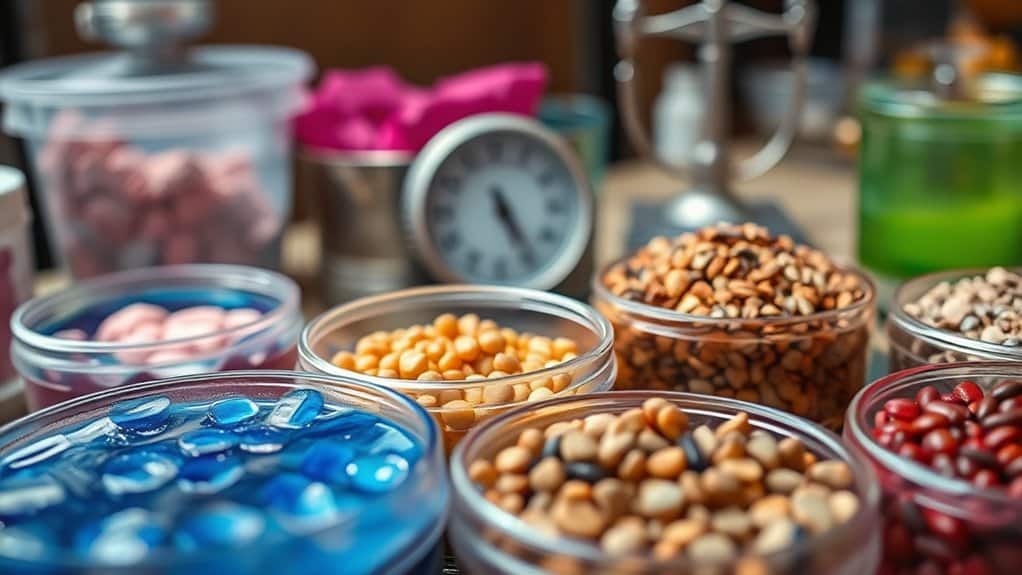
The success of resin-bound gravel surfaces hinges on proper mix design. A quality blend typically consists of 75% coarse aggregate (2-5mm) and 25% finer gravel (1-3mm). Adding 5% sand or crushed glass helps create vital non-slip properties – particularly useful for British weather conditions. For best results, ensure all aggregates are thoroughly dry and dust-free before mixing. Choose either polyurethane or aliphatic polyurethane resin, with the latter being ideal for UV-exposed areas like driveways and garden paths. Proper base preparation is crucial – much like laying a solid foundation for a house. A well-designed mix on a properly prepared base will create a durable, attractive surface that stands up to Britain's varied climate whilst maintaining its appearance for years to come. Additionally, using a permeable surface allows for effective water drainage, which is essential in preventing pooling issues. Furthermore, selecting a SUDS-compliant option ensures compliance with environmental standards for drainage in flood-prone areas.
Recommended Resin Coverage for Optimal Performance
Getting the right resin coverage is vital for durable gravel surfaces. Your resin-to-aggregate ratio needs to match both the stones you're using and how the surface will be used. For driveways, aim for higher resin content to handle vehicle weight, whilst paths can use slightly less.
A properly calculated mix ensures your surface won't crumble or shift over time. Think of it like making concrete – too little cement and it's weak, too much is wasteful. Most UK suppliers recommend 5-7% resin content for pedestrian areas and 7-10% for vehicles, but always check your specific product guidelines.
Moreover, the long lifespan of resin-bound surfaces can be significantly attributed to proper mixing during installation. Consider your aggregate type carefully, as lighter stones need more resin to bind effectively than denser ones. When in doubt, it's better to err on the side of more resin rather than risk an unstable surface. Additionally, ensure your base and sub-base preparation is optimal, as it significantly impacts the longevity and performance of the resin-bound surface.
Ideal Resin Percentage
Getting the right resin percentage is crucial for resin-bound gravel surfaces – you'll want between 7% and 10% of the total mixture weight. This sweet spot ensures your surface stays strong and stable. Choose a UV-stable resin, particularly for outdoor areas, to prevent yellowing and degradation. Your aggregates need to be spotlessly clean and bone-dry, much like preparing a wall before painting. Think of the resin and aggregate mix like making concrete – the proportions must be spot-on for the best results. For areas that will see heavy foot traffic or vehicles, like driveways, you might need to adjust towards the higher end of the resin percentage range. The correct permeable design in your installation promotes effective water drainage, which can enhance the overall surface longevity. Proper coverage factors in your resin application is essential for achieving optimal performance and durability. Before mixing, proper ground preparation is essential – just as you'd prepare soil before laying a patio. A well-prepared base will make all the difference to how long your surface lasts.
Performance Impact Factors
Understanding performance factors is vital when installing resin-bound gravel. Three main elements affect your surface quality: resin type, aggregate size and site conditions.
| Factor | Impact on Performance |
|---|---|
| Resin Type | Affects durability and colour retention |
| Aggregate Size | Smaller sizes increase resin consumption |
| Surface Preparation | Ensures strong adhesion and longevity |
For best results, choose UV-stable resin and aggregates between 1-5mm – think of these as similar in size to coffee grounds up to small pebbles. A clean, properly prepared base is essential, much like preparing a wall before painting. The right mixing ratios and proper weather conditions during installation will ensure your surface stays strong and looks smart for years to come.
Weather resistance is particularly important in the British climate, where surfaces face regular rain and temperature changes. Regular brushing and occasional pressure washing will keep your surface in top condition.
Selecting the Right Aggregates for Your Project

Choosing Aggregates for Resin-Bound Surfaces
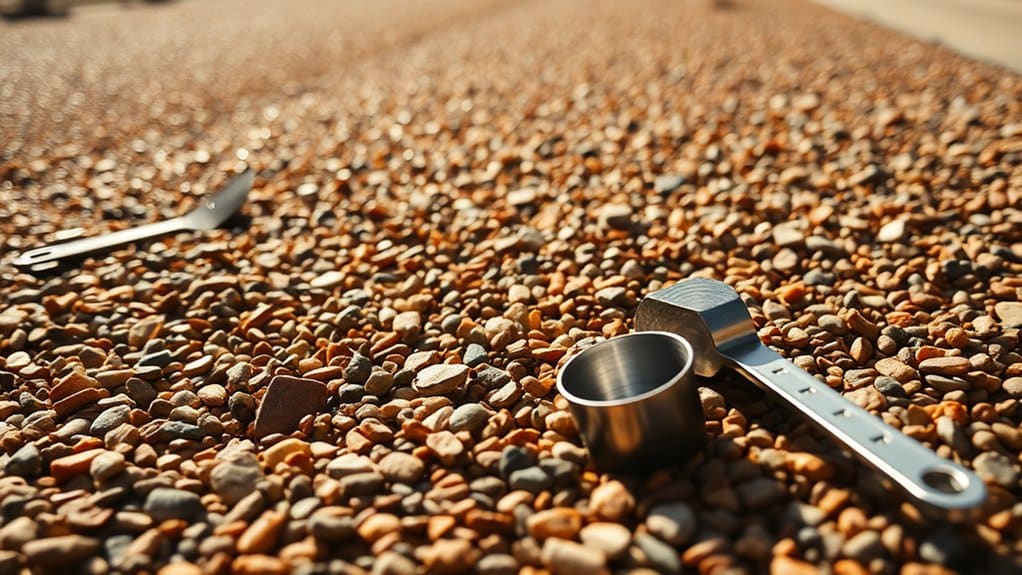
The success of your resin-bound project hinges on proper aggregate selection. Use stones between 2-5mm for driveways and paths, or 1-3mm for a smoother finish on patios.
Popular colour choices include Yorkshire Buff for a natural look or Silver Grey to complement modern gardens.
Ensure your aggregates are thoroughly dried and dust-free before mixing with resin – even small amounts of moisture can compromise the final surface.
If you're unsure, test a small batch first, as different aggregates can dramatically affect the finished look.
Aggregate Size Considerations
Choosing the right aggregate size for your resin-bound gravel is crucial for both looks and performance. A proper aggregate mix analysis will help determine the best combination for your needs. Most projects work well with stones between 1-10mm, striking a balance between smaller stones for smoothness and larger ones for drainage.
| Aggregate Size | Application | Benefits |
|---|---|---|
| 1-5 mm | Decorative surfaces | Smoother finish |
| 6-10 mm | High-traffic areas | Improved drainage |
| 5-10 mm | General use | Enhanced stability |
Smaller stones (1-5mm) work brilliantly for paths and patios where you want a sleek finish. Larger aggregates (6-10mm) are ideal for driveways and car parks, as they allow better water drainage. For most residential projects, a mid-range mix (5-10mm) offers the best of both worlds.
Color and Aesthetic Options
Colour choices can make or break your resin-bound gravel project. Our range offers 40+ colours, from smart charcoal grey to warm cream, plus natural stone shades that never go out of style.
Want to make a statement? Try bold reds or blues. Mix different aggregates, including recycled glass, to create unique finishes – perfect for driveways and garden paths.
For a truly bespoke look, consider geometric patterns or contrasting borders. Just ensure your chosen colours match your home's exterior and garden setting.
Many UK homeowners opt for classic greys and browns that work brilliantly with traditional brick houses and contemporary builds alike.
Remember to view samples outdoors, as colours can look different in natural light. Popular combinations include honey-toned aggregates with darker borders – a favourite for British front gardens.
Cleanliness and Preparation Importance
Clean, well-prepared materials are vital for a quality resin-bound gravel finish. Regular sweeping and water-rinsing keep aggregates spotless, whilst avoiding harsh cleaning products helps maintain the resin's strength.
A solid base is crucial – opt for well-compacted tarmac or concrete underneath. Good drainage is a must to prevent water pooling, particularly important given Britain's rainy climate.
Choose your stones carefully, considering their size and durability; for instance, 2-5mm aggregates work well for most domestic driveways. These basics ensure your surface looks smart and lasts for years to come.
Determining the Minimum Depth for Driveways
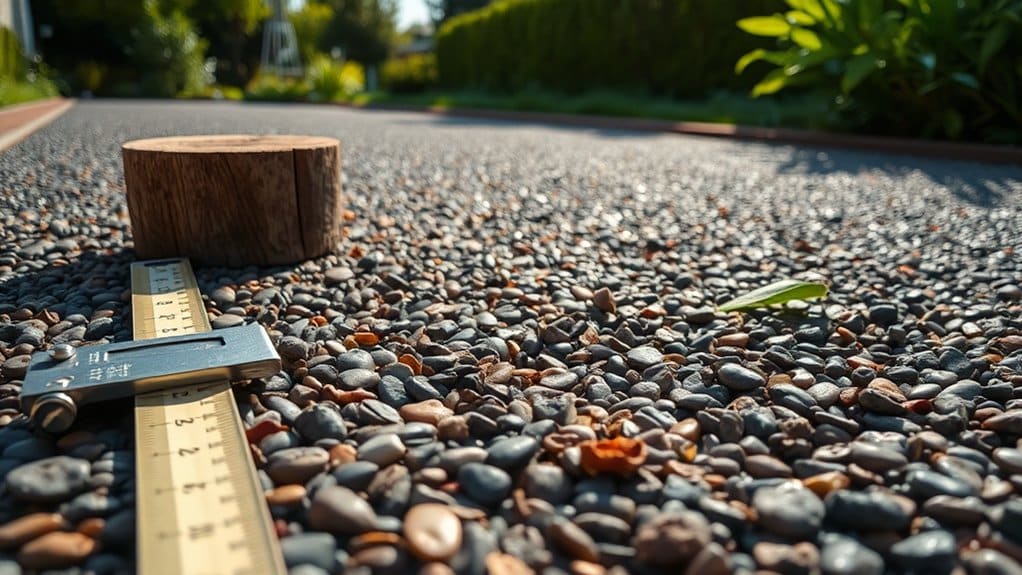
The ideal depth for resin-bound driveways starts at 18mm – this standard thickness ensures proper durability for most domestic uses.
When working with 3-6mm stones, this depth proves optimal for British weather conditions and typical vehicle loads.
Whilst you could lay 9mm with smaller stones, it's best avoided for driveways. Heavy-use areas, such as shared access ways or spots where delivery vans frequently park, need 25mm thickness.
Even depth across the entire surface prevents common issues like cracking and wear patterns – think of it like laying a carpet; any lumps or dips will show up and cause problems.
The key to success lies in proper groundwork beneath the resin layer. Just as you wouldn't build a house on shaky foundations, your driveway needs solid preparation to avoid sinking or shifting over time.
Importance of Contingency Planning in Resin Projects
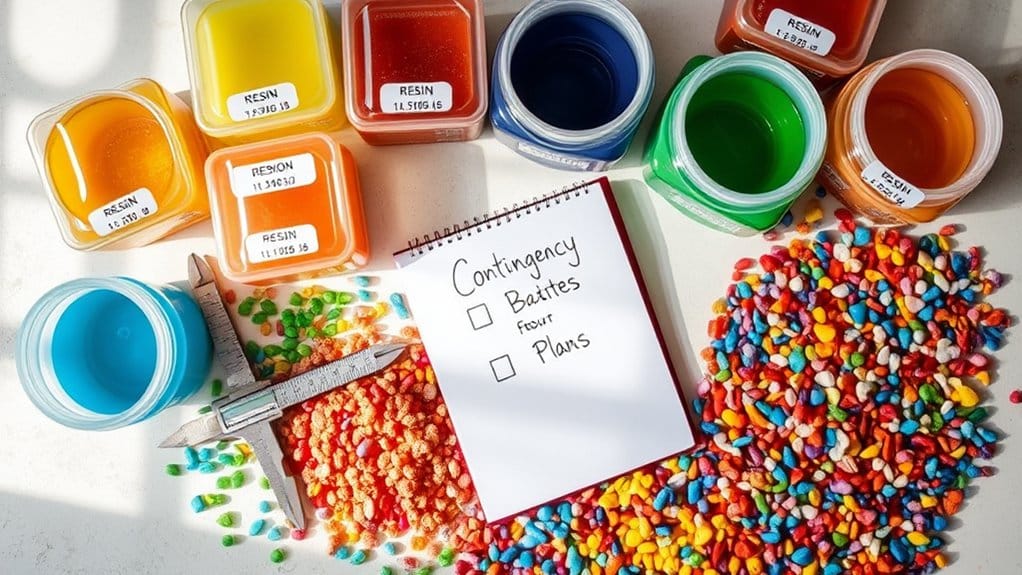
Surface variations in resin projects can wreak havoc on your final results. A proper backup plan helps minimise material wastage and keeps your project on track, both in terms of time and costs.
Think of it like having a spare tyre for your car – you mightn't need it, but you'll be grateful it's there when things go wrong.
Planning ahead for common issues, such as temperature changes or mixing errors, ensures smoother project completion and better outcomes.
Unexpected Surface Variations
Surface Variations in Resin Work
Dealing with uneven surfaces can make or break your resin project. Sort these basics before you start:
- Give surfaces a proper clean and sand – rough patches will show through
- Check your surface works with resin – try a small test patch first
- Keep your workspace at room temperature (around 20°C) whilst curing
- Have a plan B ready – keep spare materials handy for quick fixes
These steps will help you avoid those pesky surface niggles that often plague resin work.
Material Waste Mitigation
Surface variations in resin projects can waste significant amounts of material if not properly managed. To minimise waste and keep costs down, it's essential to plan ahead and measure precisely the amount of resin needed.
A practical approach is to first measure your project area carefully – much like measuring ingredients for baking.
Leftover resin needn't go to waste – use it for smaller items like coasters or jewellery pieces. Choose reusable mixing containers and silicone tools where possible, as these can be cleaned and used repeatedly.
Many UK suppliers now offer eco-friendly resin options, which are worth considering for more sustainable projects.
If you're keen to improve your resin handling, local craft centres often run workshops teaching efficient techniques. These sessions typically cover measuring, mixing and storage – valuable skills that help reduce waste whilst saving money.
Calculating Resin Quantity Using Online Tools
Calculating the Correct Resin Amount
Getting your resin quantities spot-on needn't be complicated. Online tools like the Resin Bound Calculator make the maths straightforward.
Simply:
- Measure your area in metres
- Enter the depth required (typically 12-18mm for driveways)
- Add 10% extra for peace of mind
The calculator provides measurements in both metric and imperial units, ideal for UK projects.
Whether you're tackling a garden path or full driveway, precise calculations ensure you'll mix the perfect amount with no waste.
Top tip: For uneven surfaces, measure multiple depths and use the average to ensure adequate coverage.
Factors Affecting Resin Volume Calculations
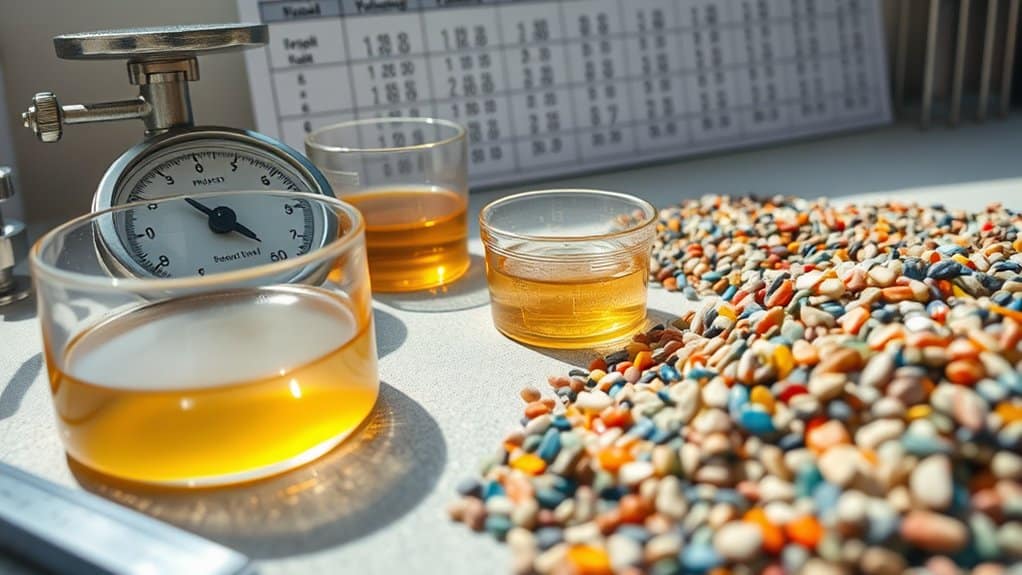
Key factors affect resin volume calculations for your DIY project. The shape of your surface is crucial – a simple garden table top is straightforward to measure, whilst curved or irregular shapes need more careful planning.
Gravel size matters too; chunky aggregate needs more resin than fine stones, much like filling a jar with marbles versus sand. British weather plays its part – our damp climate and varying temperatures influence how resin cures, so you might need to adjust quantities accordingly.
Surface area and depth are straightforward sums – multiply length by width by depth – but remember to account for any slopes or uneven patches. Different resins have unique mixing ratios, rather like baking ingredients, so check the manufacturer's guidelines carefully.
Getting these calculations right first time saves both money and hassle.
Types of Resins Commonly Used in Applications
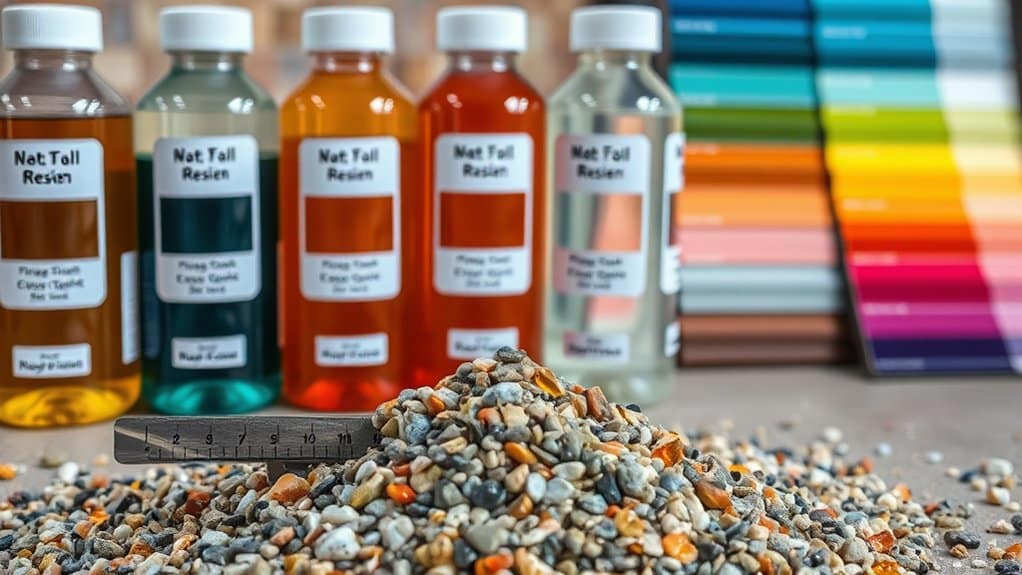
Understanding Resin Types for Projects
Different resins serve distinct purposes across UK applications, with each type offering unique benefits for specific projects:
Polyurethane Resins
Ideal for driveways and paths, offering excellent flexibility and resistance to British weather conditions.
UV Stable Resins
Essential for outdoor surfaces exposed to direct sunlight, maintaining colour stability through summer months. Common in garden pathways and pool surrounds.
Non-UV Stable Resins
Cost-effective choice for indoor or shaded areas like garage floors and basement spaces. Not suited for exposed outdoor surfaces.
Quality Standards
All resins should comply with British Standard BS EN UKAS ISO9001 for assured quality and performance.
Proper resin selection proves crucial for project longevity.
Match your choice to the specific environment – UV stable for gardens, polyurethane for high-traffic areas, considering both budget and durability requirements.
The Role of Aggregates in Resin-Bound Systems
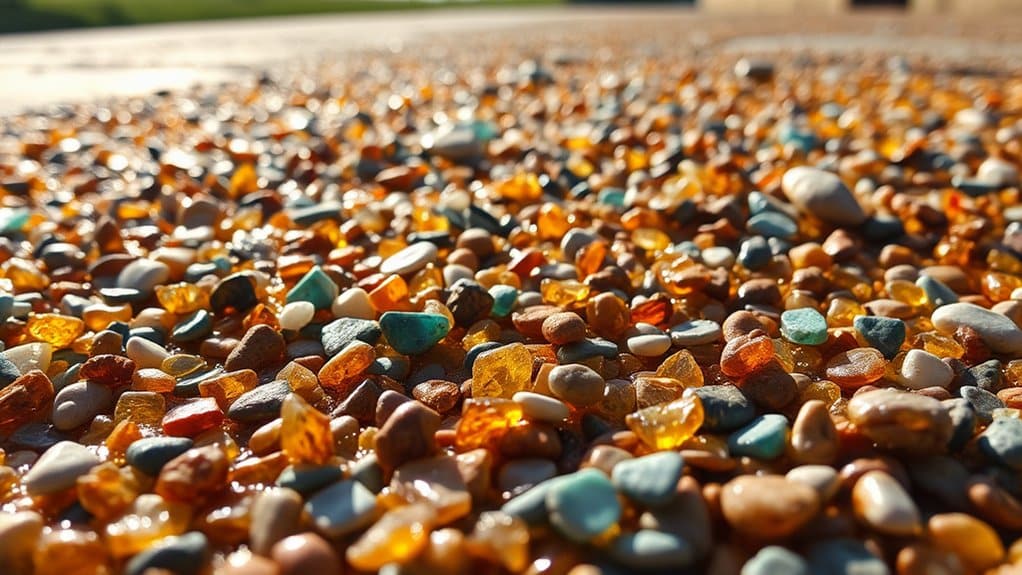
Aggregates are essential components in resin-bound systems, affecting both looks and structural strength. Common types include natural stone, marble and recycled materials, each bringing distinct advantages to projects. Sizes range from less than a millimetre to 10mm, with medium-sized aggregates proving most popular for standard installations.
The choice of aggregate directly influences appearance, cost and environmental impact. Consider these key benefits:
| Aggregate Type | Benefits |
|---|---|
| Natural | Cost-effective, eco-friendly |
| Marble | Aesthetic appeal, unique textures |
| Recycled | Sustainable, versatile |
| Mid-sized | ideal balance of strength/permeability |
| Large | Increased permeability |
Selecting the right aggregate ensures a lasting, durable resin-bound surface suited to British weather conditions. For instance, mid-sized aggregates work particularly well for domestic driveways, whilst larger ones suit areas requiring maximum drainage.
Essential Installation Guidelines for Resin-Bound Gravel
Getting Resin-Bound Gravel Right
Proper installation of resin-bound gravel demands careful attention to detail. Poor preparation will lead to problems down the line. These key steps ensure a lasting, durable surface:
- Sort the base layer: A solid concrete or tarmac foundation is non-negotiable.
- Get proper materials: Only use dry, thoroughly cleaned stones and UV-resistant resin.
- Mix correctly: Opt for a forced-action mixer – like the ones builders use for concrete – to ensure even blending.
- Work quickly: The resin sets fast, so lay it within 10-15 minutes (about the time it takes to make a cup of tea).
The process is rather like baking – get your measurements right, prepare properly, and don't faff about once you've started.
Analyzing Cost Considerations and Efficiency in Projects
When assessing costs and efficiency for resin-bound gravel projects in the UK, both materials and labour form significant parts of the budget. A proper cost analysis is essential – materials typically cost £9 to £13 per square metre, with labour ranging from £600 to £950 per project. Local pricing and delivery fees in different regions can notably impact overall costs.
The key to efficient installation lies in thorough ground preparation and precise resin-to-aggregate mixing ratios. This attention to detail reduces waste and ensures longevity.
Factor in additional expenses like council permits and contractor fees for accurate budgeting. Smart planning and focus on efficiency often result in better value over time, particularly in areas with high foot traffic or challenging weather conditions.
Frequently Asked Questions
Can I Use Recycled Materials for Resin-Bound Gravel?
Recycled aggregates work perfectly well in resin-bound gravel systems, offering both environmental benefits and cost savings. Common recycled materials include crushed glass, reclaimed stone and processed construction waste. Just ensure your supplier provides properly cleaned and graded materials that meet British Standards – this maintains the durability and finish quality you'd expect from traditional aggregates. Many UK installers now regularly use recycled options, particularly in domestic driveways and garden paths.
How Long Does Resin-Bound Gravel Last?
Resin-bound gravel delivers exceptional longevity, typically lasting 20-25 years when properly installed. Much like a well-built patio or driveway, its durability depends on quality materials and expert fitting. Regular maintenance, including simple sweeping and occasional pressure washing, keeps the surface in top condition. Check periodically for any cracks or loose stones, particularly after harsh weather, to maintain the surface's integrity and extend its lifespan.
Is Resin-Bound Gravel Suitable for All Climates?
Resin-bound gravel performs well in the UK's varied weather conditions. The material handles our typical temperature swings, from summer heat to winter frost, without cracking or lifting. It's particularly effective during Britain's wet weather, as its porous surface lets rainwater drain through rather than forming puddles. Much like a good pair of wellies, it's built to cope with whatever the British climate throws at it.
Can I Install Resin-Bound Gravel Over Existing Surfaces?
Resin-bound gravel can be laid over existing surfaces, but proper preparation is vital. Before installation, ensure the surface is thoroughly cleaned, any cracks are repaired, and the base is completely stable. Think of it like painting a wall – you wouldn't start without sorting out the plastering first. A well-prepared surface will ensure your new driveway or patio lasts for years without lifting or cracking.
What Is the Drying Time for Resin-Bound Gravel?
Resin-bound gravel typically takes 12 hours to dry before you can walk on it, as long as temperatures stay above 5°C. The warmer and drier the weather, the quicker it sets. Cold or damp conditions will slow down the drying process considerably, so it's best to lay resin-bound gravel during mild weather. For best results, ensure your surface is properly prepared before installation.
Conclusion
In summary, calculating the correct resin quantities for your resin-bound gravel project is essential for success. Proper planning involves measuring your coverage area, choosing suitable aggregates and following manufacturer guidelines carefully. Think of it like baking – the right measurements ensure a perfect result, whilst guessing could lead to costly mistakes. Take time to plan properly, and you'll achieve a durable, attractive surface that serves its purpose well.