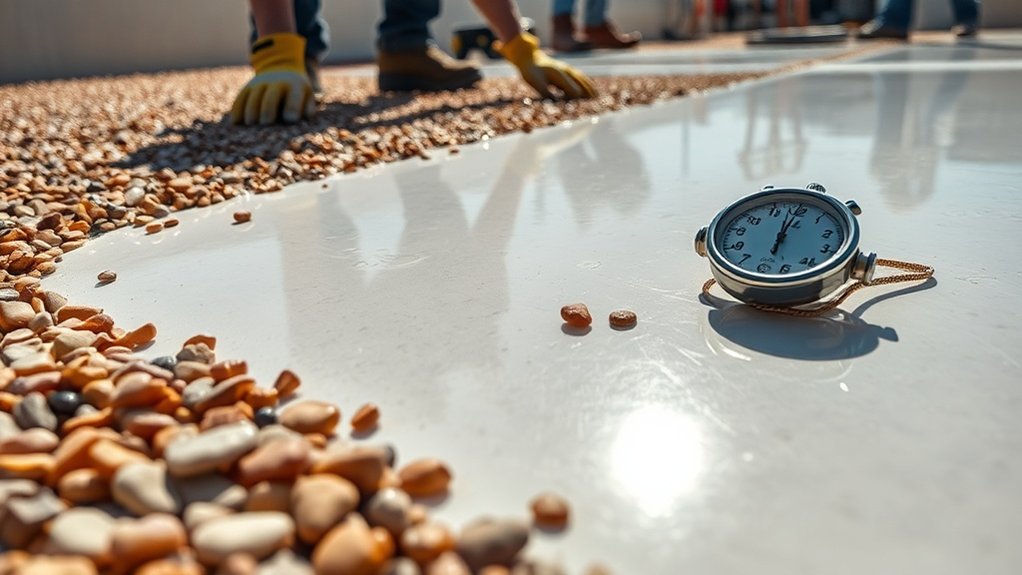
Installing a resin-bound gravel surface typically takes a few days. First, you’ll need to excavate the area and prepare the base before ensuring the resin and aggregate are mixed correctly. Weather is crucial—ideal conditions are dry with temperatures between 5°C and 25°C. Once installed, allow at least 24 hours before walking on it and 36 hours before vehicles drive on it. This waiting period helps prevent any damage to the surface. Understanding these steps will help you achieve the best results for your project.
Key Takeaways
How Long Does It Take to Install a Resin-Bound Gravel Surface?
Installing a resin-bound gravel surface involves several stages, which can take a few days depending on the conditions.
First, proper surface preparation is essential. This includes excavation and laying a sub-base, which requires time before you can apply the resin.
Once the resin is laid, the curing time varies: you can walk on it after 6-8 hours, but heavier vehicles should wait at least 36 hours.
Keep in mind that weather plays a significant role in the installation time. For the best results, aim for dry, mild conditions.
Overall, from preparation to full curing, the process can take more than 36 hours, depending on environmental factors.
Understanding the Resin-Bound Gravel Installation Process
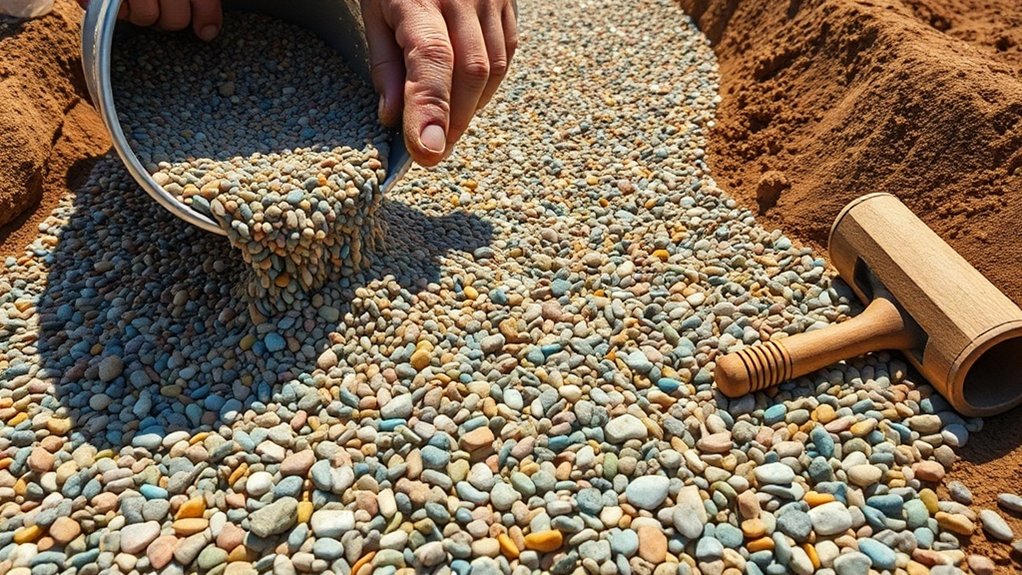
When installing a resin-bound gravel surface, it’s crucial to understand the process for a durable and attractive finish. Start with proper base preparation by excavating to the recommended depths for driveways or paths. Select your resin carefully; it should match the type of aggregate you plan to use. For mixing, opt for pre-measured kits to ensure consistency, and use a high-torque mixer for uniform results. Additionally, using resin-bound DIY kits allows for ease of installation and ensures that you have the correct materials in the right proportions. Proper surface preparation is essential to ensure the integrity and longevity of the installation. When pouring the resin-aggregate mixture, spread it evenly over the prepared base, using tools to achieve the right thickness. Compaction is key for stability, so ensure the mixture bonds well with the sub-base. Lastly, keep your workspace tidy to avoid premature curing and achieve a smooth finish.
Factors Influencing Curing Time
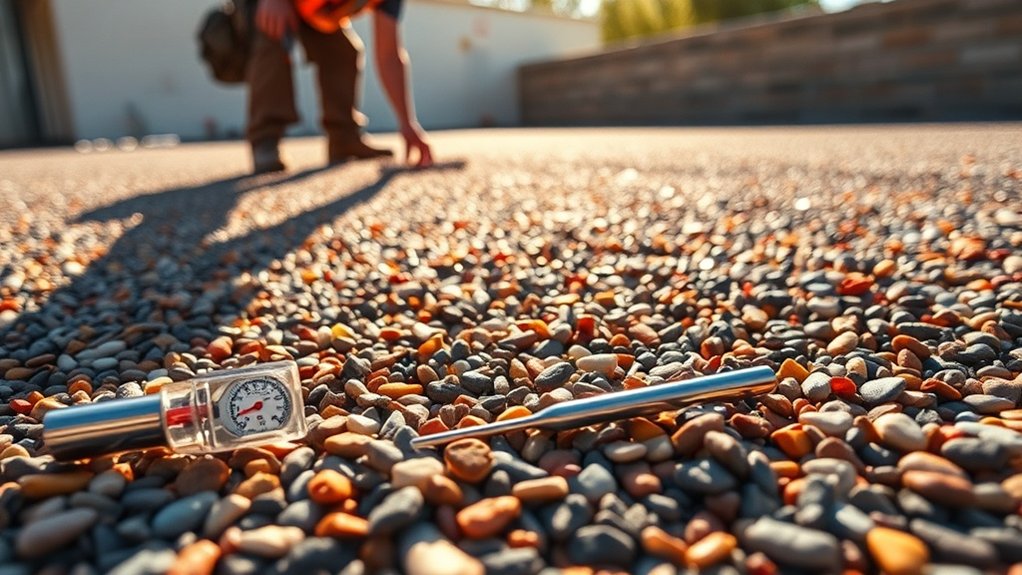
When installing a resin-bound gravel surface, temperature and weather conditions significantly affect curing time. Keep an eye on both air and ground temperatures, as extreme conditions can either speed up or slow down the curing process, which may lead to problems. It’s also important to avoid wet weather and high humidity, as these can weaken the resin’s bond and impact the final finish. Proper curing time is essential for ensuring the durability and longevity of the surface. Therefore, it is crucial to monitor moisture levels in both ground and air to prevent installation issues.
Temperature Impact
Curing a resin-bound gravel surface is heavily influenced by temperature, which affects the resin’s chemical reactions. Temperature sensitivity is crucial for resin viscosity; as temperatures decrease, viscosity increases, leading to longer curing times. Aim for a temperature range of 5°C to 25°C for optimal results. If temperatures are too high, the resin may cure too quickly, making application difficult and resulting in a brittle finish. On the other hand, very low temperatures can hinder proper bonding, compromising the surface’s strength. To ensure a successful installation, keep a close eye on the ambient temperature and consider using ground heating or protective covers to maintain ideal conditions. This will enhance curing efficiency and ensure long-lasting durability. Additionally, be mindful of moisture levels since excessive moisture can lead to gas bubbles in the resin, affecting the final appearance. Proper surface preparation is crucial for ensuring the resin can cure effectively and bond well, ultimately impacting the longevity of the installed surface.
Weather Conditions
Weather conditions are crucial for curing resin-bound gravel surfaces. Factors like humidity, rain, wind, and temperature can significantly affect the installation process.
High humidity, for instance, can prolong curing times and lead to bonding issues; the ideal range is between 40% and 70%. Rain during installation or curing can compromise adhesion, risking surface defects.
Strong winds may also blow debris onto wet surfaces, disrupting the process. Always check the weather forecast to avoid installation during poor conditions, such as frost or excessive heat, which can weaken the resin.
Choosing the right weather ensures a durable and attractive finish.
Ideal Weather Conditions for Installation
For the best results with your resin-bound gravel surface, consider the following ideal installation conditions.
First, ensure dry weather, with no rain expected for at least 24 to 48 hours before, during, and after installation. It’s crucial to avoid damp surfaces and to check that temperatures are between 5°C and 25°C.
Aim for low to moderate humidity—ideally between 40% and 70%—to allow for proper curing. Calm winds are also important to keep debris from ruining the finish.
Scheduling your installation from late spring to early autumn will increase your chances of a smooth surface, free from weather-related imperfections.
The Role of Temperature in Curing
When curing resin-bound gravel, temperature is crucial for a successful installation. Aim for a temperature range of 5°C to 25°C. Going below this can create significant curing issues.
Cold conditions slow down chemical reactions, risking incomplete bonding and structural weaknesses. On the other hand, high temperatures can cause the curing process to accelerate too quickly, leading to application difficulties and inconsistent results.
Temperature also affects resin viscosity; warmer conditions can thin the resin, which may cause the stones to loosen.
It’s essential to monitor the temperature during installation to achieve the right balance, ensuring strong bonds and a durable surface. Remember, maintaining proper temperature control is vital to overcoming these challenges.
Importance of Proper Curing for Durability
Proper curing is crucial for the durability of your resin-bound gravel surface. Sticking to the recommended curing times and being mindful of weather conditions can significantly impact the strength and lifespan of your installation.
For instance, if you rush the process or overlook the effects of rain or extreme temperatures, you could jeopardise the surface’s integrity. Taking the time to cure properly will ensure your installation lasts longer and performs better.
Curing Time Guidelines
Achieving proper curing is essential for the long-lasting durability of resin-bound gravel surfaces. Adhering to recommended curing timeframes protects the surface and extends its lifespan. Here’s a quick guide:
| Curing Action | Recommended Timeframe |
|---|---|
| Pedestrian Access | 6-8 hours |
| Light Foot Traffic | 24 hours |
| Vehicle Access | 24-36 hours |
| Full Curing | Up to 36 hours or more |
| Risks of Rushing | Increased chance of damage |
Using effective curing practices ensures optimal strength and durability. If you rush the process, it can result in peeling and expensive repairs. Following these guidelines will enhance the resilience of your resin-bound gravel surface, protecting your investment.
Impact of Weather Conditions
Weather conditions significantly affect the curing process of resin-bound gravel surfaces. For optimal results, keep an eye on the temperature, ideally between 10°C and 25°C.
Extreme heat or cold can weaken the final surface. It’s also important to maintain humidity levels between 40% and 70%. High humidity during installation can trap moisture in the resin, leading to issues like blooming.
Avoid working in rainy or frosty weather, as these factors can damage the surface. While gentle winds can aid in drying, strong gusts may disrupt the installation process.
Recommended Waiting Periods for Foot and Vehicle Traffic
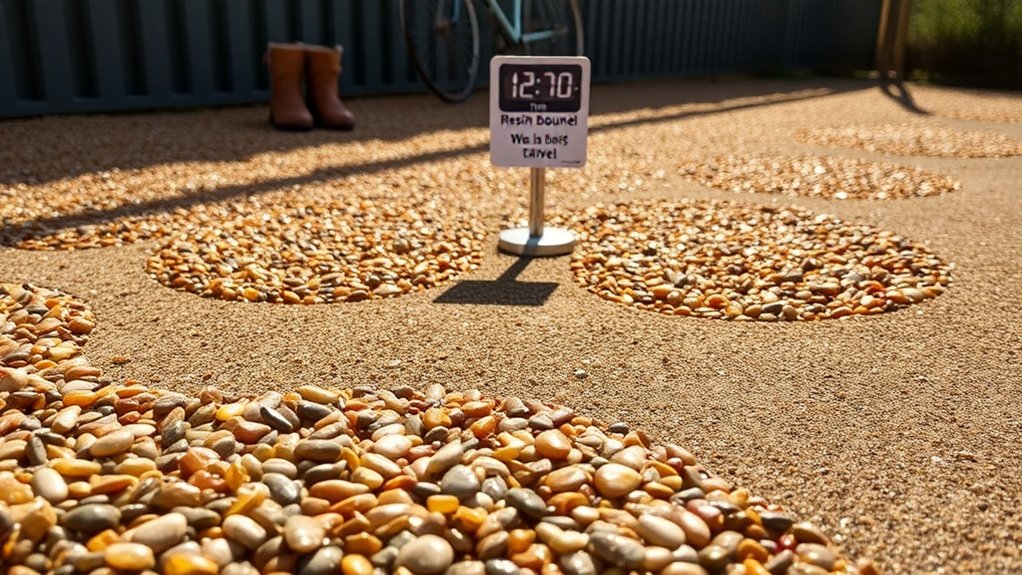
After installing a resin-bound gravel surface, it’s important to follow the recommended waiting periods for foot and vehicle traffic to ensure proper curing and longevity. Here’s what you need to know:
- Foot traffic: You can walk on the surface after 6-8 hours, but it’s advisable to wait 24 hours for optimal curing.
- Vehicle traffic: Light vehicles should refrain from driving on the surface for at least 24 hours, while heavier vehicles should wait 36 hours to maintain the surface’s integrity.
- Weather considerations: Keep in mind that warmer temperatures can accelerate the curing process.
- Protecting the surface: Avoid placing heavy items on the surface during the waiting period to prevent any damage.
Best Practices for Successful Installation and Curing
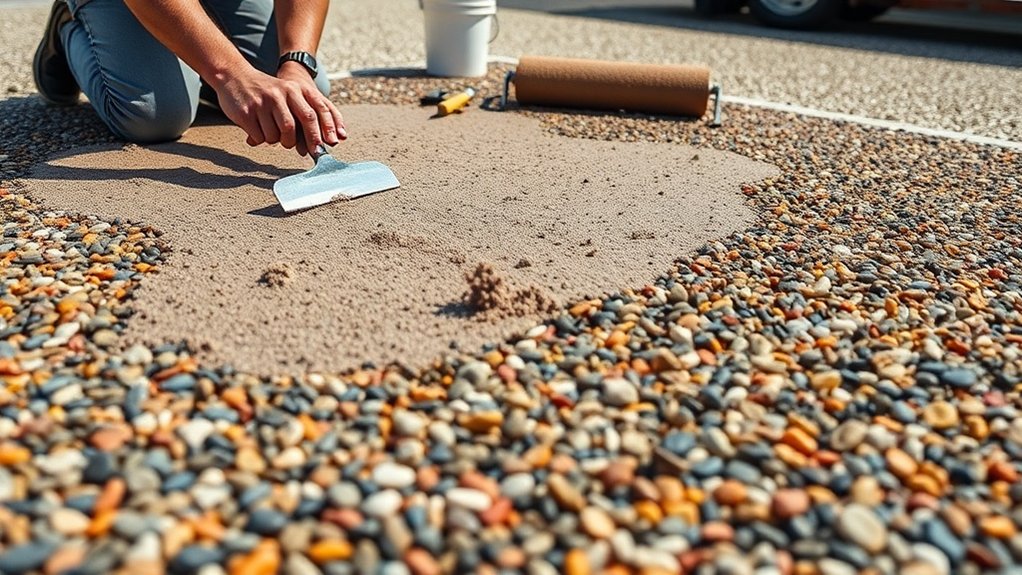
To ensure a successful installation and curing of a resin-bound gravel surface, it’s vital to pay close attention to detail throughout the process.
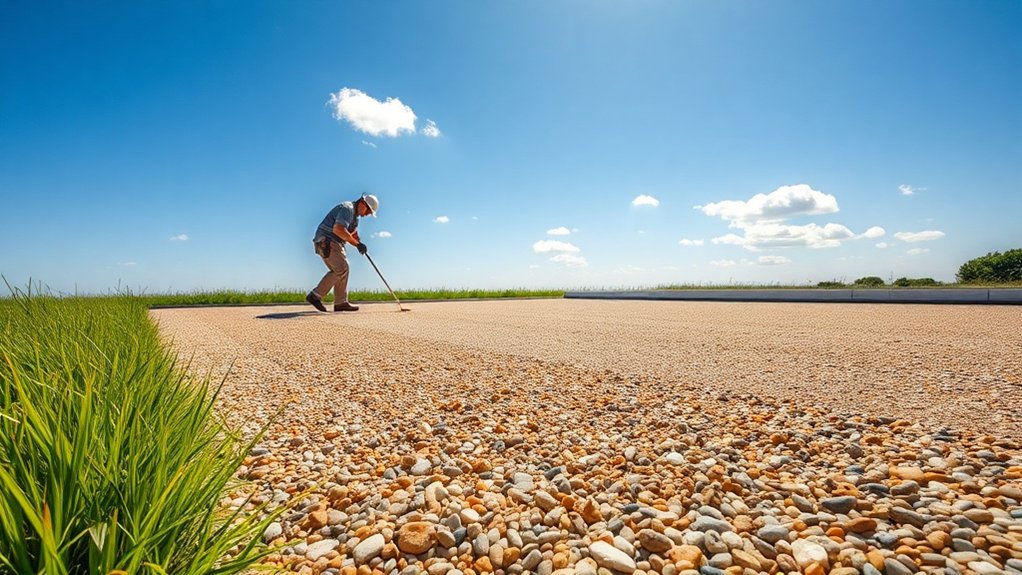
Start with proper surface preparation: make sure the area is clean and free from debris, and fix any imperfections. Excavate to a depth of 150mm and lay a compacted MOT Type 1 sub-base, ideally with a geotextile membrane underneath for added support.
When mixing, stick to the recommended resin-to-aggregate ratio and use a forced-action mixer to achieve an even consistency. It’s important to prepare just enough material for immediate use, as resin sets quickly.
During application, aim for a consistent thickness and compact the surface to boost its durability.
Finally, check the environment to ensure conditions are dry and at the right temperature for optimal curing.
Frequently Asked Questions
Can I Install Resin-Bound Gravel in Winter Conditions?
Installing resin-bound gravel in winter conditions requires caution. Low temperatures can slow down the curing process, which may lead to surface defects. Ensure that the surfaces are dry before starting. If you do decide to proceed, consider using accelerators to speed up curing.
What Tools Are Needed for Resin-Bound Gravel Installation?
For installing resin-bound gravel, you’ll need a few key tools: a drill with a paddle mixer, a forced action mixer, trowels, screed rails, and appropriate safety gear. These tools help ensure a smooth and efficient application of the gravel.
How Do I Maintain My Resin-Bound Surface After Installation?
To maintain your resin-bound surface, regularly sweep it to prevent debris from building up. Use a gentle washing method, and for stubborn stains, apply a mild detergent. Following these simple cleaning and maintenance tips will help ensure your surface remains both attractive and durable.
Is Resin-Bound Gravel Safe for Pets?
When it comes to pet safety, resin-bound gravel has several advantages. Once cured, it’s non-toxic, providing peace of mind for pet owners. The smooth surface helps reduce slips, making it safer for your furry friends as they play. Additionally, it minimises the risk of pets ingesting sharp stones, ensuring a safer environment for them to enjoy.
Can I Customize the Color of My Resin-Bound Surface?
Yes, you can customise the colour of your resin-bound surface. You can choose from a range of colour options and mix aggregates with resin to create unique shades that suit your project’s style. For instance, if you’re looking to match your driveway with your home’s exterior, you can select a complementary colour that ties everything together.
Conclusion
In conclusion, installing a resin-bound gravel surface isn’t a quick job; it requires careful consideration of curing times and weather conditions. Managing these factors ensures your driveway remains durable for years. Patience is essential—think of it like waiting for a good cup of tea to brew. By adhering to best practices, you’ll create a robust, attractive surface that enhances your property. So, get ready to transform your outdoor space!