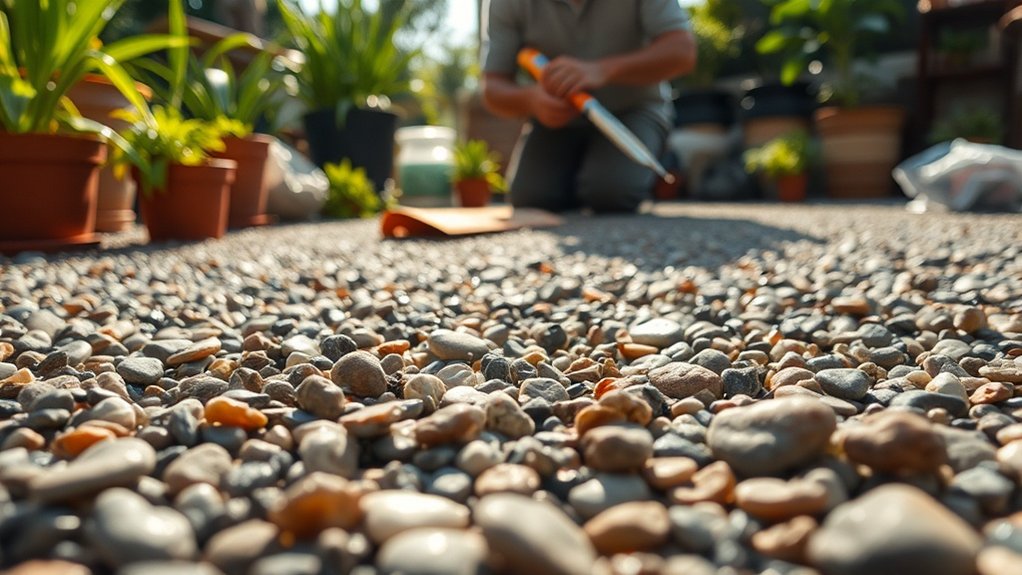
Whilst installing resin-bound gravel at home, you may encounter several snags: patchy surfaces, mismatched colours or troublesome resin setting. First, ensure your sub-base is properly tamped and level – this prevents those annoying dips that catch everyone’s eye. Sorted the base but got colour troubles? A matching tinted topcoat sorts that right out. To dodge curing mishaps, mix carefully and keep an eye on the weather forecast – British weather can be rather unpredictable. A tidy workspace prevents bits and bobs from mucking up your mixture. Dead simple, really – just follow these basics for a proper job.
Key Takeaways
Surface prep is critical – compact your sub-base thoroughly to create a level foundation before laying resin-bound gravel.
Keep an eye on the weather forecast, as British rain and extreme temps can play havoc with installation. Best to choose a dry, mild day for optimal results.
Get yourself a proper electric paddle mixer from any DIY shop – it’s worth the investment to achieve the right mix. Poor mixing leads to patchy surfaces and weak spots.
Noticed colour variations? Sort them with a tinted topcoat from your local builder’s merchant. It’s a common issue with an easy fix.
Give your surface a regular sweep and wash-down to keep it looking smart. A bit of basic maintenance goes a long way in protecting your investment and keeping the neighbours impressed.
Common Issues During Installation
Several problems can arise when laying resin-bound gravel. Rain is the main culprit – it interferes with curing and weakens the bond. Best to work on dry days and keep tarpaulins handy. Unexpected rain can significantly disrupt the curing process, so always monitor weather forecasts before starting your project. Excess moisture can lead to poor adhesion between the stones and resin, which results in an unstable surface.
Hot weather can be just as troublesome, making the resin set too quickly. Poor mixing is another frequent snag. Get the resin-to-aggregate ratio wrong, and you’ll end up with loose stones that eventually break away from the surface. Patience is crucial – don’t be tempted to walk on the new surface until it’s properly set.
These issues are straightforward to avoid with proper planning and attention to detail. Watch the weather forecast, mix materials correctly, and allow proper curing time for a solid, lasting finish.
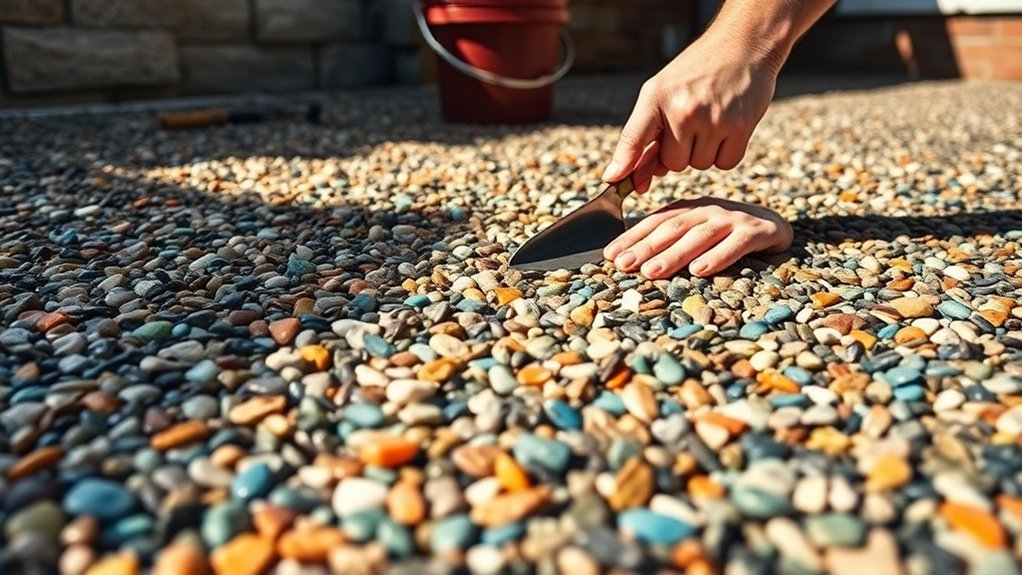
Uneven Surface Solutions
Sorting uneven surfaces requires proper levelling methods to achieve a smooth result.
Always compact the sub-base thoroughly, as poor compaction leads to dips and bumps over time. Proper ground preparation is essential for successful installation, ensuring solid sub-base to avoid shifting soil underneath. A well-measured sub-base not only supports the top layer but also prevents sinking or cracking under heavy loads.
British weather plays a crucial role – our damp climate and temperature swings can affect how well resins cure, so check the forecast before starting.
Think of it like laying a patio: skipping proper groundwork now means headaches later.
Re-leveling Techniques
Getting a perfectly level resin-bound gravel surface starts with a proper assessment of your uneven ground. Check for dips and bumps with a spirit level, noting problem areas that need extra attention. Proper ground preparation is essential for successful installation and prevents long-term issues.
Before laying any resin, clear away loose bits and give the surface a good sweep – this helps the resin grip properly. Additionally, using a seamless application technique can enhance the overall finish, ensuring a smooth transition across the entire surface.
Mix your resin to allow for different thicknesses, and use angular aggregate to fill deeper spots. A straight edge and trowel are essential tools for smoothing out high and low patches whilst the resin sets. It’s also important to ensure a solid sub-base similar to garden patio foundations for optimal adhesion.
Keep the fresh surface covered if it’s raining or particularly hot, as this affects how well it bonds.
Check your surface regularly and sort any issues quickly – it’s the best way to keep your resin-bound gravel looking smart and working properly throughout the seasons.
Sub-base Compaction Importance
The Quality of Your Resin-Bound Surface Starts Below
A stable sub-base is crucial for any resin-bound gravel installation. Without proper compaction, the surface will likely develop dips and uneven patches over time.
Key benefits of thorough sub-base compaction:
- Creates a robust foundation that won’t shift
- Handles heavy foot traffic without sagging
- Better supports vehicle weight, particularly on driveways
- Stops water pooling and frost damage
- Maintains a flat, even finish for years
Use mechanical plate compactors and compact in layers for best results.
Think of it like building a house – without solid foundations, everything above will suffer. Skipping proper compaction often leads to expensive repairs later, so it’s worth doing properly from the start.
For high-traffic areas like car parks or busy paths, extra attention to compaction is essential.
A properly compacted sub-base can mean the difference between a surface that lasts 15 years and one that needs repairs after just two or three.
Temperature and Humidity Impact
Temperature and humidity play crucial roles in resin-bound gravel installation. For best results, work in temperatures between 5°C and 25°C – typical British weather conditions for most of the year.
Outside this range, you’ll likely face problems: too hot causes quick curing, too cold leads to a soft finish that won’t set properly.
High humidity, particularly common in the UK’s autumn and winter months, can be troublesome. When combined with cold weather, it slows down curing time and risks surface cracking during frost.
Think of those chilly December mornings when puddles freeze over – your resin surface could face similar challenges.
To tackle these issues, use temperature-control catalysts and consider ground heating in colder months.
Keep an eye on your surface through regular checks, especially after extreme weather shifts. This helps spot any problems from expansion or shrinkage early on, keeping your driveway or path looking smart and well-maintained.
Quick Fixes for Resin Setting Problems
Quick Fixes for Resin Setting Problems
Sudden British weather can play havoc with resin-bound projects, but prompt action prevents costly damage:
- Cover uncured resin with tarpaulin or industrial-grade sheeting at first sign of rain
- Double-check Met Office forecasts for dry spells before starting your installation
- Stick to precise mixing ratios – much like baking, guesswork leads to poor results
- Select angular stones rather than rounded pebbles for stronger surface bonding
- Keep an eye on temperature – cold weather needs longer mixing times, whilst warm speeds things up
Each step matters when laying resin surfaces in the UK climate, particularly during our damp autumn and spring months.
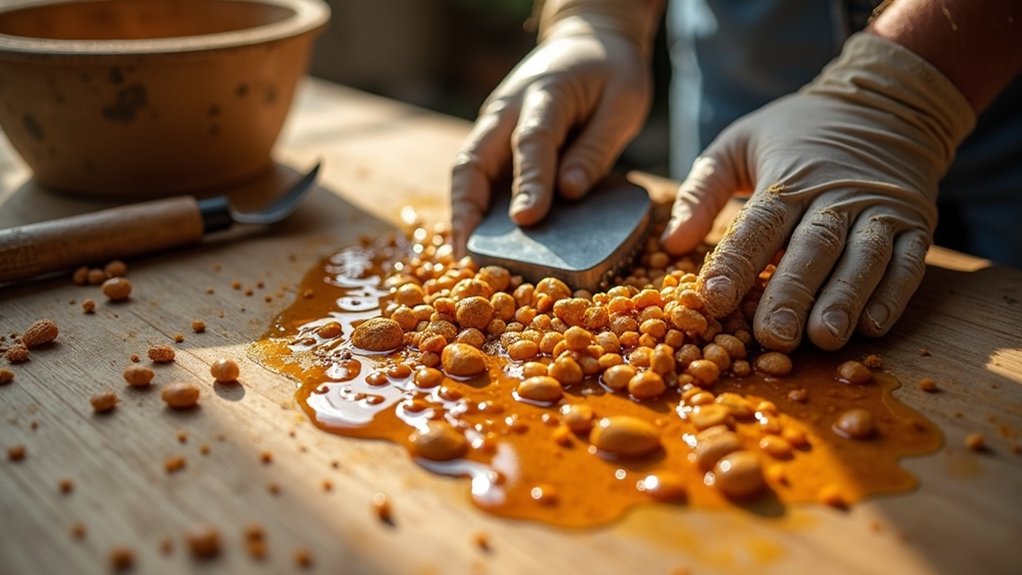
Color Inconsistencies and Corrections
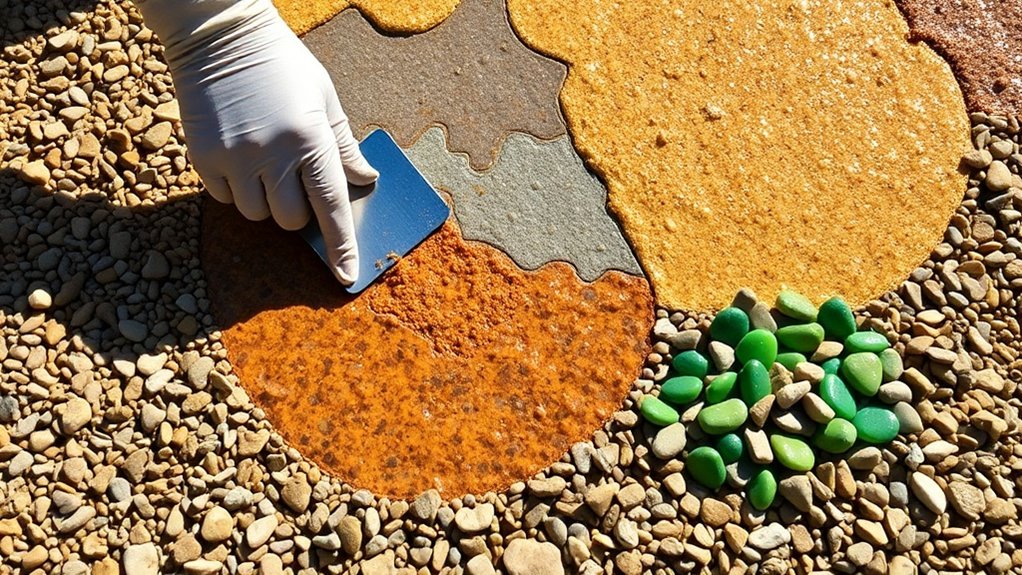
Precise weighing is vital for consistent colour when working with resin-bound gravel.
Mix thoroughly to avoid patchy results across your surface. Should you spot any colour differences, proper matching techniques will help blend touch-ups invisibly with the original area.
Getting the measurements right from the start saves time and ensures a professional finish.
Accurate Weighing Techniques
Accurate weighing is vital for consistent results in resin-bound gravel work. Poor measurements lead to colour variations and weak spots.
Follow these straightforward steps for reliable mixing:
- Use a precise scale meant for resins (kitchen scales won’t do)
- Zero the scale with your mixing container (tare function)
- Check your product’s specific gravity charts for proper ratios
- Mix a small test batch first – much easier to bin a cupful than a bucketful
- Place your scale on a solid, level surface away from wobbles
These basic steps will save you time and materials whilst ensuring a professional finish.
Thorough Mixing Process
Thorough mixing is crucial for even colour in resin-bound gravel installations.
Mix resin parts A and B for a full 90 seconds, making sure to scrape every bit from the containers. A heavy-duty electric paddle mixer works best – don’t rely on hand mixing.
Watch your ratios carefully; too little mixing leaves stones looking dull, whilst too much can damage aggregates and spoil the finish.
Keep your batch sizes and timing consistent to avoid patchy results. The temperature matters too – work in stable conditions to prevent uneven curing that can create unwanted colour variations.
Color Matching Solutions
Achieving perfect colour matches in resin-bound gravel needn’t be complicated. Several practical solutions can sort out any inconsistencies:
- Apply a thin, tinted resin topcoat to fix slight colour variations
- Mix custom dyes with clear resin for spot touch-ups
- Add mica powders to enhance depth and sparkle
- Give surfaces a thorough clean before any corrections
- Match colours precisely using manufacturer swatches
These straightforward fixes work brilliantly for both DIY enthusiasts and professional installers.
Much like matching paint for your walls, it’s about finding the right shade and application method. Getting it spot-on first time saves both time and materials in the long run.
Preventing Resin Contamination
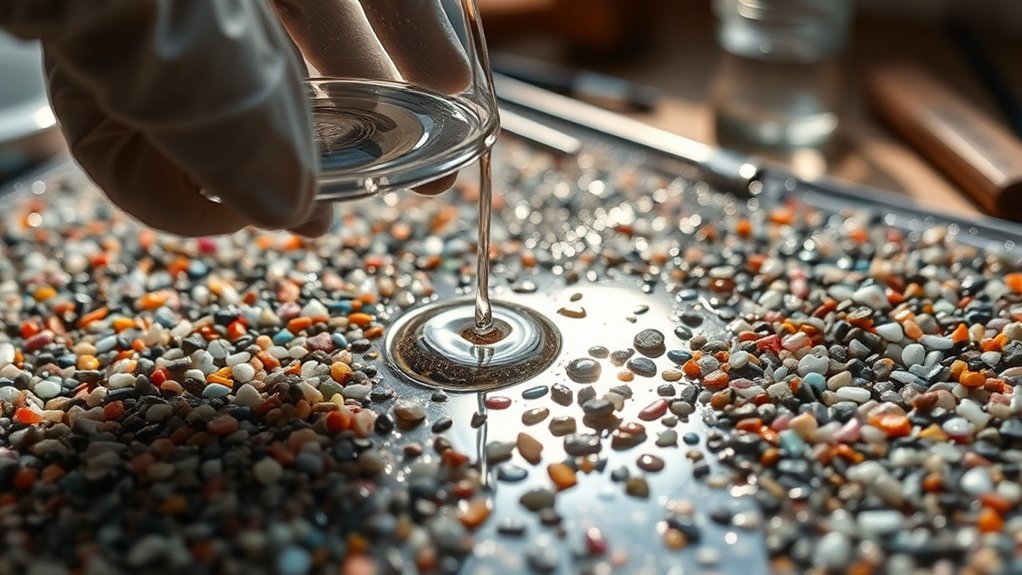
Preventing resin contamination is vital for a long-lasting, professional finish. Use only quality-tested resins and aggregates that work well together.
Keep all resin parts in sealed containers – just as you’d store paint to prevent it going off.
For mixing, use spotless containers and a forced action mixer (never a cement mixer, as it’ll spoil the mix). Stick to exact measurements, much like following a recipe. Proper ratios ensure strong bonding.
Watch the weather – avoid laying resin in very hot, cold or damp conditions, as moisture’s your worst enemy.
Keep the work area clean and free from leaves, dust and people walking through.
These basic steps will save you time, money and the hassle of having to redo the job.
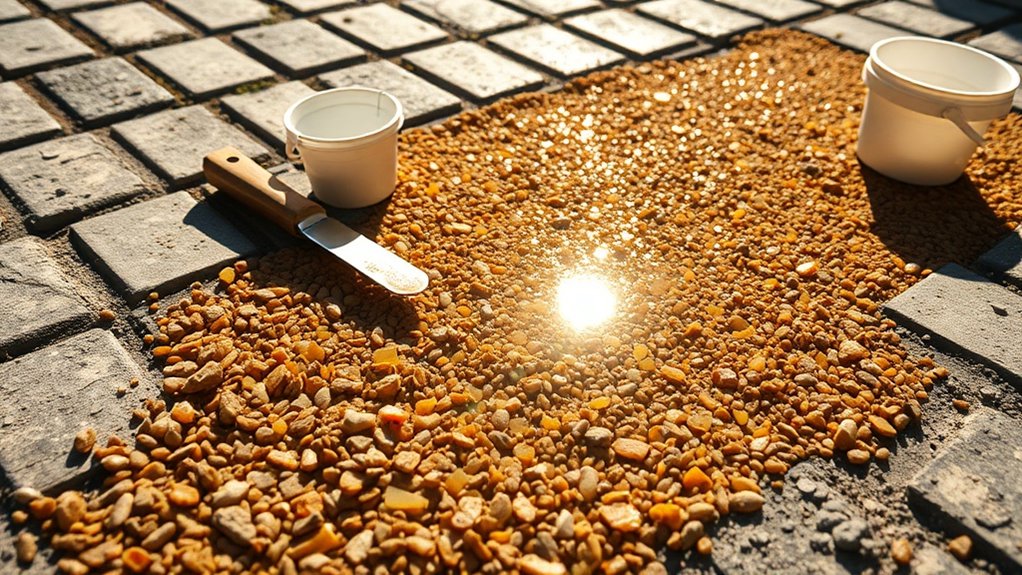
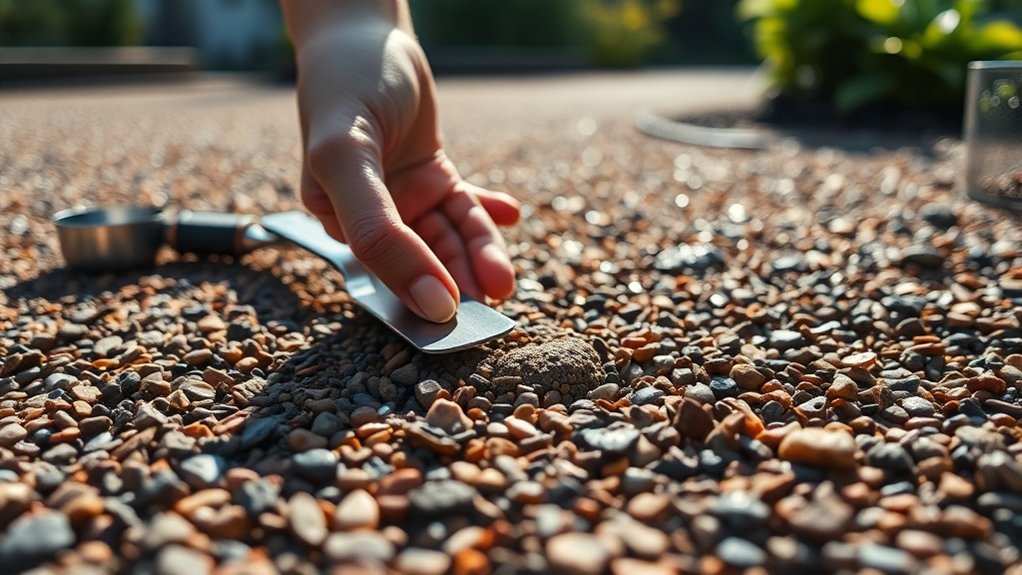
Handling Curing Marks and Depressions

Curing Marks and Depressions
Unsightly marks and dips in resin-bound gravel need swift attention to maintain a proper finish. Fix these common issues with these proven methods:
- Carefully chisel out problem spots and blend fresh resin with matching stones
- Top up any dips using the correct mix (typically 3 parts aggregate to 1 part resin)
- Watch the weather – high moisture levels whilst laying can cause cloudy patches
- Check aggregates for natural staining, particularly with lighter-coloured stones
- Give surfaces a regular brush and wash to stop dirt highlighting any rough spots
Remember, it’s easier to sort these snags early rather than waiting until they worsen.
Most DIY shops stock the kit needed for smaller repairs, whilst larger jobs might need a specialist’s touch.
Tools for Effective Application
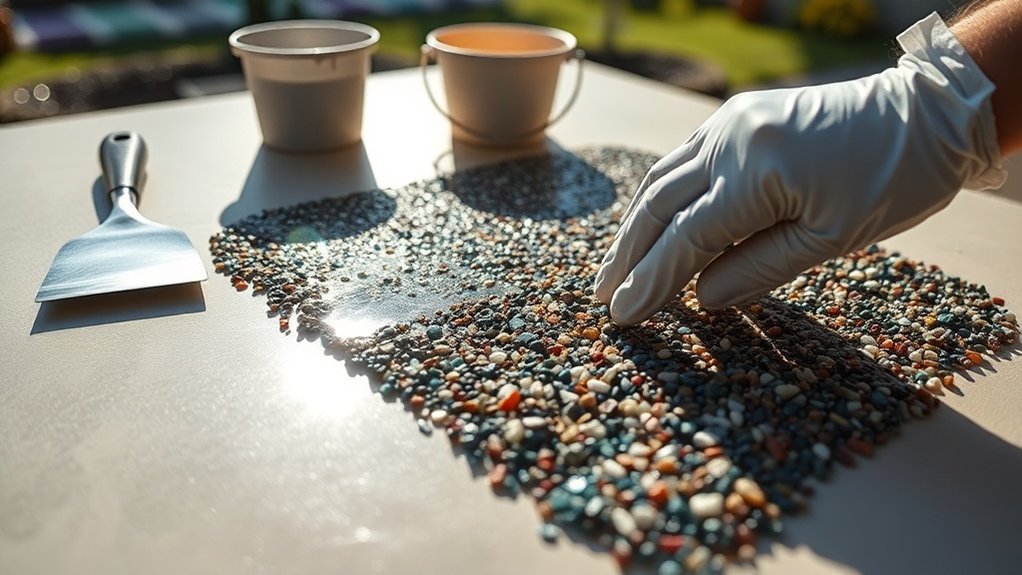
Essential Tools for Resin-Bound Gravel
A proper resin-bound gravel installation needs the right kit. Start with a drill and paddle mixer or forced action pan mixer – these ensure your resin and aggregates blend properly.
For laying, you’ll want a steel resin trowel and a wooden lute to spread and level the mix evenly, much like icing a giant cake.
These basic tools make the difference between a botched job and a professional finish.
Essential Mixing Equipment
Essential Mixing Equipment for Resin-Bound Gravel
The right mixing equipment makes all the difference in resin-bound gravel projects. You’ll need:
- 240v electric drill with a mixing paddle (plaster paddle head)
- Forced action mixer for even blending
- Resin trowels for scraping and spreading
- Digital scales for precise resin measurements
- PPE including gloves, goggles and respiratory mask
Regular cleaning and maintenance keeps tools in top working order.
Proper equipment helps achieve bubble-free mixing and consistent results across your project.
Quality tools, whilst more expensive upfront, prove cost-effective through better finishes and longer life.
Application Tools Overview
Essential tools for resin-bound gravel installation:
Marking equipment:
- Barrier tape and string lines for clear boundaries
- Aluminium edging strips for neat borders
Mixing tools:
- Forced action pan mixer for consistent blending
- Electric paddle mixer to minimise air bubbles
Application tools:
- Resin flooring trowels
- Wooden lutes for smooth finishing
- Spazzles for spreading aggregate
- Screed sledge for levelling
Safety gear:
– Full PPE kit (gloves, goggles, protective clothing)
Proper tools ensure a professional finish and durable surface.
For best results, ensure all equipment is clean and in good working order before starting.
First-time users should practise with smaller areas to master proper technique.
Maintenance Tips for Longevity
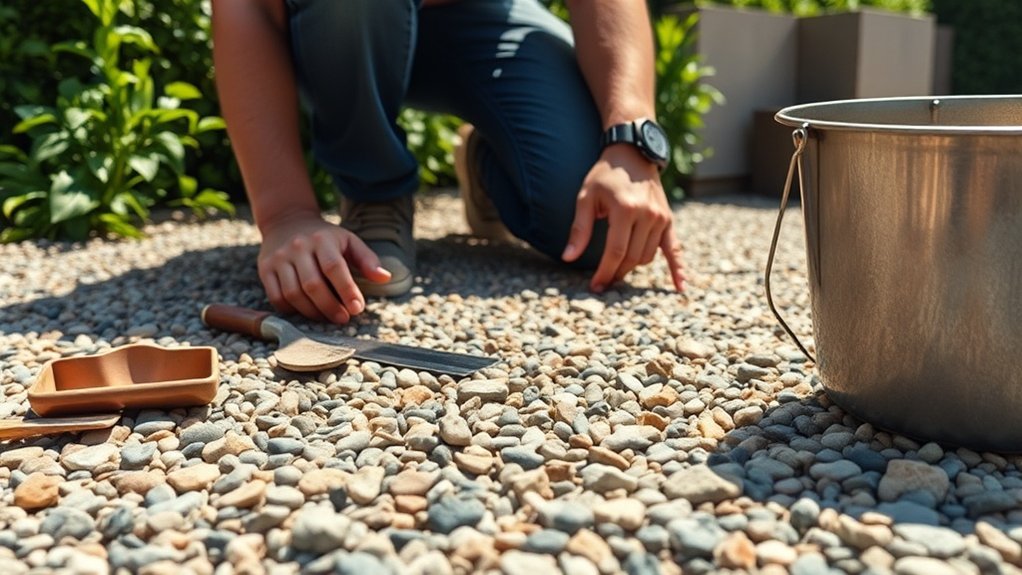
Essential Maintenance: Resin-Bound Gravel
Keep your resin-bound driveway or path in top condition with these straightforward care tips:
- Brush weekly with a stiff yard broom to remove leaves and general muck.
- Clean with a normal garden hose – avoid pressure washers as they may damage the surface.
- For tough marks like spilt tea or mud, use mild washing-up liquid rather than harsh cleaners.
- Tackle spillages straightaway, especially motor oil or red wine.
- Check monthly for any small cracks or worn patches – sorting minor issues prevents bigger problems.
These simple steps will help maintain your surface’s smart appearance and extend its lifespan significantly.
Environmental Considerations
Resin-bound gravel offers key environmental advantages for UK properties.
These surfaces let rainwater drain naturally through them, helping prevent local flooding and topping up groundwater levels – particularly useful given our wet British climate. The system filters out pollutants before they reach the water table, protecting nearby streams and wildlife.
Most modern resin-bound mixes contain at least 25% recycled materials, such as crushed glass or old aggregates.
Using local stone and gravel reduces transport miles, cutting the carbon footprint compared to imported materials.
With proper installation, these surfaces last 15-30 years, far longer than traditional gravel or tarmac drives.
The durability means less waste and fewer replacements over time, making resin-bound surfaces a practical, sustainable choice for British homeowners looking to improve their property’s environmental impact.
Safety Precautions When Working With Resin
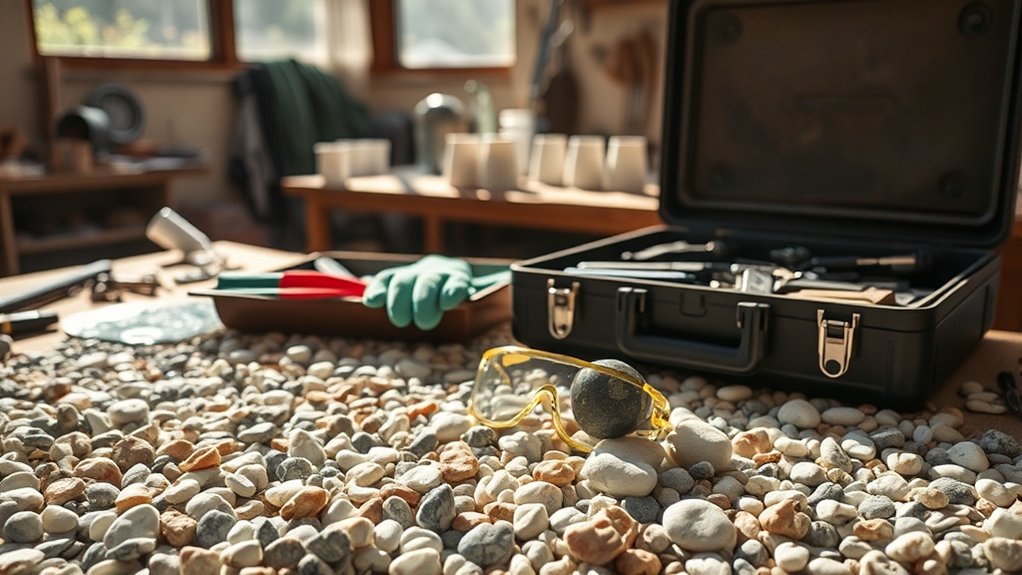
Safety Precautions for Resin Work
Whilst resin-bound gravel offers excellent environmental benefits, proper safety measures remain crucial.
Essential protective gear includes:
- Chemical-resistant gloves to prevent skin irritation
- Safety goggles for splash protection
- Respirator masks in poorly-ventilated spaces
- Full-length sleeves to limit skin contact
- Non-slip boots or shoes
Ensure proper ventilation in your work area – much like working in a painted room, fresh air flow is vital.
Keep your space tidy and organised, similar to a professional workshop.
Store resin containers securely, preferably in a locked cabinet or dedicated storage area, and well away from any heat sources or flames.
These straightforward precautions protect your health whilst allowing you to work effectively with resin materials.
Frequently Asked Questions
Can I Install Resin-Bound Gravel in Cold Weather?
Installing resin-bound gravel in cold weather is possible, but temperature control is crucial. The surface and air temperature should stay above 5°C, and you’ll need specialised winter-grade resin. Think of it like laying concrete – the wrong conditions can compromise the final result. For best results, check the weather forecast, use appropriate materials, and ensure thorough surface preparation to avoid frost damage.
How Long Does It Take for Resin-Bound Gravel to Cure?
Resin-bound gravel sets initially within 6-8 hours, though warmer weather can quicken this process. For best results, keep vehicles off the surface for at least 24-36 hours to ensure proper hardening. Think of it like waiting for paint to dry – whilst it might feel touch-dry fairly quickly, you’ll want to give it proper time to fully cure.
What Should I Do if It Rains During Installation?
Rain can seriously disrupt resin installation. At first sign of rain, halt the process straight away, protect the work area with waterproof covers, and carefully remove any pooled water. Whilst delays are frustrating, pausing installation is far better than risking a compromised finish.
Is Resin-Bound Gravel Suitable for Driveways?
Resin-bound gravel proves an excellent choice for UK driveways. It’s highly durable when properly laid and, whilst costlier than standard gravel or concrete, delivers remarkable value. Think of it as similar to a high-quality block paving, but with a smoother, more contemporary finish. The surface stays firm underfoot and withstands typical British weather, making it practical for daily use, from family cars to delivery vans.
How Can I Enhance the Color of My Resin-Bound Surface?
Enhancing your resin-bound surface colour requires colour additives and premium surface treatments. Much like mixing paint to achieve the perfect shade, the right combination of pigments and finishing products creates a rich, lasting finish that stands out. Choose UV-stable additives to prevent fading and maintain vibrancy throughout British weather conditions.
Conclusion
Armed with these practical tips, you can confidently tackle common resin-bound gravel issues. Proper preparation and safety measures are essential for achieving a professional finish. The result? A smart, level surface that transforms your outdoor space and adds genuine kerb appeal to your property.