Yes, you can apply resin over your existing driveway in Harold Wood, but it’s crucial that the surface is in good condition and properly prepared. First, check for any cracks or drainage problems. Give the driveway a thorough clean to ensure it’s free of dust, which will help the resin stick better. Priming the surface is also important for creating a strong bond. Keep in mind the curing times for both tarmac and concrete. For specific installation tips and maintenance advice, further information is available.
Key Takeaways
- Check the condition of your existing driveway for any cracks, drainage problems, or structural issues before thinking about a resin overlay.
- Make sure the surface is clean, dry, and free from dirt or oil to ensure good adhesion with the resin.
- Applying a primer is crucial to create a strong bond between your existing driveway and the resin layer.
- Don’t apply resin over damaged areas; this can trap moisture and lead to more serious problems.
- Always check local regulations to ensure your resin driveway meets drainage requirements and installation standards.
Understanding Resin Driveway Installation

When planning a resin driveway installation, it’s crucial to understand the steps involved.
Begin with an initial consultation and site survey, where you can discuss your design preferences and choose aggregate stone colours. This ensures that the installation suits your specific site requirements and helps identify any potential issues early on.
A solid base is essential, usually made from either tarmac or concrete, which may involve excavation and compacting the sub-base. A solid foundation is important for longevity and helps to support the resin-bound surface effectively, as proper surface preparation prevents future cracks or dips.
Next, the surface must be cleaned and primed to ensure it’s dust-free for proper adhesion. After that, the resin and aggregates are mixed together for a consistent finish.
Finally, this mixture is carefully laid and finished, showcasing the benefits of resin, such as its durability and attractive appearance.
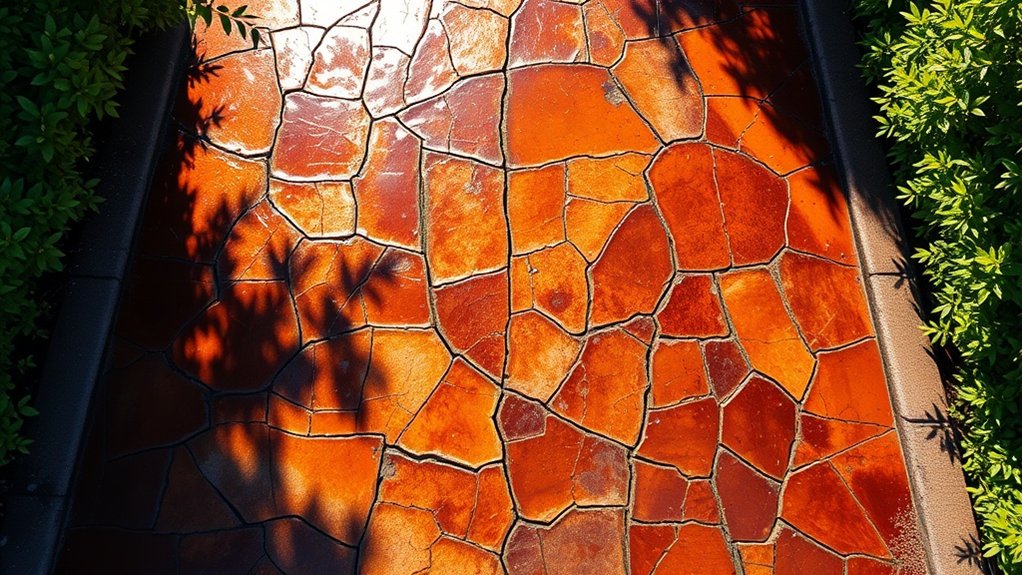
Assessing Your Existing Driveway Condition
Before installing a resin driveway, it’s essential to assess your existing driveway’s condition.
Start with a crack evaluation; measure the size, depth, and width of any cracks. Cracks larger than a few millimetres or those that appear frequently can indicate serious structural issues. Regular monitoring of crack size is crucial to prevent further deterioration.
Next, check for drainage problems. Look for standing water or overflowing drains, which can cause erosion and damage, especially during freeze/thaw cycles. Addressing sub-base requirements is vital to ensure proper drainage solutions prior to a resin overlay. Poor drainage can affect not just your driveway, but also nearby structures.
Heavy rain can worsen erosion, leading to further sinking or shifting. Ensure you address any issues found before considering a resin overlay to ensure a robust, long-lasting surface.
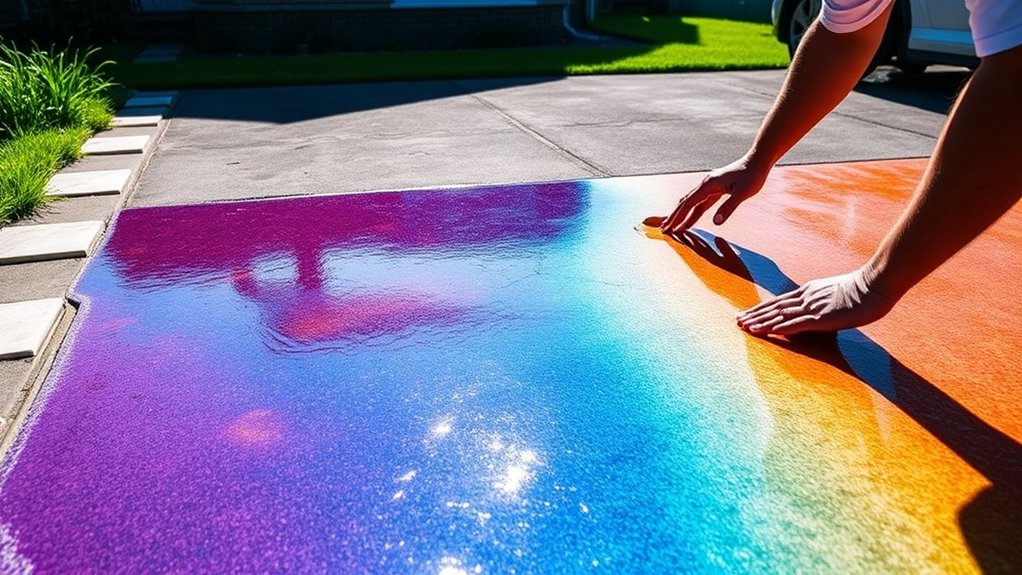
Cleaning and Preparing the Surface
To ensure a successful resin application, it’s crucial to evaluate the condition of your driveway before cleaning. Use pressure washing along with appropriate cleaning solutions to effectively remove dirt, oil, and weeds. A clean surface is vital for strong adhesion, so make sure to eliminate all loose materials and contaminants. Additionally, thorough base preparation is essential to achieving the best results for your resin installation. It’s important to ensure the surface is completely dry, as moisture can interfere with resin curing and bonding.
Surface Condition Assessment
Assessing the surface condition before applying resin is crucial for a lasting finish. Start by checking the surface for any cracks wider than 3 mm, signs of subsidence, or previous repairs. It’s important to fix any weak spots to ensure a solid base.
Next, measure the moisture content of the substrate and look for any standing water or drainage problems. Make sure the base is stable and well-compacted, and check the edges for stability to prevent any lateral movement.
Be on the lookout for contaminants like oil or vegetation, as these can affect adhesion.
Also, identify any incompatible coatings that may need to be removed. Following these steps will help ensure a strong bond and extend the life of your resin surface.
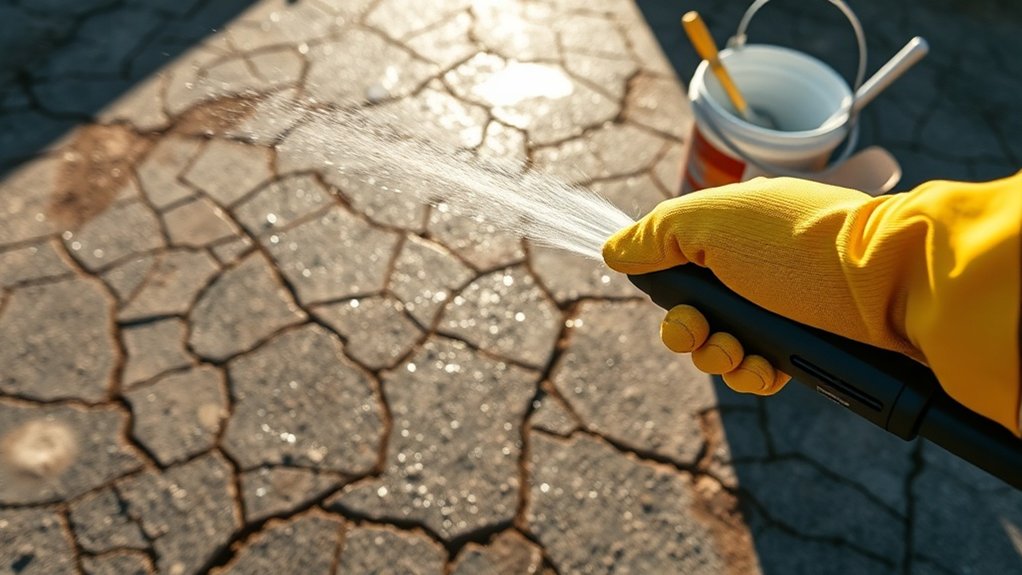
Effective Cleaning Techniques
Effective cleaning techniques are crucial for preparing a driveway before applying resin, ensuring proper adhesion and durability. Start by sweeping the surface with a stiff brush to remove loose dirt and debris.
For ongoing maintenance, sweep with a soft-bristled broom every two weeks to prevent dirt accumulation. Rinse the area with a garden hose to dislodge any remaining particles.
For a deeper clean, mix a pH-neutral detergent or biodegradable soap with warm water. Use cornstarch to tackle oil stains and lemon juice for rust marks.
Finally, employ a pressure washer on a low setting to rinse away any residues, ensuring your driveway is clean and ready for resin application.
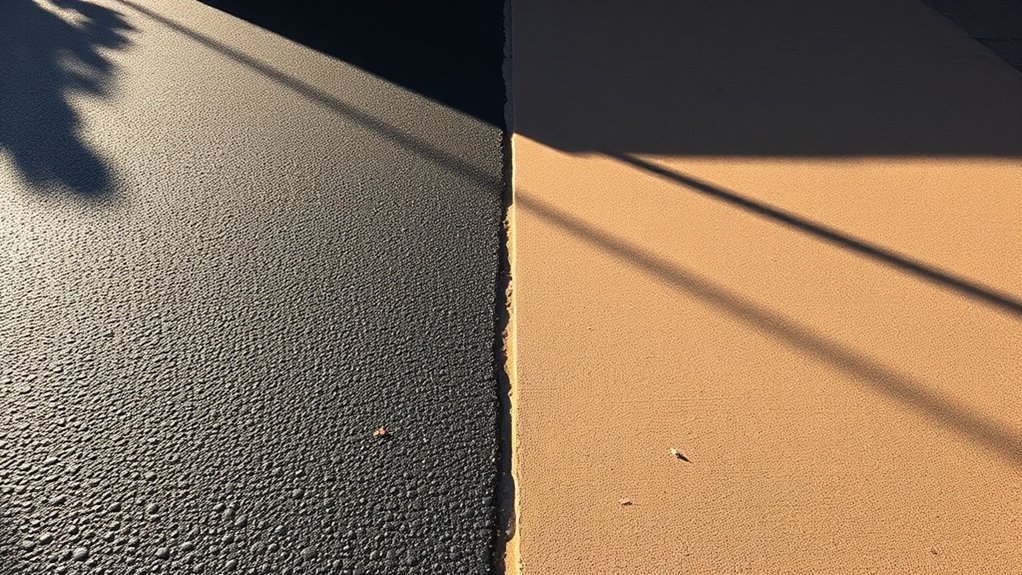
Importance of Priming for Bonding
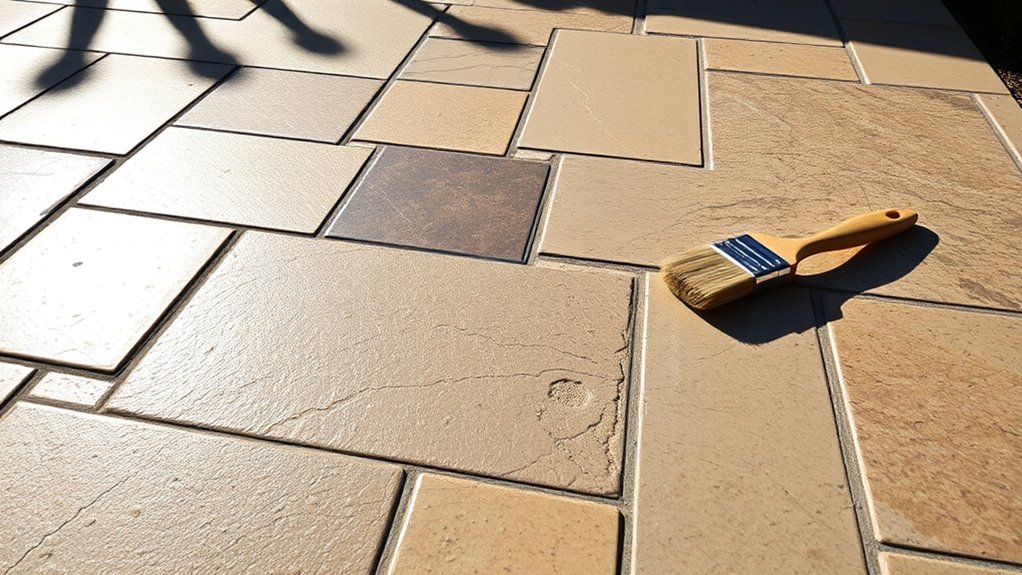
While surface preparation may appear to be a minor step, priming is crucial for ensuring a strong bond between your existing driveway and the resin overlay. Proper priming techniques foster optimal adhesion, helping to avoid problems such as sagging and bubbling.
Before applying the primer, ensure the area is dry and free from debris, as a clean surface is essential. For exposed surfaces, use a bond bridge slurry to improve long-term adhesion, particularly at the edges.
Applying the correct amount of primer is vital to prevent moisture reactions that could undermine the bond. Skipping this step can lead to weak adhesion and surface failure, especially on slopes.
Therefore, always prioritise priming to ensure the durability and longevity of your resin overlay.
The Installation Process Explained
After ensuring the surface is properly primed, you can begin the installation process for your resin overlay. Start by assessing the existing driveway for any cracks or potholes. Make any necessary repairs before moving forward.
| Step | Description |
|---|---|
| Surface Evaluation | Check for structural integrity and dryness. |
| Repair and Cleaning | Fill in cracks and thoroughly clean the surface. |
| Edge Restraints | Install restraints to contain the resin overlay. |
| Resin Mixing | Mix the resin and aggregates in a forced action mixer. |
Once repairs are completed, mix the resin components with the aggregate. Apply the mixture evenly, ensuring no dry stones are visible. Resin overlays offer durability and visual appeal, but be mindful of costs during installation to achieve the best results.
Curing Times: Tarmac vs. Concrete
When it comes to curing times, tarmac sets in just a few hours to a day in warm weather, making it ready for quick use.
In comparison, concrete needs a full 24 hours before you can walk on it and up to seven days before it’s safe to park a car.
Knowing these differences helps you plan your usage and maintenance more effectively.
Tarmac Curing Duration
Understanding how long tarmac takes to cure is crucial for ensuring your driveway lasts. Generally, it takes about 24–48 hours for the surface to dry enough for light foot traffic. However, this can vary based on temperature and moisture.
In warmer weather (18–22°C), you can expect it to be ready for walking in around 30 hours, while in cooler conditions (12–16°C), it may take 48–72 hours.
For deeper structural curing, allow 3–7 days to resist deformation, with full strength for traffic achieved within 30 days.
Keep in mind, complete curing can take up to a year. Cooler and damp weather will slow this process, so plan accordingly to ensure the best results for your driveway.
Concrete Curing Time
Concrete curing times differ from tarmac and require specific attention.
Typically, concrete reaches 70–75% of its specified compressive strength after 7 days of proper curing, achieving full strength by 28 days in ideal conditions.
For light pedestrian traffic, it’s usually safe to start loading after 24–48 hours, but for vehicles, hold off for at least 7 days or until strength tests confirm it’s ready.
Effective curing methods, such as keeping the surface continuously wet or applying curing compounds, are vital for retaining moisture and enhancing strength.
Remember, temperature can affect how quickly concrete hydrates, so it’s important to keep an eye on conditions.
Uninterrupted curing is key to achieving the best possible strength for your concrete.
Risks and Warnings to Consider
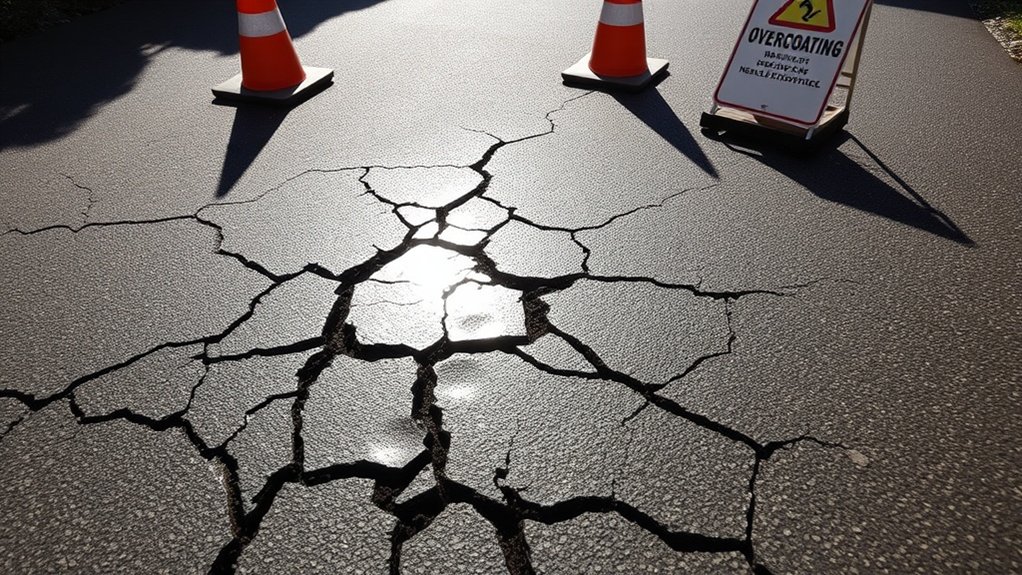
Before applying resin over an existing driveway, it’s important to consider several risks and warnings that could affect the surface’s durability.
Overlaying can be problematic due to unstable foundations, which may lead to cracking and a shorter lifespan. Ground movement beneath your driveway can compromise the resin layer, and poor installation might result in uneven finishes or weak adhesion.
Avoid applying resin over damaged surfaces, as trapped moisture can lead to failure. Issues like tree roots or a lack of proper site surveys can further destabilise your overlay.
Additionally, heavy vehicles and inadequate maintenance can degrade the resin, posing safety risks and leading to costly repairs.
Always conduct a thorough assessment before proceeding.
Compliance With Drainage Regulations
When applying resin over an existing driveway, it’s crucial to comply with drainage regulations to ensure long-term performance.
Your resin-bound system should include a permeable sub-base, such as open graded porous tarmac over MOT type 3. This setup enables water to drain effectively, keeping the surface permeable.
If you’re covering a non-permeable base, you’ll need to implement on-site drainage solutions to meet compliance standards.
Following Sustainable Drainage Systems (SuDS) principles will also help minimise surface runoff and reduce flooding risks.
Always check with your local authority for specific regulations and ensure your installation follows best practices for proper drainage and overall effectiveness.
Maintaining Your Resin Driveway
To keep your resin driveway in top shape, regular cleaning is key to avoiding dirt and debris build-up, which can cause stains and damage.
Aim to sweep your driveway each week to reduce leaves and dirt. Carry out a deep clean three to four times a year with a gentle detergent and warm water, then rinse thoroughly with clean water.
For extra care, a pressure washer on a low setting can be used, but keep it at least 200mm away from the surface. During seasonal changes, particularly in autumn, increase your cleaning frequency to manage fallen leaves.
If spills occur, clean them up quickly with warm water and mild detergent to stop stubborn stains from setting in.
With consistent maintenance, your driveway will stay looking great and functional for years to come.
Frequently Asked Questions
How Long Does a Resin Driveway Typically Last?
A resin driveway usually lasts between 15 and 25 years, depending on factors like installation quality and maintenance. With proper care, it can even last up to 30 years. Regular cleaning and prompt repairs can significantly extend its life.
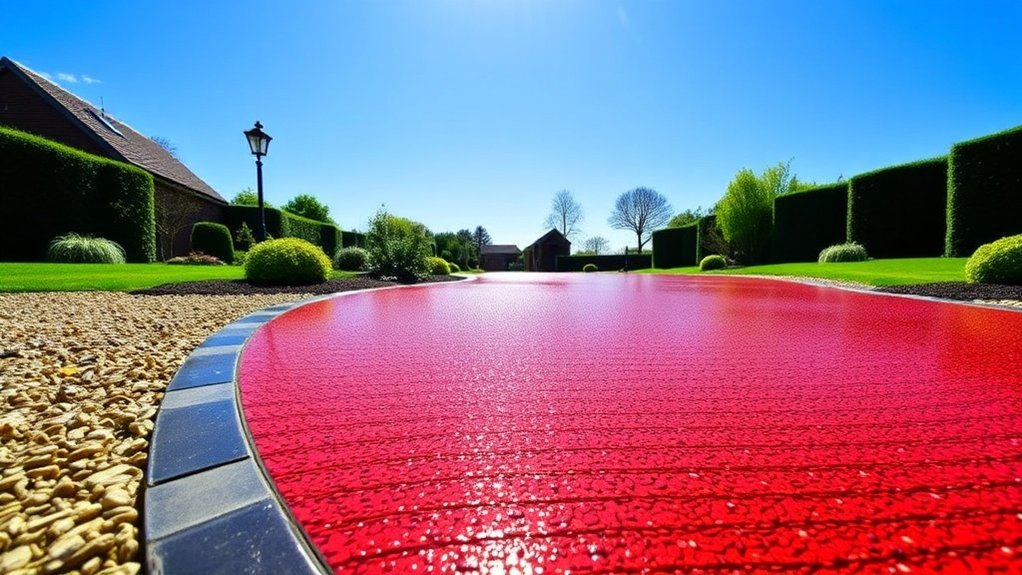
Can I Customize the Color of My Resin Driveway?
Yes, you can customise the colour of your resin driveway. There are plenty of colour options available, allowing you to create a unique surface that suits your style and complements your home’s appearance. For instance, if you prefer a classic look, you might choose a grey or black finish, while more vibrant colours can make a bold statement.
What Maintenance Is Required After Installation?
After installation, regular maintenance is essential. This includes sweeping weekly and washing monthly. You might also want to consider sealing for UV protection. For a deeper clean, use pH-neutral products every six months to keep it looking good and in good condition. Don’t forget to inspect for any damage regularly.
Is Resin Driveway Installation Weather-Dependent?
Yes, resin driveway installation is very weather-dependent. It’s important to consider the weather conditions and choose the right time for installation. Ideally, you want temperatures between 10°C and 25°C, low humidity, and no rain. For example, a dry, mild day in late spring or early autumn is usually perfect for this type of work. This careful planning helps ensure a strong and long-lasting finish.
Can I Drive on the Resin Immediately After Installation?
You can’t drive on the resin immediately after it’s been installed; it’s similar to trying to walk on fresh concrete. Resin needs time to cure properly—wait at least 48 hours to avoid any damage and ensure a solid installation.
Conclusion
In summary, applying resin over your existing Harold Wood driveway can enhance its appearance and durability. However, it’s crucial to ensure that your current driveway is in good condition and properly prepared before installation. Following best practices and local guidelines will help you achieve a smooth finish that increases your property’s appeal and lasts for years. Take care during the process, and enjoy the improvement.