Installing resin-bound gravel over a resin-bonded surface is possible, but requires proper preparation. First, check that your existing surface is structurally sound and clean – much like checking a wall before applying new wallpaper. A suitable primer is vital for proper bonding between the layers.
Keep an eye on British weather conditions during installation, as temperatures and moisture levels affect curing time. For best results, install during dry conditions between 5-30°C.
The success of your project depends on using quality materials and correct installation techniques. Think of it as laying carpet – the subfloor must be right, or you’ll face problems later. Whilst DIY is possible, professional installation often proves more reliable for long-term durability.
Remember: cutting corners on preparation or materials will likely lead to costly repairs down the line.
Key Takeaways
Installing resin-bound gravel over a resin-bonded surface isn’t advisable – much like trying to stick wallpaper over existing wallpaper, it’s likely to separate over time.
If you’re determined to proceed, you’ll need to:
- Thoroughly clean and roughen the existing surface (similar to sanding wood before painting)
- Apply a specialist primer for proper bonding
- Test a small patch first to check compatibility
- Check weather conditions – temperature and moisture levels must be spot-on
The smarter option is to remove the existing resin-bonded surface first. While this means more initial work, it’ll save you headaches and repairs down the line. Think of it as starting with a clean slate rather than building on shaky foundations.
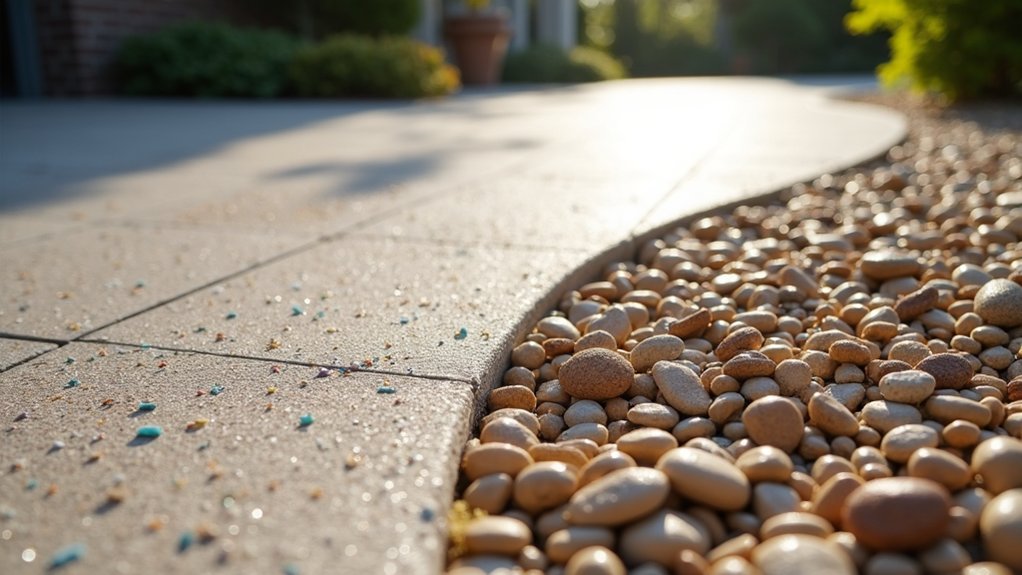
Surface Suitability for Resin-Bound Gravel
Essential surface checks for resin-bound gravel need careful attention before installation. The surface temperature must be above 10°C for proper setting. Watch out for high humidity (above 80%), as this can mess up the installation – best to wait for drier conditions. The surface must be spotlessly clean, as even small bits of dirt can stop the resin from sticking properly. Think of it like trying to stick wallpaper on a dusty wall – it simply won’t work. Your base needs to be rock-solid. Any wobbles or weak spots will lead to problems later, much like building a house on shaky foundations. Sort out any cracks or damaged areas first. Leveling the surface is crucial as it ensures durability and prevents future issues. In addition, checking for drainage solutions is vital as improper drainage can lead to waterlogging and affect the longevity of your installation. Good drainage is vital. If water can’t escape easily, you might need extra drainage solutions, similar to how a garden patio needs proper water run-off to prevent puddles. Tick off these boxes, and you’ll end up with a stable, long-lasting resin-bound surface that does the job properly.
Assessing Existing Resin-Bonded Surfaces
Check existing resin-bonded surfaces by first inspecting the surface for any cracks, loose material or debris – much like you’d check a garden path for damage. The surface must be structurally sound and clean. Adequate base preparation is essential for ensuring the longevity of the new surface. Monitor temperature and moisture levels, as British weather can significantly impact how well new materials bond and cure. Think of it like painting outdoors – you need the right conditions for proper results. Lastly, confirm whether your old resin surface will work with the new resin-bound gravel you’re planning to use, as not all products are compatible. Additionally, ensure that the old surface meets the anti-slip properties of the new resin-bound gravel for enhanced safety.
Surface Condition Assessment
Your existing resin-bonded surface must be sound before adding a new layer. Check these key points:
- Surface stability: Look for a firm base without major cracks or damage
- Crack inspection: Small cracks need filling; large ones require proper repair
- Loose stones: Check for areas where aggregate has come loose
- Grip levels: Ensure there’s enough stone showing for proper traction
- Colour changes: Patchy colouring often shows poor curing underneath
- Potholes: Mark and repair any dips or holes
- Movement joints: Any existing expansion joints must carry through to new layer
- Drainage: Surface should be clean and allow water to drain properly. Proper surface checks enhance long-term care strategies by ensuring the new layer bonds effectively. A well-prepared base with proper depth measurement is critical for durability.
Like checking a wall before wallpapering, proper surface assessment prevents future problems.
Sort these issues first, and you’ll get a lasting finish that stands up to British weather.
Temperature and Moisture Checks
Essential temperature and moisture guidelines for resin-bound gravel installations in the UK:
Suitable temperatures range between 5°C and 30°C, with 5°C to 25°C being optimal – think of a mild spring or autumn day.
Warmer weather speeds up curing (like leaving tea to brew in hot water), whilst cooler conditions slow it down.
The surface must be properly dry before starting. Think of painting a fence – you wouldn’t do it in the rain or on a damp surface.
Aim for moderate humidity levels of 50-70% for proper bonding.
Avoid installation during:
- Rainy weather
- Excessive moisture
- Extreme temperatures
Best practice: Check your local weather forecast and plan installation during mild seasons. This ensures proper curing and a long-lasting, durable finish.
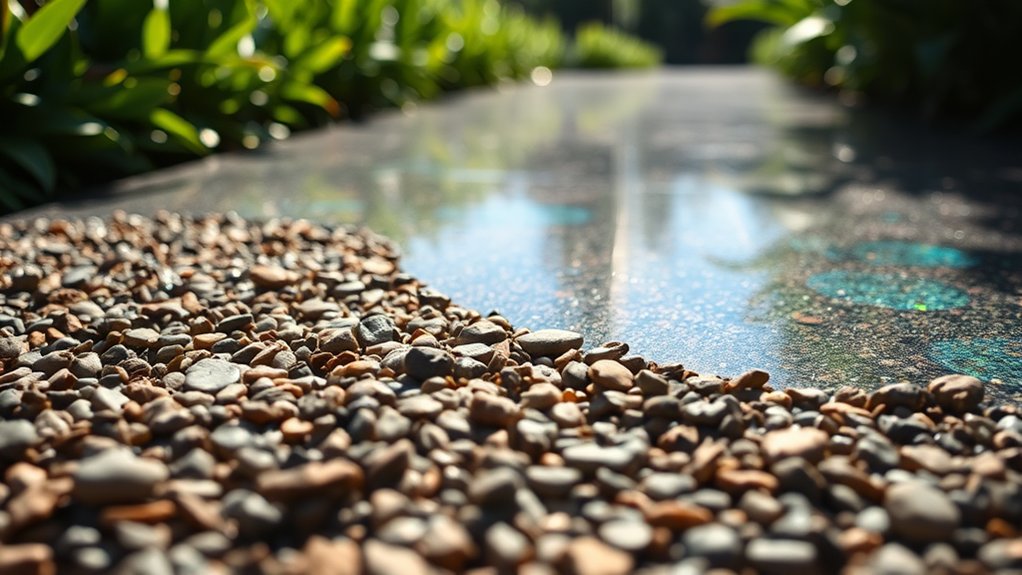
Compatibility and Adhesion Evaluation
Checking compatibility and adhesion is vital when installing resin-bound gravel. Start by looking at your existing surface – if it’s too smooth or shiny, the new layer won’t stick properly. You’ll need to roughen it up using mechanical methods (like shot blasting) or chemical treatments to create a better grip.
Before laying the new surface, clean off any dirt, oil or loose bits. It’s worth doing a quick adhesion test by applying a small patch and trying to pull it off – this will show whether you need extra preparation.
Most jobs benefit from using a primer that matches both your existing surface and the new resin system.
Be careful about mixing different types of resins, as they mightn’t work well together. If you use incompatible materials, the layers could separate over time, ruining your new surface. When in doubt, check with your supplier about which products work best together.
Keep it simple: clean surface, right preparation, compatible materials. Get these basics right, and your resin-bound gravel should stick properly and last.
Compatibility of Materials
Testing material compatibility is vital before laying resin-bound surfaces. A quality polymer primer must be used to ensure proper bonding, especially on concrete bases.
Check that your chosen resin works well with your selected aggregates – this match directly affects how long your surface will last and how well it performs. For example, some resins mightn’t bond properly with certain stone types, leading to loose aggregate over time.
Adhesion Assessment
Strong adhesion between resin surfaces relies on matching the right materials from the start. Different resins like epoxy and polyurethane don’t always play well together, much like trying to stick oil to water.
Surface preparation is crucial – think of it like painting a wall. You wouldn’t paint over dirt and grime, would you? The resin-bonded surface must be spotlessly clean, and sometimes you’ll need to roughen it up a bit, similar to using sandpaper before painting.
Smooth surfaces can be problematic, rather like trying to walk on ice. Creating texture helps the materials grip properly.
Resin-bound systems are more forgiving and flex better, which is particularly useful on surfaces that move slightly, such as outdoor pathways that expand and contract with temperature changes.
The key to success? Choose matching aggregates and resins, and prepare surfaces properly. It’s like building a house – get the foundations right, and everything else follows.
Primer Necessity
Strong adhesion doesn’t just hinge on surface preparation; it also requires the right use of primers to guarantee compatibility between layers. Choosing the appropriate primer types is essential for effective adhesion techniques, ensuring a durable bond between the resin-bonded surface and the resin-bound gravel.
Here are key considerations:
- The existing surface must be clean and free from debris.
- If the resin-bonded surface isn’t designed for overlay, a polymer primer is necessary.
- Primers create a barrier, preventing delamination and moisture issues.
- Always apply primer in dry conditions and follow manufacturer guidelines.
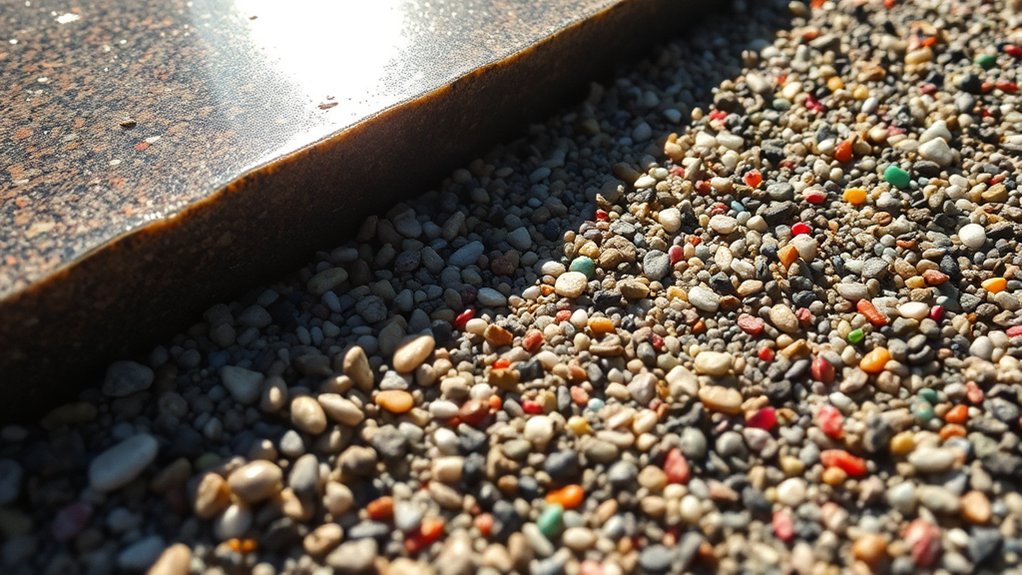
Material Compatibility Evaluation
Material compatibility remains crucial for successful resin-bound gravel installations across the UK. The right match between resin and surface directly affects how well your installation performs and lasts.
Resin-bound systems work best on concrete and asphalt bases, providing the drainage needed for SuDS (Sustainable Drainage Systems) requirements. Think of it like choosing the right glue for different materials – you wouldn’t use wood glue on metal.
These systems shouldn’t be laid over resin-bonded surfaces, as the different binding methods simply don’t mix. It’s rather like trying to paint over wallpaper – it might look fine initially but won’t last.
Your base surface must be:
- Clean and free from debris
- Structurally sound
- Reasonably smooth
Getting these basics right helps avoid common problems like cracking or surface separation. A proper evaluation of these factors ensures your resin-bound gravel installation stands the test of time and British weather.
Importance of Primer Application
Primer Application: Essential Know-How
Proper primer application stands as a crucial step when installing resin-bound gravel surfaces. A quality primer tackles common bonding issues and delivers lasting results for your project.
The key benefits include:
- Better Grip: Creates a strong bond between your resin-bound gravel and the base layer, much like how paint primer helps emulsion stick to walls.
- Damp Protection: Acts as a barrier to stop moisture seeping up through porous surfaces – particularly vital for British weather conditions.
- Lasting Strength: Boosts the overall lifespan of your installation, reducing the need for repairs or patches.
- Weight Distribution: Strengthens the surface’s ability to handle regular foot traffic and vehicle loads without crumbling or separating.
These fundamentals matter whether you’re installing a garden path, driveway or patio area.
Think of primer as your insurance policy – a small investment that prevents costly fixes down the line.
Installation Process Overview
The proper fitting of resin-bound gravel involves three vital steps: surface prep, resin mixing and laying.
First, thoroughly clean and level your base – think of it like preparing a cake tin before baking.
Mix your resin components properly (much like getting the right consistency for cement), as this affects the final strength.
Spread the mixture evenly across the surface and keep an eye on it whilst it cures.
A well-executed installation should last for years.
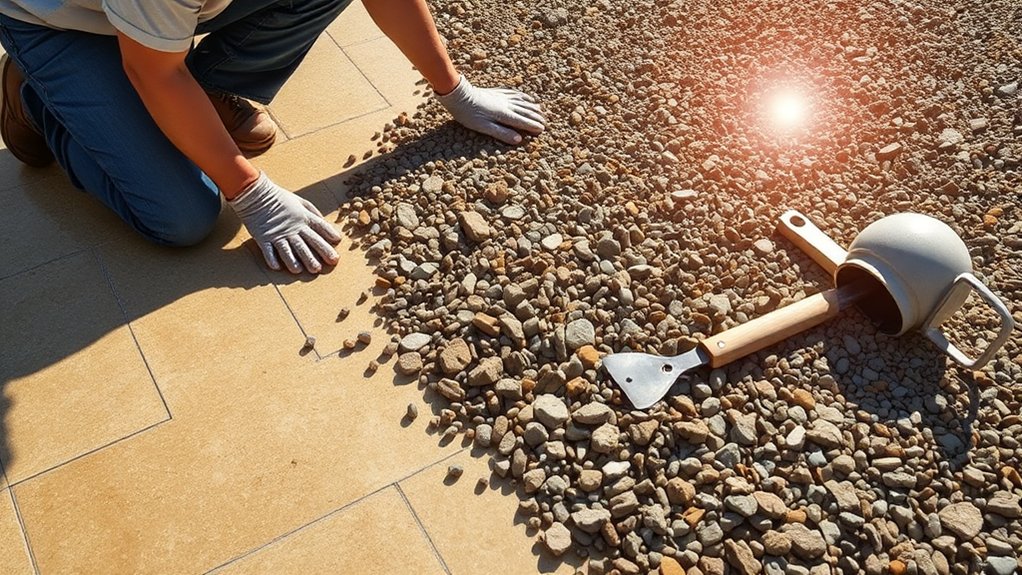
Surface Preparation Steps
Essential Surface Preparation
A proper surface prep ensures your resin-bound gravel installation lasts longer and bonds correctly – much like painting a wall, the groundwork matters most.
Steps:
- Clean the surface thoroughly – sweep away debris and wash off dirt, ensuring it’s completely dry before proceeding.
- Check the base is stable – look for cracks or damage, just as you’d inspect a wall before wallpapering.
- Roughen the surface lightly – this helps the resin grip better, similar to sanding wood before varnishing.
- Patch any holes or dips with suitable repair mortar for an even finish.
Skipping these steps risks poor adhesion and future problems, potentially leading to costly repairs.
Think of it as laying foundations for a garden shed – get it right first time, and the rest follows naturally.
Resin Mixing Techniques
Mixing resin properly is crucial for a solid, attractive gravel surface. Pour all of Part A and Part B into your mixing container – don’t be tempted to split the portions.
Use a robust paddle mixer or drill with mixing attachment for best results. Give Part A a quick 10-20 second mix before adding Part B, then blend thoroughly for 90 seconds until uniform.
Watch your timing, especially on warm days, as the resin cures faster in higher temperatures. Stick to single batches for each section to avoid colour differences.
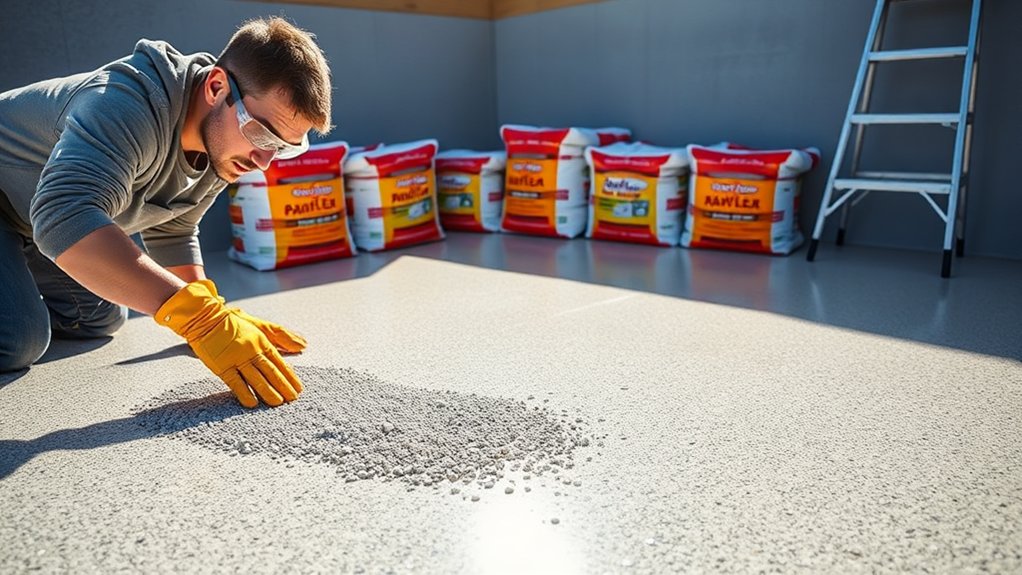
Keep your mixing bucket stable and wear proper safety kit – goggles and gloves are essential.
Top tip: Mark out your work areas beforehand to ensure one batch covers each section completely.
Application and Finishing
Proper application and finishing of resin-bound gravel creates a durable, attractive surface. Follow these essential steps:
- Clean and prime the existing surface thoroughly – much like preparing a wall before painting.
- Mix the resin and aggregate using mechanical mixers, following the manufacturer’s exact measurements.
- Spread evenly with a squeegee, similar to laying a screed.
- Trowel with plasterer’s floats to remove air bubbles and achieve a smooth finish.
The final touches matter most. Keep the coverage even (like icing a cake), watch your curing times closely, and ensure the surface cures in dry conditions.
A well-laid resin surface should last years and look brilliant, but rushing the process will show in the results.
Slope and Drainage Considerations
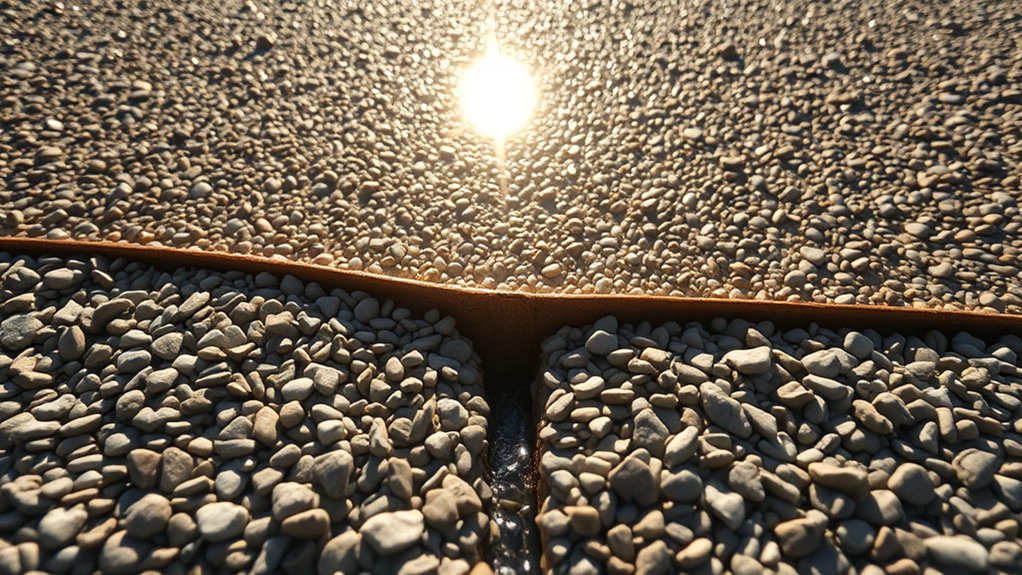
Proper slope and drainage are essential for resin-bound gravel success. A slope gradient between 1:12 and 1:40 ensures optimal stability. Steeper gradients risk poor adhesion – think of water running down a steep driveway.
The ground preparation is crucial; it’s like building a house without proper foundations if you skip this step.
Install drainage channels or permeable sub-bases to handle British weather. Water should flow away from the resin surface, much like a well-designed garden path. Check the surface after heavy rainfall to spot any drainage problems early on.
When working on slopes, always lay the resin-bound gravel from bottom to top. This technique, similar to painting a wall, ensures even coverage and prevents the mixture from sliding downwards.
Regular maintenance checks, particularly during autumn when leaves fall, will keep your surface in top condition and extend its lifespan.
Ensuring Proper Adhesion
Proper adhesion is vital for resin-bound gravel surfaces to last and perform well – botched bonding can mean expensive fixes down the line.
Follow these key steps for reliable surface bonding:
- Surface Cleaning: Give the existing resin-bonded surface a thorough clean to shift any muck or loose bits.
- Priming: Use a suitable primer to boost the grip between layers (much like using undercoat before painting).
- Material Compatibility: Double-check your new resin-bound mix matches what’s already there.
- Weather Watch: Only lay in dry conditions – moisture is your worst enemy for adhesion.
Think of it like laying wallpaper – skip the prep work, and you’ll end up with peeling corners and bubbles.
Get it right first time, and your surface will stay firmly put for years.
Safety Measures During Installation
Safety Measures During Installation
When installing resin-bound gravel, proper safety measures are vital for a quality finish and worker safety. Wear suitable protective gear, including gloves and goggles, to avoid resin contact with skin and eyes.
Ensure good ventilation to reduce risks from fumes. Check weather forecasts and avoid laying in extreme temperatures or rain.
After installation, keep people off the surface for at least 8 hours and vehicles for 24-48 hours whilst curing. Use clear barriers and warning signs around the work area to stop anyone walking or driving on it.
Make sure everyone involved knows exactly when the surface will be ready for use.
These simple steps protect both workers and the finished surface, ensuring your resin-bound gravel sets properly for long-lasting results.
Regular Maintenance Practices
Regular Maintenance for Resin-Bound Gravel
Proper upkeep of resin-bound gravel surfaces helps maintain their look and durability, much like caring for your garden patio. A few simple habits will keep your surface in top condition.
Essential maintenance steps:
- Sweep with a stiff brush using circular movements to shift loose debris
- Wash down with clean water to remove dirt, particularly after rainy spells
- Clean oil marks and cement spills straight away before they set
- Check for and remove any weeds, especially during spring and summer
Regular care prevents lasting damage and keeps your surface looking smart.
Think of it like caring for your car – frequent small efforts prevent costly repairs later.
The surface should last 15-20 years when properly maintained, making it a worthwhile investment for British homes and businesses.
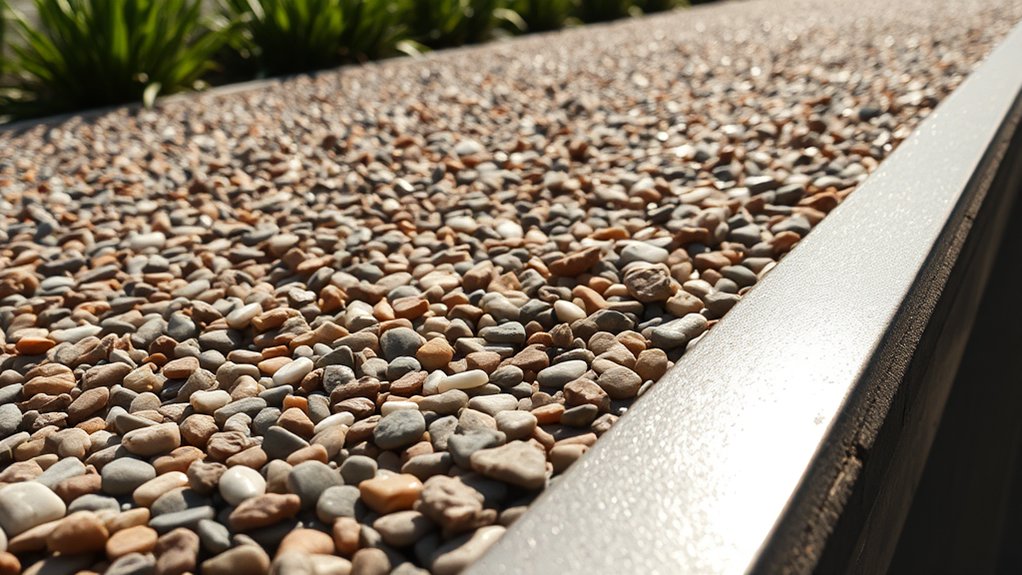
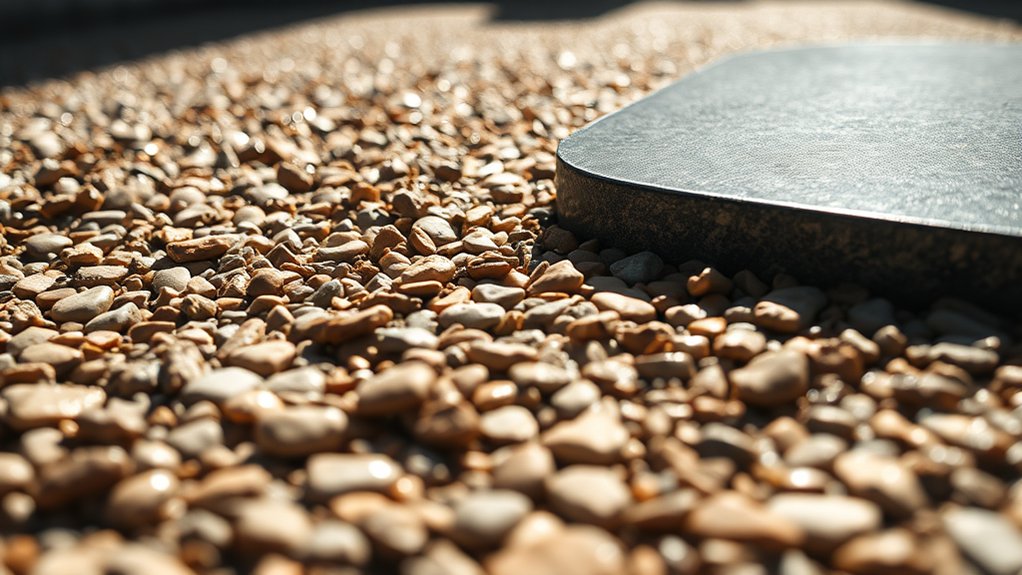
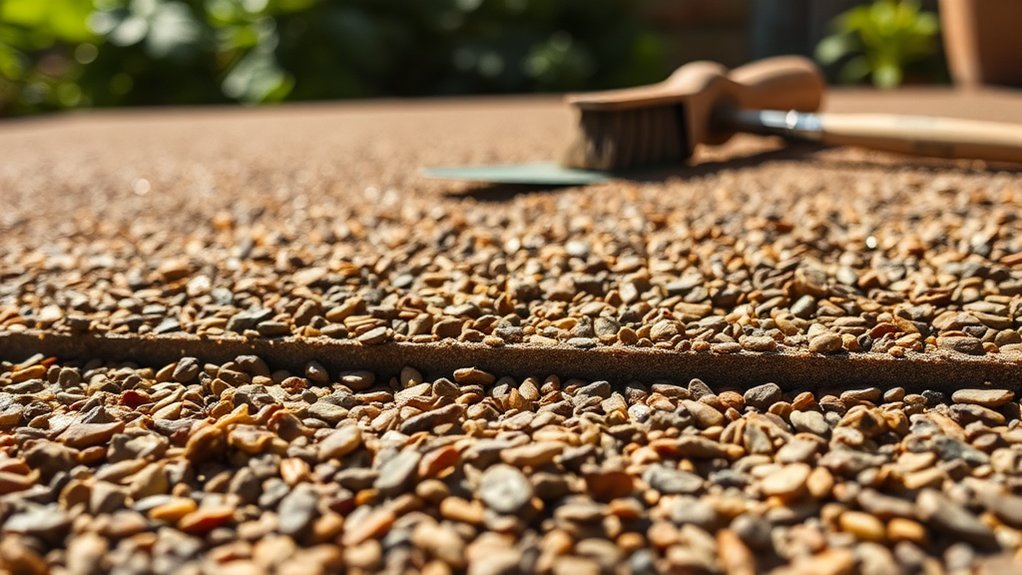
Aggregate and Resin Selection
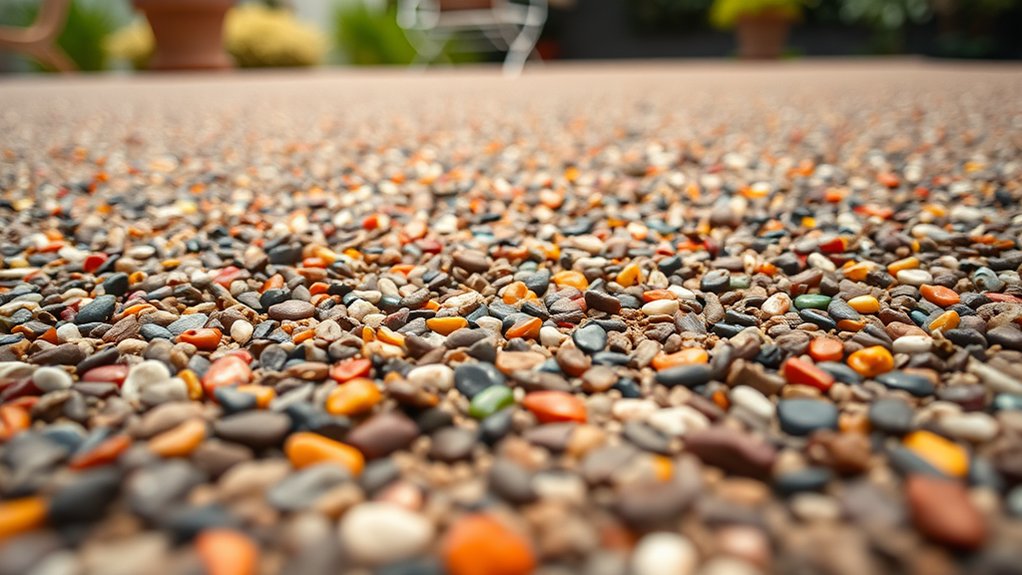
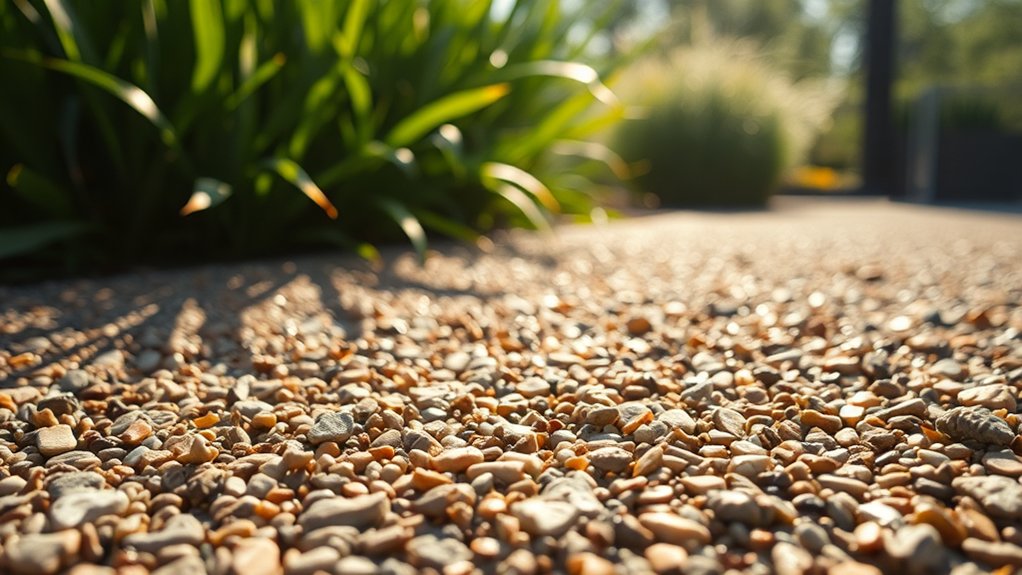
Choosing the right aggregate and resin is vital for resin-bound gravel surfaces across the UK. Polyurethane resin works best outdoors, much like what you’d find in most British driveways and garden paths, as it handles our weather well and won’t yellow in sunlight.
For aggregates, opt for well-graded natural stones (think Cotswold or Scottish granite) or recycled materials – these help with water drainage, which is essential for our rainy climate.
The size and shape of your aggregates matter – rounded stones about 2-5mm work brilliantly for most domestic projects. Think of it like choosing gravel for your garden; too fine and it won’t drain properly, too large and it won’t blend well with the resin.
For safety, particularly on slopes or steps, anti-slip additives are worth considering. Many UK installers use clear aluminium oxide, which provides grip without spoiling the look.
Match your resin and aggregate carefully – it’s like ensuring your mortar suits your bricks – to create a surface that will last through British winters and summers alike.
Environmental Compliance and Sustainability
Resin-bound gravel surfaces play a vital role in meeting UK environmental standards and boosting sustainability. These surfaces comply with SUDS requirements, providing natural drainage that’s particularly important for Britain’s rainy climate.
The key environmental advantages include:
- Prevents flooding and puddles during heavy rainfall, much like you’d see in a natural field.
- Allows rainwater to replenish local groundwater, supporting nearby gardens and green spaces.
- Uses recycled materials where possible, cutting down on waste.
- Meets strict British installation standards through approved contractors.
These surfaces are particularly useful in urban areas where traditional concrete and tarmac have created drainage problems.
Think of them as a modern equivalent to traditional gravel drives, but with better stability and fewer maintenance headaches.
Frequently Asked Questions
Can I Install Resin-Bound Gravel in Cold Weather?
Laying resin-bound gravel in cold weather needs extra care. The resin takes longer to set in low temperatures, and frost can damage the surface before it’s fully cured. For best results, install when it’s at least 5°C outside – think typical autumn day temperatures rather than winter cold snaps. Using winter-grade resin and keeping the area sheltered until fully set will help ensure a proper finish.
How Long Does Resin-Bound Gravel Take to Cure?
Resin-bound gravel needs 24-48 hours to fully cure, much like waiting for paint to dry in your home. The British weather plays a crucial role – warmer, drier conditions speed up the process, whilst damp or cold weather can extend curing time. Best to keep vehicles and foot traffic off until properly set, typically two days to be on the safe side.
What Tools Do I Need for Installation?
Essential tools for installation include mixers, squeegees and surface cleaning equipment. These aren’t optional extras – they’re crucial for achieving proper adhesion and a professional finish. A thorough kit ensures your resin-bound gravel surface sets correctly and lasts.
Can I Apply Resin-Bound Gravel Over Existing Concrete?
You can lay resin-bound gravel over existing concrete, but proper surface preparation is crucial. Your concrete base must be sound, clean and dry. A quality primer is essential for proper bonding – think of it like painting a wall where the undercoat ensures the topcoat sticks properly. Most UK suppliers recommend specific primers designed for resin systems. Common concrete issues like cracks or severe damage should be sorted before laying the resin surface.
Is Resin-Bound Gravel Suitable for Heavy Vehicle Traffic?
Resin-bound gravel performs well under heavy vehicle use when properly installed. The surface can handle lorries, buses and other commercial vehicles, though it requires proper installation and routine maintenance. Regular checks help spot any cracks or damage early on, ensuring the surface remains robust and safe for daily traffic.
Conclusion
In short, laying resin-bound gravel over a resin-bonded surface is possible, but proper checks and preparation are essential. Think of it like putting a new carpet over old flooring – the base must be sound and compatible. With correct installation methods and regular upkeep, you’ll achieve a lasting, attractive finish. The key is thorough groundwork, which not only looks better but also protects your investment for years to come.