Yes, you can install resin-bound gravel over an existing path, provided the base is stable and well-prepared. Start by cleaning the surface thoroughly, fixing any cracks, and levelling out uneven areas to ensure proper drainage. It’s crucial that the existing path is dry and free from debris for the resin to adhere effectively. Follow the specific installation steps for a durable finish. For more details on the installation process, maintenance tips, and benefits, be sure to explore further information.
Key Takeaways
Yes, you can lay resin-bound gravel over an existing path, as long as the surface is properly prepared and stable.
The existing base should be clean, dry, and free from cracks to ensure the resin adheres well. If the surface is uneven, it’s important to level it out to prevent water pooling and to protect the integrity of the resin layer.
Using a solid foundation, like concrete or MOT Type 3, will improve stability and drainage for the resin surface. Proper preparation is key to achieving a durable and long-lasting resin-bound gravel installation.
Understanding Resin-Bound Gravel
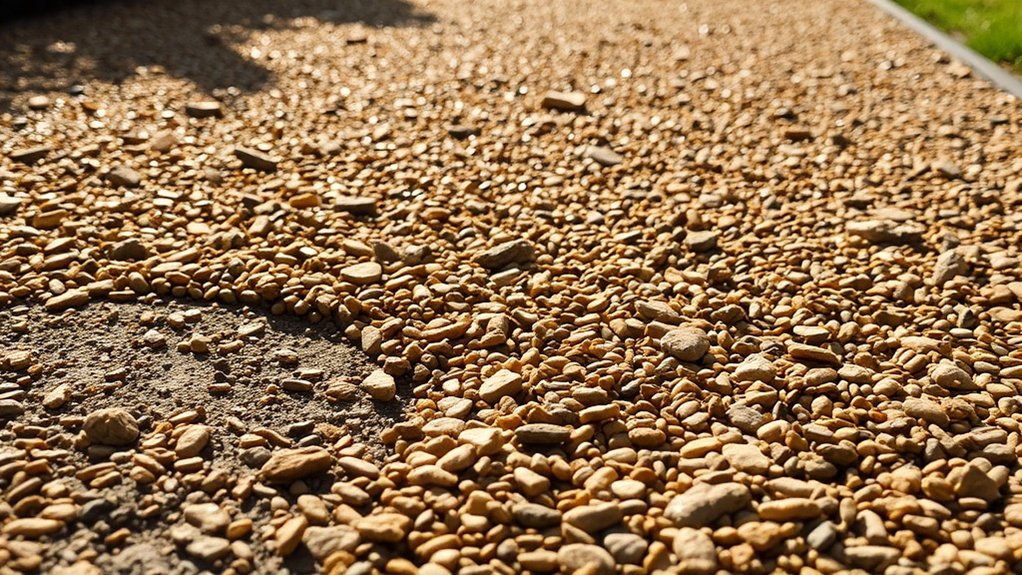
Resin-bound gravel is a modern surfacing option that combines resin and aggregates to create a strong and attractive finish.
It typically consists of polyurethane or epoxy resin, which is UV stable and flexible, mixed with clean, kiln-dried aggregates sized between 2-5mm. This combination results in a seamless, non-slip surface, while the choice of aggregates allows for various aesthetic styles. The recommended thickness for pedestrian areas is between 15-18mm, ensuring a durable and long-lasting finish. The standard mix ratio is 75% coarse aggregate to 25% finer gravel, ensuring good drainage and a solid blend. Proper substrate preparation is essential for achieving the best results and durability when installing resin-bound gravel.
When choosing resin, consider factors like the volume of traffic and local weather, as these will affect the material’s durability.
This surfacing solution requires minimal maintenance and is built to last, making it an excellent choice for driveways, patios, and pathways.
Conditions for Installing Over Existing Paths
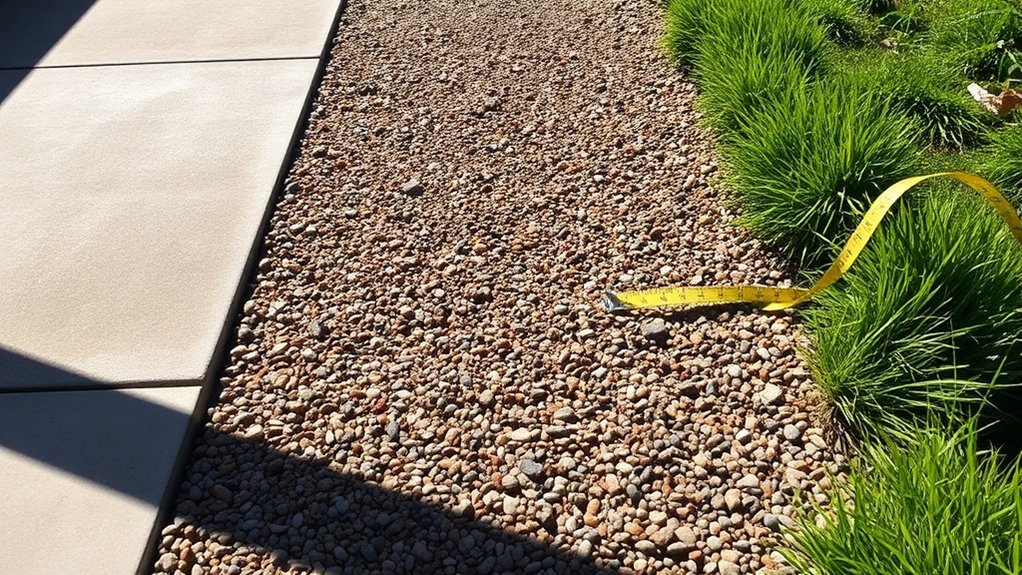
Before installing resin-bound gravel over existing paths, ensure the base is stable and properly prepared.
Start by cleaning the surface, fixing any cracks, and checking that it’s level for good drainage. A solid foundation is crucial to prevent future movement and to maintain the integrity of your installation. Additionally, proper surface preparation is essential for achieving lasting results with resin-bound paths, which offer a seamless finish that combines the aesthetic appeal of natural aggregate with practical benefits.
For instance, if your path has uneven areas, it could lead to puddles forming after rain, which can damage the surface over time.
Base Stability Requirements
When installing resin-bound gravel over existing paths, ensuring a stable base is crucial for long-term success. The existing surface must be solid and able to support the required load. Suitable materials include concrete, open-graded tarmacadam, or permeable grids, all of which offer strong load-bearing capacity. Additionally, the choice of sub-base material can significantly impact the overall installation success. Avoid using loose gravel as a base, as it can shift and cause surface failure. For optimal durability, compacted MOT Type 3 at a depth of 120-150mm is recommended. It’s also important to check that the existing surface is sound, clean, and free from imperfections. Proper drainage management is essential to prevent moisture issues, ensuring the resin-bound system adheres well and lasts longer. Regular monitoring of surface conditions supports installation integrity, allowing for timely repairs if needed.
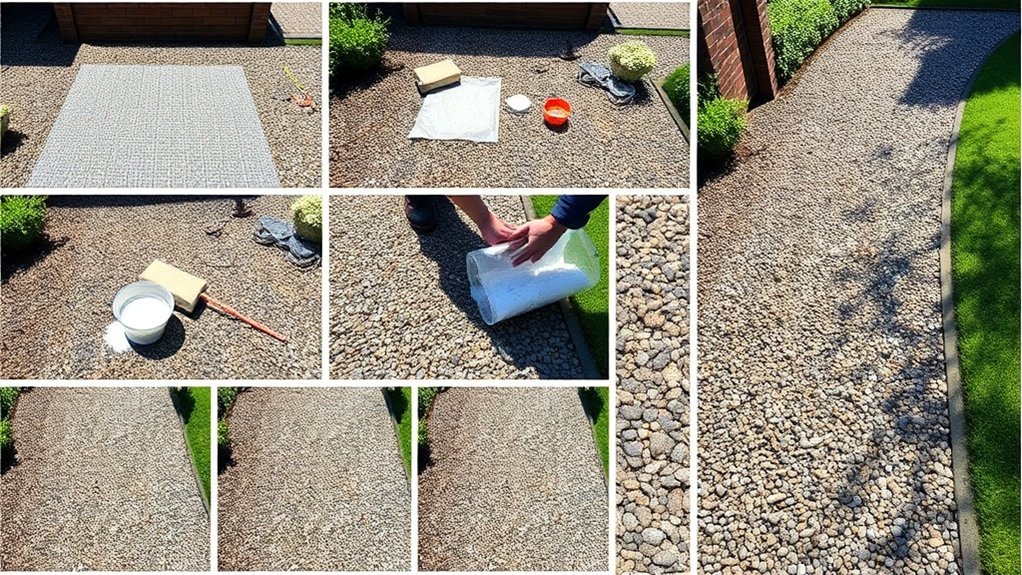
Surface Preparation Steps
To achieve a stable and long-lasting resin-bound gravel surface, proper surface preparation is crucial.
Begin by using a power washer to thoroughly clean the existing path, ensuring all debris is removed. The surface must be completely dry, ideally with temperatures above 10°C during installation.
Repair any cracks and level any uneven areas to create a solid base. Fill in joints to prevent weed growth, and apply a primer if you’re working with concrete surfaces.
It’s important to consider drainage; ensure that water can flow freely beneath the resin-bound layer.
Lastly, use flexible edging to define the boundaries, making sure it’s higher than the resin depth to avoid spillover.
Suitable Base Materials for Installation
When choosing a base for your resin-bound gravel installation, it’s crucial to ensure the foundation is stable and durable.
Suitable base materials include concrete and MOT Type 3, which are both excellent for supporting proper drainage and load-bearing.
A solid base prevents deformation and enhances the overall performance of your resin surface, ensuring it lasts longer and performs better.
Ideal Base Conditions
To ensure a successful installation of resin-bound gravel, choosing the right base materials is crucial.
Start with thorough preparation of the base, ensuring it’s stable enough to support the intended load without deformation. Assess the load to select suitable materials, ideally using angular gravel or crushed stone for optimal drainage and stability.
Make sure the surface is clean and dry, as moisture and debris can disrupt the resin curing process. The substrate temperature should be at least 3°C above the dew point to avoid condensation.
Proper drainage is vital for stability, so consider using permeable bases if environmental considerations are important.
Following these steps will help create a durable and effective resin-bound gravel surface.
Permissible Base Materials
Choosing the right base materials is crucial for installing resin-bound gravel successfully. You need to ensure that the materials are durable and allow for effective drainage.
Here are some suitable options to consider:
- Macadam Bases: Perfect for SuDS-compliant installations, they offer excellent permeability.
- Concrete Bases: Ensure they’re fully cured and include drainage provisions for optimal performance.
- Type 1 MOT Sub-base: This provides a stable structural layer, typically compacted to 150mm.
- Open-Textured Macadam: A 50mm layer enhances porosity and supports drainage.
Using these materials won’t only improve the lifespan of your resin-bound gravel but also ensure it meets necessary drainage standards.
Always focus on proper compaction and thickness based on soil conditions to achieve the best results.
Importance of Stability
The stability of your chosen base materials is crucial for ensuring the long-term performance of resin-bound gravel installations. An unstable base can cause issues like cracking and uneven wear. Opt for solid bases such as tarmac or concrete, as they provide the necessary support and resist deformation. It’s also important to consider proper compaction and drainage to further enhance stability.
| Base Material | Stability Level | Suitability for Resin-Bound Gravel |
|---|---|---|
| Tarmac | High | Yes |
| Block Paving | Low | No |
| Concrete | High | Yes |
Addressing these factors will create a strong foundation and extend the lifespan of your resin-bound gravel surface.
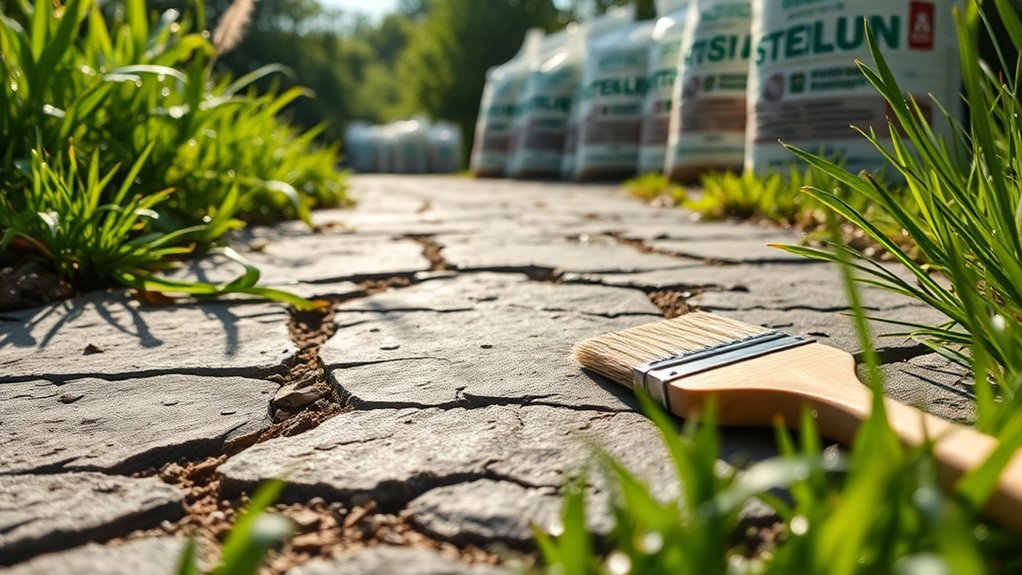
Importance of Surface Preparation
Surface preparation is crucial for the successful installation of resin-bound gravel, directly affecting the longevity and durability of the finished surface. Proper preparation ensures optimal resin adhesion and enhances surface durability.
- Ensure the existing surface is completely dry to avoid issues with resin adhesion.
- Level the surface to promote effective water drainage and prevent water pooling.
- Clean the surface thoroughly to remove any contaminants that could disrupt bonding.
- Check the structural integrity of the substrate and reinforce any weak spots.
Cleaning and Repairing the Existing Path
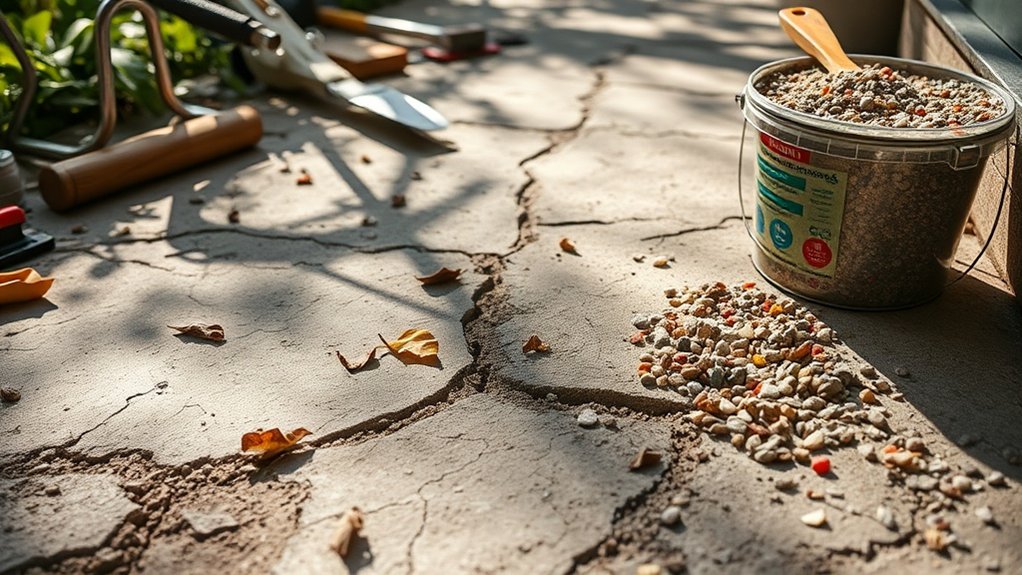
To ensure a successful installation of resin-bound gravel, start by thoroughly cleaning the existing path surface to remove any debris, dirt, and stains.
Once cleaned, check for cracks or weak areas and repair them with suitable compounds to maintain the path’s structural integrity.
This preparation is crucial for achieving good adhesion and durability of the new surface.
Surface Cleaning Techniques
Before applying resin-bound gravel, it’s crucial to ensure the existing path is thoroughly cleaned and prepared. Proper maintenance will extend the life of your installation.
Here are effective cleaning methods to get your path ready:
- Soap and Water: Use a mild detergent to tackle oil or grease stains.
- Pressure Washing: A low-pressure washer can effectively clean dirt without damaging nearby plants.
- Broom Scrubbing: A stiff-bristle broom or scrub brush is great for dislodging dirt and grime.
- Jet Sprayer: This tool helps break up stubborn debris for easier removal.
Regular cleaning will prevent build-up, ensuring a smooth surface for resin binding.
Crack and Hole Repair
When repairing cracks and holes in your existing pathway, it’s crucial to address these issues quickly to ensure its structural integrity and longevity. Begin by assessing the cracks and evaluating the holes to determine the extent of the damage. Choose suitable materials based on your assessment, such as crack fillers or patching compounds.
| Repair Type | Method | Best For |
|---|---|---|
| Crack Filling | Hot pour, cold pour | Minor cracks |
| Asphalt Patching | Remove and replace | Potholes |
| Infrared Heater | Seamless integration | Surface-level repairs |
| Dig-Out Patching | Base re-grading | Deep potholes |
Regular maintenance is key to preventing minor issues from becoming major problems. Always take into account temperature and environmental factors when selecting your repair methods to ensure long-lasting results.
Priming for Enhanced Adhesion
Priming for Enhanced Adhesion
While priming may not always be emphasised in installation guides, it’s crucial for improving adhesion between the existing surface and the resin-bound gravel.
Applying a primer correctly can significantly enhance the bond, ensuring a durable installation. Here are some key benefits of using primer:
- Better Adhesion: It strengthens the connection between layers.
- Surface Preparation: It readies the existing surface for optimal bonding.
- Moisture Barrier: It prevents moisture from interfering during curing.
- Increased Durability: It extends the lifespan of the resin-bound surface.
Before applying primer, ensure the surface is dry and clean.
Drainage Considerations for Resin-Bound Gravel
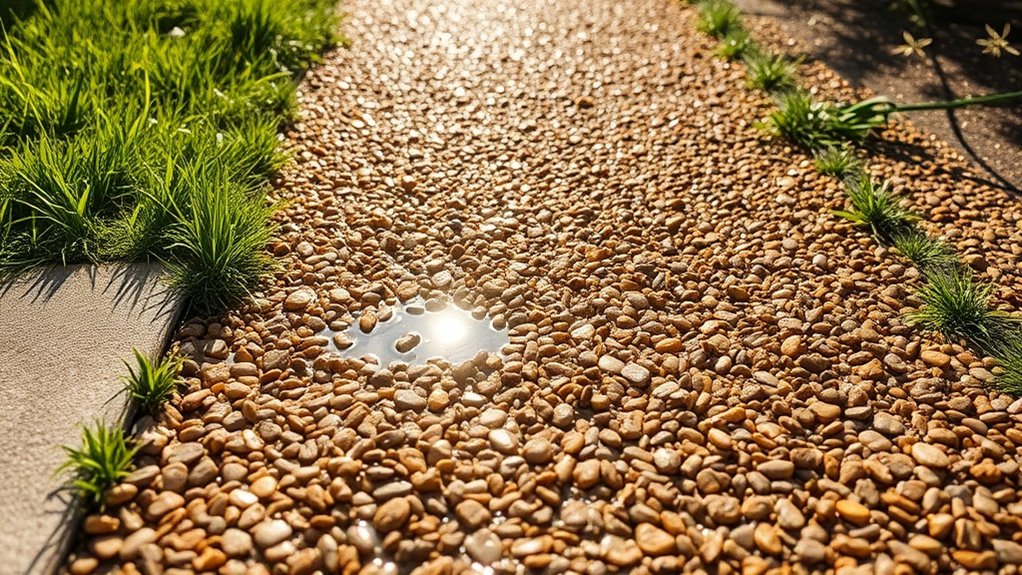
Effective drainage is crucial for the durability and performance of resin-bound gravel surfaces, especially as they’re designed to be permeable.
If your base layer allows water to pass through, you mightn’t need additional drainage solutions. However, if your base is non-permeable, consider installing soakaways or secondary drainage channels to prevent water from pooling.
In regions with heavy rainfall, local conditions should be carefully evaluated, as surface water can still accumulate even if the gravel is permeable.
Installing edge or channel drains can effectively manage runoff and minimise erosion. Ensure proper grading to guide water towards these drainage points.
Regular maintenance is essential to keep the drainage systems clear of debris, ensuring that your resin-bound gravel remains effective and adheres to Sustainable Urban Drainage Systems (SUDS) principles.
Structural Requirements for Stability
Effective drainage is crucial for the stability of resin-bound gravel installations. A solid, uniform sub-base is vital to prevent movement and cracking in the resin layer.
When assessing your existing path, ensure it meets these criteria:
- Carry out a load-bearing assessment to determine how much traffic the base can handle.
- Use appropriate materials such as concrete or open-graded tarmac for optimal support.
- Check for any cracks, holes, or debris that could complicate the installation.
- Ensure there’s a minimum 150mm layer of MOT Type 3 for adequate firmness.
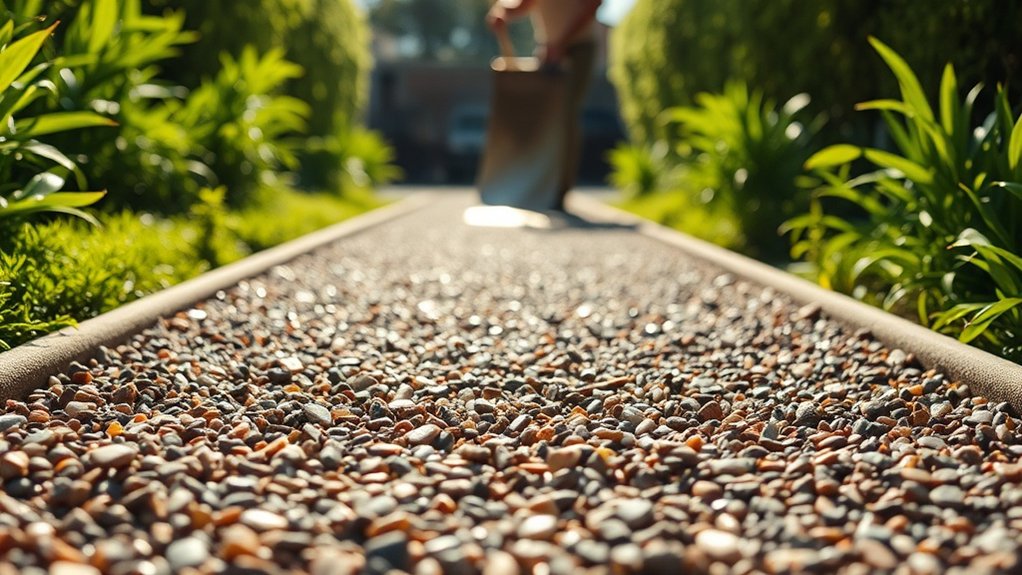
Step-by-Step Installation Process
When you’re ready to install resin-bound gravel, first ensure your existing path is properly prepared for a strong bond and durable finish.
Check the surface for any structural issues, and remove all debris, dust, and weeds. If your base is concrete or tarmac, give it a thorough clean and apply a suitable primer.
Mark out manageable sections to ensure even coverage. Use pre-measured kits to mix the resin and aggregate, aiming for a 1:3 ratio, and mix well to avoid any unmixed resin.
Pour the mixture onto the primed surface straight away, spreading it evenly to a thickness of 15-18mm.
Optimal Weather Conditions for Installation
For the best results when installing resin-bound gravel, it’s crucial to consider the weather.
Ideal conditions are temperatures between 5°C and 25°C and humidity levels of 40% to 70%. Avoid rain for at least 24-48 hours before and after installation, as moisture can affect adhesion.
- Keep an eye on temperature changes to avoid cracking.
- Use catalysts if working in colder weather.
- Regularly check humidity for proper curing.
- Ensure the surface is completely dry before beginning.
Maintenance of Resin-Bound Gravel Surfaces
Maintaining resin-bound gravel surfaces is crucial for keeping them durable and visually appealing. Neglect can lead to problems like weed growth and staining.
To maintain these surfaces, regularly sweep with a stiff broom to remove debris, ensuring the surface remains permeable. For larger areas, consider using non-metal leaf blowers or suction cleaners to avoid damaging the aggregate.
Gentle washing with a garden hose or a low-pressure washer can effectively remove dirt, and if needed, use mild, pH-neutral detergents.
Regularly check for weeds and remove them manually to keep the surface looking its best. Address any stains promptly with the right cleaning methods to prevent long-term damage and maintain both functionality and appearance.
Benefits of Using Resin-Bound Gravel
Resin-bound gravel provides several benefits that make it a smart choice for various uses, particularly where durability and eco-friendliness are key.
Here are some of the main advantages:
- Eco-Friendly: Its permeable nature helps recharge groundwater and minimises flooding risks.
- Long-lasting: With a lifespan of 20-30 years, it outperforms traditional surfaces and withstands harsh weather.
- Stylish Options: Available in a wide range of colours and textures, it fits well with contemporary design.
- Easy Maintenance: The sealed surface stops weeds from growing and makes cleaning a breeze.
Opting for resin-bound gravel enhances your property’s functionality while promoting sustainability and an attractive look.
Frequently Asked Questions
Can Resin-Bound Gravel Be Installed in Rainy Weather?
No, you cannot install resin-bound gravel in rainy weather. Moisture can compromise the resin, leading to defects in the installation. It’s essential that surfaces are dry and the weather conditions are suitable for proper curing and bonding, ensuring a strong and durable finish.
How Long Does Resin-Bound Gravel Take to Cure?
Cure time for resin-bound gravel can vary. Warmer temperatures speed up the process, while colder conditions slow it down. Generally, you can expect initial curing to take around 24 hours. Full traffic is usually permitted after 24 to 48 hours, depending on the weather.
What Colors Are Available for Resin-Bound Gravel?
Resin-bound gravel comes in a wide variety of colours, including earthy tones, soft pastels, and bright shades. These options allow you to enhance the look of your outdoor space, giving it a personalised touch. For example, you might choose a warm terracotta for a rustic garden or a sleek grey for a modern driveway.
Can I Install Resin-Bound Gravel Myself?
Yes, you can install resin-bound gravel yourself. You’ll need tools such as a paddle mixer, a level, and some protective gear. It’s crucial to follow the instructions carefully and prepare the surface properly to achieve a quality finish. For instance, make sure the base is clean and well-compacted to avoid future issues.
Is Resin-Bound Gravel Suitable for Driveways?
Yes, resin-bound gravel is an excellent choice for driveways. It offers impressive durability and a beautiful finish. When installed correctly with a solid base, you can expect a long-lasting surface that enhances your property’s appearance for many years.
Conclusion
In summary, you can install resin-bound gravel over an existing path, giving it a durable and attractive finish. Think of it as refreshing a tired driveway with a new coat of paint. To ensure a successful installation, make sure to properly prepare and clean the surface, and follow the installation guidelines closely. This approach will not only improve the look of your path but also its functionality. With minimal upkeep, your new surface will stand the test of time, offering a reliable foundation for years to come.