Yes, you can install a resin-bound driveway over an existing surface. This method is cost-effective and eliminates the need for complete removal. However, it’s crucial to ensure the original surface is structurally sound and properly prepared for strong adhesion. Pay attention to drainage to avoid water pooling, and carefully consider the necessary preparation steps. For more details on the installation process and maintenance tips, there’s plenty of information available.
Key Takeaways
Yes, you can install a resin-bound driveway over an existing surface, provided it is structurally sound and free from significant cracks. This approach can save you money since it avoids the need to completely remove and dispose of the old surface.
However, it’s crucial to prepare the existing surface properly by cleaning and repairing any damage to ensure a successful installation. Compatibility between the existing surface and the resin is also vital to avoid any bonding issues.
A key benefit of a resin-bound driveway is its permeable design, which allows for natural drainage. This not only complies with SUDS regulations but also enhances the longevity of your driveway.
Benefits of Installing Over Existing Surfaces
When you opt to install a resin-bound driveway over an existing surface, you unlock several key benefits that can simplify the process and improve your property.
Firstly, it’s cost-effective; you avoid the expense of full removal and disposal, saving on both materials and labour. If the current surface is in good condition, you won’t need to purchase new sub-base materials, which further cuts costs. Additionally, proper surface preparation, including (checking surface type), is crucial to ensure long-lasting results.
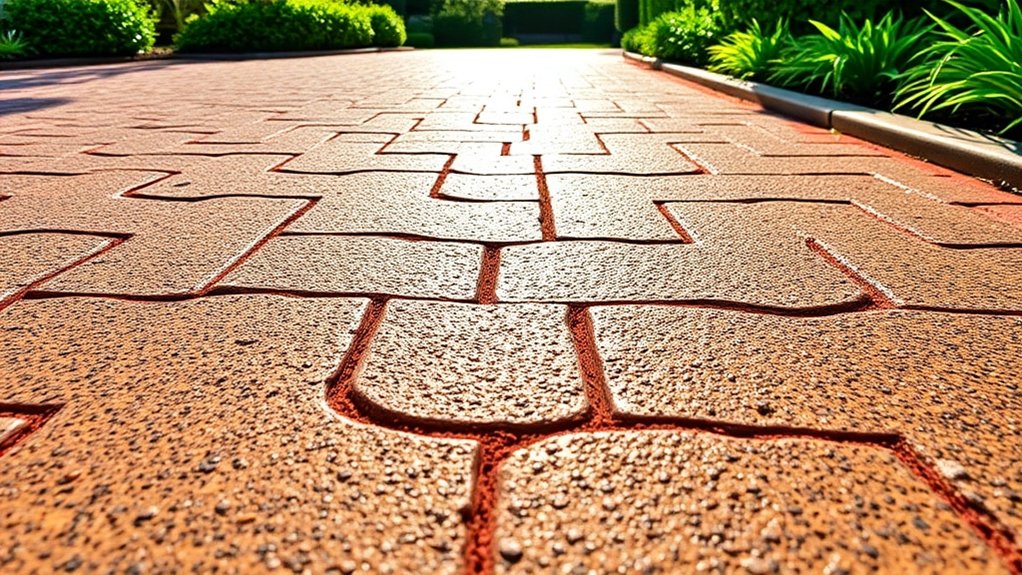
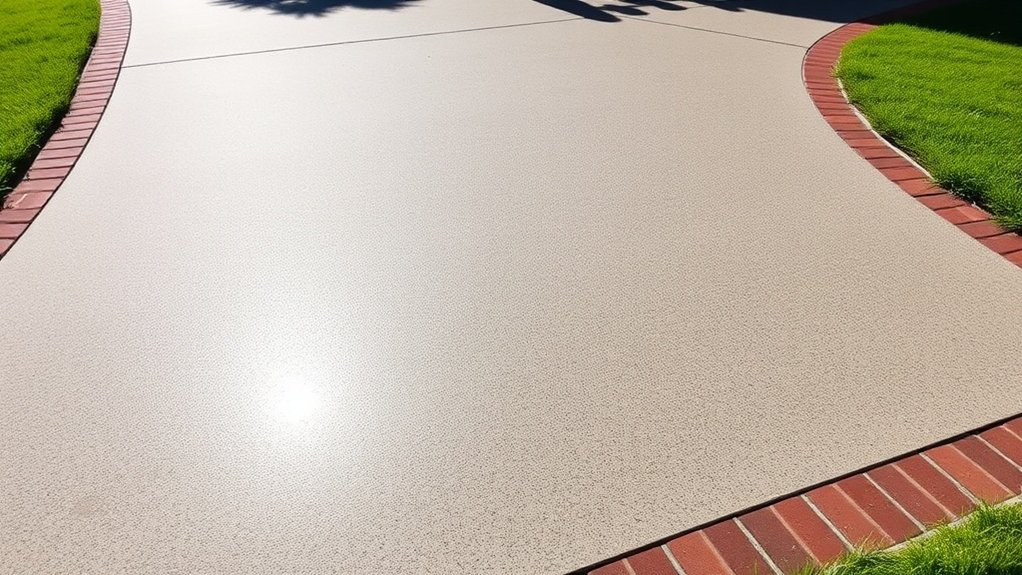
Moreover, a resin overlay delivers a contemporary finish, effectively concealing any imperfections and enhancing the overall appearance of your driveway. Additionally, the permeable nature of resin-bound surfaces allows for natural drainage, reducing surface water runoff and complying with Sustainable Urban Drainage Systems (SUDS) regulations.
With many projects completed within a single day, you’ll have quick access without significant disruption to your routine. This approach not only saves you money but also boosts your home’s kerb appeal, while resin mixing consistency is vital in ensuring that the surface remains durable over time.
Essential Preparation Steps
Before you start installing a resin-bound driveway, it’s crucial to prepare the existing surface correctly. Ensuring the surface is compatible and stable is key to a successful installation.
Here are the essential preparation steps:
- Check the existing surface for structural integrity and any large cracks.
- Clean the area thoroughly, removing debris, dust, and plant growth using appropriate tools.
- Repair any cracks or potholes with suitable patching materials to create a smooth base.
- Apply a suitable primer to improve adhesion, particularly on concrete surfaces. This will facilitate proper resin adhesion, which is essential for the longevity of the installation.
- Ensure the conditions are right by checking the surface temperature and humidity before mixing the resin. A strong, stable base is essential for longevity.
Following these steps will help ensure your driveway lasts and performs well, providing a robust resin-bound surface.
Ensuring Proper Drainage and Permeability
When installing a resin-bound driveway, it’s crucial to ensure proper drainage and permeability. The porous design of resin-bound surfaces allows water to flow through, boasting a permeability rate of up to 850 litres per square metre per minute. To achieve effective drainage, use a permeable sub-base, such as crushed stone, which should be compacted and free from fines. Additionally, ensure proper grading with a slope of 1:60 to 1:80 to direct water away from buildings, helping to prevent pooling and flooding. Implementing proper drainage is essential to protect against flooding around the property. Furthermore, maintaining a gentle slope will effectively manage rainwater runoff and promote drainage efficiency. You might also want to consider installing channel drains to manage any excess water. Following these steps will help ensure long-lasting drainage efficiency and compliance with local regulations.
Technical Installation Process
When installing a resin-bound driveway, begin by mixing the resin with aggregates to get the right consistency.
Use appropriate application techniques and tools for a smooth finish, as you’ll need to work swiftly before the resin sets.
Finally, pay attention to the curing time to ensure the surface is durable and performs well.
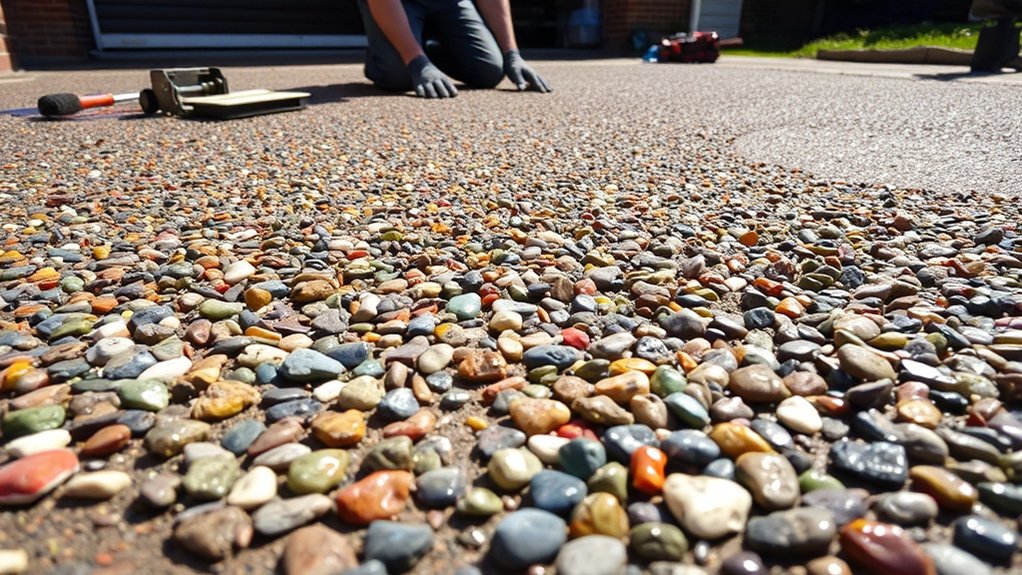
Mixing Resin and Aggregate
Mixing resin and aggregate requires precision to ensure a durable and attractive surface. Here are some key points to follow:
- Use a forced action mixer with a minimum capacity of 100kg.
- Stick to the aggregate ratios provided by your supplier for optimal strength.
- Mix smaller batches, ideally around 90kg, to ensure workability and consistent results.
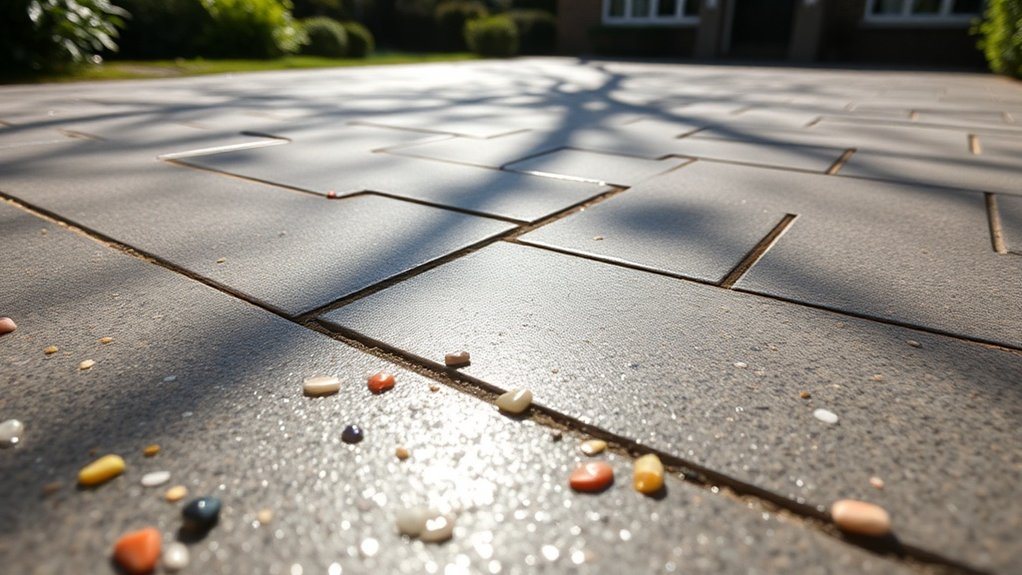
- Make sure aggregates are clean, kiln-dried, and within the 3-6mm size range.
- Keep an eye on environmental conditions to avoid moisture issues during mixing.
Effective mixing techniques are essential. Under-mixing can result in uneven resin distribution, while over-mixing can compromise the final product’s integrity.
Achieving a uniform consistency is crucial for the strength and appearance of your resin-bound driveway.
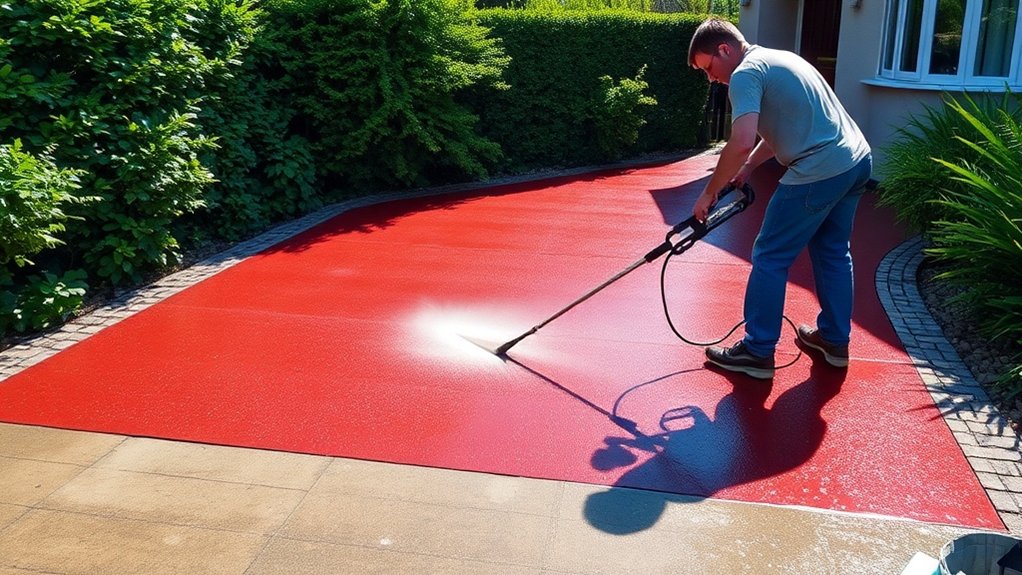
Application Techniques and Tools
To create a reliable and visually appealing resin-bound driveway, it’s essential to use the right application techniques and tools.
Begin by applying the resin-bound aggregate with a trowel, using moderate pressure. This helps to compact and evenly distribute the material over the prepared base. Work in sections that you’ve marked out beforehand to maintain control over curing and quality.
Avoid excessive manipulation during trowelling, as too many strokes can disturb the aggregate. For edges and corners, use edge-specific trowelling methods to ensure a tight fit and eliminate any gaps.
Once applied, use smoothing tools like floats to level the surface and achieve an even thickness. This approach ensures strong bonding and a high-quality finish.
Curing Time Considerations
After applying the resin-bound aggregate correctly, it’s vital to understand the curing time for a successful installation.
Weather can significantly affect how quickly your driveway sets. Here are the main points to consider:
- Under ideal conditions, curing can take between 6 to 12 hours.
- Cold, damp, or overcast weather may extend curing time to as much as 48 hours.
- High humidity can double the curing time.
- Light foot traffic is usually safe after 6 to 8 hours.
- For full vehicle use, you should wait 24 to 48 hours.
By following these guidelines, you ensure your resin-bound driveway achieves maximum strength and durability while minimising potential issues from adverse weather.
Always stick to the manufacturer’s recommendations for the best results.
Common Issues and Risks
When installing a resin-bound driveway, it’s crucial to consider potential issues like bonding failures, drainage problems, and cracking.
For instance, if the surface isn’t properly prepared or if moisture isn’t managed effectively, the resin may not adhere well, resulting in damage sooner than expected.
Bonding Failure Risks
Bonding failures might seem trivial, but they can cause serious issues in resin-bound driveway installations.
It’s crucial to recognise potential adhesion problems and substrate compatibility risks. Here are some common pitfalls to consider:
- Reflective cracking from mismatched substrates
- Cracking due to movement in concrete joints
- Poor adhesion on inappropriate base surfaces
- Subsidence from weakened sub-bases
- Moisture issues interfering with resin curing
These problems can lead to the resin layer peeling away, resulting in unsightly patches and structural damage.
To ensure a successful installation, proper preparation and a thorough understanding of base materials are vital. Ensuring compatibility between layers will help minimise bonding failures and extend the life of your driveway.
Drainage Problems
Drainage problems can significantly affect the performance and lifespan of your resin-bound driveway, so it’s crucial to tackle these issues during installation. Common drainage challenges include water pooling, blocked surface pores, and inadequate sub-base material, often caused by improper installation and a lack of drainage solutions.
Here’s a quick look at drainage issues and how to resolve them:
| Common Issues | Causes | Solutions |
|---|---|---|
| Water pooling | Insufficient slope | Ensure a minimum 1% slope |
| Blocked surface pores | Debris build-up | Regular sweeping and cleaning |
| Poor water infiltration | Inadequate sub-base | Use MOT Type 3 aggregates |
| Stagnation | Absence of drainage channels | Install channels or soakaways |
| SuDS non-compliance | Installation mistakes | Ensure compliance with SuDS standards |
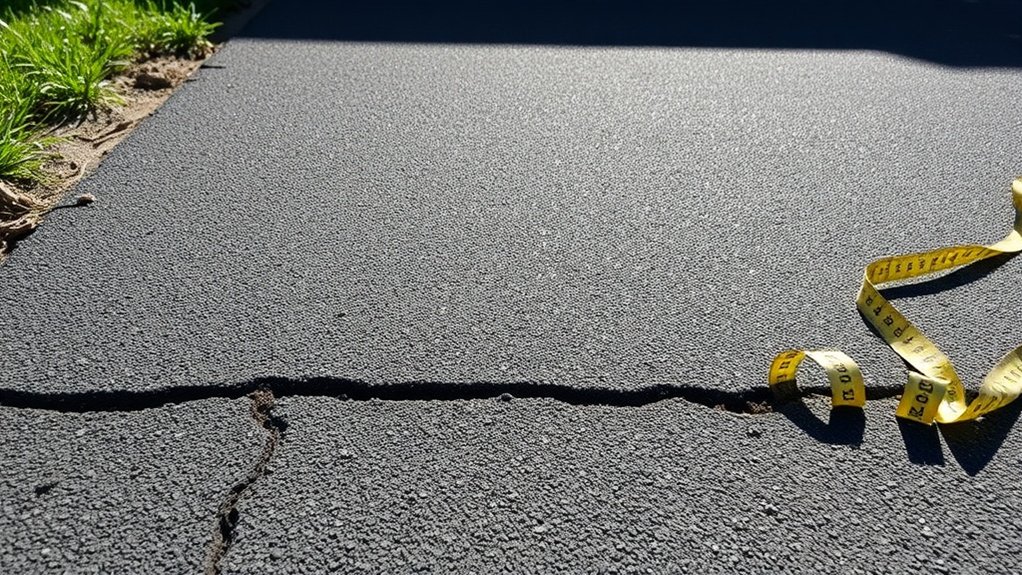
Cracking Concerns
Cracking concerns can significantly impact the integrity and lifespan of your resin-bound driveway, particularly if installation guidelines aren’t strictly followed. By understanding the main causes of cracking and implementing effective prevention strategies, you can avoid costly repairs.
Consider these key factors:
- Insufficient depth during application can lead to surface breakdown.
- Incorrect ratios of resin to aggregate can weaken the structure.
- Heavy traffic can gradually wear down the surface.
- Reflective cracking can occur from damaged underlying concrete.
- Inadequate sub-base preparation can fail to support the driveway properly.
To mitigate these issues, ensure a thorough surface assessment, comply with minimum depth requirements, and factor in environmental conditions during installation.
Advantages of Resin Bound Overlay
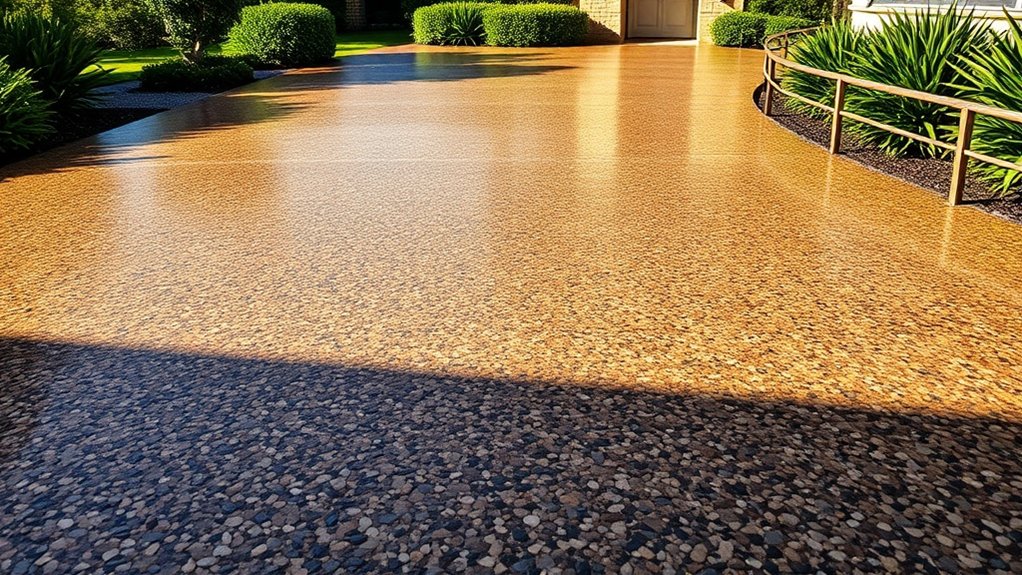
When upgrading your driveway, a resin bound overlay offers clear advantages, particularly in terms of cost-effectiveness and convenience. You’ll benefit from significant savings, as installation is generally cheaper than a full driveway replacement. Plus, the process is swift, requiring minimal preparation and allowing for immediate use.
| Advantage | Benefit | Impact |
|---|---|---|
| Cost Savings | Lower installation costs | Reduced expenses |
| Surface Longevity | Prolongs the life of your driveway | Delays costly renovations |
| Minimal Disruption | Quick installation | Less interference with daily life |
This overlay adheres well to various surfaces, enhancing durability and providing a seamless, customisable finish to suit your style.
Maintenance Considerations for Resin-Bound Driveways
Maintaining your resin-bound driveway is crucial for keeping it looking great and lasting longer. Follow these simple maintenance tips:
- Sweep weekly to clear away leaves, dirt, and debris.
- Hose down monthly to stop algae, moss, and weeds from taking hold.
- Clean thoroughly 3–4 times a year.
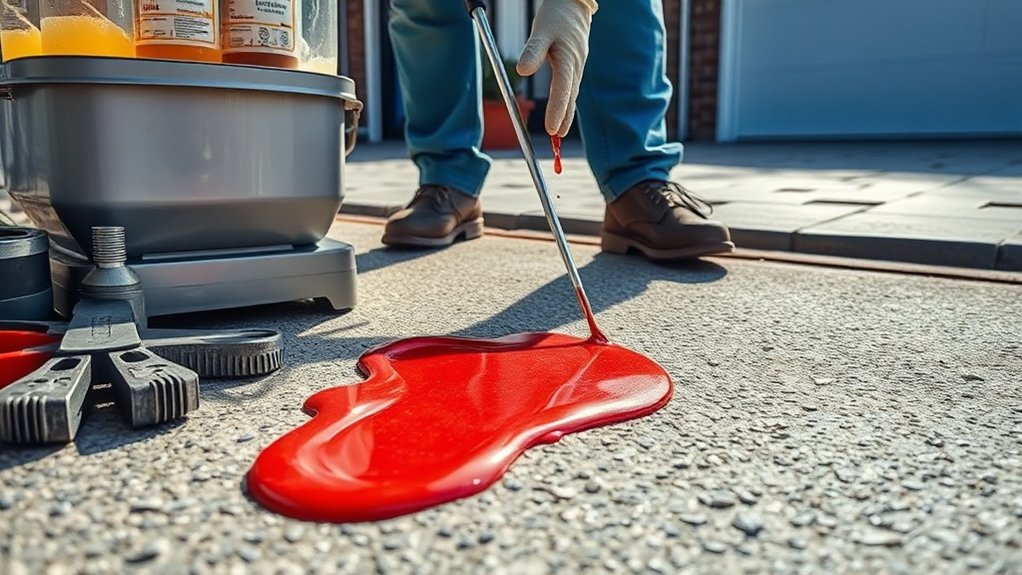
- Tackle stains or spills immediately.
- Deep clean with a pressure washer 1–2 times a year.
For cleaning, use a stiff broom or soft brush, mixing a mild detergent with warm water. Be sure to rinse thoroughly afterwards.
Sticking to these practices not only keeps your driveway attractive but also extends its lifespan, allowing you to enjoy your investment for years to come.
Frequently Asked Questions
How Long Does a Resin-Bound Driveway Last?
A resin-bound driveway usually lasts between 15 to 25 years, depending on how well it’s maintained and how the surface is prepared. For instance, a properly installed driveway using quality materials can last longer, offering durability and reliable performance over the years.
Can I Choose Different Colors for the Resin-Bound Surface?
Yes, you can choose different colours for your resin-bound surface! With a variety of options available, you can create a distinctive look that enhances your property’s style while ensuring durability. For instance, a warm terracotta can add a rustic charm, while sleek grey may give a contemporary feel. Explore your choices to find the perfect fit!
Is a Permit Required for Installation in My Area?
Yes, a permit is usually required for installations in your area. It’s important to check local regulations and installation guidelines to ensure compliance, as requirements can vary significantly across different councils. Always secure the necessary permits before starting any work.
What Is the Curing Time for Resin After Installation?
The curing time for resin after installation usually begins within 10-15 minutes, depending on the temperature. It’s crucial to monitor this during the installation to ensure a strong, high-quality finish. For instance, if it’s particularly warm, the resin may cure faster, so adjustments might be needed to achieve the best results.
How Do I Repair a Damaged Resin-Bound Driveway?
To repair a damaged resin-bound driveway, start by cleaning the area thoroughly and removing any loose material. Next, fill in any cracks using a compatible resin repair kit. Apply a primer before smoothing out the surface. Allow it to cure properly for the best results in maintaining your driveway.
Conclusion
Installing a resin-bound driveway over an existing surface can be a practical choice, providing both efficiency and visual appeal. With proper preparation and attention to drainage, you can achieve a durable and attractive finish. While there may be some challenges, understanding the installation process can help avoid potential issues. This method can enhance your property’s value and create a more polished outdoor area.