Creating a glow-in-the-dark resin-bound gravel pathway requires UV-stable resin mixed with aggregates at a 70-80% ratio for durability. Mix in photoluminescent stones gradually for consistent illumination. Your base must be clean and solid – like a well-prepped concrete slab – before applying the resin mixture at 30-40mm thickness. Different sizes and shapes of stones, similar to those you’d find in garden centres, create visual interest and better light absorption. Think of it as laying a standard resin driveway, just with the added glow feature.
Key Takeaways
Five key steps for a glow-in-the-dark resin-bound gravel path:
- Choose UV-resistant polyester or polyurethane resin – these hold up brilliantly against British weather and won’t yellow over time.
- Mix your aggregates at 70-80% before adding the glow stones – much like mixing cake ingredients, get your base right first for even distribution.
- Your base must be solid and spotless – think of it like painting a wall; any dirt or loose bits will cause problems later.
- Keep thickness at 30-40mm – about the height of two pound coins stacked. This ensures proper strength whilst maintaining a good glow.
- Give it a monthly clean with a pressure washer and reseal every 1-2 years – similar maintenance to decking. This keeps the glow bright and the path looking smart.
Understanding Photoluminescent Materials
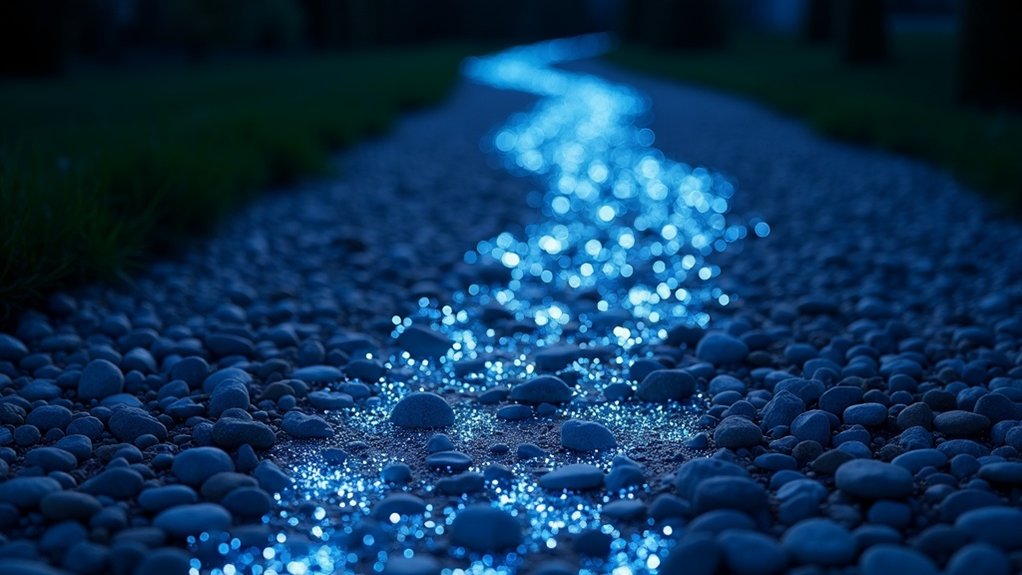
Photoluminescent materials create glowing pathways that light up in the dark. These materials work by absorbing light energy, storing it, and then releasing it gradually. Think of it like a battery charging up during the day and slowly releasing power at night.
The brightness and duration of the glow depend on how well the material can store and release energy. Common examples include special aluminate crystals mixed with rare earth elements, which you might spot in emergency exit signs or safety markers. Photoluminescence is crucial for measuring the purity and crystalline quality of these materials, ensuring they perform effectively.
These materials are particularly effective because they can glow for several hours after being charged by daylight or artificial light.
To get the best results, manufacturers use either tiny light-emitting particles (quantum dots) or specially treated plastics. The better the material quality, the stronger and longer-lasting the glow will be – rather like how a premium torch battery lasts longer than a cheap one.
Preparing the Resin-Bound Mixture

Preparing Your Resin Mix
Choose a UV-stable polyester or polyurethane resin suitable for your project’s working time. Essential steps:
- Measure resin quantities precisely as per manufacturer’s guide.
- Mix aggregates at 70-80% ratio for best strength.
- Add glow-in-the-dark stones gradually for even distribution.
Mix thoroughly but don’t overdo it, as this can trigger early setting. Remember that the glow stone aggregate utilizes photo luminescent pigments that absorb UV energy from sunlight, ensuring your pathway charges effectively. A properly mixed resin-bound mixture with precise measurements is crucial for achieving optimal durability and aesthetics.
Your aggregates must be completely dry and free from dirt – like when you’re making concrete, any moisture or debris will weaken the bond.
Think of it like making a cake – the right measurements and proper mixing make all the difference between a path that lasts and one that crumbles.
A well-mixed batch will ensure your pathway glows properly and remains solid for years.
Installation Techniques for Optimal Glow
Getting the perfect glow in your resin-bound gravel path comes down to proper installation. First, check your base is solid and spotlessly clean – this ensures the resin sticks properly. Additionally, ensure a concrete or tarmac base is strong enough for the intended use to support the glow effect effectively. Establishing a solid sub-base construction is crucial for long-lasting durability.
Mix your two-part resin and catalyst thoroughly, then blend in the glow aggregates evenly – think of mixing cake ingredients to get that uniform consistency. Work in manageable sections, about a metre square at a time. Pour slowly to avoid air bubbles, much like filling a pint glass to avoid too much foam. Use a trowel to spread the mixture evenly – aim for 30-40mm thickness, roughly the width of your thumb. This depth gives you the right balance of strength and glow.
Keep the surface dry while it sets – any rain or moisture will spoil the finish. Once properly cured, you’ll have a path that lights up brilliantly at night, rather like those glow-in-the-dark stars we stuck on bedroom ceilings as kids.
Design Tips for Aesthetic Appeal
Ensuring your resin-bound gravel path is properly fitted, you’ll want to maximise its visual impact.
Simple design choices can transform it into a striking garden feature.
- Choose glow stones that work well with your house colours
- Mix aggregate sizes and shapes to create depth and shine
- Design flowing curves or geometric patterns to match your garden layout
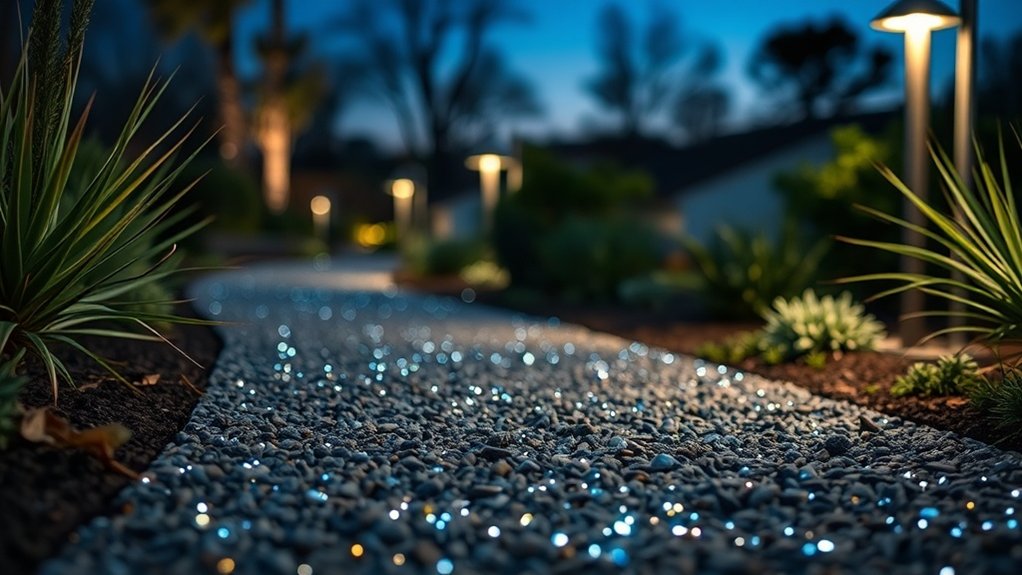
For best results, position your path where it catches daylight to boost the glow effect.
Plant seasonal borders to frame it nicely year-round. Additionally, selecting high-quality angular stones can enhance durability and stability in your path’s design.
These practical touches will make your pathway stand out whilst fitting naturally into your garden scheme.
Caring for Your Glow Pathway
Maintaining Your Glow Pathway
Regular upkeep ensures your glow pathway stays bright and practical. A proper maintenance routine will protect your investment and keep it looking brilliant.
| Task | Frequency |
|---|---|
| Clean surface with mild washing-up liquid | Monthly |
| Gentle pressure wash for stubborn marks | When required |
| Rinse thoroughly | After cleaning |
| Reapply protective sealant | Every 1-2 years |
| Check glow stones | Every three months |
Clean with a soft-bristled brush to shift loose debris, steering clear of harsh cleaning products that might damage the resin. Check regularly for any dull or worn glow stones and replace them straight away to maintain even lighting. Much like a garden path, proper care keeps your glow pathway looking spectacular after dark.
Frequently Asked Questions
How Long Does the Glow Effect Last After Charging?
The glow effect typically lasts 6-15 hours after charging, varying with charging method. Strong sunlight exposure and premium pigments produce brighter, longer-lasting results – much like how a torch shines brighter with fresh batteries.
Can the Glow Stones Be Reused After Damage?
Glow stones typically last 20+ years, though damage affects their longevity. Minor surface scratches won’t harm them much – you can still reuse these stones effectively. However, if they’re properly cracked, it’s best to bin them and get new ones to maintain proper illumination.
What Colors Are Available for Glow Stones?
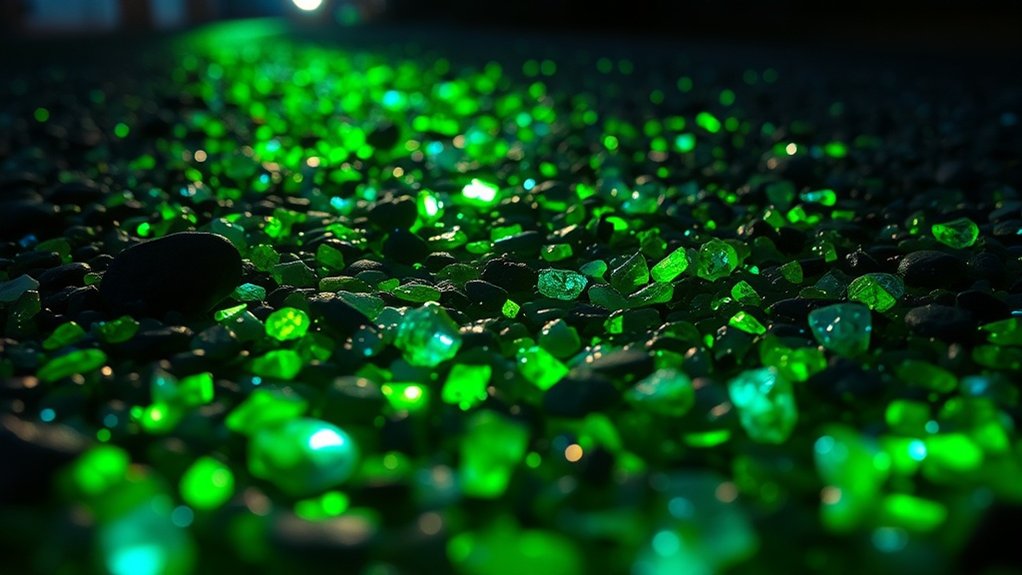
Glow stones come in several colours including Sky, Emerald and Aqua, with speciality options like Plasma Purple. Different colours produce varying levels of brightness and glow strength, perfect for lighting up garden paths or outdoor features at night.
Is It Safe for Pets and Children?
Yes, it’s safe for pets and children. Glow stones are non-toxic and environmentally friendly, ensuring safety for little ones and furry family members alike. When properly fitted, they create a secure, non-slip surface ideal for garden paths and play areas.
How Do Weather Conditions Affect Glow Performance?
Weather significantly affects glow-in-the-dark performance. Cold temperatures slow down resin curing (much like how paint takes longer to dry in winter), whilst extreme heat can weaken the material. Rain and damp conditions may damage the surface quality, similar to how cardboard becomes soggy when wet. Dirt and dust build-up blocks light absorption, rather like a dirty solar panel, leading to weaker and shorter-lasting glow effects at night.
Conclusion
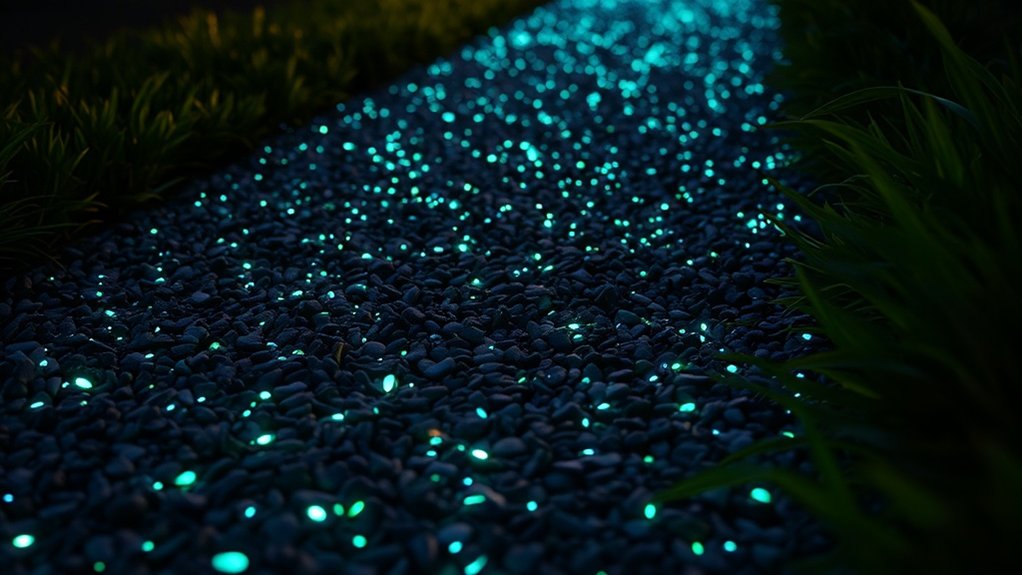
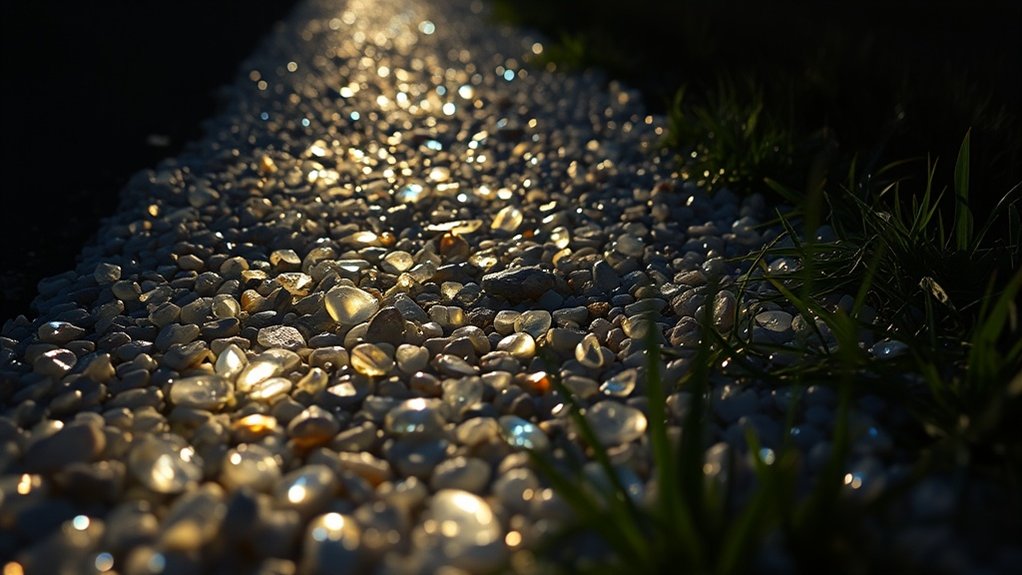
A glow-in-the-dark resin-bound gravel pathway offers a brilliant way to light up your garden whilst maintaining practicality. The luminescent stones create an eye-catching feature that’s particularly striking on dark winter evenings. With proper maintenance, these pathways provide both safety and style, helping you navigate your garden after sunset. Think of it as having your own constellation right in your back garden – functional yet remarkable. The glow effect works brilliantly for marking pathway edges and steps, making them a practical choice for British gardens where early darkness is common during winter months.