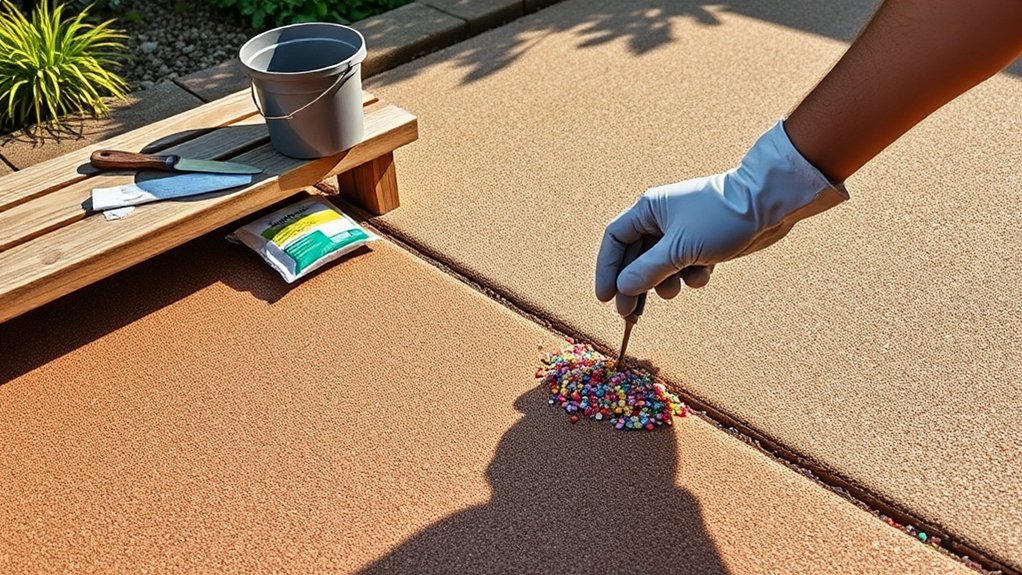
Resin-bound driveways are relatively straightforward to repair, particularly when dealing with small-scale damage. For minor issues like cracks or chips, you’ll need to thoroughly clean the affected area and clear away any loose bits. Much like fixing a hole in plaster, you’ll mix matching resin and aggregate before applying it in thin, even layers.
The trickier bits come with issues like damaged sub-bases or getting the colour to match perfectly with your existing surface. Think of it like touching up paint on your car – getting an exact match can be challenging.
Whilst DIY repairs are possible for small jobs, larger repairs often need a professional’s expertise. Regular cleaning and prompt attention to minor damage will keep your driveway looking smart and prevent bigger problems down the line.
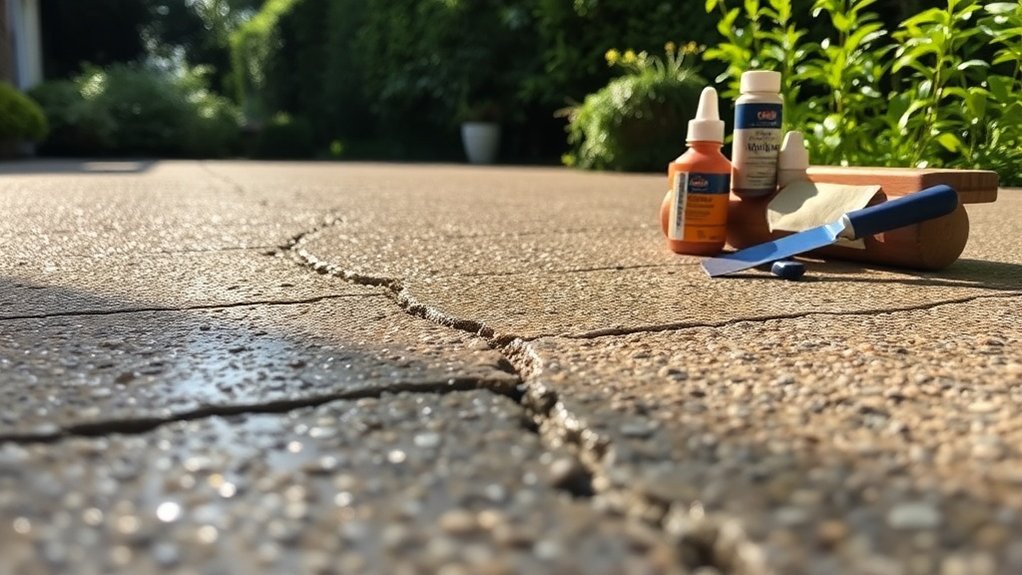
Essential tools include:
- Wire brush
- Cleaning materials
- Matching resin and aggregate
- Application tools
- Safety gear
Key Takeaways
Minor damages to resin-bound driveways are straightforward to fix – simply clean the area thoroughly and apply fresh resin and aggregate, much like spreading icing on a cake.
For DIY repairs, you’ll need basic tools: chisels, trowels and matching resin that blends with your existing surface. Getting the right colour match is essential for a seamless finish.
Regular upkeep is vital – sweep regularly and deal with spills promptly. This prevents bigger problems and keeps repairs manageable.
Keep an eye on the sub-base – any dips or soft spots need sorting quickly. Catching these issues early means you won’t face costly repairs down the line.
Whilst small repairs are manageable, significant damage or deep cracks need professional attention. A qualified contractor can properly assess the damage and ensure a lasting repair job.
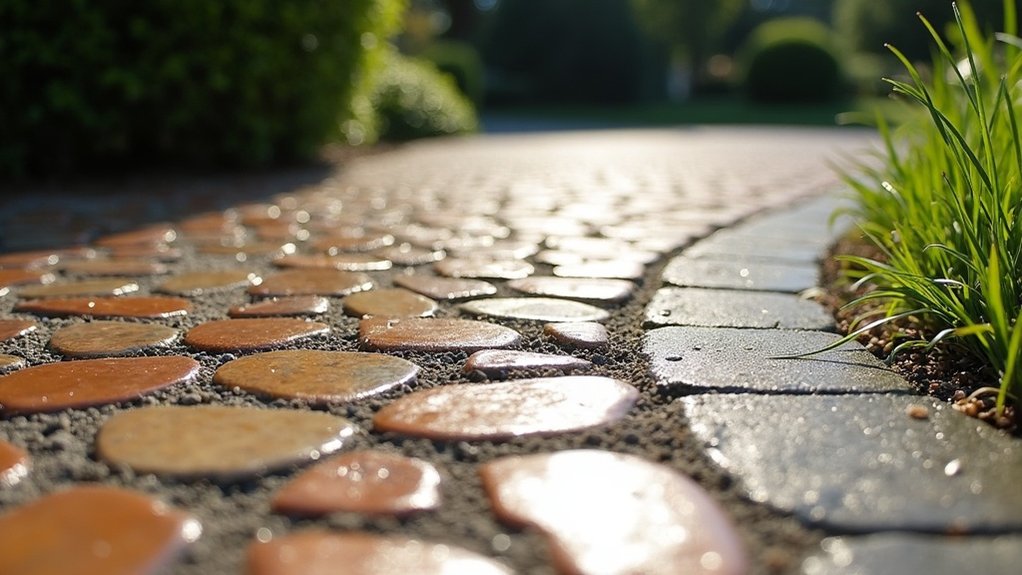
Understanding the Repair Process for Resin-Bound Driveways
Repairing your resin-bound driveway needn’t be complex when you know the proper steps. Start with a good look at the damaged areas, then give them a thorough clean with a pressure washer or garden hose. Much like preparing a wall before painting, you’ll need to clear away any loose bits of resin and stone to create a solid foundation. Sand or grind the edges smooth – think of it as feathering the edges of wallpaper. It’s essential to conduct regular inspections to identify potential problems early. Mix your resin and aggregate exactly as the manufacturer specifies; getting these proportions spot-on is crucial for a lasting repair. It’s important to address any cracks and holes that may have developed to maintain the integrity of the driveway. Spread the mixture evenly with a trowel, working it carefully into the existing surface. Leave it to cure properly – that’s at least 24 hours, though 48 is better, especially in Britain’s damp climate. It’s worth checking the repair every few months, just as you’d inspect your car tyres. This helps spot any issues early and keeps your driveway looking smart.
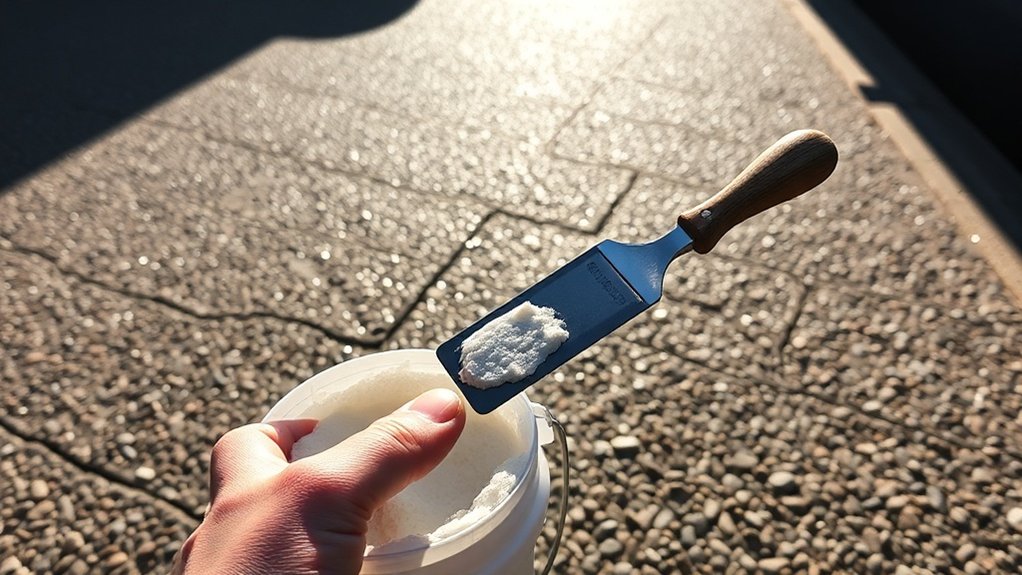
Ease of DIY Repairs for Minor Damages
Repairing minor damage to your resin-bound driveway is quite manageable if you’ve got the right tools and know-how. First, give the damaged spot a thorough clean to remove any muck – this ensures the repair will stick properly. Take some sandpaper to rough up the edges of any chips or cracks, much like you’d when preparing a wall for painting. For repairs, simply mix your resin binder and aggregate (following the manufacturer’s guide), then spread it evenly with a putty knife. It’s best to work in thin layers, rather like icing a cake, to avoid any lumpy patches. A quick blast with a hairdryer speeds up drying nicely. Additionally, ensuring that you use proper preparation will lead to longer-lasting results. Leave it alone for 24-48 hours to set properly. This sort of DIY fix works brilliantly for small repairs and keeps your driveway looking smart. Regular inspections to identify potential issues can help you catch damage early and maintain your driveway effectively.
Common Challenges Faced During Repairs
Common repair challenges on resin-bound driveways include faulty sub-bases, often due to poor installation or ground movement beneath. Matching the existing surface can be tricky – you’ll need to source the correct stone mix to avoid a patchy finish. Getting these repairs right is crucial for both the driveway’s strength and looks. Think of it like matching paint on a touched-up wall; even slight differences stand out. For best results, keep a small sample of your original aggregate mix for future repairs. Additionally, it’s important to ensure proper installation to prevent issues like cracking and pitting in the future. Using high-quality resins during the initial installation can also significantly reduce the likelihood of repairs being needed later.
Sub-base Issues
Sub-base issues commonly cause problems when fixing resin-bound driveways, affecting both how they look and how long they last.
The main troubles come from unstable foundations that crack or sink, much like a wobbly paving slab in your garden path. These problems create unsightly bumps and dips in the resin surface above.
Poor drainage is another headache, with water collecting in puddles that damage the surface – think of how a waterlogged lawn becomes boggy and unstable.
Using the wrong base materials doesn’t help either; it’s like building a shed on sandy soil rather than solid concrete.
To sort these issues, you’ll need to strip back the resin surface, fix the base properly, and make sure everything’s level before laying new resin.
It’s a bit like decorating – if you don’t prepare the walls properly, the wallpaper won’t stick right.
Catching these problems early keeps your driveway looking smart and working properly for years to come.
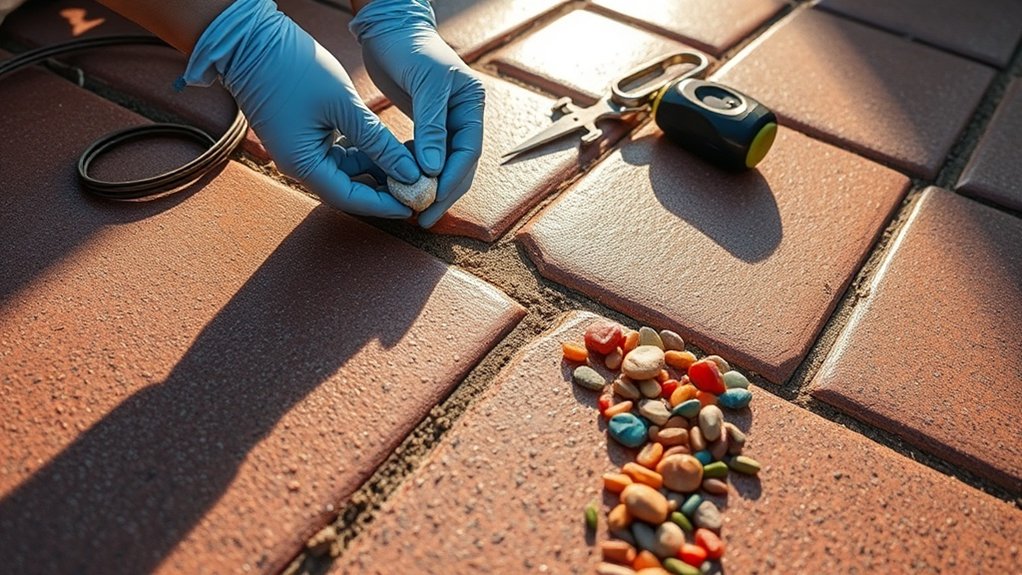
Aesthetic Matching Difficulties
Aesthetic Matching for Resin Driveways
Getting repairs to match your existing resin-bound driveway can be tricky. The colour and texture of repair materials often vary, creating noticeable differences that affect your driveway’s look. Sun damage, weather exposure and varying resin mixtures all make matching more difficult.
| Problem | Why It Happens | How to Fix It |
|---|---|---|
| Colour Mismatch | Sun fading and weather damage | Match original stone mix exactly |
| Uneven Texture | Poor laying technique | Proper surface prep essential |
| Visible Repair Lines | Different shine levels | Blend edges whilst laying |
| Worn Patches | Sunlight and daily use | Regular cleaning and upkeep |
Worth noting these issues before starting any repair work to keep your driveway looking uniform. Common problems crop up when fixing driveways in places like Manchester or Cornwall, where weather conditions can be particularly harsh on resin surfaces.
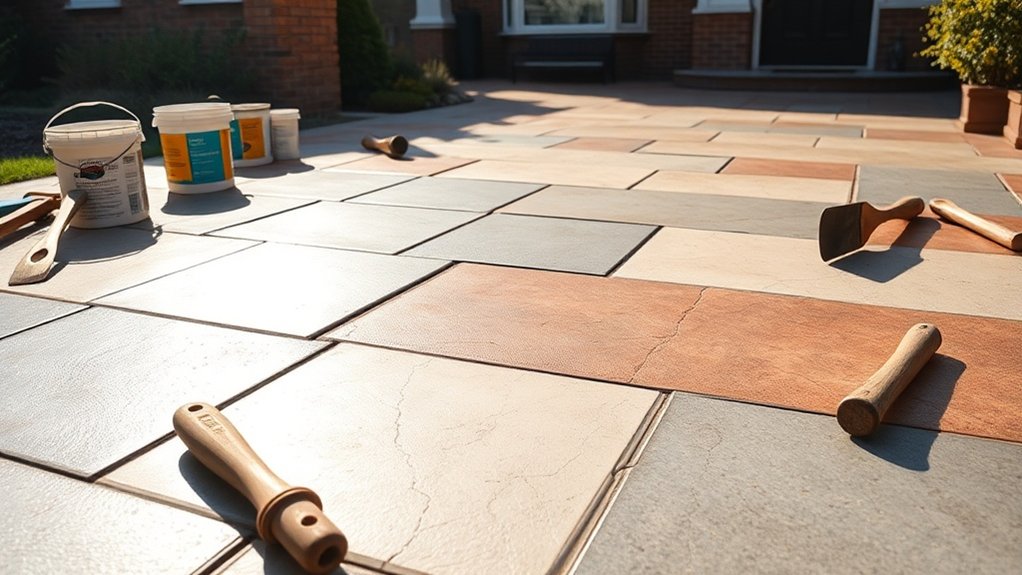
Essential Tools and Materials for Repairing Driveways
The right kit is vital for fixing resin-bound driveways properly.
You’ll want basic hand tools including chisels, trowels and heat guns, plus matching resin and aggregate to blend with your existing surface.
Safety gear is crucial – proper gloves and protective equipment will keep you safe when handling the chemical compounds.
A botched repair job often comes down to using incorrect materials or skimping on tools, so it’s worth getting the proper equipment sorted before you start.
Required Repair Tools
Essential Tools for Resin Driveway Repairs
A proper set of tools is vital for fixing resin-bound driveways. You’ll need:
- Chisels to widen and clean cracks
- Steel trowels for spreading and smoothing resin
- Heat gun for blending new resin with existing surface
- Forced action mixer to blend resin and aggregates properly
- Wheelbarrow for moving materials
- Stiff brush for surface cleaning
- Heavy-duty protective gloves
- White spirit for cleaning tools
Keep your tools clean after each use – dried resin can be a nightmare to remove.
Most DIY shops stock these items, though specialist resin suppliers often offer better quality tools suited for the job.
Essential Repair Materials
Essential materials for resin-bound driveway repairs include matching resin filler and binder to ensure proper integration with your existing surface.
UV-resistant products are vital to prevent fading and sun damage, whilst specialised restorers help maintain colour consistency.
You’ll need cleaning products to prep the area properly before starting work.
For the best results, stock up on fine aggregates and strong adhesives – these are crucial for creating a lasting bond.
A properly equipped repair job will give you a smart, durable finish that blends seamlessly with your driveway.
Safety Equipment Necessities
Essential safety kit for resin-bound driveway repairs starts with proper PPE: protective goggles shield against resin splashes, whilst nitrile gloves prevent chemical contact with skin.
A proper respirator or dust mask is crucial to avoid breathing in harmful fumes and debris. For tool handling, heat-resistant gloves are a must when using heat guns, and all tools should have proper grip handles.
Keep your workspace tidy with stiff brushes and dust sheets, and always have absorbent pads ready for spills. Good lighting is essential to spot risks, and safety cones around the work area help protect both you and others nearby.
This basic setup will keep you safe whilst tackling most driveway repairs.
When to Seek Professional Help
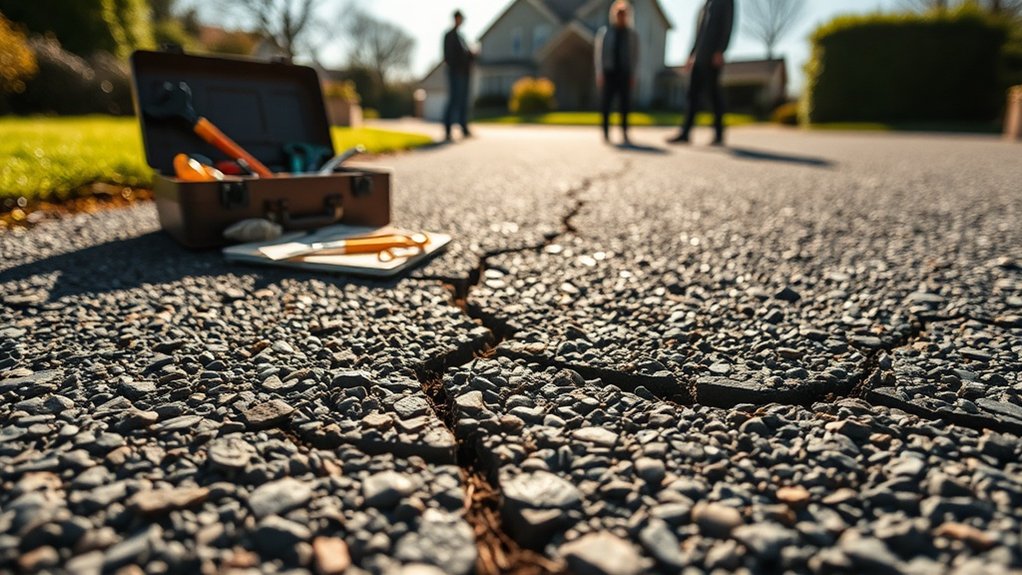
Contact professionals straight away if you spot serious damage to your resin-bound driveway.
Large cracks that keep getting bigger need expert assessment – it’s not just about what you can see on the surface.
A qualified tradesperson will:
- Find hidden problems you might miss
- Match your driveway’s existing colour and texture properly
- Handle multiple repair areas to keep the surface even and safe
- Use the right tools and methods to fix it properly
Don’t try to tackle significant repairs yourself, as poor repairs often lead to more expensive problems later.
Professional repairs will protect your investment and keep your driveway looking smart for years to come.
Importance of Regular Maintenance
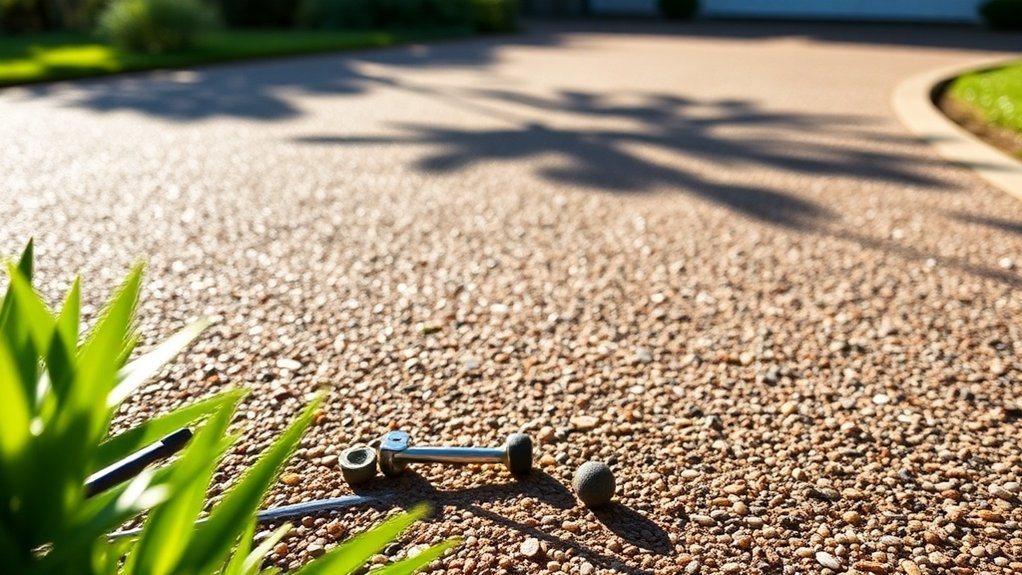
Regular maintenance of your resin-bound driveway keeps it looking smart whilst protecting your investment. Clean it three to four times yearly to maintain its quality.
Simply sweep with a stiff brush to clear everyday bits and bobs, then wash with cold water. For a thorough clean, use a pressure washer at 1200-1500 psi – about the same pressure as your local car wash.
Sort out any spills straightaway, particularly during hot weather, as they can leave nasty marks. Each season needs different attention: spring and summer call for general cleaning, whilst autumn means staying on top of fallen leaves.
Much like servicing your car, regular checks and upkeep will keep your driveway in tip-top condition for years to come.
Techniques to Enhance Repair Durability
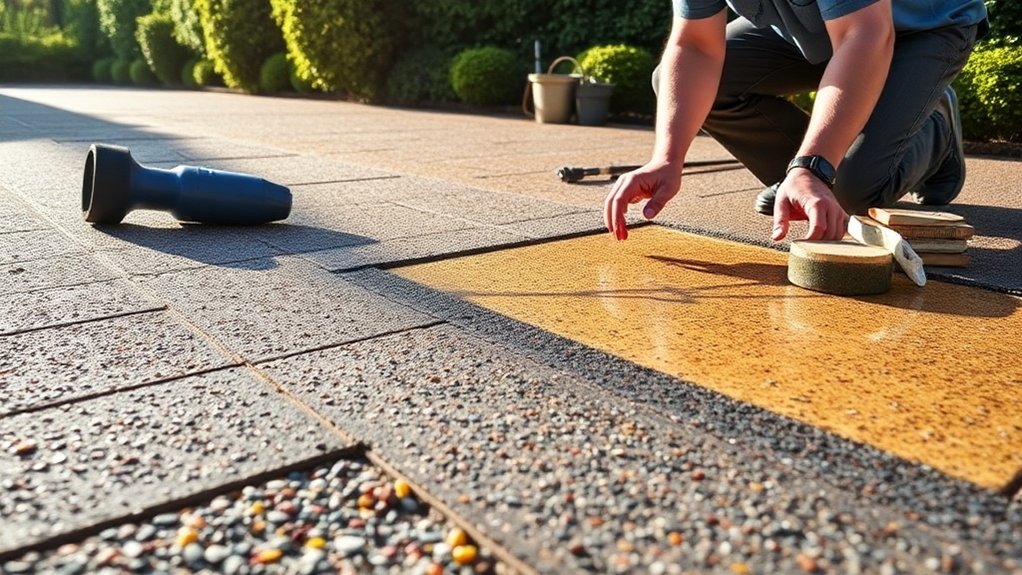
Enhancing Resin-Bound Driveway Repair Durability
Five essential techniques ensure long-lasting repairs to your resin-bound driveway:
| Technique | Description |
|---|---|
| UV-Stable Resins | Guards against sunlight breakdown whilst maintaining surface flexibility. British weather demands this protection. |
| Proper Base Preparation | Ensures thorough compaction and proper drainage, preventing common UK issues like frost damage and settling. |
| Correct Mixing Ratios | Creates strong resin bonds – think of it like making the perfect cup of tea, proportions matter. |
| Weather Condition Awareness | Avoid repairs in rain or extreme temperatures; ideal British working conditions are 10-25°C with dry weather. |
| Application Techniques | Even spreading and sealed edges prevent water ingress, particularly important for our wet climate. |
Whilst these methods might seem straightforward, each plays a vital role in creating repairs that withstand British weather conditions. Professional application remains crucial for optimal results.
Tips for Preventing Future Damage
Regular maintenance prevents costly damage to your resin-bound driveway.
Clean the surface weekly with a stiff brush, particularly during autumn when fallen leaves can stain. Follow brushing with a gentle hose-down to clear loose debris – avoid pressure washers as they may harm the resin.
Deal with spills and stains promptly using suitable cleaning products. Pull out any weeds by hand rather than using weedkillers that could damage the surface.
For winter maintenance, stick to plastic snow shovels instead of metal ones.
Check regularly for small cracks and ensure water drains properly – standing water can weaken the surface over time.
These simple steps will keep your driveway looking smart and lasting longer.
Frequently Asked Questions
How Long Does a Resin-Bound Driveway Typically Last?
A well-installed resin-bound driveway lasts between 15-25 years, much like a quality tarmac surface. Regular maintenance, including sweeping and pressure washing, keeps it in top condition. A fresh seal coat every 3-5 years – about as often as you’d repaint your front door – helps protect your investment and maintain its smart appearance.
Can I Change the Color of My Resin-Bound Driveway During Repairs?
Changing your resin-bound driveway colour during repairs is possible, but requires careful planning. Different shades and tones are available through UK suppliers, though matching existing sections demands precise mixing. For best results, consider recoating the entire surface rather than patching, as this ensures a uniform finish. Proper ratios of resin to aggregate remain crucial for a lasting, durable result.
What Weather Conditions Are Best for Repairing Resin-Bound Driveways?
Resin-bound driveway repairs work best in temperatures between 10°C and 25°C, with 23°C being spot-on. Think of a mild spring or autumn day – that’s perfect. Keep the humidity low, much like a bright, crisp morning, as damp conditions will slow down drying and might spoil the finish.
Will Repairs Be Visible After Completion?
Most repairs aim to be as invisible as possible, though some may leave subtle signs, much like touching up paint on a wall. Professional techniques can greatly minimise visibility, but minor variations in texture or colour might remain. The final result typically depends on the repair type, materials used and the skill of the tradesperson carrying out the work.
How Can I Tell if My Driveway Needs Repairs?
Check your driveway for cracks, holes, and worn patches regularly. Watch out for sunken areas, crumbling edges and surface discolouration – particularly after winter. Common warning signs include water pooling after rain and loose gravel or tarmac. Sort repairs quickly, as small problems often worsen with frost and heavy vehicles.
Conclusion
Resin-bound driveway repairs can be simple for small issues, but knowing when to contact a professional is crucial. Much like maintaining a car, catching problems early prevents bigger troubles later. Regular checks and proper repair methods will keep your driveway looking smart and lasting longer. Best to address any damage promptly rather than letting it worsen.