To budget for your DIY resin-bound gravel project, begin by calculating the costs of materials such as aggregate and resin. Labour expenses typically range from £12.16 to £16.86 per square foot, so keep that in mind. Assess site preparation costs based on the current surface conditions and any necessary excavations. Don’t overlook regulatory fees and potential maintenance; it’s wise to set aside an extra 10-15% for unexpected issues. Each of these factors will impact your total expenses, so be thorough as you plan your project.
Key Takeaways
- Calculate material costs by determining the aggregate to resin ratio and considering the prices of quality binders and decorative stones.
- Account for labour costs, which typically range from £12.16 to £16.86 per square foot, making up 30-50% of the overall expenses.
- Include site preparation costs by evaluating the current surface conditions, and budget for excavation, base materials, and disposal fees.
- Consider ongoing maintenance and regulatory expenses, such as permits and seasonal care, and set aside 10-15% of the total budget for unexpected costs.
- Compile a detailed list of essential tools and equipment, ensuring you cover all necessary items for both preparation and finishing stages.
Understanding Material Costs
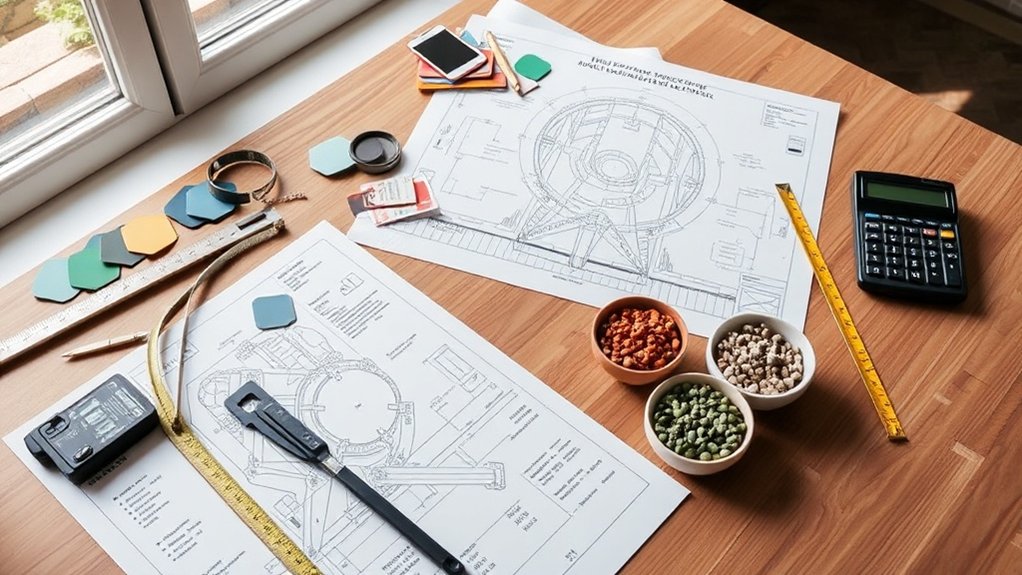
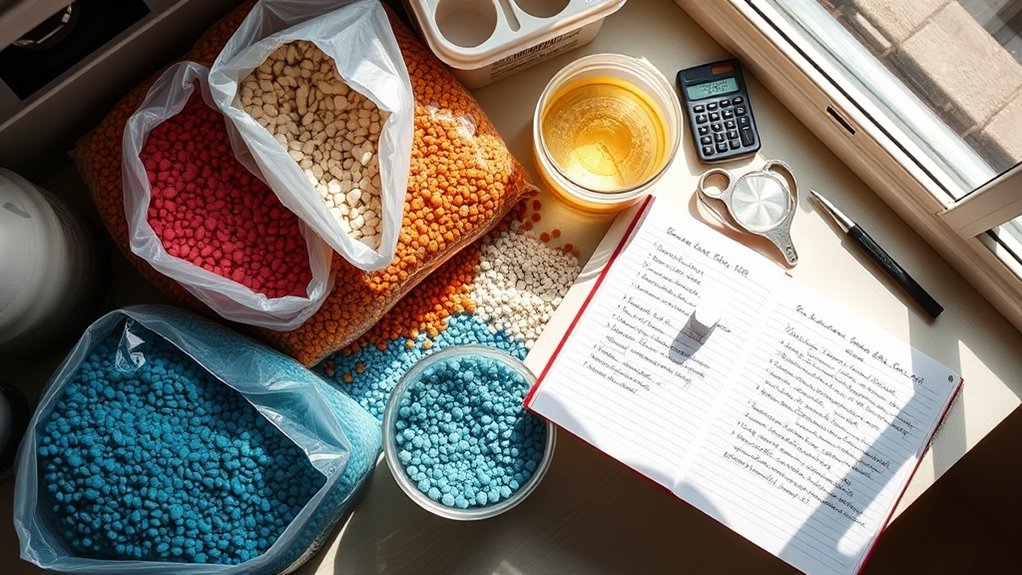
Understanding the material costs for a DIY resin-bound gravel project is crucial for effective budgeting. The ratio of aggregate to resin significantly impacts pricing; budget mixes often use higher aggregate ratios to keep costs down. Choosing UV-stable polyurethane binders, although more expensive, improves durability and colour retention, affecting your project timeline. If you opt for ornamental stone chips, be prepared for higher costs compared to standard aggregates, which can impact the overall quality of your materials. For a typical project covering 22 square metres (approximately 235 square feet), costs can range from £1,428.86 to £2,155.89, highlighting that materials are the largest expense. Additionally, average total cost shows that understanding your budget early on can lead to better financial planning. Don’t forget to factor in coverage rates and waste; adding 5-15% for contingencies ensures you won’t run short. Furthermore, proper thickness is essential for stability, and your location and the complexity of the installation will influence both material selection and final costs.
Estimating Labor Expenses
Estimating Labour Expenses
Once you’ve assessed material costs, it’s crucial to consider labour expenses, which significantly impact your budget for a DIY resin-bound gravel project.
Labour costs can vary widely, typically ranging from £12.16 to £16.86 per square foot. Generally, labour makes up about 30% to 50% of the total project costs. Keep in mind that complex shapes or sloped surfaces can extend project timelines, requiring more labour. For efficient installation, it’s advisable to have a team of at least three workers. Additionally, the total finished surface area will affect your labour costs, as larger areas may require more effort and time to complete. Proper surface preparation for the resin-bound gravel installation is also critical and can influence the overall labour requirements. Smaller projects may face higher labour costs per unit, while larger projects might benefit from economies of scale, reducing overall expenses.
Planning for these factors is essential for accurate budget estimation.
Calculating Site Preparation Costs
Before starting your DIY resin-bound gravel project, it’s crucial to evaluate the existing surface condition, as this will affect excavation and base preparation costs. Consider any additional groundwork needed, like drainage improvements or adherence to local regulations, as these can impact your overall budget. Keep in mind that driveway shape can significantly influence costs, with square or rectangular shapes being cheaper to install compared to more complex designs. Ensuring proper ground preparation is essential for a stable base, as neglecting it can lead to structural issues in your driveway.
Assessing Surface Condition
How can you ensure your surface is ready for a resin-bound gravel project? Start with a detailed evaluation of the surface type—whether it’s concrete, tarmac, or compacted aggregate—as each requires specific preparation methods.
Check for structural integrity; any cracks wider than 3mm should be filled, and damaged areas need replacing.
Clean the surface thoroughly by removing all debris, oil, and vegetation. If the surface is uneven, consider grinding or levelling it.
Remember, the surface must be completely dry before applying resin.
For budgeting, expect crack filling to cost between £0.50 and £2.00 per linear metre, while patching damaged areas may set you back £3 to £8 per square metre, impacting your overall expenses significantly.
Excavation and Base Preparation
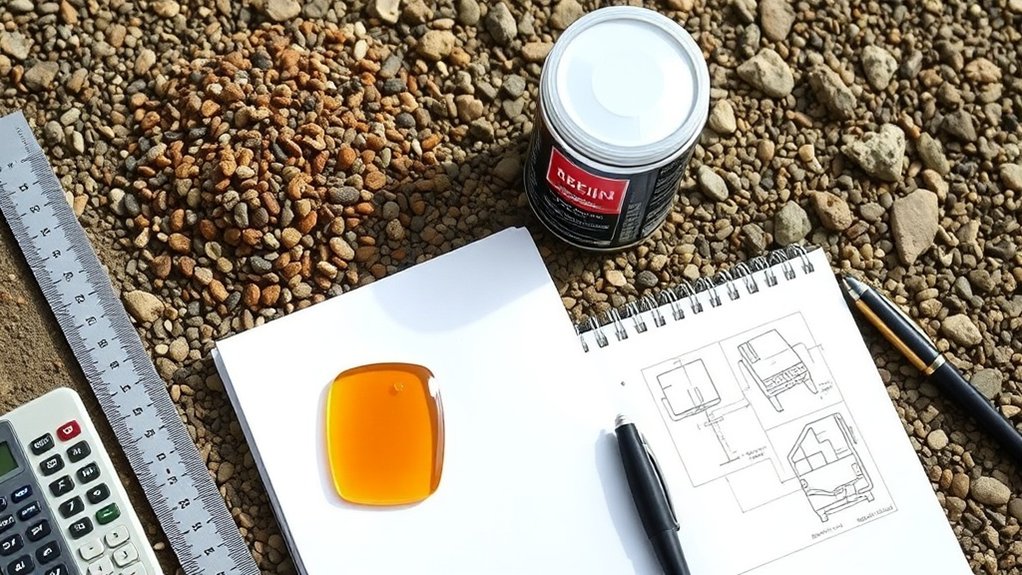
Excavating and preparing the base for your resin-bound gravel project is crucial for the surface’s stability and durability. Aim for a depth of around 150mm for driveways and 100mm for patios.
Use high-quality base materials, such as MOT Type 1 stone, which should be angular and well-graded to ensure proper compaction. Compact the sub-base in layers of 50mm, using a laser level or string line to achieve accurate levels for effective drainage. Consistent excavation depth is key to maintaining stability.
Site preparation costs typically range from £5 to £10 per square foot, so be sure to include disposal and delivery fees, as well as labour costs, which can vary depending on your location and the complexity of the project.
Additional Groundwork Considerations
When planning your resin-bound gravel project, it’s crucial to consider several groundwork factors that can significantly affect site preparation costs.
Firstly, assess your drainage solutions; poor drainage can lead to water pooling, resulting in repair costs increasing by up to 25%. The layout of your site will also play a role in drainage installation costs, so be aware that you might need permits as well.
Next, think about site accessibility. If access is limited, you may require special equipment or more labour, which can inflate costs.
Clearing existing surfaces and ensuring soil stability are also important, as these tasks can impact your overall budget.
Evaluating Project Size and Complexity
When assessing your project’s size, begin by accurately measuring the area dimensions, as this will directly affect material costs and labour requirements.
Remember, the shape of the surface can impact installation complexity; for instance, irregular areas or curves may increase both time and resource use.
It’s also crucial to evaluate existing surface conditions; issues like poor drainage or uneven ground can lead to higher preparation costs and necessitate adjustments to your budget.
Assessing Area Dimensions
To assess the area dimensions for your DIY resin-bound gravel project, begin by measuring the length and width of the space in metres. You can mark out 1m sections to ensure accuracy.
Use existing features like paving slabs as a guide for consistency in your measurements. Keep a detailed record to avoid mistakes when ordering materials.
Once you have your dimensions, multiply the length by the width to calculate the total area in square metres. This step is crucial for determining your material requirements and ensuring you have enough for the job, helping you avoid shortages during installation.
Don’t forget to consider edge areas that may need extra materials.
Understanding Shape Impact
Once you’ve measured the area for your resin-bound gravel project, it’s crucial to recognise how the shape can impact the installation process.
Irregular or complex shapes require careful cutting and fitting, which can increase both labour time and material costs due to wastage. For instance, sharp angles and curves need specialised tools to ensure consistent thickness and avoid aesthetic problems.
Furthermore, effective drainage solutions are essential; poorly designed areas may result in water pooling or damage to the resin.
In larger projects, complex shapes may require dividing the work into sections, complicating scheduling and quality control.
Be sure to consider these factors when budgeting to ensure a smooth and successful installation.
Identifying Surface Conditions
Identifying surface conditions is crucial for assessing the feasibility and complexity of your resin-bound gravel project.
Begin with a detailed evaluation of the substrate—this could be concrete, tarmac, or soil. Concrete and tarmac will need cleaning and priming, while soil may require excavation and the installation of a geotextile membrane for stability.
Look for any cracks, damage, or contaminants that could affect adhesion. Accurately measure the total surface area, keeping in mind that the resin layer needs to be around 15-16mm deep.
Assess the flatness of the surface and check moisture levels to ensure they’re appropriate for installation.
Lastly, consider site access and environmental factors to ensure a smooth workflow and optimal curing conditions for your project.
Planning for Additional Supplies
Effective planning is crucial to ensure you have all the necessary supplies for your DIY resin-bound gravel project.
Start by creating a comprehensive list of essential mixing equipment, protective gear, preparation tools, and finishing supplies. Don’t forget to consider alternative materials that might save you money or enhance functionality. For instance, if you’re on a tight budget, a tamper can be a cost-effective alternative to a wacker plate for compacting base layers.
Make sure you have enough cleaning rags and a tarpaulin handy, as these will help avoid delays during cleanup.
Finally, double-check that you have the right tools for your project size, including a spirit level and suitable edging products, to ensure a professional finish.
Accounting for Maintenance and Durability
To ensure your resin-bound gravel project endures, it’s crucial to incorporate maintenance and durability considerations from the beginning. Regular upkeep is essential. Here’s a concise guide to key durability factors:
| Maintenance Task | Frequency | Notes |
|---|---|---|
| Routine Cleaning | 1-2 times a year | Sweep and rinse to avoid debris build-up. |
| Weed and Moss Treatment | As required | Opt for biodegradable methods for safety. |
| Seasonal Leaf Removal | Autumn | Prevent staining and reduce cleaning efforts. |
| UV Sealing | Every 5-8 years | Safeguard colour and integrity from UV damage. |
| Inspections | Annually | Catch early signs of wear and tear. |
Considering Regulatory and Permitting Fees
When planning your resin-bound gravel project, it’s crucial to understand the regulatory and permitting fees, as these can significantly affect your budget.
To ensure compliance and navigate the permitting process smoothly, keep these points in mind:
- Planning Permission: Check with your local council to see if planning permission is needed, particularly in certain areas.
- Permit Fees: Set aside funds for any potential permit or inspection fees, as these can vary by location and add to your overall costs.
- SUDS Compliance: Look into whether your project can comply with Sustainable Drainage Systems (SUDS) standards.
This could exempt you from needing planning permission and help streamline the regulatory process.
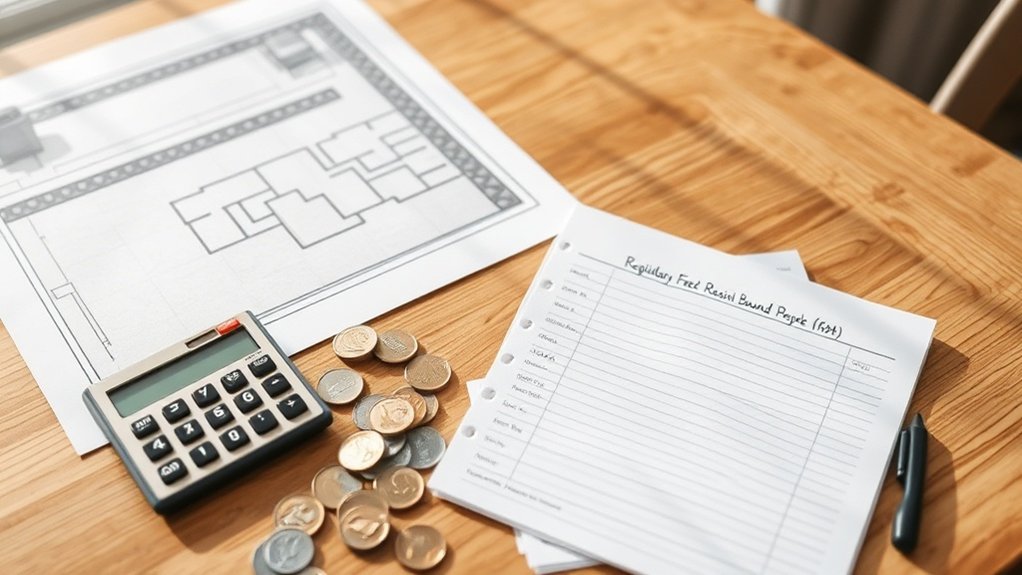
Budgeting for Unexpected Expenses
As you begin your DIY resin-bound gravel project, it’s crucial to budget for unexpected expenses to keep your finances on track. Set aside 10–15% of your total budget for contingency planning. This fund can help address unforeseen issues, such as unstable soil or hidden utility lines.
Weather can also affect your timeline and costs; moisture during installation can ruin resin curing, leading to expensive reinstallation. Be ready for equipment failures too, as you may need specialised tools unexpectedly, which can increase rental costs.
Additionally, consider the quality of materials; investing in premium resins can save on future maintenance. Finally, accurately estimating your material needs is vital to avoid costly last-minute purchases, as waste can significantly increase your overall expenses.
Frequently Asked Questions
What Tools Do I Need for a DIY Resin-Bound Gravel Project?
For a DIY resin-bound gravel project, you’ll need a forced action mixer for mixing the resin, trowels for spreading, and a selection of gravel types. Make sure to wear protective gear, have mixing buckets on hand, and use leveling tools to ensure a smooth finish.
How Can I Ensure a Level Base for Installation?
How can you ensure a level base for installation? Use proper levelling techniques such as trowelling or rolling, and choose high-quality base materials. A clean, compacted surface helps prevent future issues, ensuring a stable foundation for your project. For example, if you’re laying paving slabs, check the base with a spirit level to confirm it’s even before proceeding.
Are There Eco-Friendly Resin Options Available?
Yes, there are eco-friendly resin options available, such as aliphatic polyurethane and bio-based resins. These sustainable materials are designed to reduce environmental impact while still providing durability, UV stability, and lower VOC emissions for your projects. They’re great choices if you’re looking to be more environmentally conscious.
Can I Apply Resin-Bound Gravel Over Existing Surfaces?
Yes, you can apply resin-bound gravel over existing surfaces. Ensure proper surface preparation to improve adhesion. This includes cleaning the area, repairing any cracks, and possibly using a primer to create a stable base for the resin. For example, if you’re covering an old concrete driveway, make sure it’s free from dirt and damage before applying the resin.
What Is the Typical Lifespan of a Resin-Bound Gravel Surface?
Resin-bound gravel is like a robust fortress, typically lasting between 15 to 25 years. Its longevity depends on the quality of materials used and how well it’s maintained. With proper care, you can often see its lifespan extend well beyond the usual expectations.
Conclusion
When budgeting for a DIY resin-bound gravel project, it’s essential to approach it with a clear plan. Start by listing all costs, including materials like resin, gravel, and tools. Don’t forget to factor in any unexpected expenses that might arise during site preparation—things can sometimes go awry.
For example, if your sub-base needs more work than anticipated, it could add to your costs. To avoid surprises, it’s wise to allocate a bit of extra budget for contingencies.
Make sure you have a calculator handy and perhaps a good cup of tea to keep you focused. With careful planning, you can ensure your project stays within budget and results in a driveway that not only looks great but also impresses your neighbours.