To repair resin-bound gravel on uneven, sloped areas, begin by checking for damage such as cracks or loose stones. Clean the surface properly and fill any depressions to create a level base. Mix high-quality resin following the manufacturer’s guidelines and apply it evenly across the area. Ensure any loose stones are secured and that drainage is effective to prevent future problems. For more tips on managing slopes and improving durability, explore further guidelines available.
Key Takeaways
- Begin by inspecting the slope for any damage, ensuring you address cracks and wear before starting repairs.
- Clean the surface thoroughly, removing any debris and ensuring it’s dry to promote good resin adhesion.
- Use high-quality, UV-stable resin that’s suitable for sloped areas. Apply it in thin, even layers to prevent movement.
- Make sure proper drainage solutions are in place to direct water away from the repaired area, minimising the risk of future damage.
- For steep gradients or larger projects, it’s wise to consult professionals to ensure quality repairs and adherence to safety standards.
Inspecting the Area for Damage
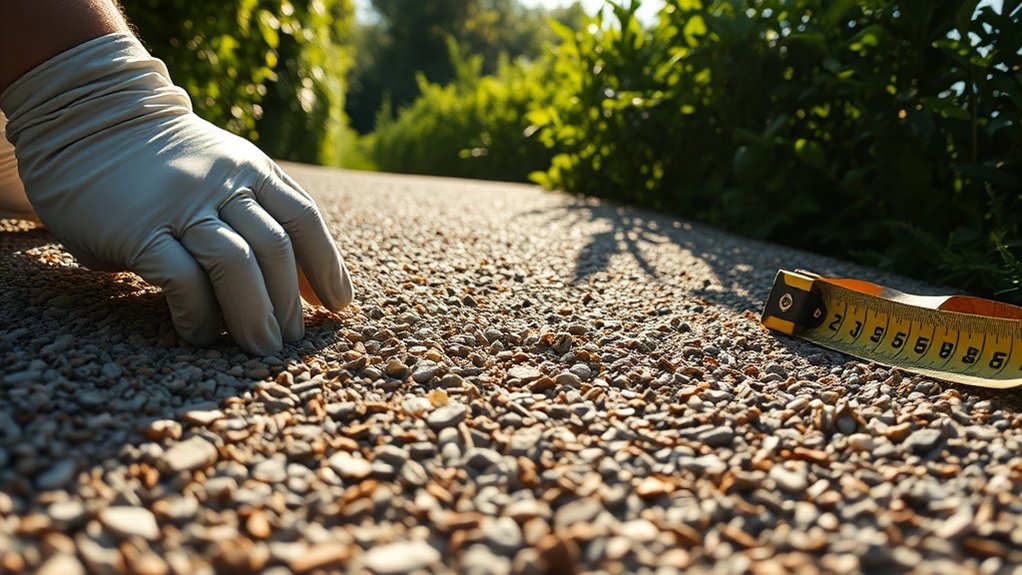
Before starting any repairs on sloped resin-bound gravel, it’s crucial to inspect the area for damage, as this sets the stage for effective restoration.
Begin by identifying cracks; pay particular attention to fissures wider than 200mm, as these often need professional help. Regular inspections are recommended to identify and address small cracks before they escalate.
Next, check for any discolouration or stains that could suggest oil contamination or mineral deposits. Using UV-resistant resins can prevent colour fading from harsh exposure.
Look for loose stones around damaged areas to assess the surface’s stability. Additionally, regular inspections help maintain the integrity of repairs and detect issues early.
Also, examine high-traffic zones for wear patterns, noting any bubbling or blistering, which may indicate resin delamination. A thorough inspection ensures you tackle the root problems before making repairs, ultimately prolonging the lifespan of your resin-bound gravel surface.
Surface Cleaning and Preparation Techniques
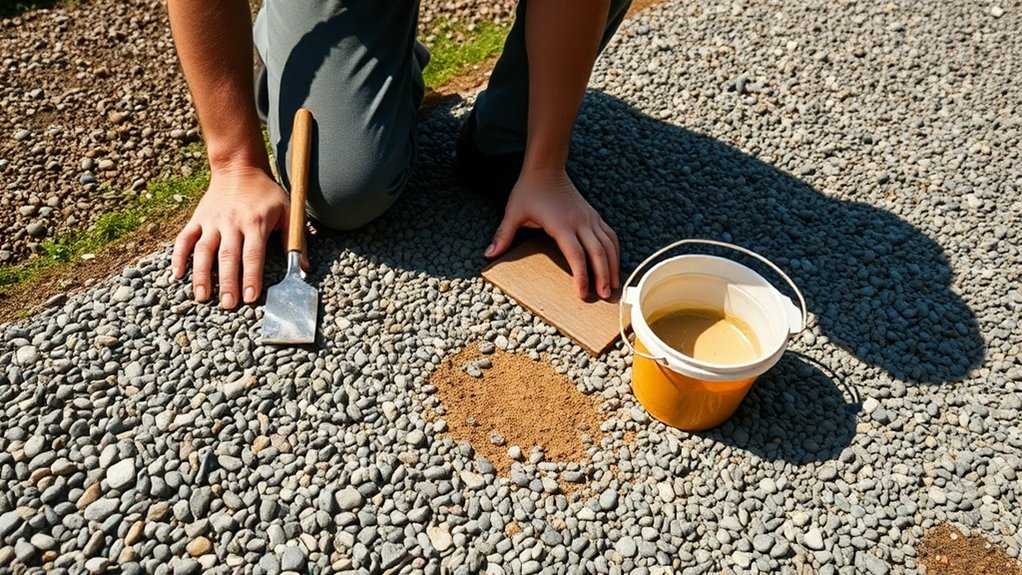
After thoroughly inspecting the damaged area, it’s time to focus on surface cleaning and preparation techniques for effective repairs.
Start by cleaning the surface to remove loose debris, dirt, and organic matter using a pressure washer or a stiff broom. This ensures that repair materials adhere properly. Take care not to disturb the existing base, especially on sloped areas. Remove any weeds or moss, as these can impede bonding. Allow the cleaned surface to dry completely. Proper surface preparation is crucial for the mixture to set correctly and contributes to a well-prepared sub-base that prevents sinking.
For preparation, compact the substrate with a mechanical plate compactor to create a stable base. Level any depressions and roughen smooth areas slightly to enhance surface texture.
Finally, check gradient angles to ensure proper drainage.
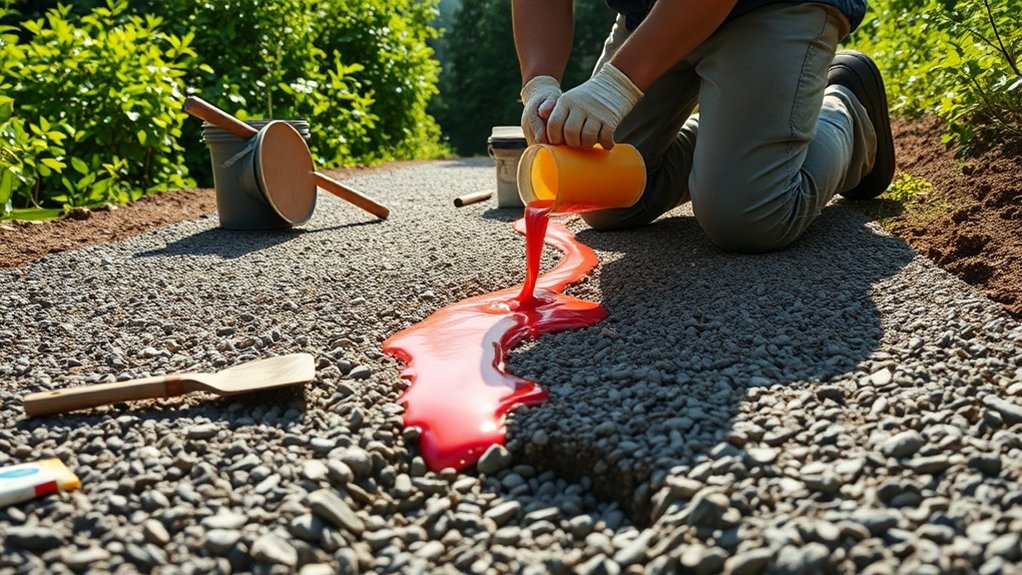
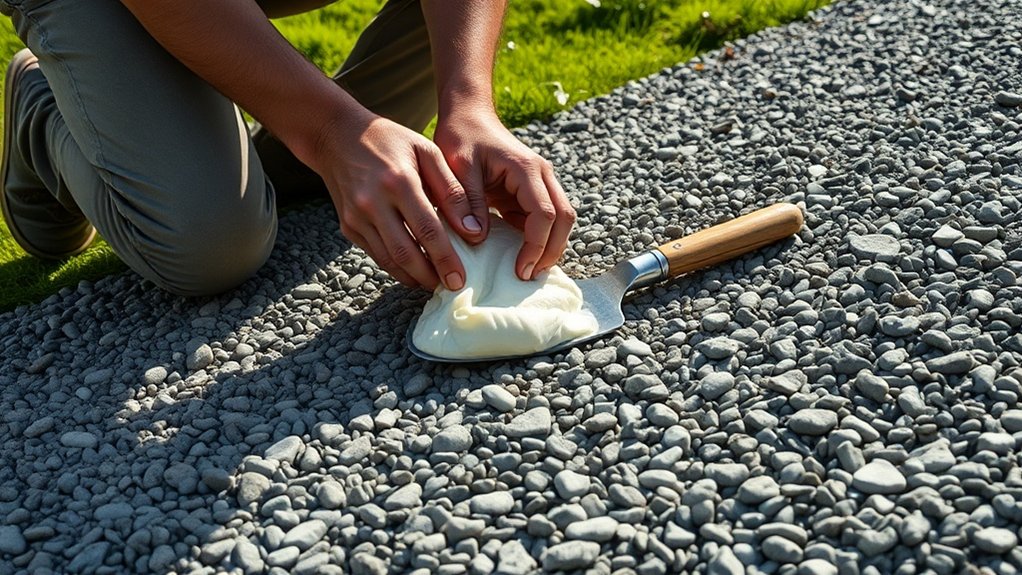
Mixing and Applying Resin Repair Materials
When selecting resin kits for your repairs, ensure you choose high-quality options that suit the specific needs of your project. Applying resin on slopes requires precision; mastering techniques to prevent sliding and achieve an even thickness is crucial. For instance, using a brush or a spatula can help you control the application better. Understanding the materials and methods is vital for a seamless, durable finish, as proper surface preparation ensures successful resin-bound installations.
Choosing Quality Resin Kits
Choosing the right resin kit is crucial for a durable and effective repair on sloped areas.
Opt for polyurethane resins, as they provide better flexibility and crack resistance than epoxy or polyester alternatives. Ensure the kit is UV-stable so it can endure outdoor conditions without fading.
Look for kits with pre-weighed components for accurate mixing, typically around three parts aggregate to one part resin. The type of aggregate—such as sand or glass grit—can improve slip resistance and surface texture.
Always follow the manufacturer’s mixing instructions for the best results, as precise blending of resin and aggregate is essential for a strong and lasting bond that integrates well with your existing surface.
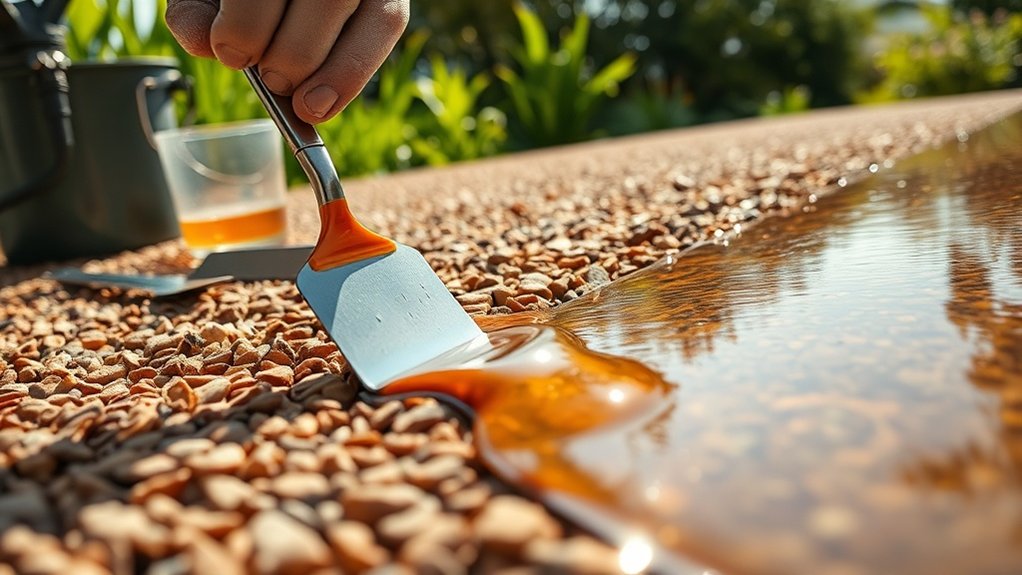
Application Techniques for Slopes
Effective application techniques are crucial for achieving a durable resin-bound gravel surface on slopes. Here are some key steps to enhance slope stability:
- Check the slope gradient to ensure it falls between 1:12 and 1:40 for optimal results.
- Carefully mix the resin and aggregate, following the recommended ratios and adding anti-slip additives for safety.
- Start applying at the bottom of the slope and work your way up to avoid displacing the material.
- Use compaction tools to firmly embed the mix, ensuring a strong bond and reducing the risk of future issues.
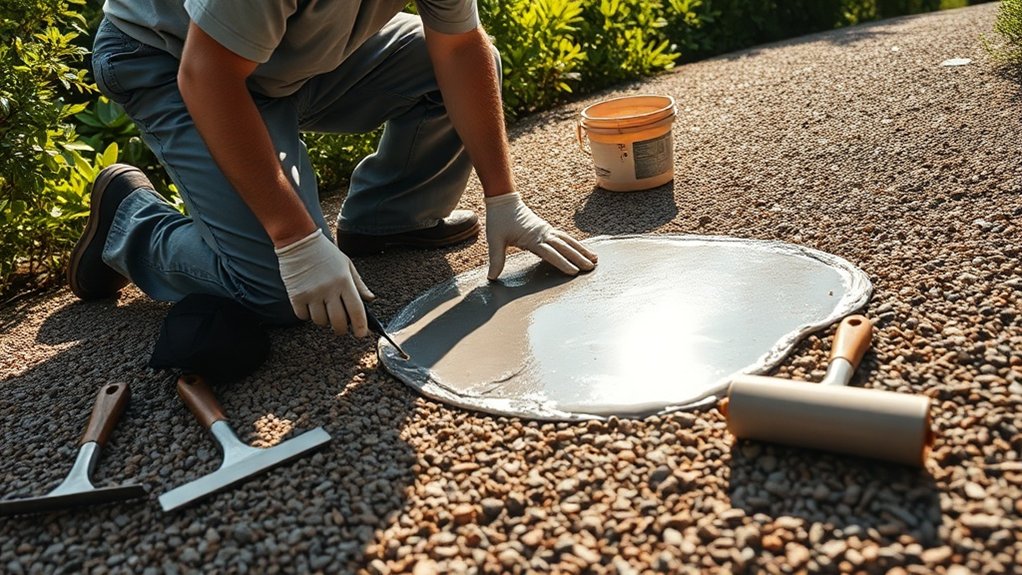
Repairing Loose Stones and Surface Damage
To keep your resin-bound gravel looking good and intact, it’s important to tackle loose stones and surface damage as soon as you spot them.
Begin by checking for any loose stones and use a vacuum or blower to remove debris from the area. Clean the surface with a mild detergent and a soft brush to help new stones stick better before getting rid of any damaged resin or aggregate.
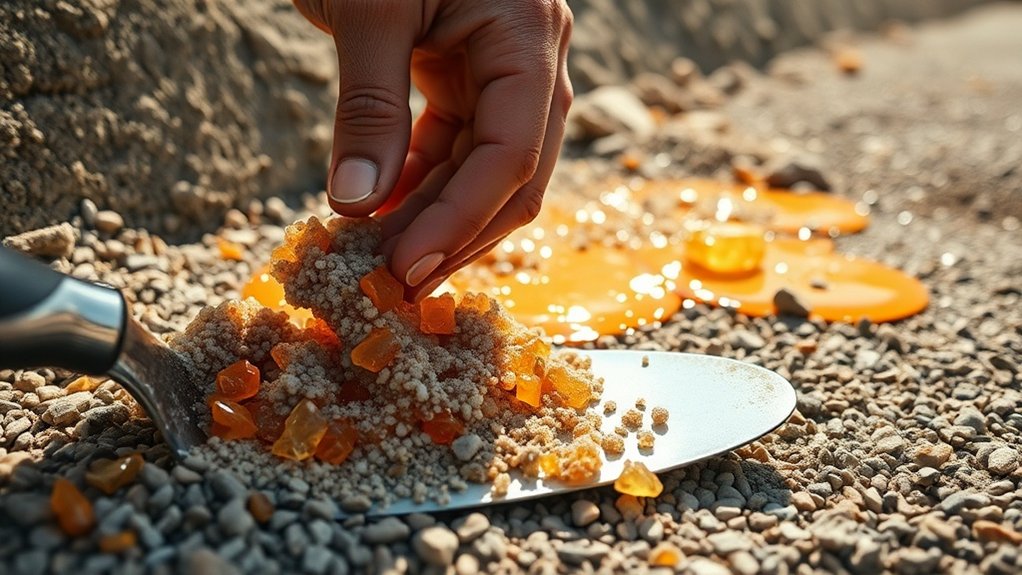
Next, prepare a repair mix by selecting aggregate stones that match in size and colour for consistency. Use a UV-resistant resin binder and mix it well.
Apply this mixture to fill any gaps, ensuring it’s compacted to blend seamlessly with the surrounding area. For extra protection and durability, consider adding a clear resin topcoat. This will help ensure your repairs last longer and keep your gravel looking its best.
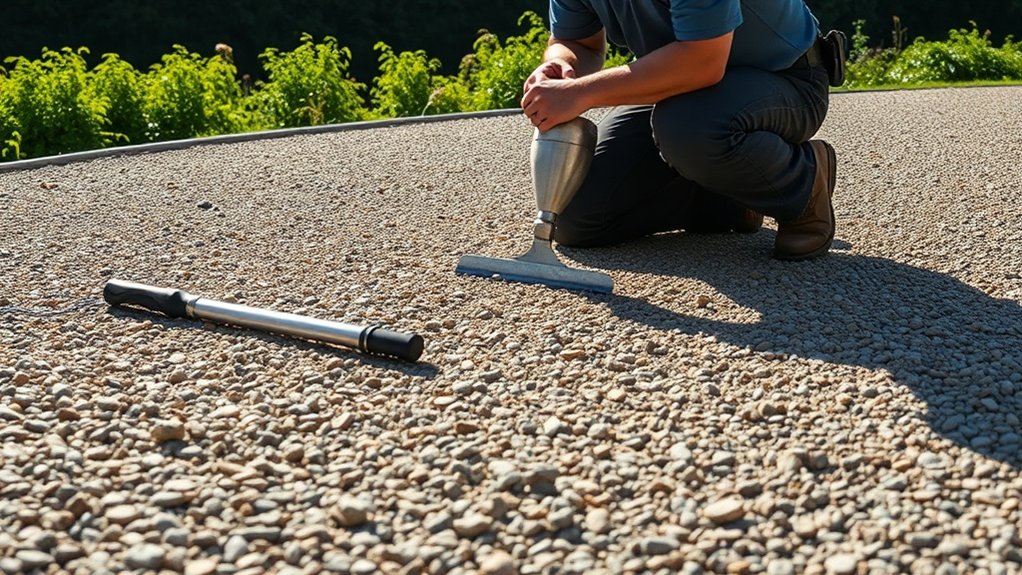
Managing Uneven and Sloped Base Issues

When dealing with uneven and sloped base issues, it’s crucial to assess the stability of the underlying soil first. Unstable ground can cause movement and cracking in your resin-bound surface.
Here are some straightforward steps to ensure a stable base and proper slope:
- Start with a slope assessment to determine the angle, which will inform your base design.
- Compact the soil thoroughly to create a solid foundation and reduce future settling.
- Clear away any organic matter or debris that might compromise the base’s integrity.
- For steeper slopes, consider using soil stabilisation methods such as geotextiles to improve load-bearing capacity.
Curing and Post-Repair Maintenance
Curing resin repairs takes time, but the right conditions can significantly improve the repair’s quality and durability.
First, ensure the surface is completely dry and clean before applying the resin for a strong bond. Keep the ambient temperature above 5°C to prevent frost issues, and use UV-stable resin formulations for areas exposed to sunlight.
Apply the resin in thin, even layers to aid curing and avoid cracks. For the first 24–48 hours, keep foot traffic to a minimum and control moisture exposure to allow proper chemical setting.
After curing, check for any imperfections and correct them promptly. Regular maintenance, such as sweeping and occasional deep cleaning, will help maintain the appearance and integrity of your resin-bound gravel.
Preventing Future Damage
To prevent future damage to your resin-bound gravel, set up a regular maintenance schedule that includes inspections and prompt repairs.
Ensure proper drainage to direct water away from the surface, which will minimise the risk of erosion and pooling.
Regular Maintenance Schedule
Regular maintenance is crucial for maintaining the integrity and appearance of resin-bound gravel, particularly in sloped areas where water runoff can cause damage.
To ensure its longevity and aesthetic appeal, adhere to the following maintenance schedule:
- Regular Inspections: Carry out visual checks to identify any damage or build-up of debris.
- Debris Removal: Routinely clear away leaves and litter to prevent moss growth and ensure proper drainage.
- Weed Control: Tackle weeds by hand or with mild weed killers to keep the surface tidy.
- Cleaning: Sweep and hose down the surface, and pressure wash (maximum 150 bar) twice a year, keeping the nozzle at least 20 cm away.
Proper Drainage Solutions
Maintaining resin-bound gravel surfaces on sloped areas requires more than just regular inspections and clearing debris; effective drainage solutions are crucial to prevent future damage.
Proper slope grading is vital, ensuring water is directed towards designated drainage points to avoid pooling and erosion. Using permeable sub-bases made of angular gravel improves water management, allowing rainwater to seep through naturally and reducing the risk of structural issues.
Additionally, installing channel and underground drainage systems can effectively capture excess runoff, directing water away efficiently. By following Sustainable Urban Drainage Systems (SuDS) principles, you can enhance water infiltration and minimise flood risks.
Implementing these drainage solutions not only strengthens your resin-bound surface but also enhances environmental resilience, ensuring your space remains durable and sustainable for years to come.
When to Consult Professionals
When dealing with repairs on sloped areas of resin-bound gravel, it’s important to know when to call in the professionals.
Here are some situations where expert help is essential:
- Slope Evaluation: If the gradient is steeper than the recommended 1:12 to 1:40, getting a professional assessment is vital.
- Large-Area Repairs: For projects larger than 50m², skilled technicians ensure an even application and avoid inconsistencies.
- Structural Loads: Areas subjected to heavy traffic, like driveways, need professional expertise for proper depth and reinforcement.
- Access Challenges: If the site is steep or hard to reach, specialists with the right equipment and safety measures are a must.
In these cases, consulting a professional can save time and ensure quality results.
Frequently Asked Questions
Can I Use Regular Concrete Instead of Resin for Repairs?
You can’t use standard concrete for repairs; its rigidity and incompatibility with resin disrupt the smooth finish. Resin-based repairs ensure structural integrity and proper drainage, helping to avoid problems like cracking and water ingress, especially on slopes. For example, if you’re fixing a cracked patio, opting for resin will provide a more durable and weather-resistant solution compared to regular concrete.
How Long Does Resin-Bound Gravel Last Before Needing Repairs?
Resin-bound gravel typically lasts between 15 to 25 years, depending on the quality of installation and maintenance. Regular upkeep, such as cleaning and resealing, significantly extends its lifespan, keeping your surface both durable and attractive. For instance, a well-maintained driveway or patio can withstand the test of time, making it a worthwhile investment for your property.
What Tools Are Best for DIY Resin Repair Projects?
For DIY resin repair projects, a forced action pan mixer is ideal for mixing the resin. Use resin trowels for smooth application and small hand tools for preparing edges. These tools improve your repair methods and ensure a consistent, durable finish.
Is Resin-Bound Gravel Environmentally Friendly?
Yes, resin-bound gravel is environmentally friendly. It uses sustainable materials, allows water to drain naturally, reduces heat retention, and minimises waste. This not only benefits urban areas but also supports local ecosystems.
Can Weather Conditions Affect the Curing Process of Resin?
Yes, weather conditions can significantly impact the curing of resin. High temperatures or increased humidity can cause the resin to cure too quickly or unevenly, resulting in defects that may jeopardise the quality of your project. For instance, if you’re working on a piece outdoors during a hot summer day, the resin might set before you’ve had a chance to work with it properly, leading to an unsatisfactory finish.
Conclusion
By following these steps, you can restore your resin-bound gravel, ensuring it looks as good as new. Keep an eye on the surface and address any issues promptly to avoid more significant problems later. With a bit of effort, your outdoor space will remain appealing and ready to impress for years. If you’re unsure, don’t hesitate to get professional help!