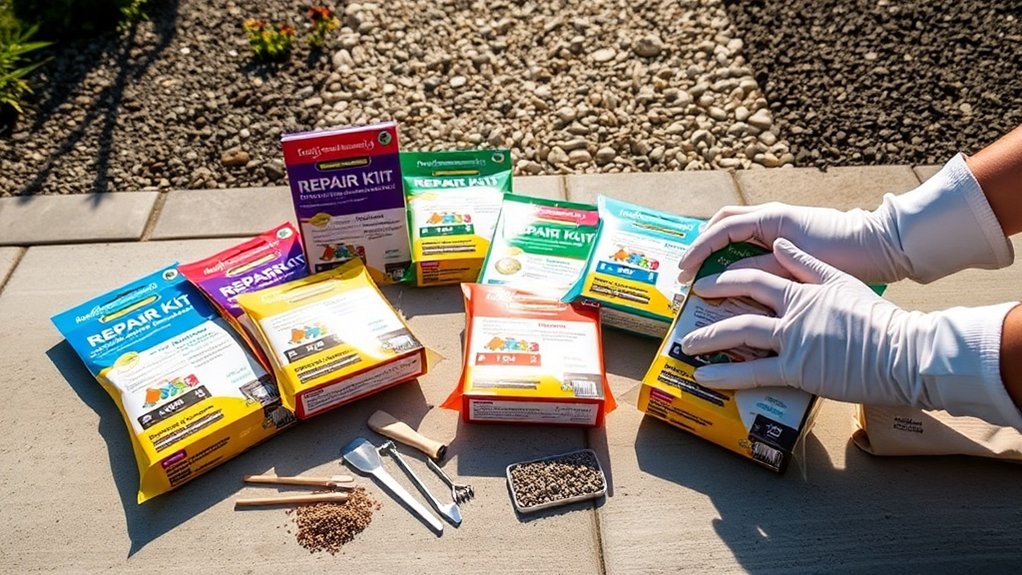
Choosing the right repair kit for resin-bound gravel involves a few key considerations. First, ensure the resin type matches the aggregates for long-lasting results. Before you begin, thoroughly clean and dry the area to guarantee proper surface preparation.
Opt for kits that provide clear mixing instructions, typically comprising two components. Be mindful of curing times and the environmental conditions during application, as these factors can significantly affect the bond’s success. Understanding these elements will enhance the durability of your repairs.
Key Takeaways
- Ensure the kit contains compatible resin types, ideally polyurethane, for long-lasting durability and UV resistance.
- Check that it specifies the correct mixing ratios of resin to aggregate, typically between 7-10%.
- Look for a kit that includes clear application instructions and essential tools like mixing spatulas and trowels.
- Confirm it has UV-stable resins to guard against sun damage and harsh weather.
- Consider eco-friendly options that comply with environmental standards and support sustainable drainage solutions.
Understanding Resin-Bound Gravel Repair Kits
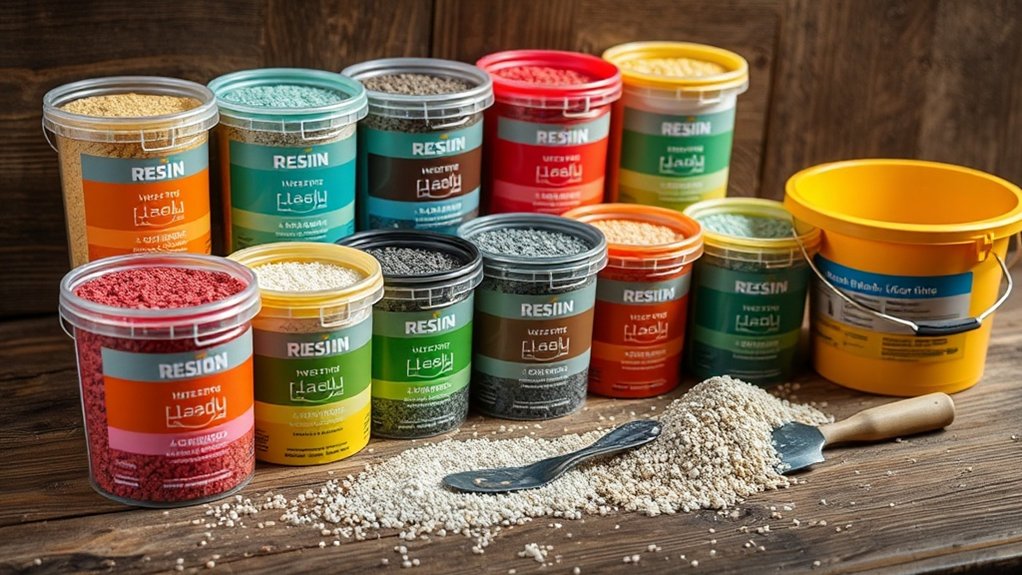
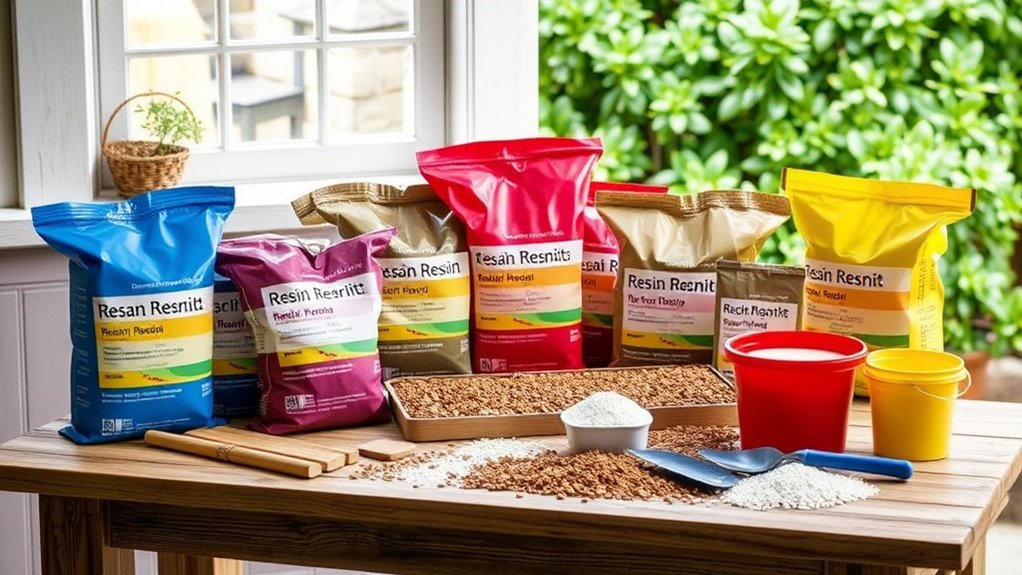
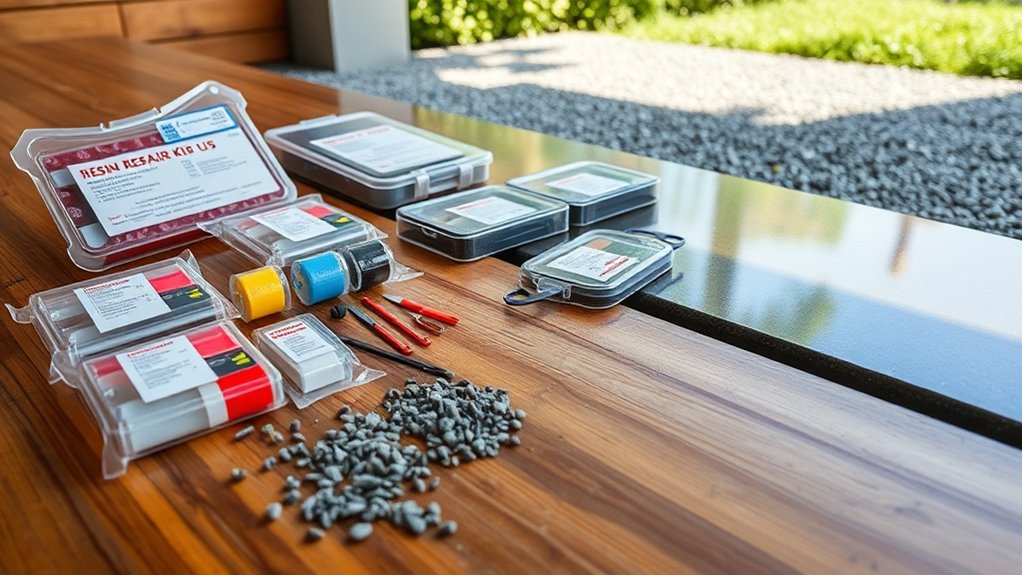
When it comes to repairing resin-bound gravel surfaces, knowing what’s in a repair kit is essential. These kits usually consist of two main components: Part A (the resin) and Part B (the hardener). These two parts work together chemically to restore the surface. It’s crucial to mix them in the correct ratios; getting this wrong can affect the strength and longevity of the repair. Many kits come with handy tools like mixing spatulas and trowels to help with the application. However, they often don’t include the aggregate, so you may need to find matching gravel for a seamless finish. It’s wise to choose UV-stable resins to protect against sun damage and ensure the repair can withstand the weather. Regular inspections and proper maintenance are also beneficial, as it helps maintain the quality of the repairs. Quick curing times are also beneficial, as they allow you to complete repairs swiftly.
Surface Preparation Requirements
Before using your resin-bound gravel repair kit, ensure the repair area is thoroughly cleaned to ensure proper adhesion. The surface must be completely dry, as any moisture can weaken the bond. Additionally, check the base for stability and address any cracks or damage to ensure a solid foundation. Ensuring the base is stable and clean is crucial for a successful repair. Using proper surface preparation techniques will further enhance the effectiveness of the repair by promoting better adhesion and durability.
Clean the Repair Area
Cleaning the repair area is crucial for a successful resin-bound gravel application. Start by removing all surface contaminants such as dust, dirt, oil, and grease. Techniques like pressure washing can help tackle stubborn grime, as simply sweeping won’t suffice; any residue can interfere with resin bonding. Proper surface preparation is essential for the mixture to set correctly. Regular cleaning using eco-friendly cleaners enhances the effectiveness of your maintenance efforts.
| Step | Action Required |
|---|---|
| 1. Remove Debris | Clear away dust, dirt, and loose particles |
| 2. Deep Clean | Use a pressure washer for tough stains |
| 3. Inspect for Damage | Fill in any cracks and holes before application |
Don’t forget to use masking tape along the edges to protect nearby surfaces. Proper preparation now will ensure a durable and effective repair later.
Ensure Surface Dryness
Ensuring surface dryness is crucial for a successful resin-bound gravel repair.
Begin by clearing away dust and debris to avoid contaminating your repair mixture. Effective moisture management is key, so implement drainage solutions to prevent water pooling.
Always check that ground temperatures are above 10°C (50°F) during repairs, as this is vital for proper resin curing. Aim to carry out repairs on dry days to avoid moisture-related issues.
If needed, use fans or heaters, but ensure they don’t exceed safe temperature limits. Delaying repairs in damp conditions can save you from future complications.
Proper surface preparation is essential for a durable and visually appealing repair.
Inspect Base Stability
Inspecting base stability is crucial for a successful resin-bound gravel installation.
Start by assessing your sub-base; MOT Type 3 is preferred for its permeability and compliance with Sustainable Drainage Systems (SuDS).
Ensure your base has a proper gradient, ideally between 1:12 and 1:40, to prevent water pooling and erosion. If using a concrete slab, allow for a curing period of at least 28 days.
For grid systems, a compacted MOT Type 1 or Type 3 sub-base is essential for effective load distribution. Adding a geotextile stabilization membrane can enhance stability and prevent soil mixing.
It’s wise to conduct regular inspections, especially after rainfall, to identify any loose areas and ensure your base remains stable for the long term.
Resin and Aggregate Selection
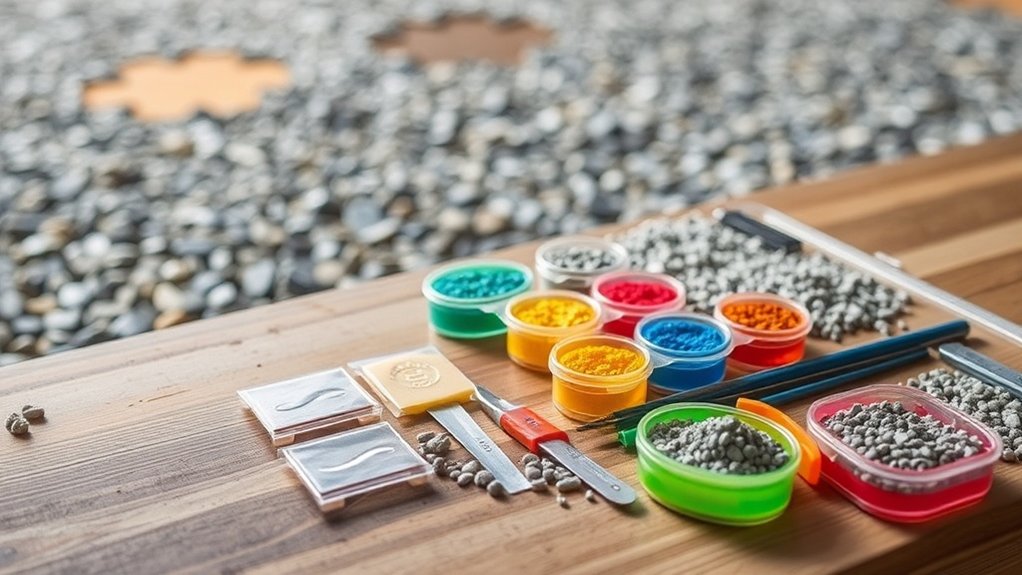
When choosing resin and aggregates for resin-bound gravel, it’s crucial to consider the compatibility and quality of both materials. The right resin types, such as polyurethane, ensure durability and UV resistance. Meanwhile, the properties of the aggregates contribute to a strong bond and visual appeal. Here’s a brief comparison to assist your selection:
| Resin Type | Key Properties | Aggregate Properties |
|---|---|---|
| Polyurethane | Durable, UV resistant | Kiln-dried, low moisture |
| Epoxy | Strong, less flexible | Graded for optimal coverage |
| Acrylic | Quick curing, UV stable | Range of colours available |
Make sure to use 7-10% resin relative to the total mix and choose aggregates that promote sustainable drainage for the best results.
Application and Curing Process
When using your resin-bound gravel repair kit, stick to the mixing instructions for a consistent blend of resin and aggregate.
It’s essential to follow the layer application guidelines for even coverage and strong adhesion.
Also, be mindful of the curing time to ensure your surface remains durable.
Mixing Instructions and Techniques
To successfully repair with resin-bound gravel, follow these straightforward mixing instructions.
Begin by mixing the resin binder components (Part A and Part B) on a clean surface, ensuring no moisture is present to maintain the resin’s consistency.
- Use a forced-action mixer for an even distribution of aggregates and resin.
- Mix at a slow speed until a creamy consistency is achieved, ensuring a uniform blend.
- Keep a close eye on the mixing time; variations can affect both colour and texture.
For smaller repairs, a drum mixer will do, but for larger areas, a forced-action mixer is crucial to avoid inconsistencies.
Proper mixing techniques are essential for a durable and visually appealing repair.
Layer Application Guidelines
Applying layers correctly is crucial for creating a strong and attractive resin-bound gravel surface. For areas with foot traffic, ensure a minimum layer thickness of 15mm, and for driveways, aim for at least 18mm. Thinner layers can weaken the bond and overall structure.
Always prepare your surface by leveling and compacting the base to prevent any movement.
When applying the resin-bound gravel, do it in a single, even layer with slight overlaps for a seamless finish. If you’re making repairs, feather the edges to blend with existing layers, avoiding any visible seams.
Adding binding quartz aggregates can improve strength and provide anti-slip benefits.
Make sure to mix and apply the resin and aggregate promptly to maintain consistency and ensure top performance.
Curing Time Considerations
Curing time is crucial for ensuring the durability and performance of your resin-bound gravel surface. Several environmental factors can influence the curing process:
- Temperature: The ideal curing temperature ranges from 10°C to 25°C. When it’s colder, the curing time increases.
- Humidity: High humidity can slow down the curing process, while low humidity may speed it up.
- Material Type: Different resins, such as epoxy or polyurethane, have distinct curing times.
For light foot traffic, initial curing typically takes 6-8 hours, while full curing can take 24-48 hours.
It’s essential to monitor the conditions and avoid foot or vehicle traffic during this time to prevent damage.
Proper curing is key to protecting your investment and ensuring a long-lasting surface.
Durability and Weather Resistance

When selecting a repair kit for resin-bound gravel, it’s crucial to consider durability and weather resistance. The lifespan of your surface depends on factors like installation quality and sub-base preparation.
Regular maintenance, such as cleaning and inspections, helps maintain its integrity.
Weather resistance is also key; resin-bound surfaces can withstand temperatures from -20°C to +60°C and are UV stable, which prevents fading.
Their water permeability minimises the risk of ice formation and standing water, especially during freeze-thaw cycles.
Opting for high-quality materials, like polyurethane resins, boosts both durability and resistance to environmental conditions.
Additional Considerations for Choosing the Right Kit
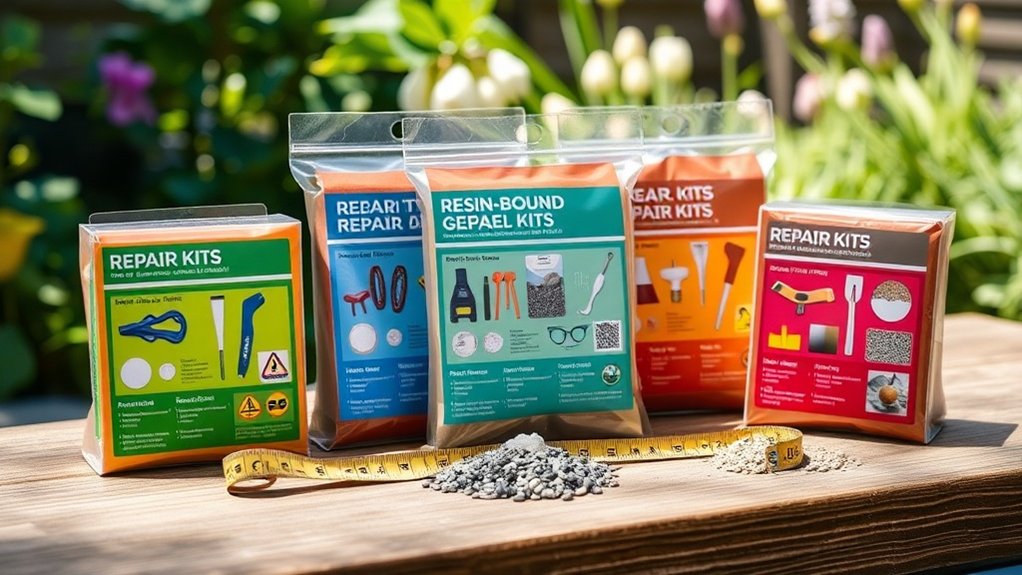
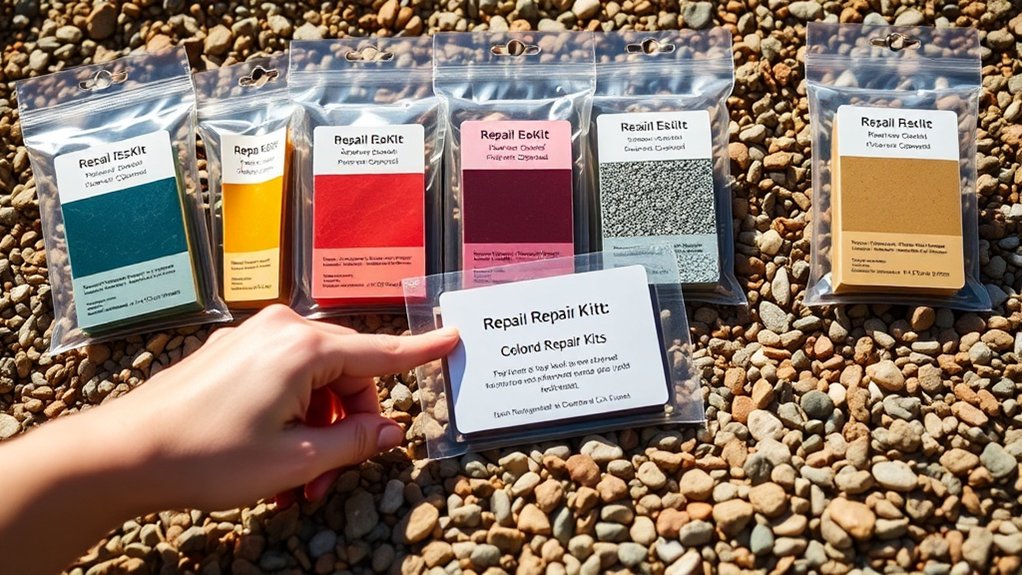
When maintaining resin-bound gravel surfaces, choosing the right repair kit is crucial. It’s not just about durability and weather resistance; consider these important features for effective repairs.
- Ensure compatibility with your gravel type to avoid rust stains.
- Opt for eco-friendly options that meet environmental standards.
- Look for kits that provide clear application tips for mixing and applying the resin.
These factors will help streamline your repair process. Quick-curing options reduce downtime, while UV-stable resins keep the colour vibrant and prevent fading.
Also, prioritise kits that include safety features and protective gear recommendations for safe handling during repairs. By focusing on these elements, you’ll preserve both the appearance and functionality of your resin-bound surfaces.
Maintenance Tips for Longevity of Repairs
To ensure your repairs on resin-bound gravel surfaces last, it’s vital to stick to a regular maintenance routine. By keeping on top of cleaning and monitoring, you can significantly improve the longevity of the resin and the success of your repairs.
| Maintenance Task | Frequency |
|---|---|
| Regular Sweeping | Weekly |
| Weed Management | Monthly |
| Gentle Washing | Every 3-6 months |
| UV Protection Application | Annually |
| Drainage Monitoring | Quarterly |
For instance, regularly sweeping the surface helps prevent debris build-up, which can lead to wear and tear. Meanwhile, applying UV protection annually will safeguard against sun damage, keeping your surface looking fresh.
Frequently Asked Questions
Can I Use a Repair Kit on Existing Concrete Surfaces?
Yes, you can use a repair kit on existing concrete surfaces, as long as you ensure compatibility with the concrete. Choose repair kits specifically designed for concrete to ensure proper adhesion and durability for lasting results. For example, if you have cracks or chips in your driveway, a concrete repair kit can effectively restore its appearance and functionality.
How Do I Store Leftover Resin and Hardener?
To store leftover resin and hardener, keep them in separate containers at room temperature and ensure they are tightly sealed. This helps maintain the hardener’s effectiveness and prevents it from breaking down. Store them away from moisture, direct sunlight, and extreme temperatures to ensure they stay in good condition for longer.
Is It Safe to Use These Kits Indoors?
Using these kits indoors is not advisable without good ventilation. Always wear safety gear, such as gloves and masks, to reduce fume exposure. Ensure there is proper air circulation to prevent respiratory irritation during the curing process.
What Are the Health Precautions While Using Resin Kits?
When using resin kits, prioritise your safety. Always wear appropriate safety gear, ensure good ventilation, and avoid contact with skin and eyes. Follow all precautions to shield yourself from harmful chemicals and fumes. For example, a simple mask and gloves can make a significant difference. Stay safe and enjoy your crafting!
How Can I Tell if the Repair Is Successful?
You can tell if a repair is successful by checking for signs such as a consistent colour, smooth edges, and strong adhesion. Ensure there are no cracks, loose stones, or water retention after the curing process to confirm a proper bond.
Conclusion
Choosing the right repair kit for resin-bound gravel is straightforward. By focusing on key aspects like surface preparation and durability, you can ensure your repairs match the existing surface seamlessly. It’s not merely about fixing a mark; it’s about reviving the charm of your area. A suitable repair kit can transform a small hassle into a long-term fix, allowing you to maintain a tidy driveway or patio for years to come.