To get started on your DIY resin-bound gravel project, you’ll need some key tools: a drill, paddle mixer, and a 700mm trowel for an even finish. First, prepare a solid base that’s compact and free from debris. Mix 75% coarse aggregate with 25% finer gravel, using a weight ratio of 3 parts aggregate to 1 part resin. Spread it out evenly and keep an eye on the curing process. With the right maintenance and safety measures, you’ll achieve great results. For more tips on getting a flawless finish, keep reading!
Key Takeaways
- Get yourself a drill, paddle mixer, and digital scales for precise mixing of resin and aggregate.
- Start with a solid base; it should be compacted, level, and clear of any debris to ensure the best results.
- Use a mix of 75% coarse aggregate and 25% fine gravel, and tweak the resin amounts according to the size of your aggregate for better durability.
- Allow 6-8 hours before walking on it and 24-48 hours before vehicles can use it; keep it covered from rain while it cures.
- Always wear protective gear like gloves and goggles, and ensure good ventilation to avoid harmful chemical exposure.
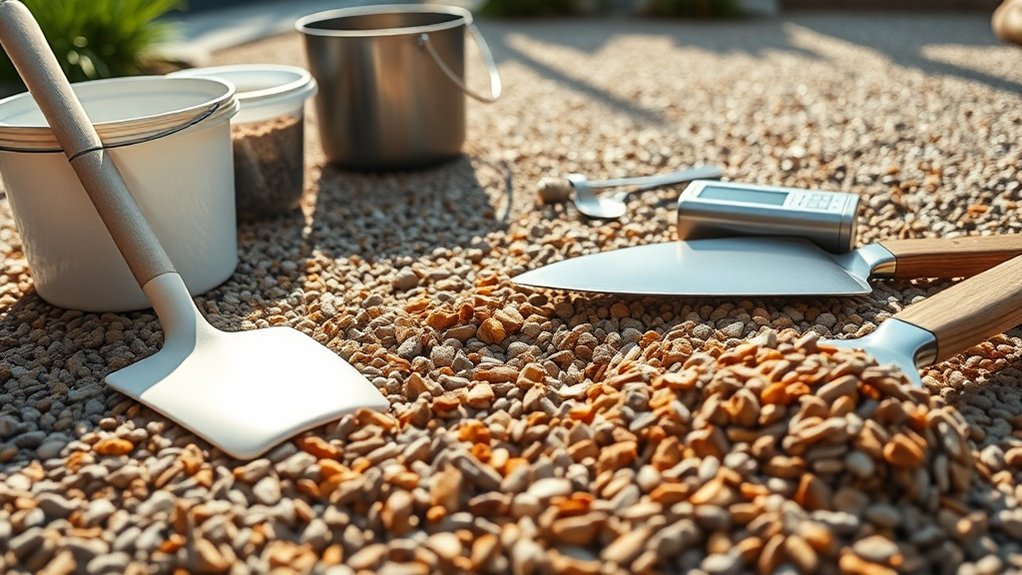
Essential Tools for Mixing and Measuring

When starting your DIY resin-bound gravel project, having the right tools for mixing and measuring is crucial for achieving a perfect finish.
First, invest in a drill and paddle mixer to blend the resin and hardener effectively. To ensure accurate measurements, use digital scales and measuring cups for precise ratios. A quality blend consists of 75% coarse aggregate and 25% finer gravel for optimal performance. A forced action mixer is indispensable for combining the resin with aggregate, as it effectively eliminates air bubbles. Don’t forget to use specialised resin mixer paddles and spiral mixer blades for larger batches. Additionally, using a forced action mixer ensures an even mix of resin-bound materials, which is essential for a durable finish.
A stopwatch is handy for keeping track of mixing times to prevent colour variations. Regularly clean your tools to avoid contamination, and prioritise safety by wearing protective gear. Proper base preparation is essential for durability, and having a solid foundation supports your resin-bound surface effectively.
Preparing the Base and Surface
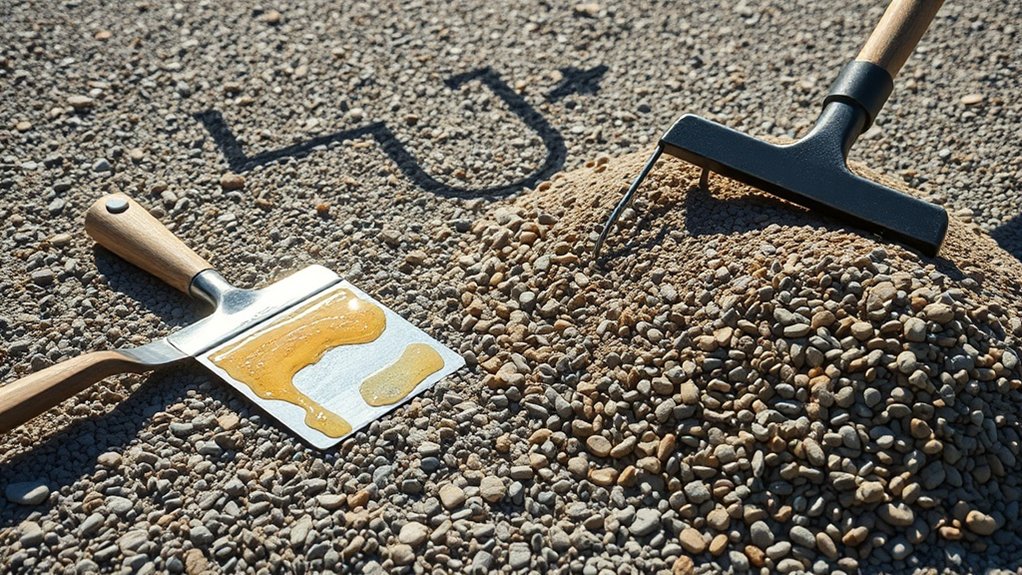
Having the right tools is crucial for a successful resin-bound gravel project, but proper groundwork is equally important. Start with base preparation: select an appropriate base type, such as concrete for heavy loads or open-graded tarmacadam for drainage. Ensure your subgrade is compacted and level, and clear of debris to prevent future issues. A well-prepared sub-base ensures SuDS compliance, which helps to avoid water pooling. Resin-bound pathways are manageable as a DIY project for two people, ensuring that with proper preparation, you can achieve a professional-looking result.
Here’s a quick reference table:
| Base Type | Suitability |
|---|---|
| Concrete | High load-bearing capacity |
| Open-graded Tarmacadam | Enhanced drainage |
| Porous Concrete | Complies with SuDS regulations |
| Mesh N Go | Ideal for commercial/high-traffic areas |
Finally, make sure to clean the surface thoroughly. Remove all dirt and debris, and repair any cracks to ensure a smooth, level surface before applying the resin.
Mixing Resin and Aggregate
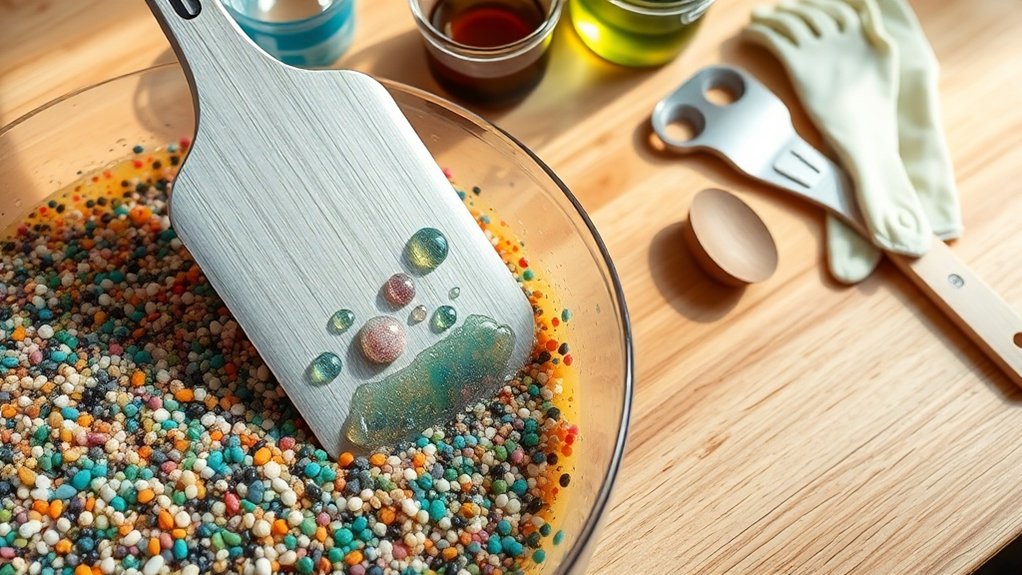
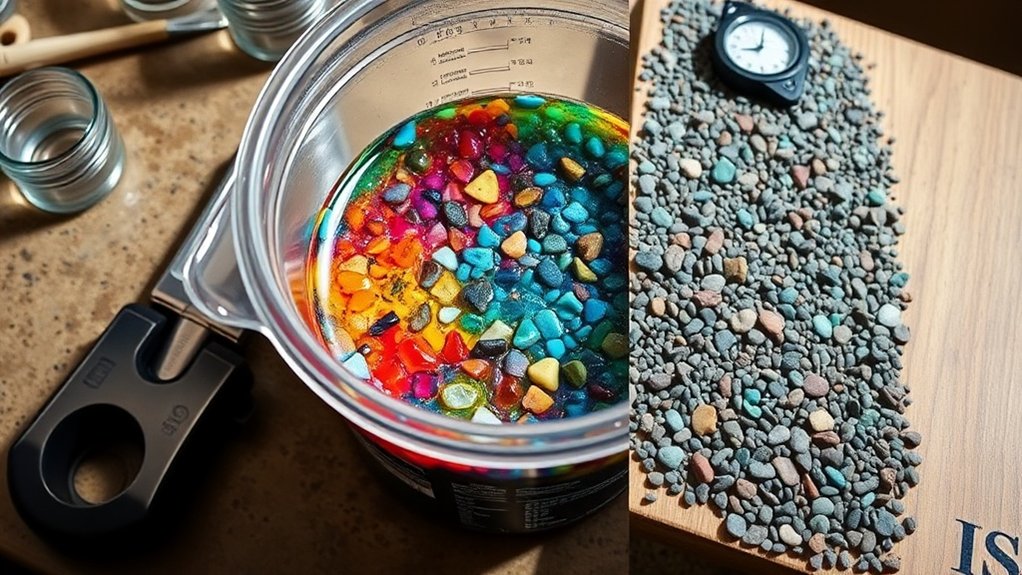
To create a durable resin-bound gravel surface, it’s essential to get your mixing ratios right. Aim for a mix of 75% coarse aggregate and 25% finer gravel—accurate measurements are key for consistent results. Once you’ve determined the right proportions, blend the aggregates thoroughly before gradually adding the resin for a smooth finish. Using a reliable forced action mixer is crucial to ensure the consistency of the mixture and the quality of the final surface. Proper surface preparation significantly enhances the bonding of resin to the aggregates, ensuring a lasting result.
Proper Mixing Ratios
Getting the right mixing ratio of resin and aggregate is crucial for a strong and attractive surface. Use a weight-based ratio of 3 parts aggregate to 1 part resin, ensuring that the resin makes up 7–10% of the total weight, especially in areas with traffic.
Adjust your ratios depending on the type of aggregate; larger stones may need more resin, while smaller, angular ones might need less. Always aim for an even coating—watch out for dry spots or pools of resin.
Minor adjustments of ±0.5% in resin can still keep your mix consistent. A precise blend not only boosts durability and stability but also delivers a finish that looks good and lasts.
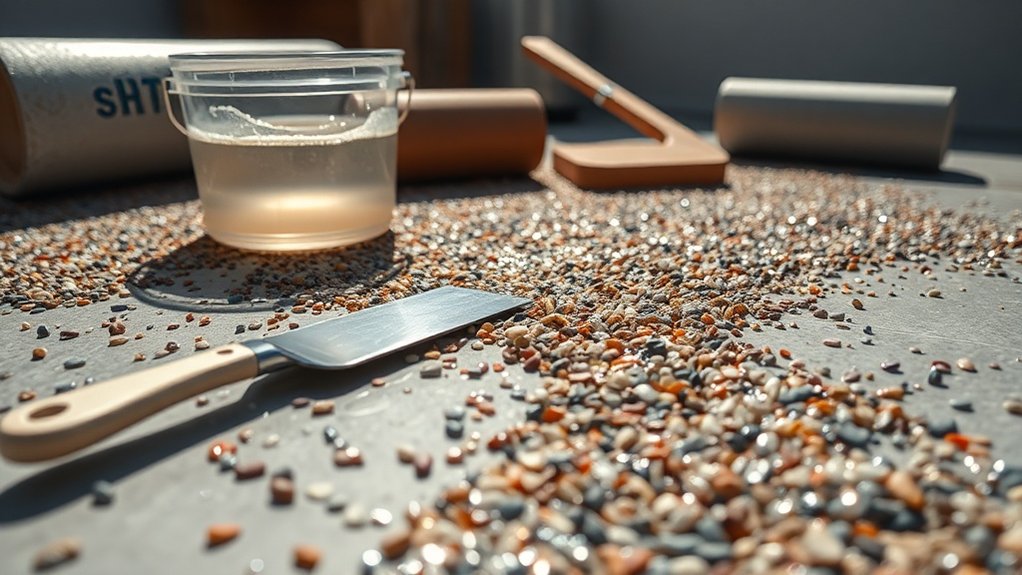
Batch Preparation Techniques
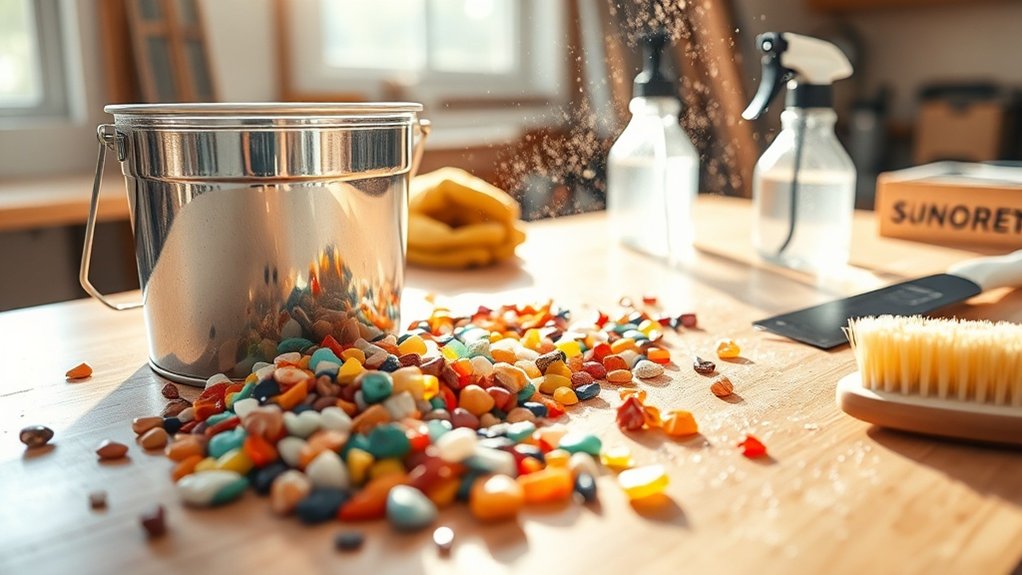
When preparing your batch for resin-bound gravel, it’s crucial to handle each component carefully for the best mix.
Start with washed and dried gravel, ensuring it’s free from dust. Add the first two bags of aggregate into a forced action mixer and mix for about 30 seconds to promote uniformity.
Then, mix the resin: combine Part A for 10-20 seconds, add Part B, and mix for a further 60 seconds. Quickly combine the pre-mixed resin with the aggregates to ensure even coverage.
Timing is key—keep mixing durations consistent across all batches to avoid colour variation.
Finally, empty the mixer promptly to prevent premature setting, which is vital for your project’s success.
Application Techniques
When applying resin-bound gravel, it’s vital to use the trowel application method for a smooth finish.
Work in manageable sections, especially on slopes, to keep control and prevent the mixture from slipping.
Trowel Application Method
To achieve a smooth finish with your resin-bound gravel, it’s crucial to master the trowel application method.
Begin by choosing a specialist resin-bound trowel, ideally 700mm wide, for even coverage. Prepare your subbase by compacting and levelling it, then mark the edges with masking tape.
After thoroughly mixing the resin and aggregate, pour manageable piles from the furthest point and use a rake for initial distribution.
When using the trowel, pull it smoothly from left to right, applying consistent pressure to avoid ridges. Aim for a thickness of 30–40mm, and pay close attention to the edges for a clean finish.
Finally, adjust the trowel angle to achieve the desired surface texture and slip resistance.
Sectioned Working Approach
To achieve a perfect resin-bound gravel finish, a systematic approach is essential, especially when sectioning your work area. Divide the installation surface into 1m² sections using temporary battens or tape to ensure clean edges. This will help manage the area effectively during application.
| Step | Description |
|---|---|
| Mark Sections | Use tape or battens to outline areas. |
| Pour Resin | Create small mounds within each section. |
| Spread Evenly | Use a trowel to ensure a consistent thickness. |
| Level Surface | Smooth and compress with a bullnose trowel. |
| Monitor Curing | Keep foot traffic off for 24 hours after application. |
Curing Process and Timeline
As the resin-bound gravel cures, it’s vital to keep a close eye on the environmental conditions, as they can significantly impact the curing timeline.
Here are some key points to consider:
- Walking: You can typically walk on the surface after 6-8 hours.
- Driving: Refrain from driving on the surface for at least 24-48 hours to avoid damage.
- Temperature: Warm weather can accelerate curing, while cold temperatures may extend it beyond 48 hours.
- Moisture: Rain or damp conditions can hinder the curing process and cause defects, so ensure your work is protected from the elements.
Maintenance and Cleaning
To keep your resin-bound gravel surface looking great and functioning well, it’s important to take a proactive approach to maintenance. Set up a regular schedule that includes sweeping and occasional pressure washing to prevent debris build-up. Here’s a quick guide:
| Task | Frequency |
|---|---|
| Routine Sweeping | Weekly |
| Pressure Washing | Twice a year |
| Stain Removal | As needed |
Use a stiff, non-metal broom and a mild detergent for any stains to avoid damaging the surface. If you spill something, clean it up quickly to prevent lasting marks. For weeds, remove them by hand, ensuring you get the roots out. By following these simple steps, your resin-bound gravel will stay attractive and functional for years.
Safety Precautions
Safety Precautions
While maintaining your resin-bound gravel surface is vital, prioritising your safety during installation and upkeep is equally important.
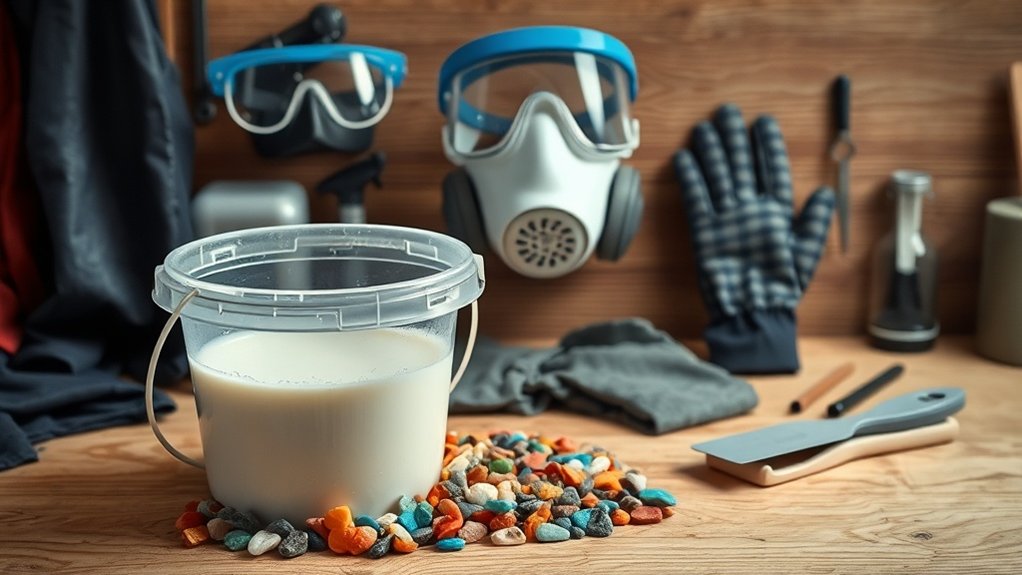
Here are four essential precautions to consider:
- Wear nitrile gloves to avoid skin contact with resin and hardeners.
- Use safety goggles to protect your eyes from splashes while mixing.
- Work in a well-ventilated area or wear a respirator mask to prevent inhaling harmful fumes.
- Cover exposed skin with long sleeves and trousers to reduce direct contact with chemicals.
Always keep a first aid kit nearby to address any accidental exposure promptly.
Stay safe while creating your stunning resin-bound gravel surface!
Environmental Considerations
When planning your outdoor projects, it’s crucial to consider the environmental benefits of resin-bound gravel. This modern material not only enhances aesthetics but also offers significant sustainability advantages.
| Feature | Benefit | Impact |
|---|---|---|
| Permeability | Reduces surface water runoff | Helps prevent urban flooding |
| Reflective aggregates | Mitigates the urban heat island effect | Cools local areas |
| Recycled materials | Supports a circular economy | Reduces resource extraction |
| Low maintenance | Minimises waste generation | Lowers long-term environmental costs |
Using resin-bound gravel can be a smart choice for both your project and the planet.
Professional Tips for Success
To ensure a successful resin-bound gravel project, it’s crucial to pay close attention to detail during both preparation and application. Here are some practical tips to help your installations last:
- Check the Base: Ensure the existing surface is free from cracks and is structurally sound. This step is vital to prevent issues down the line.
- Mix Correctly: Use forced-action mixers and stick to the recommended resin-to-aggregate ratios for a consistent mix.
- Work in Sections: Apply the mixture in 1 m² sections. This approach helps maintain an even depth and finish.
- Allow for Proper Curing: Let the surface cure for at least 8 hours before allowing foot traffic. This ensures your installation is durable and long-lasting.
Frequently Asked Questions
Can Resin-Bound Gravel Be Installed in Cold Weather?
Yes, you can install resin-bound gravel in cold weather, but it’s important to keep a few things in mind. Ensure temperatures remain above 5°C, consider using ground heating, and opt for winter-grade materials to ensure proper bonding and durability.
What Types of Aggregate Can Be Used for Resin-Bound Gravel?
Natural aggregates such as quartz and granite can be used for resin-bound gravel. You can also add recycled materials like glass for a distinctive look. Ensure all aggregates are clean and dry to guarantee strong adhesion and optimal performance in resin-bound gravel applications.
How Long Does the Resin Last Before Needing Replacement?
Resin usually lasts between 15 to 25 years. However, with proper maintenance, you can significantly extend its lifespan. Key factors such as the quality of the material and the installation process are crucial for maximising the longevity of resin, ensuring you get the best value for your investment.
Is Resin-Bound Gravel Suitable for Heavy Vehicle Traffic?
Resin-bound gravel is not the best choice for heavy vehicle traffic. To make it durable enough for such use, it’s crucial to follow specific installation guidelines. This includes preparing a proper sub-base and using high-quality materials to reduce the risk of damage over time. For example, if you’re considering using it for a driveway that will regularly support large vehicles, ensure these steps are taken seriously.
Can I Add Color to the Resin-Bound Mixture?
You can’t add colour pigments directly to the resin-bound mixture. Instead, consider using mixing techniques with natural aggregates to create unique blends. This approach ensures your design remains durable and vibrant while maintaining the integrity of the resin.
Conclusion
In summary, as you begin your DIY resin-bound gravel project, remember that preparation and accuracy are essential. With the right tools and methods, you’re not just laying gravel; you’re creating a durable, attractive surface that enhances your property. It’s rewarding to see your ideas come to life, isn’t it? So, get stuck in, enjoy the process, and watch how your efforts result in a stunning finish that lasts.