
To repair minor damage on resin-bound gravel, first check for cracks or discolouration. Clean the affected area using a stiff brush and a pH-neutral cleaner. For the repair, mix resin and aggregate in a 1:3 ratio, then apply it evenly with a trowel. Smooth the surface for a neat finish and allow it to cure for 24 to 48 hours. Regular maintenance and inspections are crucial for extending the life of your surface. For more tips on achieving lasting repairs, keep an eye out for additional guidance.
Key Takeaways
- Start by inspecting the surface for any cracks, discolouration, or loose stones, and make a note of the areas that require attention.
- Use a stiff-bristled brush and a pH-neutral cleaner to thoroughly clean the damaged area, removing any dirt or debris.
- Mix the resin and aggregate in the correct ratio, ensuring they are well blended for the best adhesion.
- Apply the repair material evenly with a trowel, aiming for a thickness of 15-20 mm to ensure durability.
- Allow the repair to cure for 24-48 hours, taking care to keep it sheltered from harsh weather conditions during this time.
Understanding Resin-Bound Gravel
Resin-bound gravel is a unique mix of aggregates and resin that creates a durable surface perfect for outdoor use. The resin’s UV resistance and permeability enhance its lifespan while keeping it looking great. You can choose from aggregates like gravel, crushed stone, or marble to customise the texture and colour to suit your style. This mixture allows for effective water drainage, reducing the risk of flooding, which is a major advantage. Additionally, resin-bound gravel contributes to sustainable drainage solutions by managing stormwater efficiently, thanks to its permeable surface that allows rainwater to soak through. Installation involves mixing the resin and aggregates on-site to ensure consistency, followed by troweling for a smooth finish. With minimal upkeep, such as the occasional sweep, your resin-bound gravel can remain slip-resistant and visually appealing for years to come.
Identifying Minor Damage
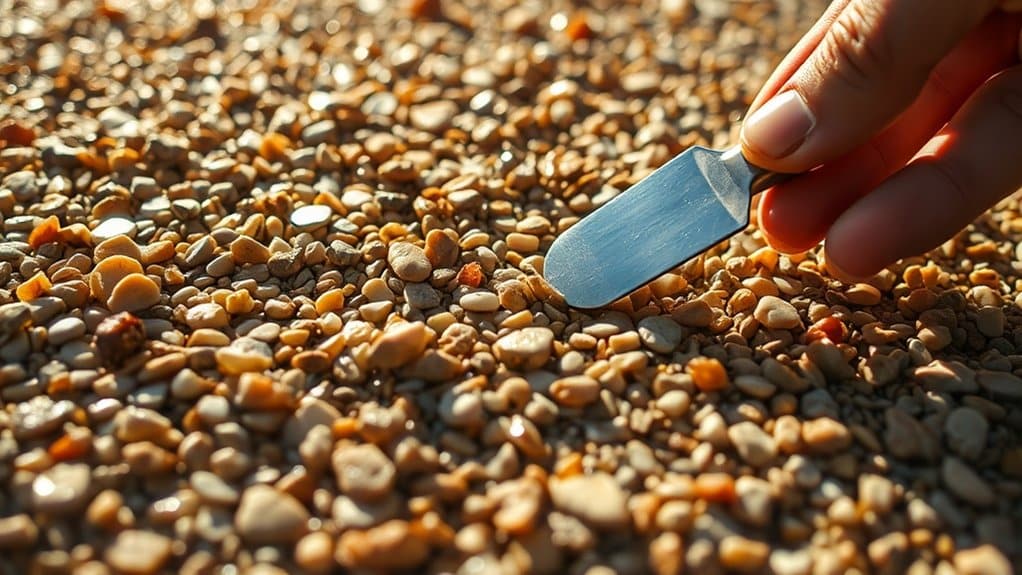
How can you identify minor damage on your resin-bound gravel surface? First, check for common issues like cracks and fissures, which can occur due to temperature fluctuations. Additionally, regular sweeping is essential to prevent dirt accumulation that can exacerbate these issues.
Look out for discolouration from UV exposure or chemical spills, as these may indicate underlying problems. Be mindful of rust stains from metal objects and loose stones, which could suggest poor mixing or too much foot traffic too soon.
Inspect for any surface detachment, particularly if the base layer seems weak. Evaluate the size and pattern of cracks—larger, widespread damage usually points to more serious issues. Regular maintenance, including routine inspections, helps catch problems early and prolongs the life of your resin-bound gravel surface.
Environmental factors, such as heavy rainfall or tree roots, can worsen these conditions. Regular inspections and prompt repairs using the right methods will help keep your resin-bound gravel surface in good shape.
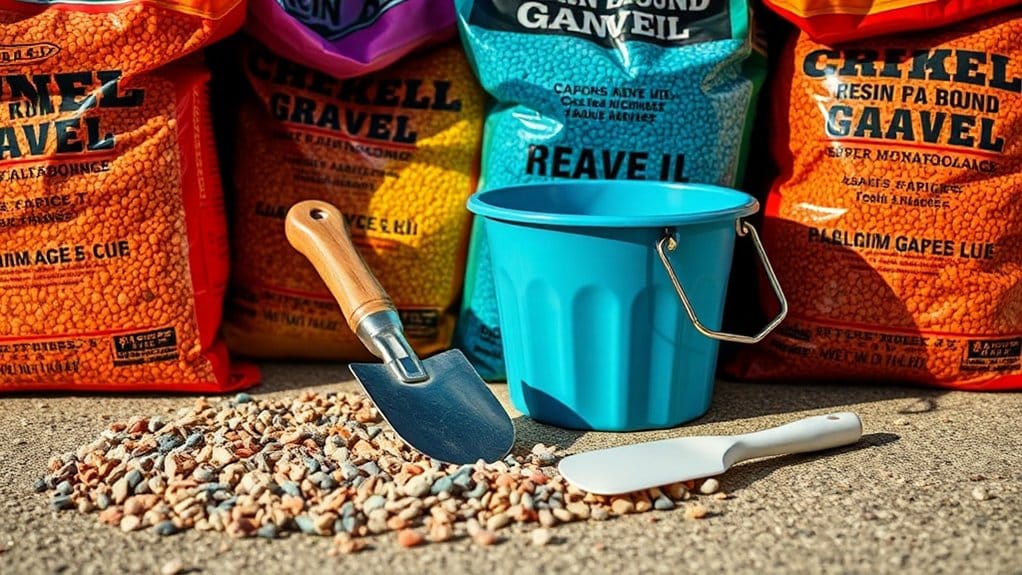
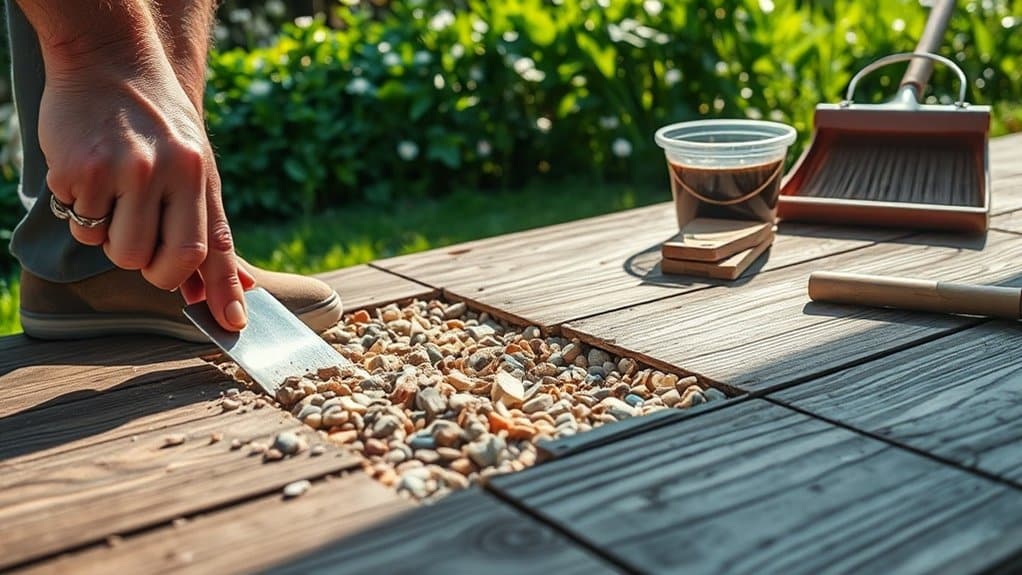
Tools and Materials Needed
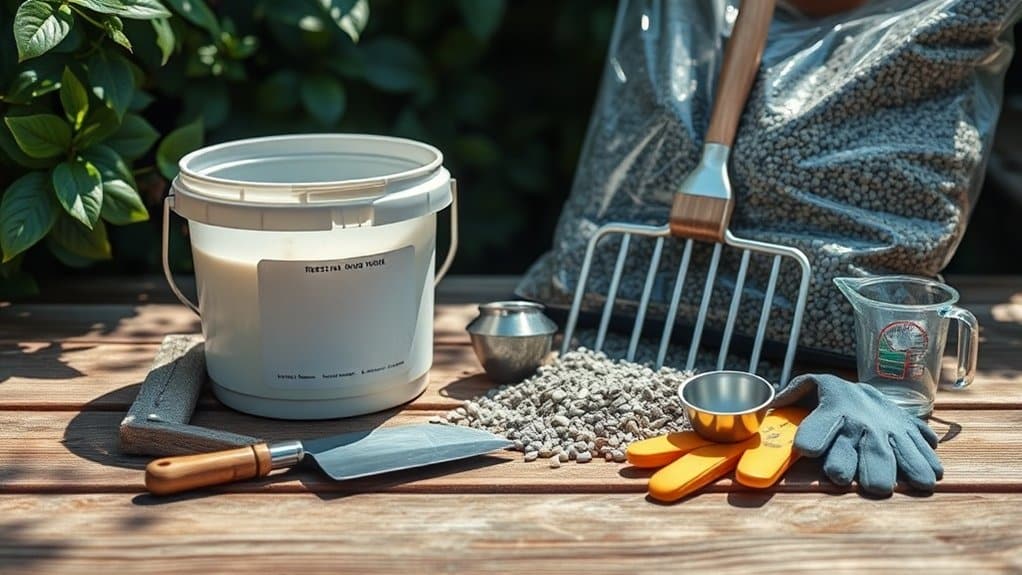
To repair minor damage on your resin-bound gravel, you’ll need the right tools and materials.
Start by gathering a resin repair kit, cleaning tools, and application equipment. A comprehensive solution helps ensure you have everything required for an effective repair. Having these essentials on hand will help you efficiently restore your surface. Additionally, ensure that your repair kit includes standard maintenance kits that provide pre-measured materials for accurate mixing.
Essential Tools Checklist
Gathering the right tools and materials is crucial for effectively repairing minor damage on resin-bound gravel.
Start with your tool selection: use a chisel to remove loose stones, a soft brush to clear debris, and a utility knife for neat edge trimming. For mixing and application, have a trowel, mixer, and mixing bucket ready.
Don’t forget your safety gear—gloves, safety glasses, and a respirator mask are essential for protection. A roller or broom will help finish the patch, while a scraper is useful for levelling it out.
Lastly, use a curing cover to shield the area as it sets. Having these essential tools on hand will make your repairs more efficient and ensure a professional-looking finish.
Recommended Repair Materials
When addressing minor damage on resin-bound gravel, having the right repair materials is crucial. Opt for various repair kits, particularly two-part options with UV-resistant resins and hardeners for durable and seamless repairs. It’s important to carefully match the aggregate types to ensure the colour and size align with the original for a consistent finish.
Here’s a quick overview of essential materials:
| Material | Purpose |
|---|---|
| UV-resistant resin | Provides durability against the elements |
| Stiff brush | Cleans the repair area |
| Trowel | Spreads resin and aggregates |
| Masking tape | Protects surrounding surfaces |
| Heat gun | Enhances resin adhesion |
With these materials, your repairs can be effective and long-lasting!
Cleaning the Damaged Area
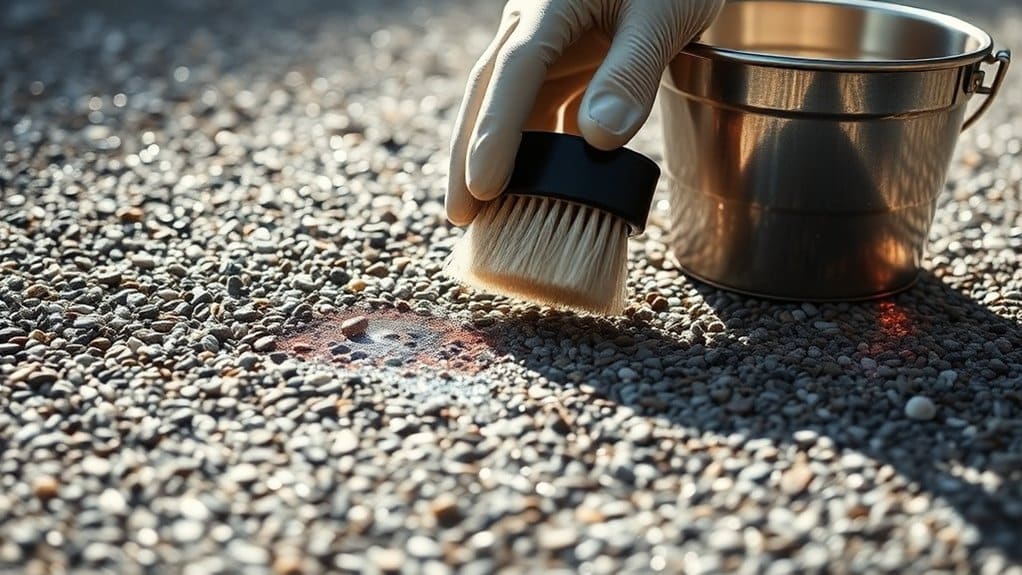
Before cleaning the damaged area of your resin-bound gravel, ensure you have the right tools for the job.
You’ll need a stiff-bristled brush and a pH-neutral cleaner mixed with warm water to effectively tackle stains and debris.
Once you’ve prepared the surface and gathered your cleaning agents, you can proceed with a clear plan to restore its appearance.
Tools for Cleaning
Cleaning a damaged resin-bound gravel area requires specific tools for effective restoration. Choosing the right equipment enhances your cleaning methods, ensuring the surface stays intact while debris is removed. Here’s a straightforward list of tools you’ll need:
| Tool Type | Purpose |
|---|---|
| Stiff bristle brushes | Scrub resin surfaces without causing scratches |
| Large buckets | Hold cleaning solutions and water |
| Standard garden hoses | Rinse away cleaning agents |
| pH-neutral cleaners | Prevent damage and discolouration |
Optional tools like low-pressure adjustable power washers can be helpful for particularly dirty areas. Using these tools effectively ensures a clean, ready surface for the repair work ahead.
Cleaning Process Steps
To properly restore a damaged resin-bound gravel area, it’s important to follow a clear cleaning process.
Here are some effective techniques for stain removal:
- Start by removing loose debris and dirt with a soft-bristle broom or a non-metallic blower.
- For stubborn stains, pre-treat with suitable products like biodegradable degreasers or rust removers.
- Clean the area using a mild, pH-neutral detergent mixed with cold water, scrubbing gently.
- Tackle specific issues such as oil stains, tyre marks, and organic growth with targeted cleaning methods.
Drying the Area
Drying the Area
For a successful repair on your resin-bound gravel, it’s essential to dry the area properly. This ensures moisture control and prevents complications during resin application. Here are some key points to consider:
| Factor | Ideal Conditions | Equipment |
|---|---|---|
| Temperature | 5°C to 25°C | Fans or blowers |
| Moisture Level | Minimal | Tarpaulins |
| Drying Time | 24-48 hours for curing | Clean, dry cloths |
Keep an eye on the weather and shield the area from rain while it cures. Promote air circulation to speed up drying, ensuring the surface is completely dry before applying new resin. This careful approach will lead to a strong and effective repair, minimising the risk of moisture-related issues.
Preparing Repair Materials
Preparing for a successful repair of resin-bound gravel involves several essential steps to ensure effective performance of the materials. Follow these straightforward techniques for optimal results:
- Clean the surface thoroughly with a pressure washer to eliminate dirt, oil, and organic debris.
- Check for any cracks or loose stones and remedy these issues before moving forward.
- Apply a suitable primer or sealant that’s compatible with your substrate to improve adhesion.
- Store resin binders and aggregates in a dry, temperature-controlled environment to keep them in top condition.
Mixing Resin and Aggregate
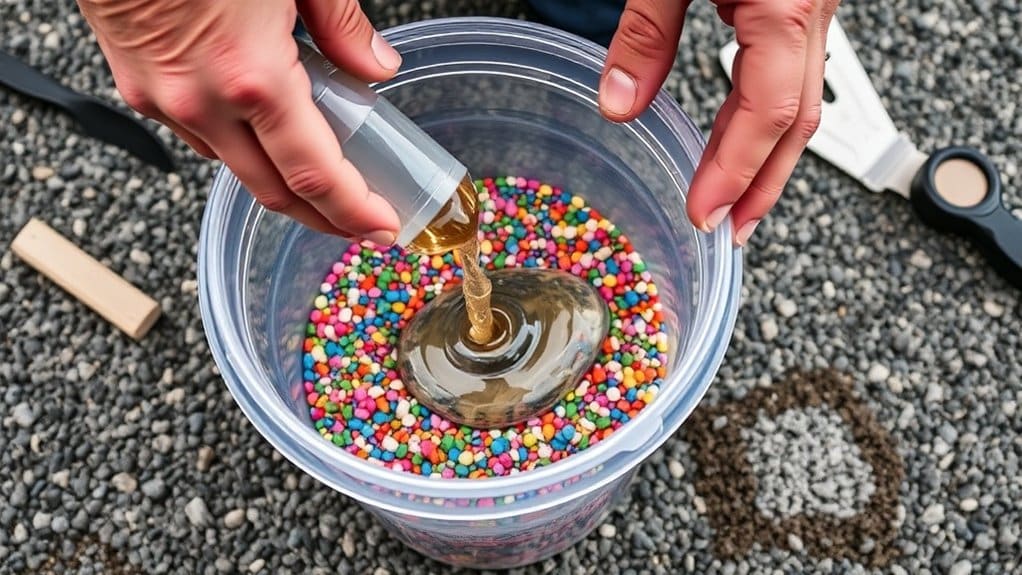
When mixing resin and aggregate, it’s crucial to stick to the correct mixing ratios for optimal results.
Begin by choosing suitable aggregates that work well with the resin, ensuring they enhance its properties and desired strength.
Accurate measurement and thorough mixing are key to avoiding problems like delamination or uneven colour.
For instance, using a scale can help you measure your materials precisely, leading to a more reliable outcome.
Proper Mixing Ratios
To ensure optimal performance and longevity of resin-bound gravel, it’s crucial to stick to the correct mixing ratios of resin to aggregate. Here are some important points to consider:
- The standard ratio is 1 part resin to 3 parts aggregate by weight.
- For paths and patios, use 5-7% resin; for driveways, aim for 7-10%.
- Adjust ratios based on the size of the aggregate; smaller aggregates may require more resin.
- Adding kiln-dried sand can improve strength and grip.
Using proper mixing techniques ensures that each particle is adequately coated for maximum bonding and durability.
Maintaining the right resin content helps prevent brittleness or weakness in the final surface.
Following these guidelines will result in a robust, attractive finish that meets your requirements.
Choosing Compatible Aggregates
Selecting the right aggregates for your resin-bound gravel project is crucial for a long-lasting and attractive surface. Ensure the aggregates are washed, kiln-dried, and graded between 2mm to 6mm. This helps with resin penetration and keeps the appearance consistent.
| Aggregate Type | Colour Matching Options | UV Stability |
|---|---|---|
| Natural Stone | Wide range of shades | High |
| Non-Natural Colour | Custom colours | Varies (testing needed) |
| Decorative Glass | Unique designs | Check compatibility |
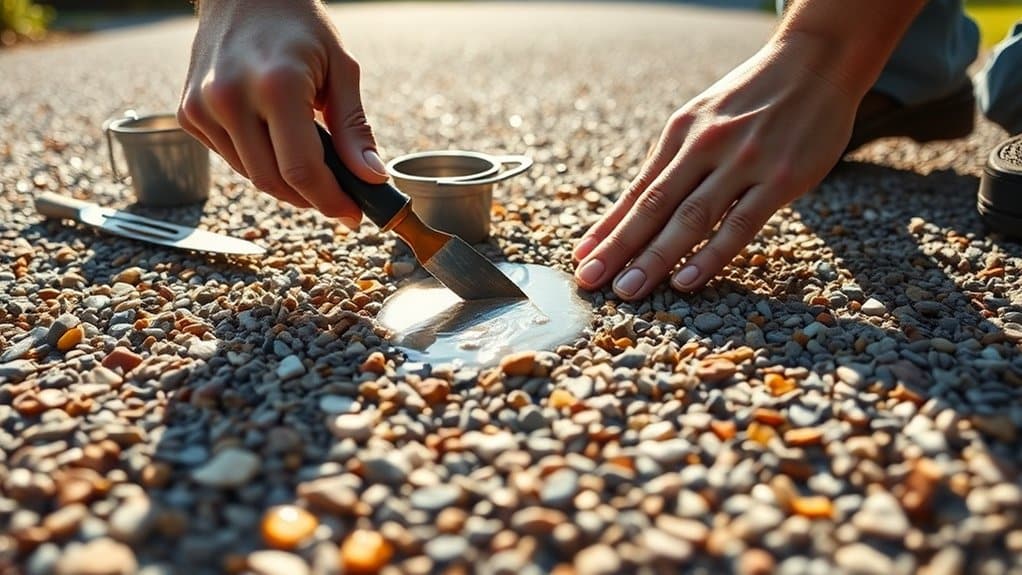
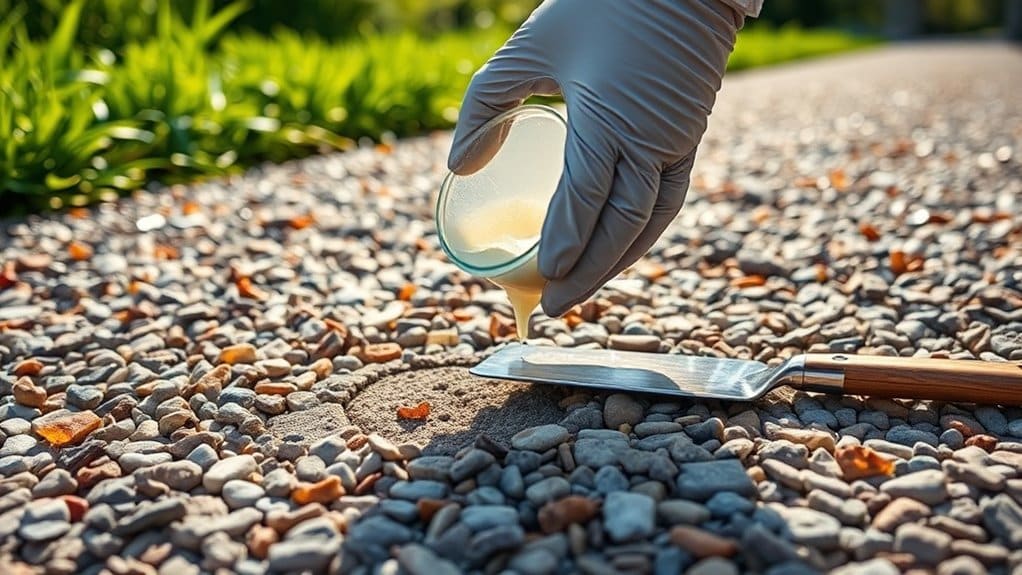
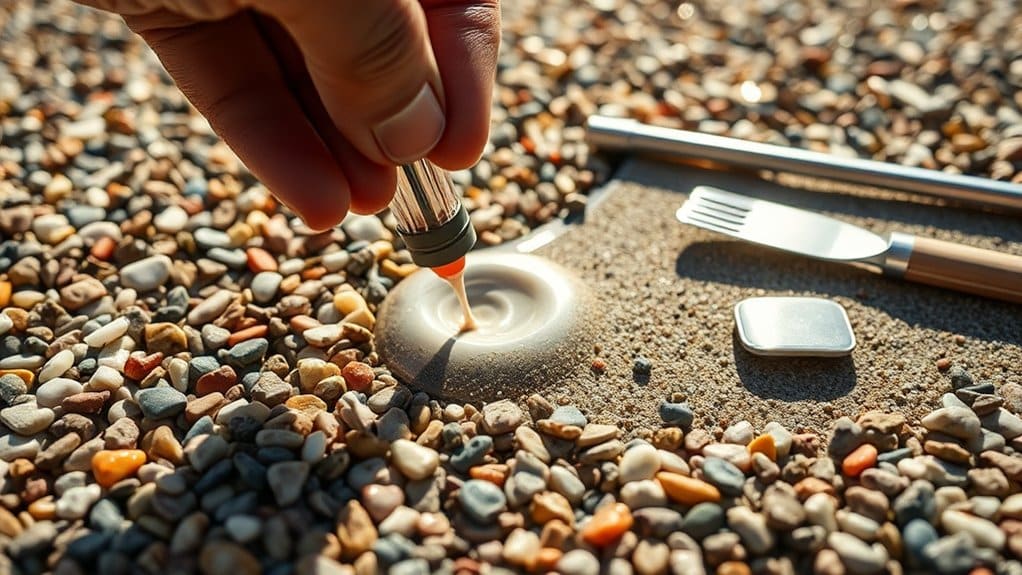
Applying the Repair Material
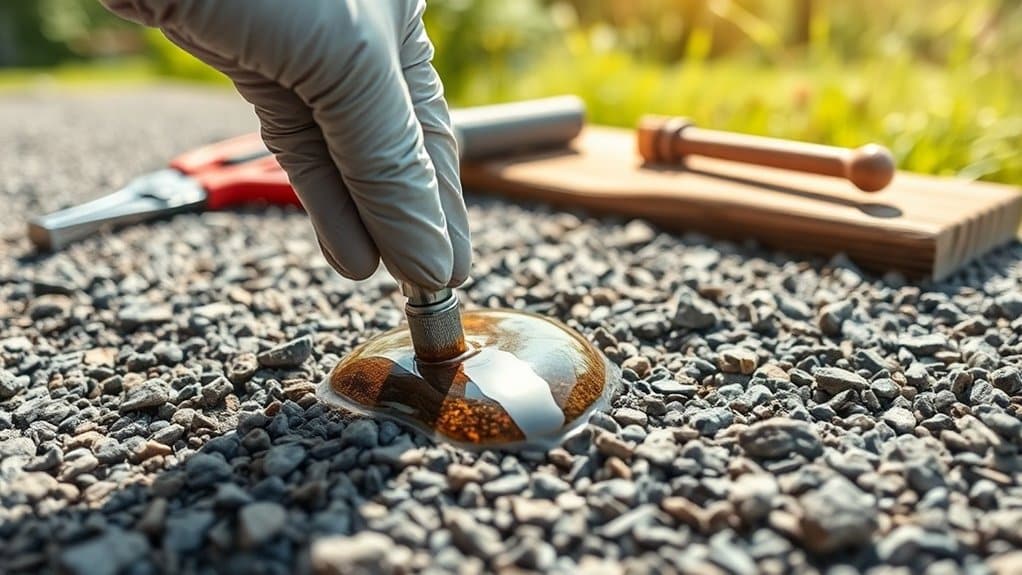
Applying the repair material requires careful attention to detail for a smooth finish. Follow these key steps:
- Surface Preparation: Ensure the area is clean and free from dust and debris.
- Application Tools: Use trowels or spreaders for an even application.
- Thickness Control: Aim for a thickness of 15-20 mm for lasting durability.
- Cautious Application: Apply the material in small amounts to avoid overfilling.
Effective application techniques are crucial for a successful repair.
Start by confirming the surface is clean, then spread the mixed material evenly while keeping the recommended thickness in mind.
Applying in small quantities allows for better control and adhesion, ensuring a strong and lasting repair.
Attention to these details will yield the best results.
Smoothing and Finishing the Surface
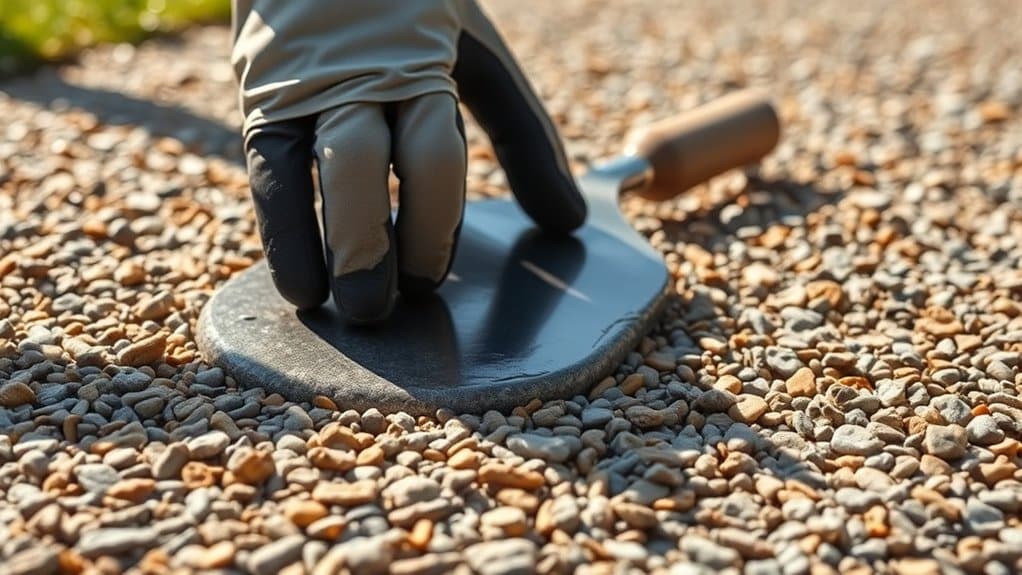
Once the repair material is applied, smoothing and finishing the surface is essential for a seamless and durable result.
Use a flat steel trowel to ensure an even finish, applying gentle pressure to avoid disturbing the aggregate. Make multiple passes in different directions for uniformity.
For larger areas, a power float can help achieve consistent leveling. Use a smaller trowel to feather the edges, blending the repair and preventing sudden height changes.
To restore the surface texture, lightly brush or stipple the area before the material sets.
Finally, check for any imperfections and make adjustments while the resin is still workable to achieve a polished appearance.
Allowing the Repair to Cure

Allowing the Repair to Cure
Once the surface is smooth and finished, the next step is to let the repair cure properly. Proper curing is vital for durability, so keep these important points in mind:
- Curing Time: Allow 24-48 hours, depending on the weather.
- Temperature: Ideal temperatures are between 10°C and 25°C. Avoid extreme conditions that can affect durability.
- Humidity: Aim for humidity levels of 40%-70% for optimal curing.
- Environmental Conditions: Avoid curing during heavy rain or direct sunlight.
Using effective curing techniques ensures a strong bond for the repair.
Keep a close eye on these environmental factors. If needed, consider using specialised curing compounds to speed up the process.
Regular Maintenance Practices
Regular maintenance is crucial for keeping your resin-bound gravel surfaces looking good and functioning well.
Start by inspecting the area regularly for any signs of damage, debris, or drainage problems. Sweep the surface each month, particularly in autumn, to clear away leaves and debris that can obstruct drainage.
A gentle pressure wash once or twice a year will help remove stubborn dirt and stains. For any marks, use mild detergents and steer clear of harsh chemicals to protect the surface.
Keep weeds at bay by using herbicides and pulling them out by hand when necessary.
These steps not only improve the appearance but also prolong the life of your resin-bound gravel, ensuring it stays in excellent condition.
Preventing Future Damage
To prevent future damage to your resin-bound gravel surfaces, careful planning during installation and regular maintenance is crucial.
Taking these preventative steps can save you both time and money later on:
- Ensure a stable, level sub-base to avoid cracks and dips. For example, check that the ground is compacted properly before laying the gravel.
- Design for effective drainage to stop water from pooling. Consider incorporating slopes or drainage channels where necessary.
- Use high-quality sealants every few years to shield against wear and UV damage. This can extend the life of your surface significantly.
- Clean your surface regularly with mild detergents to keep it permeable. A simple wash down with soapy water can do wonders.
Specialized Repairs and Solutions
When minor damage occurs on your resin-bound gravel surface, specialised repairs can effectively restore its integrity and appearance.
Begin by cleaning and thoroughly drying the area. Remove any loose resin or stones with chisels. Use sanding techniques to roughen the surface, which improves bonding strength.
Mix UV-resistant resin and aggregate according to the manufacturer’s instructions for best results. Apply the mixture in thin layers with a trowel, blending the edges seamlessly.
For cracks smaller than 200mm, fill them with matching resin; deeper cracks may require complete rebuilding. Always allow adequate curing time before exposing the repair to traffic or weather, ensuring a long-lasting finish.
Frequently Asked Questions
Can I Repair Minor Damage in Rainy Weather?
You can’t repair minor damage in rainy weather. Effective repairs need dry conditions, as moisture can affect adhesion, leading to weak surfaces and a poor finish. Always check the weather before starting any repairs to ensure long-lasting results. For example, if you’re painting or filling cracks, a dry day is essential for the best outcome.
How Long Does Resin-Bound Gravel Last After Repair?
After repair, resin-bound gravel usually lasts between 15 and 25 years. This lifespan largely depends on the quality of the repair methods used and how well you maintain it. Using top-notch materials and applying them carefully can significantly extend the life of the resin, making it more resilient against weather conditions and heavy foot traffic.
Is It Safe to Use a Pressure Washer on Resin-Bound Gravel?
Using a pressure washer on resin-bound gravel can be safe if you keep the pressure levels in check. To maintain your gravel effectively, stick to the recommended settings and follow gravel care tips to prevent any damage to the surface. For instance, a lower pressure setting will help avoid dislodging the stones, ensuring your surface stays intact.
What Are the Signs of Major Damage Requiring Professional Help?
Look out for signs like deep, interconnected cracks or surface discolouration, such as rust stains or fading from UV exposure. If you see these, it’s time to contact a professional for a proper assessment and repair.
Can I Use Colored Resin for Aesthetic Purposes?
Yes, you can use coloured resin for aesthetic improvements. Research indicates that 72% of homeowners favour vibrant outdoor areas. Coloured resin can create striking designs that integrate well with your garden, enhancing visual appeal and adding a unique touch. For example, using a bright blue resin for a pathway can really make your outdoor space pop.
Conclusion
In your outdoor space, minor damage to resin-bound gravel can occur over time. Repairing these blemishes not only fixes the issue but also enhances the overall look of your area. With some basic tools and a bit of patience, you can easily restore its appearance. Regular maintenance is key to keeping your surface in top condition, ensuring it remains a beautiful feature for years. Embrace the importance of upkeep!