Essential tools for resin-bound gravel slope installation:
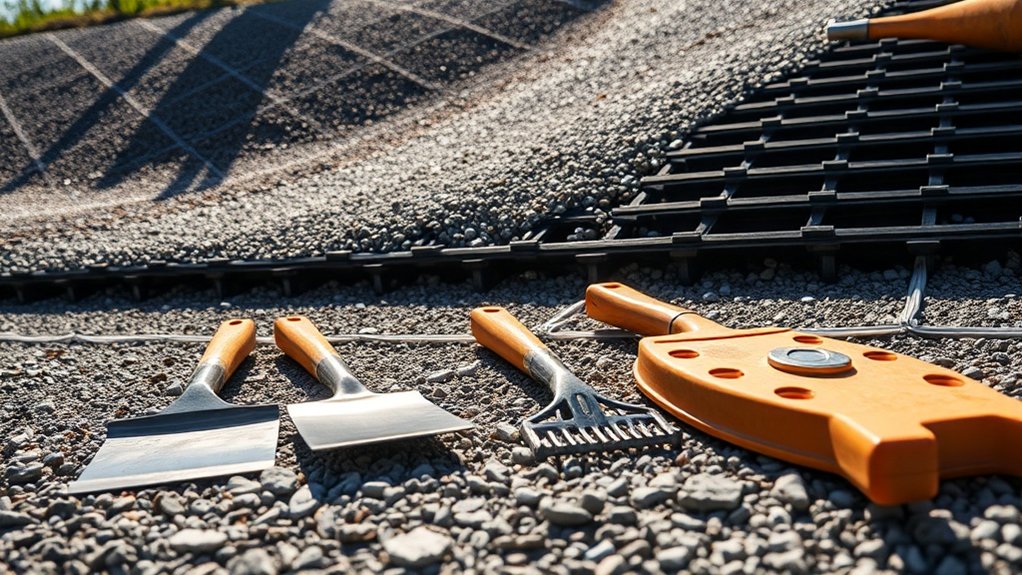
A forced-action mixer is vital for proper resin and aggregate blending. Quality hand tools, particularly a Ragni trowel (popular amongst UK contractors), ensure a professional finish. Power floats help achieve proper compaction, whilst depth gauges maintain consistent thickness throughout.
Mark your working area with chalk grids to track coverage properly. Install geotextile membrane and ground reinforcement mesh beneath – crucial for British weather conditions and slope stability.
Proper kit selection makes all the difference between a dodgy job and one that’ll last for years. These tools might seem like a hefty investment, but they’re essential for top-notch results on any gradient.
Key Takeaways
Forced-Action Mixers
Properly blend resin and aggregates to prevent patchy spots – vital for slope work where consistency is key.
Hand Levelling Tools
Quality trowels and grade rakes ensure a smooth finish and make the job less taxing on steep gradients.
Depth Gauges and Moisture Metres
Essential for checking uniform thickness and correct moisture content, particularly crucial on slopes where bonding must be spot-on.
Surface Temperature Monitors
Keep track of temperature between 5°C and 30°C – like most British weather, it needs to be just right for proper curing and an even finish.
Geotextile Membranes
Think of these as groundsheets for your slope – they keep soil stable and prevent gravel from shifting, especially useful during our wet seasons.
Forced-Action Mixers
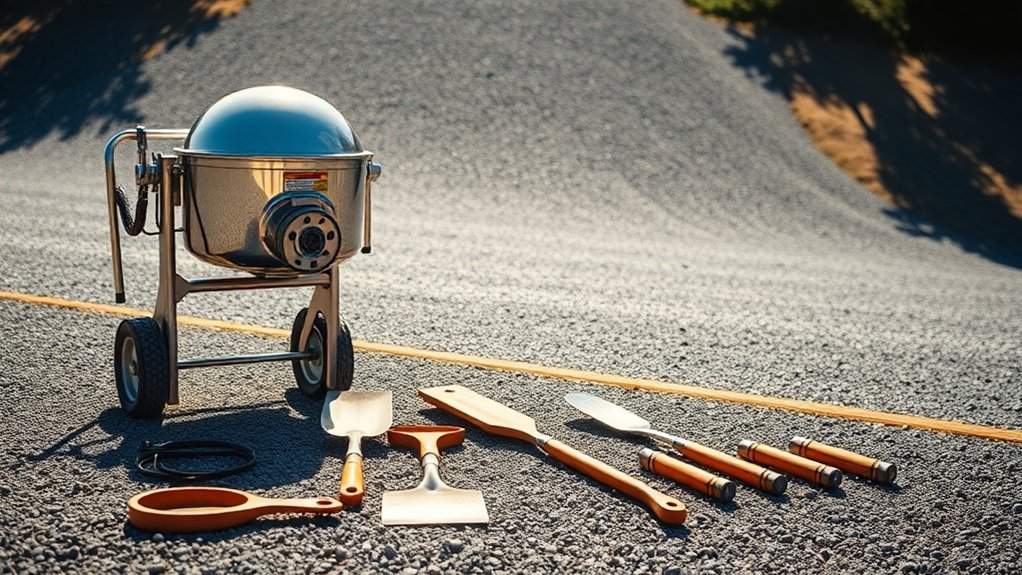
Forced-action mixers are essential for installing resin-bound gravel properly. These machines use rotating paddles to thoroughly blend materials, preventing dry spots and uneven resin distribution. Unlike traditional cement mixers, their fixed drum design offers better mixing efficiency. A quality mix typically takes about five minutes after adding resin, delivering consistent results throughout the job. The Baron F120 and similar models are favoured by UK contractors for their reliable motors and generous capacity. Getting the mixing right helps maintain colour consistency between batches – crucial for a professional finish. Additionally, the use of heavy-duty steel blades in these mixers ensures durability and effective mixing performance over time. Proper mixing is important because it allows for the optimal resin ratio that enhances durability.
To keep your mixer in top condition, clean it thoroughly after each use. This simple maintenance step saves time and money in the long run, whilst ensuring reliable performance for future projects.
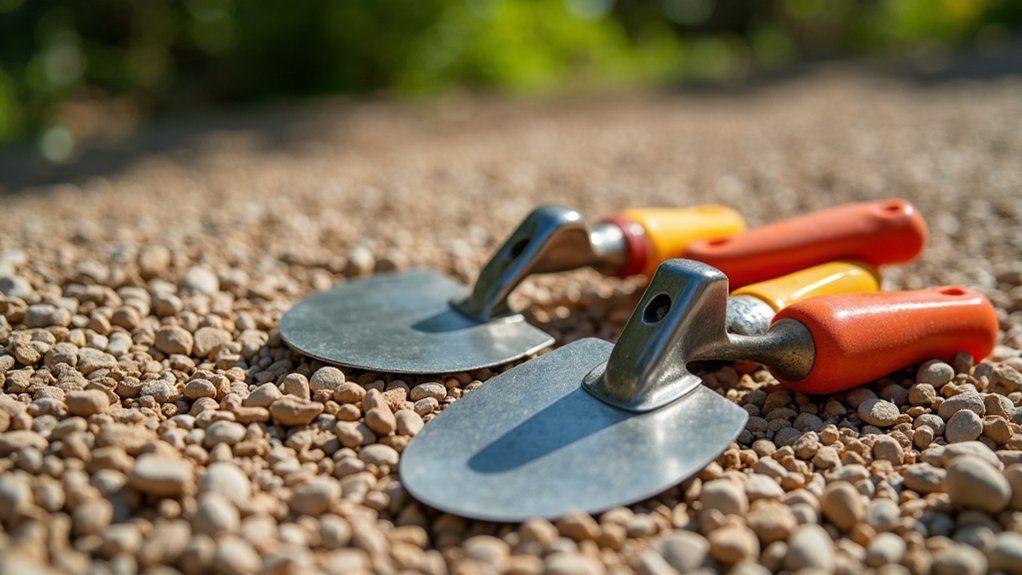
Hand Leveling Tools
Hand levelling tools are crucial for perfect resin-bound gravel surfaces, particularly on slopes. The Ragni 18″ flooring trowel stands out as a reliable choice, with its user-friendly design that reduces hand strain during long jobs. Wooden lutes and hand-held grade rakes spread aggregates evenly, whilst spazzle tools are brilliant for filling gaps and smoothing surfaces. Lightweight tools with flexible blades work best for tricky edges and contours. Additionally, proper substrate preparation is essential for the longevity and durability of the installation. To keep your tools in top condition, clean them regularly with solvent to prevent resin build-up. The right tools make all the difference between a mediocre and professional finish on sloped surfaces, ensuring a seamless finish that enhances the overall aesthetic appeal.
Power Floats

Power floats are essential tools for achieving smooth, compact resin-bound gravel surfaces. Regular maintenance is vital – clean the blades and surfaces after each use to stop resin from building up. A well-maintained float ensures better results and lasts longer, giving you that professional finish every time. The introduction of mechanical floats has significantly improved the quality of installations, enhancing both efficiency and worker satisfaction on site. Proper base preparation is crucial prior to using power floats to ensure optimal adhesion and durability of the resin-bound surface.
Smoothing and Compaction Benefits
Power floats play a vital role in resin-bound gravel installation, particularly for achieving smooth, even surfaces. These tools effectively remove bumps and ridges, creating a uniform finish that looks professional.
When working on slopes, they’re especially useful for maintaining consistent thickness throughout the surface.
The compaction process presses the loose stones together firmly, which strengthens the overall structure and reduces gaps. This creates a more durable surface that won’t easily dip or crack – much like properly tamped soil in a garden bed.
The finished surface also drains water effectively and provides good grip underfoot, making it practical for both flat areas and gentle inclines.
For best results on UK driveways and paths, where rain is a common concern, proper smoothing and compaction are essential for long-term performance.
Maintenance and Cleaning Tips
Keeping resin-bound gravel in top shape requires regular upkeep. Sweep away loose debris often and give the surface a good pressure wash every 3-6 months to prevent wear.
Sort out any spills straight away to avoid staining, and apply a fresh coat of sealant yearly.
For power floats, stick to mild cleaning products and proper tool cleaners to keep the blades working well.
Give the grinding head a regular dose of USDA-approved grease and check for any signs of wear.
These simple steps will help maintain your resin-bound gravel’s smart appearance and ensure it stays durable for years to come.
Tool Cleaning Sprayers
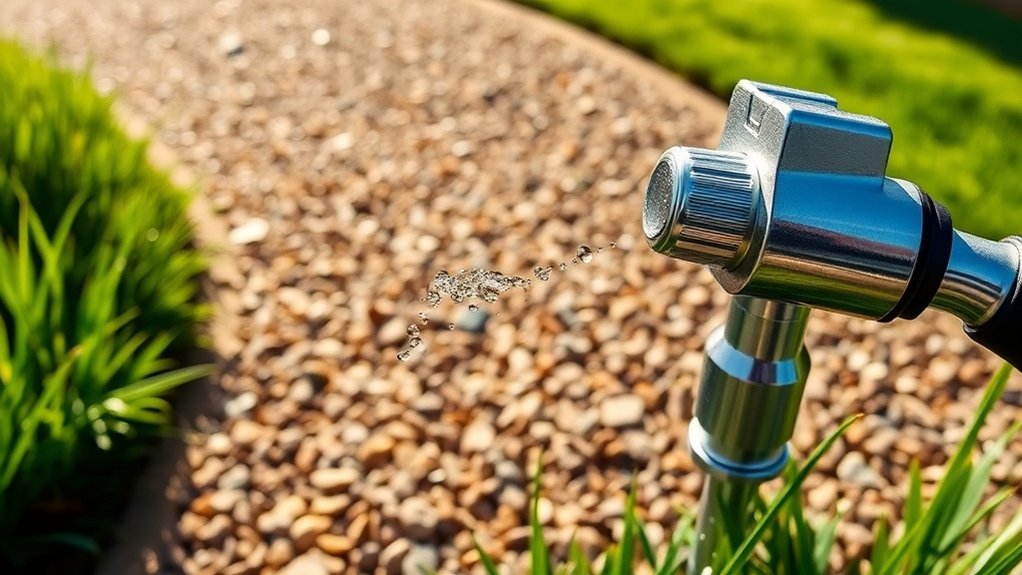
Tool Cleaning Sprayers
Selecting proper cleaning sprayers is vital for resin-bound gravel installation to maintain equipment and ensure smooth operations. The right sprayer can make the cleaning process significantly more efficient.
| Sprayer Type | Best Use |
|---|---|
| Pressure Washer | High-pressure cleaning of tools and surfaces |
| Household Spray Bottle | Light, periodic cleaning during installation |
| Solvent Sprayer | Removing uncured resin from tools |
| Pump Sprayer | Even application of cleaning agents |
Quick cleaning prevents resin from setting hard – much like washing paint brushes straight after use. Each sprayer type has its specific role, from the household spray bottle for quick clean-ups to the more robust pressure washer for thorough end-of-day cleaning.
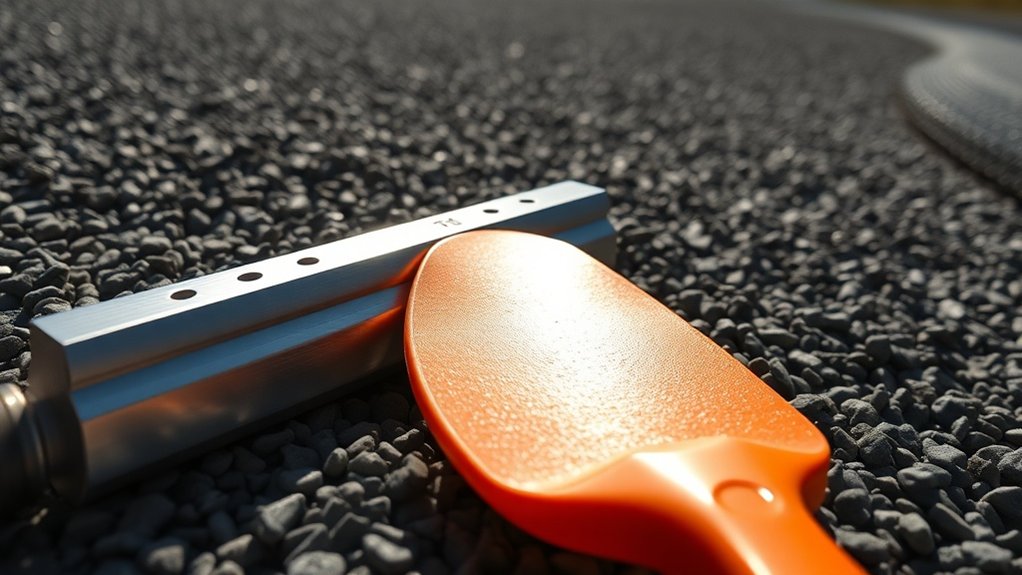
Depth Gauges

Depth gauges are vital for proper resin-bound gravel installation, particularly on slopes where exact measurements matter. Fixed-depth rakes and adjustable gauges ensure the right thickness throughout, which is crucial for a quality finish.
Maintaining consistent depth prevents weak spots and boosts durability, especially on sloped areas. Regular checks help keep the correct resin-to-aggregate mix, improving grip and bonding strength. For best results on slopes, start measuring from the bottom and work upwards.
Use gauges alongside levelling tools for an even surface. Keep your gauges well-calibrated and clean after each use – this ensures accuracy and makes them last longer.
Moisture Meters
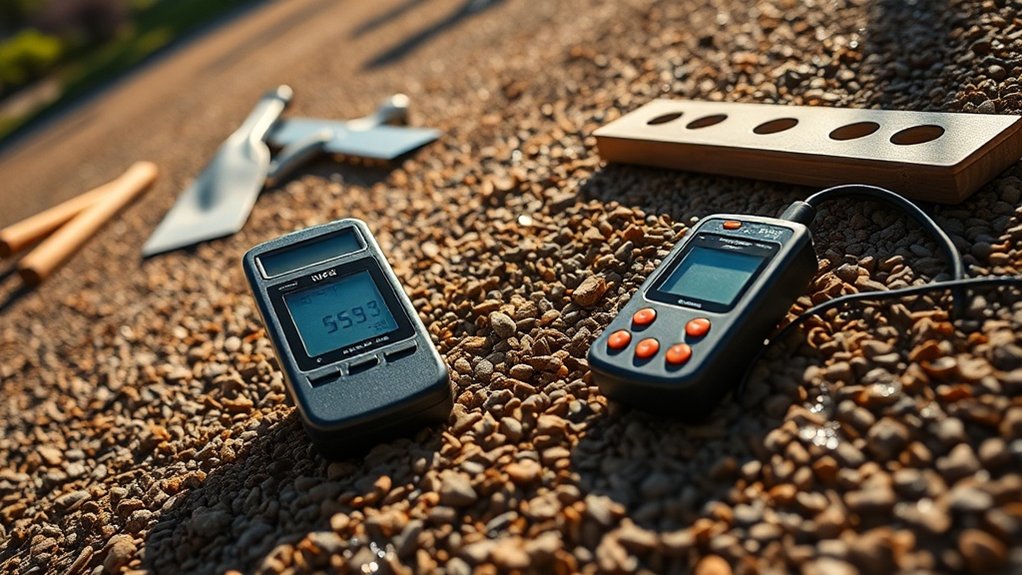
Proper moisture levels are vital when laying resin-bound gravel, particularly on slopes. A moisture meter is a must-have tool to check both surface and base moisture before the resin cures.
Keep moisture below 80% to ensure proper bonding and normal curing times. You can use either pin-type or pinless moisture meters – both work well for getting accurate readings.
Before you mix your resin, take several measurements across the slope to spot any damp patches. This helps prevent problems later and lets you sort out drainage issues early on.
Regular moisture checks are the key to a long-lasting installation.
Surface Temperature Monitors
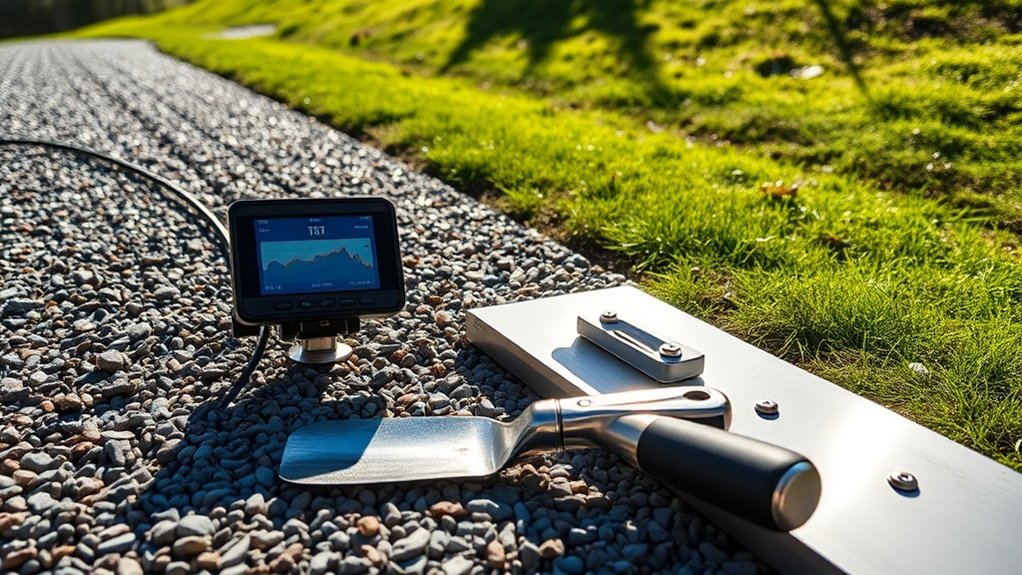
Surface temperature monitoring is vital when laying resin-bound gravel.
The ideal temperature sits between 5°C and 30°C – typical UK weather conditions for most of the year.
Too hot or cold, and you’ll risk poor bonding and patchy curing.
A reliable surface temperature monitor helps ensure your materials set properly, leading to a solid, long-lasting finish that won’t crack or peel in British weather.
Importance of Temperature Monitoring
Monitoring surface temperatures is crucial when installing resin-bound gravel. Taking accurate readings helps control the curing process and ensures even results across the surface.
Without proper temperature checks, you risk the resin setting too quickly in hot weather or taking too long to cure in cold conditions. This is particularly important when working on slopes, where uneven curing can cause the resin to run and create patchy areas.
By keeping an eye on temperatures throughout installation, you can adapt your work accordingly – perhaps working faster on hot summer days or pausing during particularly cold spells.
Think of it like baking: you wouldn’t put a cake in an oven without checking the temperature first. Good temperature monitoring is the difference between a solid, lasting finish and a surface that might develop problems down the line.
Ideal Temperature Range
Ideal Temperature for Resin-Bound Gravel
Getting the right temperature between 5°C and 25°C is crucial when laying resin-bound gravel. Think of it like baking – too hot or too cold, and things go wrong.
These temperature rules matter:
- Curing Speed: Above 25°C, the resin sets too quickly, much like concrete on a hot summer day, leaving bumpy surfaces.
- Softness Issues: Below 5°C, the resin stays soft, rather like paint that won’t dry properly, making it prone to water damage.
- Viscosity Problems: Hot weather can loosen the stones, similar to how tarmac softens on scorching days.
- Durability: The right temperature ensures your driveway or path stays smart and sturdy for years.
Using a surface thermometer keeps you on track – it’s as essential as checking your oven temperature when cooking.
Chalk or Marker Paint Grids
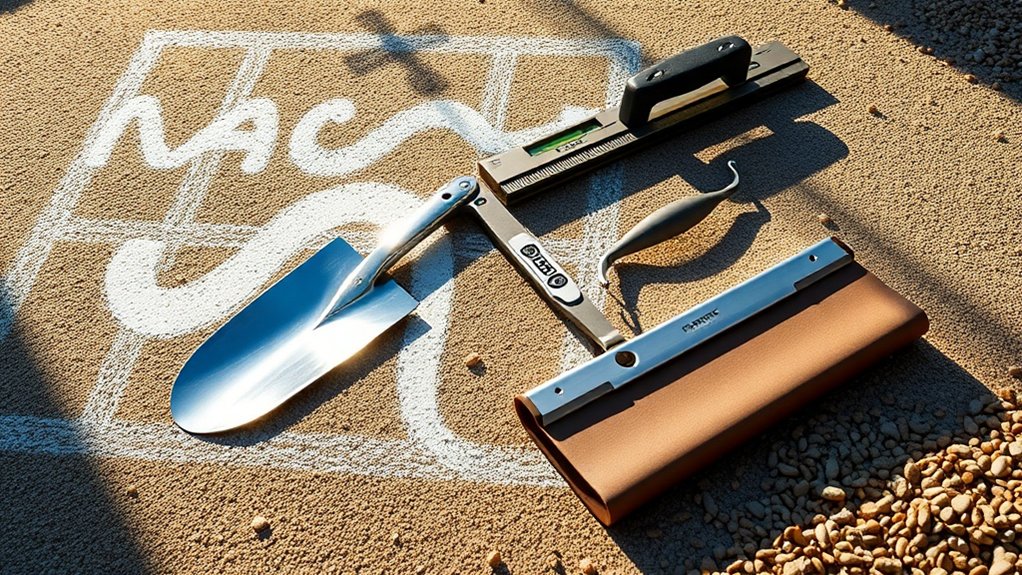
Chalk and marker paint grids play a vital role in resin-bound gravel installation across the UK.
Mark your work area into 1m² sections for standard surfaces, or 0.8m² grids for driveways. These measurements ensure proper coverage and help maintain even resin thickness, particularly on slopes.
Simply use chalk lines or liquid marker paint to create temporary guidelines – they’ll wash away naturally after the job’s done.
When working on slopes, always start from the bottom and work upwards for better control and safety.
The grid system might seem like extra work, but it’s worth the effort.
You’ll get more consistent results, work more efficiently and end up with a professional finish every time.
Geotextile Membranes
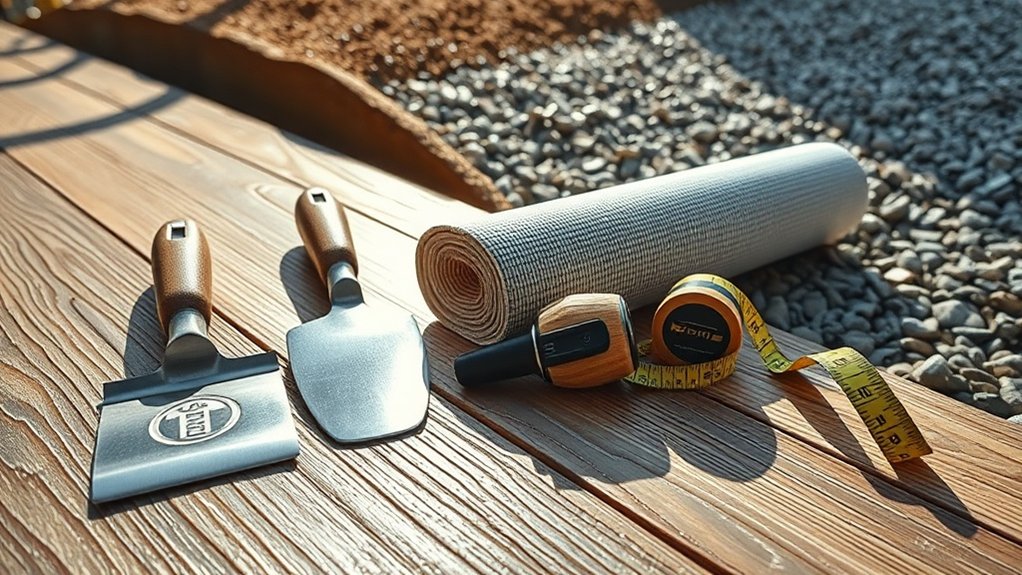
Geotextile membranes play a vital role beneath resin-bound gravel surfaces.
These tough fabric layers keep the soil and gravel separate whilst allowing water to drain through naturally. They’re particularly useful on slopes, where they prevent soil erosion and maintain surface stability.
Think of them as a protective filter – much like a coffee filter that lets water pass but holds back the grounds.
Installing these membranes reduces future maintenance needs and helps your gravel surface last longer.
Enhanced Ground Stability
Geotextile membranes are crucial for ground stability, especially on slopes. These materials create a reliable foundation for resin-bound gravel installations through several key methods:
- Soil Layer Separation: Keeps different soil types from mixing, maintaining the slope’s structure.
- Load Distribution: Strengthens weak or unstable ground, particularly useful on steeper gradients.
- Water Filtration: Ensures proper drainage whilst keeping soil in place.
- Physical Barriers: Blocks unwanted material movement and reduces water seepage.
A properly installed geotextile membrane significantly extends the life of sloped areas and supports healthy plant growth.
Think of it as a protective sheet that works beneath the surface to keep everything stable and in place – much like a good foundation keeps a house standing firm.
Erosion Prevention Methods
Resin-bound gravel surfaces benefit greatly from proper erosion control, with geotextile membranes being a key solution.
These tough synthetic sheets, typically made from polypropylene or polyethylene, work brilliantly for stabilising slopes. Think of them as a protective blanket that stops soil washing away during Britain’s frequent rainy spells.
The clever bit about geotextiles is that they let water drain through whilst trapping soil particles – much like a coffee filter.
For best results, the membrane must sit snugly against the slope. Adding a layer of mulch on top helps encourage grass and plants to grow, which further protects against erosion.
When properly installed, these membranes significantly extend the life of resin-bound gravel paths and driveways on slopes, making them a worthwhile investment for any UK property.
Drainage Improvement Solutions
Geotextile Membranes for Better Drainage
Proper drainage in resin-bound gravel needs geotextile membranes to filter out debris and prevent blockages in your drainage system. These tough fabric-like sheets work brilliantly at keeping water flowing whilst protecting the ground beneath:
- Stops blockages: Traps soil and leaves before they clog up drainage
- Keeps layers separate: Prevents soil mixing and maintains clear drainage channels
- Controls water flow: Spreads water sideways rather than letting it pool
- Guards against damage: Protects lower layers to keep the system working properly
Adding geotextile membranes to your resin-bound gravel ensures reliable drainage and maintains ground stability – crucial for a lasting installation that won’t waterlog or sink.
Ground Reinforcement Grids
Ground reinforcement grids are crucial for installing resin-bound gravel surfaces properly.
Systems like X-Grid offer key benefits: quick installation and excellent water drainage.
For proper installation, start with a solid foundation of compacted MOT Type 1 or 3 aggregate. Lay a non-woven geotextile membrane on top to stop soil mixing, then bed the grids on sharp sand. Fill with angular stone to create a robust surface that handles heavy vehicles and foot traffic.
The grid’s perforated design helps rainwater drain freely, which prevents water pooling and reduces erosion on slopes.
These grids keep gravel firmly in place and extend the surface life, making them ideal for domestic driveways, car parks and pathways.
Protective Gear and Safety Equipment
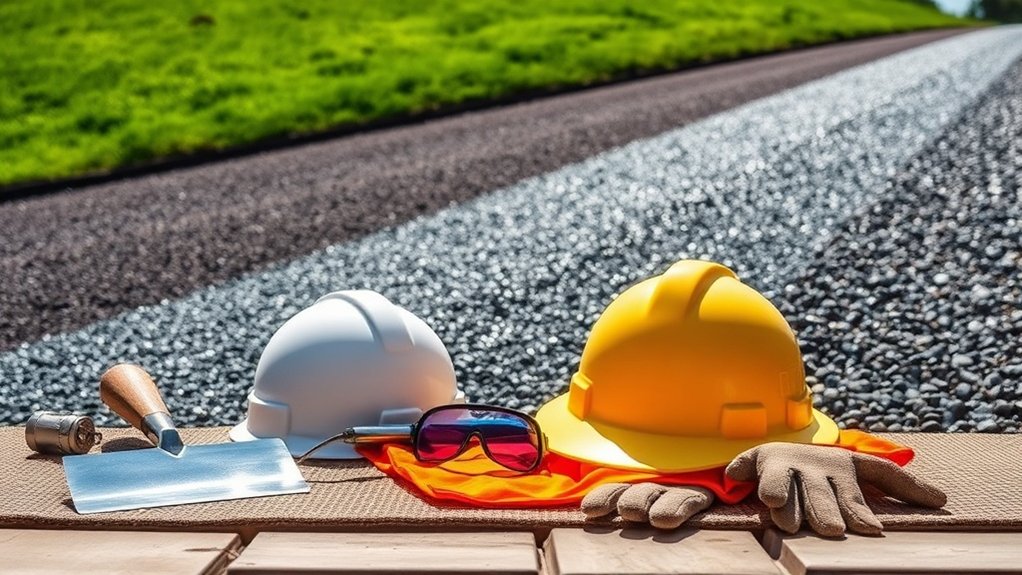
Essential Safety Gear for Resin-Bound Gravel Work
Proper protective equipment prevents accidents and injury whilst working with resin-bound materials. Think of it as your basic toolkit for staying safe on the job:
- Protective Gloves: Chemical-resistant gloves stop resin from touching your skin – the type you’d use for handling strong cleaning products.
- Eye Protection: Safety goggles or face shields guard against splashes. Standard reading glasses won’t do – proper safety eyewear is essential.
- Slip-Resistant Footwear: Strong boots with good grip, like those worn on building sites. They’ll keep you steady on slopes and protect your feet.
- Protective Clothing: Long sleeves and tough trousers shield your body from resin and sharp stones. Old clothes won’t suffice – proper workwear is needed.
Frequently Asked Questions
What Are the Best Types of Gravel for Resin-Bound Surfaces?
Quality resin-bound surfaces work best with gravel sizes between 1-3mm and 2-5mm. These sizes create the perfect balance – smaller stones fill gaps whilst larger pieces provide stability. Think of it like making a proper British cuppa: you need the right blend to get the best results. The combination ensures thorough resin coating and delivers a surface that’s both hard-wearing and aesthetically pleasing.
How Long Does Resin Take to Cure Fully After Installation?
Resin takes roughly 24 to 36 hours to fully cure, depending on the type used and weather conditions. Best to avoid walking or placing furniture on the surface during this time to ensure proper hardening – rather like waiting for paint to dry, but with more serious consequences if rushed. Keep vehicles off resin driveways and heavy items away from resin floors until fully set.
Can Resin-Bound Gravel Be Installed in Wet Conditions?
Resin-bound gravel cannot be installed in wet conditions. The presence of moisture interferes with the resin’s bonding process, resulting in a weakened surface that won’t stand the test of time. Think of it like trying to stick a plaster on wet skin – it simply won’t adhere properly. For best results, installation should occur on a dry day with a properly prepared, moisture-free surface.
How Do I Maintain Resin-Bound Gravel Surfaces Over Time?
Regular sweeping and gentle pressure washing keep resin-bound gravel surfaces in top condition. Tackle moss and weeds promptly with a specialist cleaner, and use a stiff brush (not wire) to remove stubborn dirt. For oil spills, apply a degreaser straight away and blot rather than scrub. In winter, avoid metal shovels for snow clearance – opt for plastic ones or rock salt instead. Should any loose stones appear, contact your original installer, as repairs need specific resin-bound materials to match properly.
What Are the Common Issues With Resin-Bound Gravel Installations?
Common snags with resin-bound gravel include dodgy drainage, poor bonding from incorrect mixing ratios, and rushed curing times. Without proper attention to detail, you’ll end up with unsightly patches and potential cracking – rather like a badly-laid patio. Getting it right means following proper installation methods to ensure your surface stays smart and serviceable.
Conclusion
Essential tools for installing resin-bound gravel on slopes include forced-action mixers, which ensure proper blending of materials, and hand levelling tools for achieving an even finish. You’ll need protective equipment like safety goggles, gloves and steel-toe boots for safe installation. Reinforcement materials such as steel mesh or geo-textiles are crucial for slope stability. A spirit level and straight edge help maintain consistent gradients, whilst trowels and floats are vital for smooth application. Strong waterproof barriers and proper drainage tools prevent water damage on sloped surfaces.