Resin-bound gravel installation in commercial spaces requires proper planning and attention to detail. Start with thorough surface prep – clean the area, fix any cracks and prime the surface. A solid foundation is crucial, so dig to the proper depth and lay MOT Type 1 aggregate for the sub-base. Weather plays a vital role; aim to install when temperatures sit between 5°C and 25°C for optimal results – think typical British spring or autumn conditions. Keep the surface in top shape through regular sweeping, pressure washing when needed, and prompt weed removal. Much like maintaining a garden path, consistent upkeep ensures lasting results.
Key Takeaways
Essential Steps for Resin-Bound Gravel in Commercial Areas:
- Check the site thoroughly – look for vegetation, debris and any services beneath the surface. Ring your local council if unsure about underground utilities.
- Sort the groundwork first – clean the area properly, fix any cracks or damage, and use a decent primer. This helps the resin stick better and last longer.
- Watch the weather – aim to lay when it’s between 5°C and 25°C. British weather can be tricky, so keep an eye on the forecast and avoid rainy days.
- Stay on top of maintenance – sweep regularly, check for wear and tear, and tackle any issues quickly. A well-maintained surface could last 15-20 years.
- Get local know-how – speak with area specialists about soil conditions and drainage requirements. Different councils have different rules, particularly for commercial spaces.
Importance of Surface Preparation
Surface preparation is crucial when installing resin-bound gravel. Before starting, thoroughly clean the surface to remove all dirt, dust and moss – these can weaken the bond between resin and ground. Give it a good pressure wash or sweep, and check for any oil marks or chemical spills that might affect how the resin sets.
Sort out any damaged areas like cracks or holes using suitable repair materials – think of it like fixing a wobbly table before putting anything on top. A proper primer is essential; it seals the surface and helps everything stick together properly. Additionally, ensuring proper sub-base preparation creates a solid foundation that distributes weight evenly, preventing dips over time. Ensure sufficient slope for water drainage to avoid puddles and prolong the life of the surface. Wait until it’s completely dry before moving forward.
Much like painting a wall, the prep work might seem tedious, but it’s what makes the difference between a job that lasts and one that fails. Proper preparation will save you headaches down the line and ensure your resin-bound surface stays solid for years to come.
Groundwork and Base Layer Essentials
Sound groundwork is vital for any resin-bound gravel surface. Start by digging out the area to the right depth – typically 150mm for driveways or 100mm for paths and patios.
The sub-base, usually MOT Type 1 aggregate, must be properly compacted in layers using a vibrating plate. For best drainage, ensure a slight gradient away from buildings (about 1:60). The choice of sub-base significantly impacts the durability and performance of the resin-bound surface, as a clean and stable foundation is critical for successful installation.
Think of the sub-base as the foundation of a house – skimp here, and you’ll face problems later. Pack it down firmly until it’s solid underfoot, with no wobble or give. A permeable membrane beneath helps prevent weeds and adds stability.
Most failures in resin surfaces stem from poor groundwork, so take time to get this right. If you’re unsure about ground conditions or drainage requirements, it’s worth consulting a local expert familiar with British soil types and weather conditions, as they can offer insights on compliance with local regulations that affect your project.
Site Excavation Requirements
Proper site excavation is vital for a quality resin-bound gravel surface.
Start with a thorough site check for plants, rubbish and services beneath the ground. Dig out all plant matter and soil to 150-200mm depth to create a solid base – this stops the surface from sinking or cracking later. Additionally, consider that resin bound paving is favored for its permeable qualities and durability, which can enhance your installation’s longevity. Ensuring a proper sub-base preparation is critical for preventing future issues and extending the lifespan of your driveway.
Lay a geotextile membrane to keep soil and base materials separate. For areas that will see lots of vehicles or foot traffic, add ground reinforcement grids for extra strength.
Ensure the ground slopes slightly to help water drain away properly – standing water can damage your resin surface over time.
These basic steps might seem like extra work, but they’re essential for a long-lasting, crack-free finish that will serve you well for years to come.
Sub-base Installation Techniques
A solid sub-base is crucial for any resin-bound gravel project. Start with either a 100mm concrete slab or 150mm of well-compacted MOT Type 1 stone. For permeable surfaces, use AC14 open-graded tarmac at least 70mm thick.
Before laying materials, thoroughly compact the existing soil to prevent future settlement. The key is proper compaction at each stage – rushing this step often leads to problems like cracking or dips later on.
For extra stability, particularly in high-traffic areas, consider adding specialised resin-bound base courses or polypropylene grid systems. These improve both drainage and load-bearing capacity, making them ideal for car parks or busy paths.
These foundations might seem excessive, but they’re essential for a long-lasting surface that won’t need costly repairs down the line.
Mixing Resin and Aggregate for Optimal Results

Mixing Resin and Aggregate: Key Points
Getting the best results from resin and aggregate mixing boils down to proper ratios and technique. Essential steps:
- Mind Your Ratios: Stick to 60% resin and 40% aggregate – this mix works brilliantly for most British weather conditions and ensures proper coverage.
- Choose Your Stones: Mix small (1-3mm) and medium (2-5mm) aggregates. Think of it like making concrete – you want a good blend for the strongest finish.
- Mix Like a Pro: Pop in half your stones first, pour in the resin, then add the rest. Much like making a proper cake mix, it’s all about the right order.
- Keep Track: Use a proper forced action mixer (not your garden variety cement mixer) and time yourself.
Five minutes should do the trick – any longer risks the mix going off, especially on warm days.
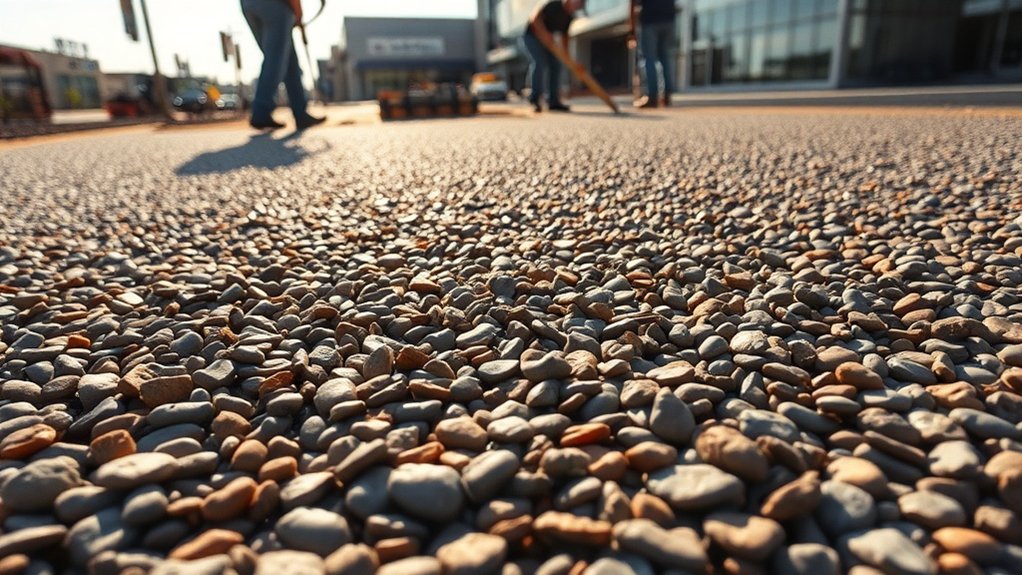
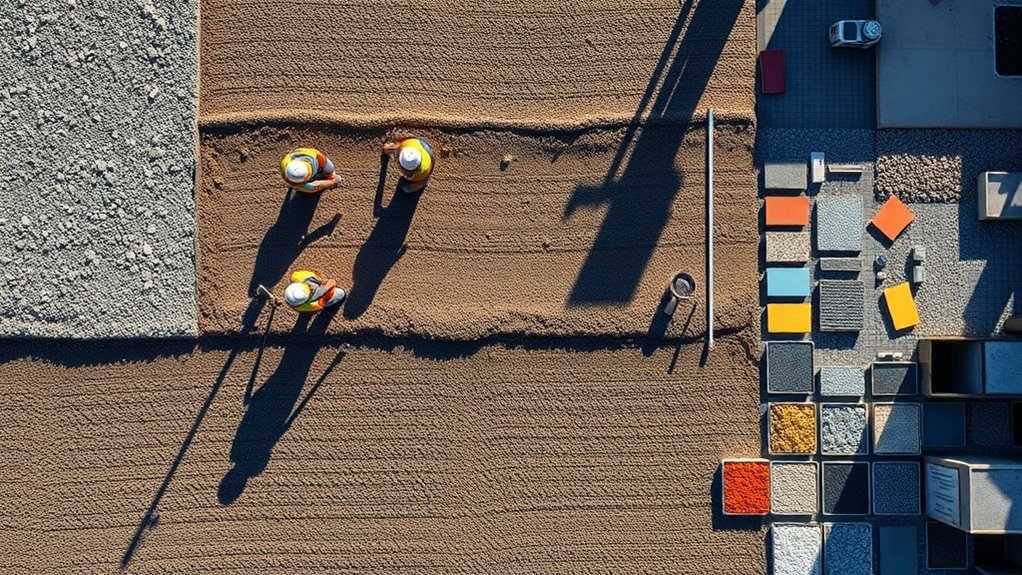
Effective Application Techniques
Effective application of resin-bound gravel starts with a spotlessly clean surface – there’s no room for shortcuts here.
Mix your resin and aggregate in a forced-action mixer until perfectly blended. Split your working area into manageable sections using chalk lines or string; you’ll have roughly 10-15 minutes before the mix starts to cure.
For the best finish, use a power float fitted with specialised blades. These tools level the surface without damaging the stones – quite important when you’re aiming for that professional look.
Choose your float weight carefully based on the weather and site conditions. Work methodically across each section to keep the thickness spot-on.
Keep a close eye on quality throughout. A proper installation should have even resin coverage and a consistent finish.
Get these basics right, and you’ll end up with a surface that’s both attractive and built to last.
Weather Considerations for Successful Installation
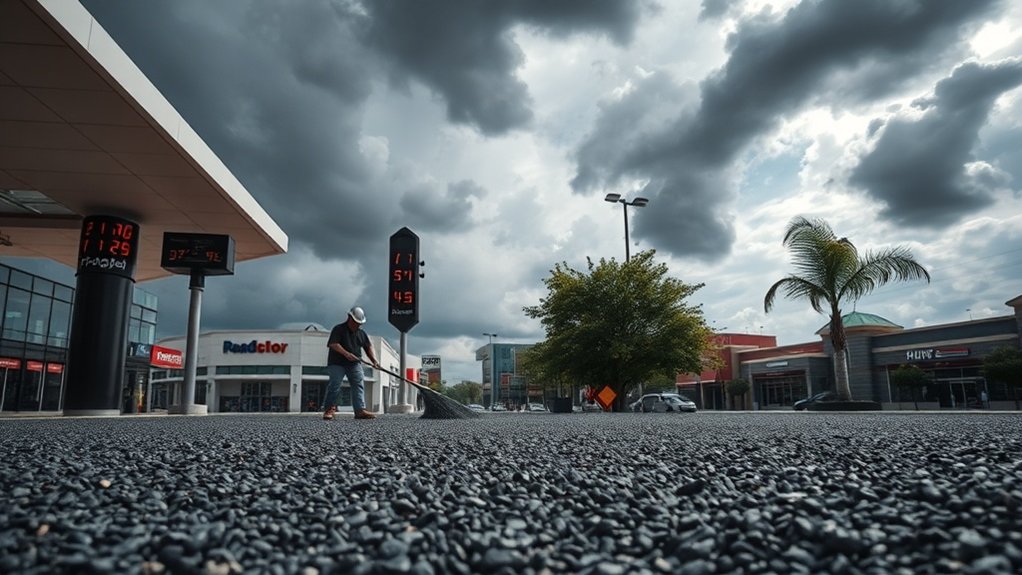
Resin-bound gravel installation demands the right weather conditions.
Work in temperatures between 5°C and 25°C to ensure proper bonding – think typical British spring or autumn days.
Your surface needs to stay dry for at least 24 hours before laying and up to 48 hours afterwards, so check the forecast carefully.
A rainy day or scorching summer afternoon could ruin your entire installation.
Ideal Temperature Range
Ideal Temperature Range for Resin-Bound Gravel
The sweet spot for resin-bound gravel installation sits between 5°C and 25°C – typical British weather conditions for most of the year.
Think of it like baking: too hot or too cold, and you’ll run into problems.
Working in temperatures above 25°C speeds up the curing process drastically – much like trying to ice a cake in direct sunlight. The resin sets too quickly, potentially leaving you with an uneven surface.
Cold weather below 5°C poses its own challenges. The resin becomes stubborn, taking ages to set properly – similar to attempting to spread cold butter on bread.
This slow curing leaves the surface vulnerable to moisture damage.
UV-stable resins offer more flexibility, managing temperatures up to 30°C, though you’ll still need to work quickly on hot summer days.
Steady temperature throughout installation is crucial.
Just as you wouldn’t open the oven door mid-bake, maintaining consistent conditions ensures your resin surface cures evenly and lasts longer.
Impact of Rainfall
Rainfall has a major impact on resin-bound gravel installation and shouldn’t be taken lightly. Rain will stop the resin from bonding properly to the surface, much like trying to stick tape to a wet wall.
To avoid problems, check the weather forecast and ensure there’s been at least 24 hours of dry weather before you start. Use a hygrometer to check surface moisture, and don’t begin work if it’s less than 3°C above the dew point.
If it starts raining unexpectedly, cover the area with tarpaulins as a last resort. Finishing edges cleanly means you can pause work without damaging what you’ve already done, ensuring a proper job when the weather improves.
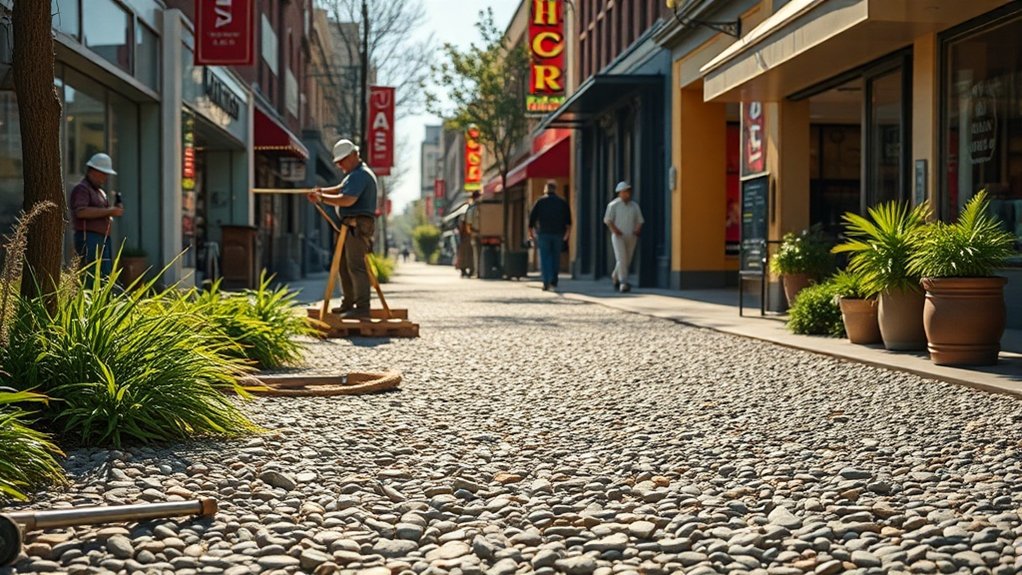
Maintenance Strategies for Longevity in Commercial Areas
Maintaining Resin-Bound Gravel in Commercial Spaces
Four essential maintenance strategies ensure lasting performance:
1. Routine Cleaning: Give surfaces a regular sweep to clear leaves and litter.
A monthly wash with gentle soap keeps the surface looking fresh and prevents ground-in dirt.
Think of it like maintaining a shop floor – little and often works best.
2. Stain Control: Deal with spills straight away, whether it’s coffee outside a café or oil in a car park.
Use suitable cleaning products – avoid bleach or harsh chemicals that’ll damage the surface.
3. Weed Management: Apply weedkiller seasonally and pull out any stubborn weeds by hand.
A quick monthly check stops weeds from taking hold and damaging the surface structure.
4. Preventive Inspections: Check surfaces monthly for cracks or loose spots, particularly in high-traffic areas like entrances.
Sort small issues quickly – it’s far cheaper than major repairs later.
Frequently Asked Questions
What Types of Aggregates Are Best for Resin-Bound Gravel?
Quality decorative aggregates, such as granite or quartz, work best for resin-bound gravel driveways and paths. Ensure proper drainage by selecting permeable materials that let rainwater soak through naturally. A balanced mixture of aggregate sizes provides both an attractive finish and practical durability – rather like choosing the right stones for a garden path. When selecting your aggregate, opt for angular stones over rounded ones, as they bond better with the resin.
How Long Does Resin-Bound Gravel Typically Last?
Resin-bound gravel typically lasts 20-30 years when properly maintained. Similar to a well-built patio or driveway, its durability depends on the quality of materials used and installation. The surface remains stable and weather-resistant throughout British seasons, from summer heat to winter frost, making it a practical long-term investment for UK homes.
Can Resin-Bound Surfaces Be Installed Over Existing Pavements?
Yes, resin-bound surfaces can be laid over existing pavements, provided the base is solid and stable. The existing surface must be properly cleaned and primed beforehand – much like preparing a wall before painting. This method is particularly popular for upgrading dated driveways and patios across the UK without the hassle of removing old concrete or tarmac.
Is DIY Installation Feasible for Resin-Bound Gravel Projects?
Whilst DIY resin-bound gravel installation might save money, it’s a complex task that demands careful consideration. The process requires precise mixing ratios, specific tools and proper surface preparation – much like laying a perfect concrete foundation. Think carefully about your DIY experience; a botched installation could mean replacing the entire surface, which costs far more than professional fitting. For smaller areas like garden paths, DIY might work, but larger projects like driveways are best left to specialists.
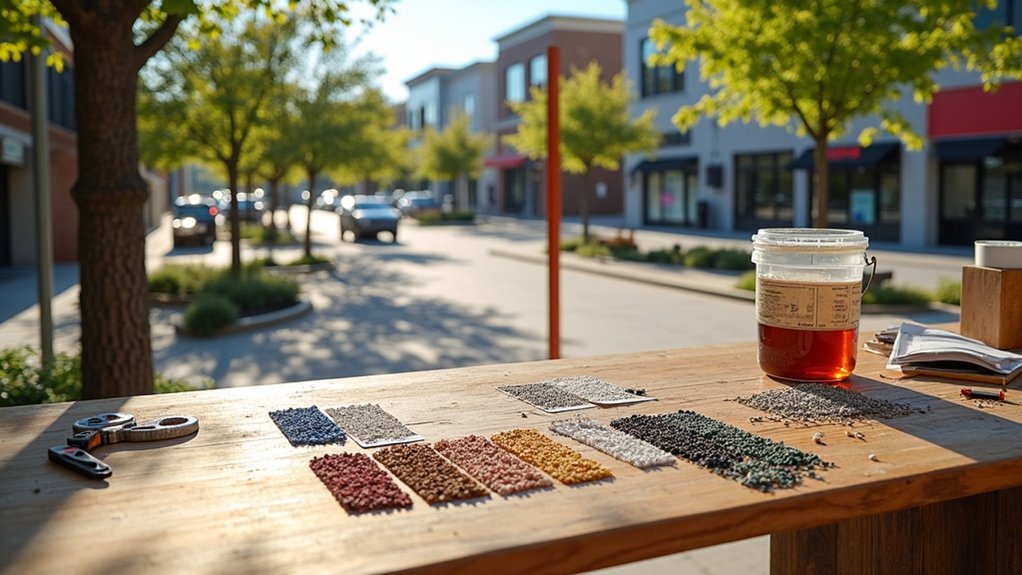
What Are Common Color Options for Resin-Bound Gravel?
Common colours for resin-bound gravel in the UK range from earthy browns and Harvest Gold to classic greys and striking reds. Think of traditional Yorkshire stone tones through to modern slate greys – perfect for driveways and garden paths. These colours work brilliantly with British architecture and garden styles whilst maintaining a practical, low-maintenance finish.
Conclusion
Proper planning is essential for resin-bound gravel installations in commercial areas. Begin with thorough surface preparation and ensure a solid base layer – much like building a house, the foundation is crucial. Mix the materials according to manufacturer specifications and apply evenly across the prepared surface. British weather can be unpredictable, so monitor forecasts and avoid installation during rain or extreme temperatures. Regular maintenance, including periodic sweeping and occasional pressure washing, will keep the surface looking smart. These steps create a hardwearing commercial surface that remains attractive and functional for years.