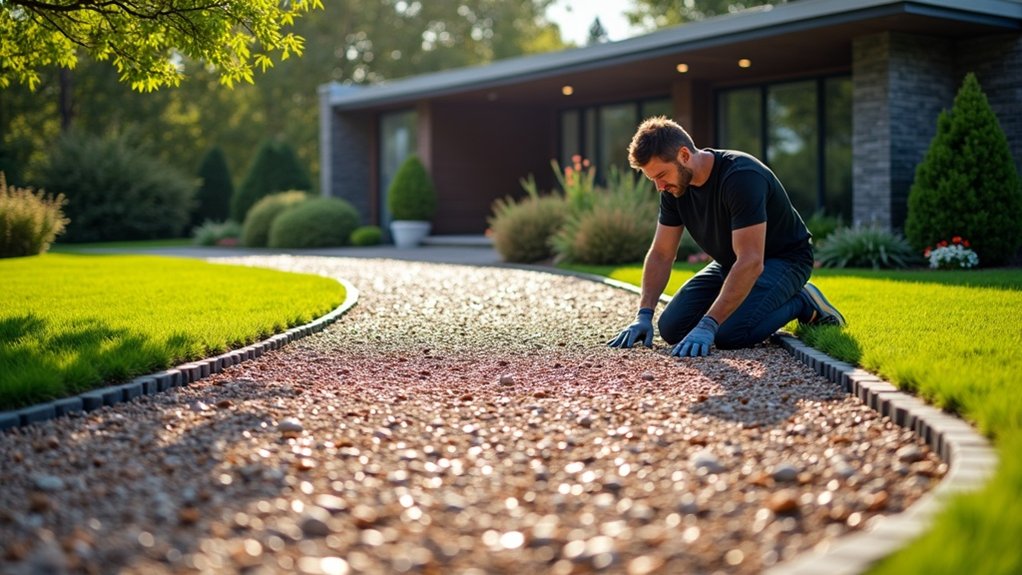
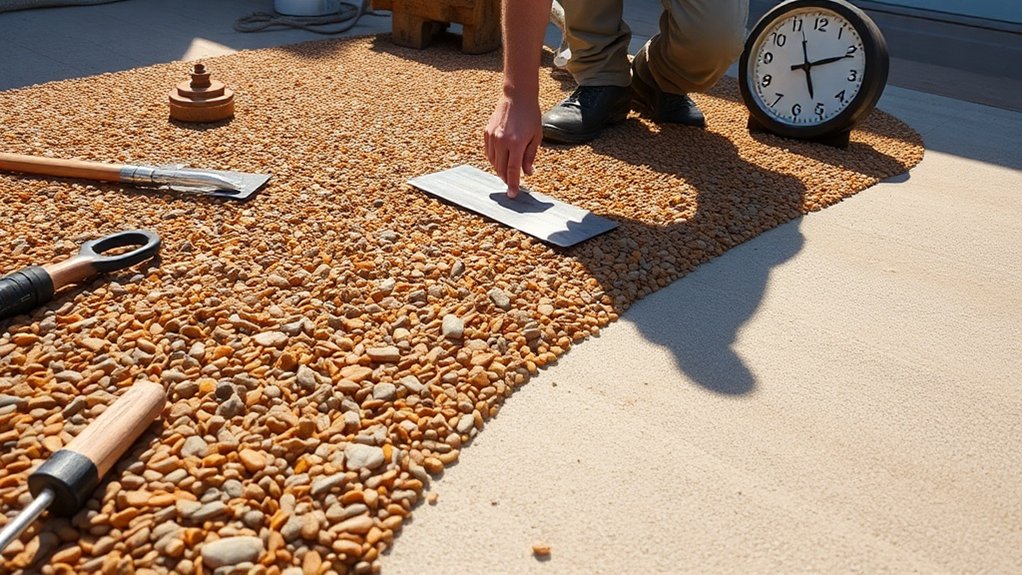
A professional resin-bound gravel installation delivers a pristine finish through proper groundwork and a robust base. The installers ensure a spotlessly clean, dry foundation and mix the resin with aggregates on-site for optimal adhesion. They carefully monitor British weather patterns, working when temperature and moisture levels are just right. The end product is a hardwearing, water-permeable surface built to last. Regular maintenance keeps your driveway or path looking smart – much like caring for a well-manicured garden.
Key Takeaways
Professional Resin-Bound Gravel: What to Expect
- Your installer should thoroughly prep the surface first – cleaning, priming and sorting any dodgy spots to ensure the resin bonds properly.
- The work needs the right weather (not too wet or cold), so a proper installer will plan around suitable conditions for the best results.
- Expect to see careful measuring and mixing of resin with stones – it’s crucial for getting an even, solid finish that’ll last.
- Once finished, you’ll have a smart-looking surface that lets rainwater drain through naturally, meaning less puddles and far less upkeep than traditional gravel.
- Your installer should give you straightforward advice on looking after your new surface – though it’s fairly low-maintenance, knowing the basics helps keep it tip-top.
Understanding the Surface Preparation Process
A proper surface preparation is vital for resin-bound gravel success. Start by checking the surface type and thoroughly clean off any dirt, grime or loose bits. A good power wash or sweep will sort out any pesky moss or algae that might stop the resin from sticking properly.
The surface must be bone dry – any moisture will play havoc with the resin’s curing process. For surfaces like concrete or tarmac that tend to be a bit porous, use a primer to help the resin grip better and keep dampness at bay. Additionally, ensure that the surface is suitable and stable, as this will further enhance the bonding and longevity of the resin. To prevent issues with moisture, ensure a well-prepared sub-base with good drainage is in place before installation.
Sort out any bumps, dips or cracks to create an even surface – think of it like preparing a wall before painting. The surface should be rough enough for the resin to grab onto, but not so uneven that it causes problems.
Getting these basics right means you’ll end up with a solid, lasting finish that won’t give you grief down the line.
Importance of Stable and Clean Base Materials
Clean, stable foundations are vital for resin-bound gravel installation.
Think of it like building a house – you wouldn’t start with wonky foundations. Your base must be properly compacted and free from debris, much like preparing a garden bed before planting. Any loose bits or dirt will weaken the bond between materials, leading to unsightly cracks and dips over time. A thorough clean and solid prep might take extra time, but it’s worth it for a durable finish that’ll last years. Additionally, using AC14 open textured tarmac as the base material enhances the strength and permeability of the installation. A well-measured sub-base ensures SuDS compliance, preventing water pooling and contributing to the longevity of the surface.
Base Stability Importance
A stable base is crucial for any resin-bound gravel surface to last and perform well. To build one properly, start by thoroughly compacting the soil underneath whilst managing moisture levels to prevent future sinking or cracks. Additionally, ensuring the use of appropriate sub-base materials during preparation enhances overall performance and durability.
Layer at least 150mm of MOT Type 3 stone on top of the compacted ground – this helps spread weight evenly across the surface. Choosing sharp, clean stones that lock together naturally rather than smooth or dirty ones can affect both stability and water drainage. Adding a permeable geotextile membrane under the sub-base keeps the layers separate and boosts drainage. This is especially important because a well-chosen sub-base option can significantly influence the overall installation success.
These steps create a solid foundation that can handle heavy use, from cars to foot traffic, without failing.
Think of it like building a house – you wouldn’t skimp on the foundations, and the same applies here. Getting the base right from the start saves costly repairs down the line.
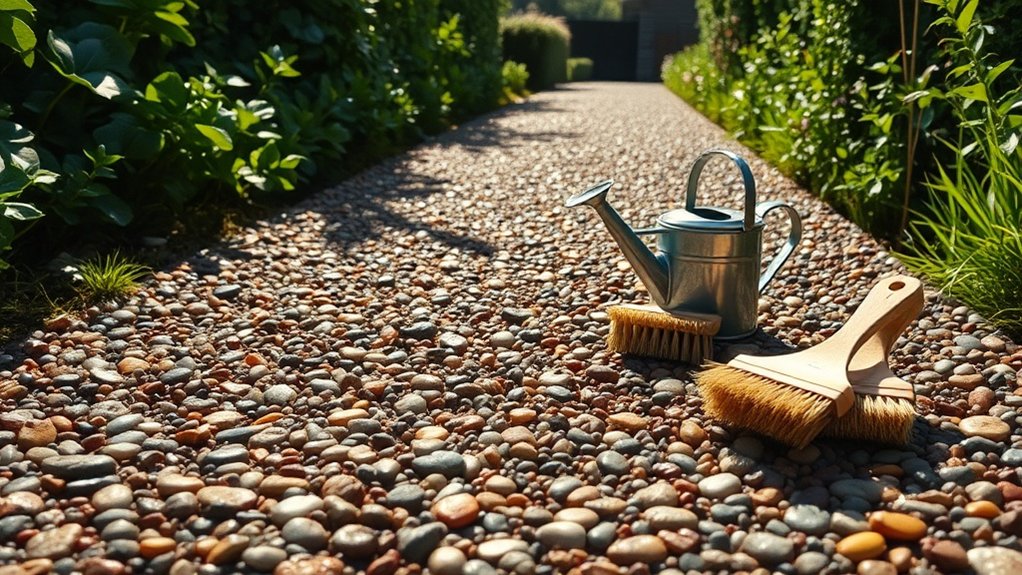
Cleanliness for Adhesion
A clean foundation is essential for proper resin-bound gravel adhesion. Success relies on a spotlessly clean, dry base before laying the resin.
| Key Factors | Importance |
|---|---|
| Surface Cleanliness | Prevents weak bonding |
| Dry Base | Avoids discoloration |
| Even Texture | Guarantees uniform resin spread |
| Stable Surface | Enhances long-term durability |
| Contamination Prevention | Reduces resin defects |
Proper cleaning often requires pressure washing to remove dirt and debris. Think of it like painting a wall – you’d never paint over dust or grime, as it would stop the paint from sticking properly. The same applies here; a thorough clean ensures the resin bonds correctly with the base.
Skip this vital step, and you risk the surface peeling away over time – much like wallpaper that wasn’t applied to a clean wall. For best results, check the base is completely clean and dry before starting work.
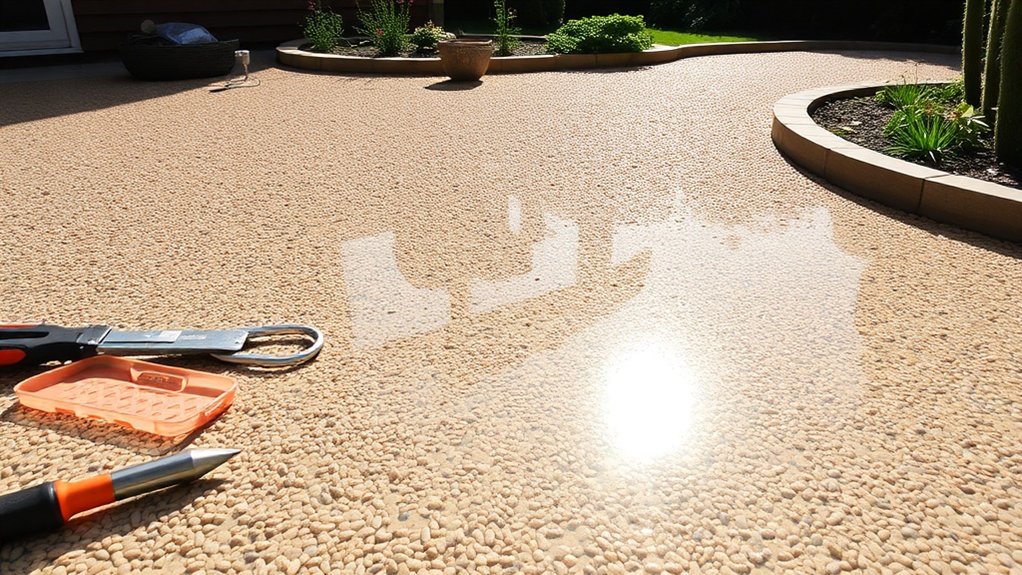
The Role of Resin Mixing in Durability
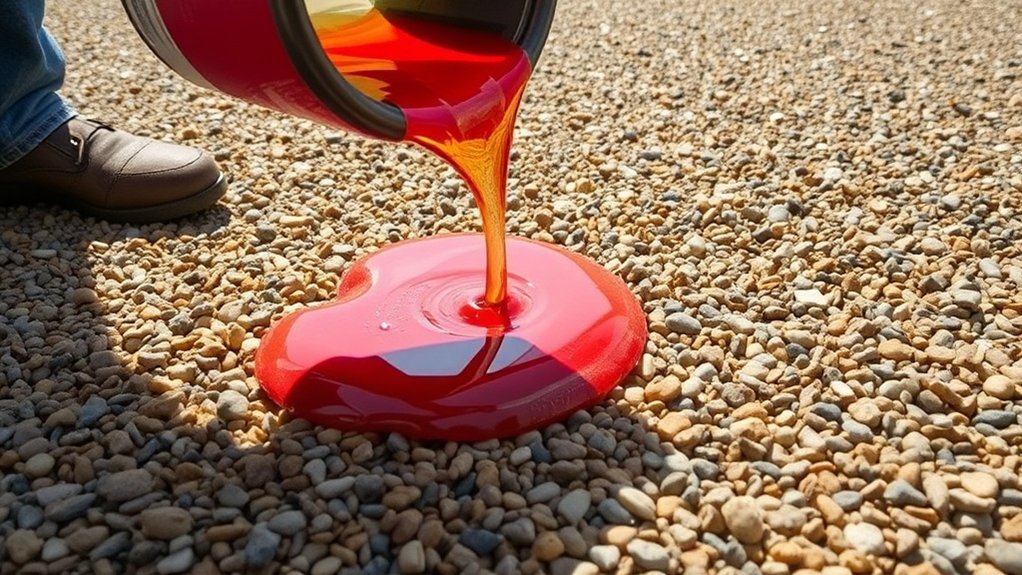
Proper resin mixing is vital for long-lasting gravel surfaces. Getting the mix right ensures the correct balance between resin and aggregate, preventing poor bonding and surface breakage.
UV-stable resins are worth investing in, as they won’t yellow or break down in sunlight – particularly important for British weather conditions.
Always mix the resin just before you lay it, much like mixing cement for concrete. A properly mixed surface can handle everything from car traffic to frost, similar to a well-laid driveway.
When done correctly, you’ll spend less time and money on repairs, and won’t have to deal with loose stones or surface peeling.
Think of it like making a cake – the right mixture at the start means better results in the end.
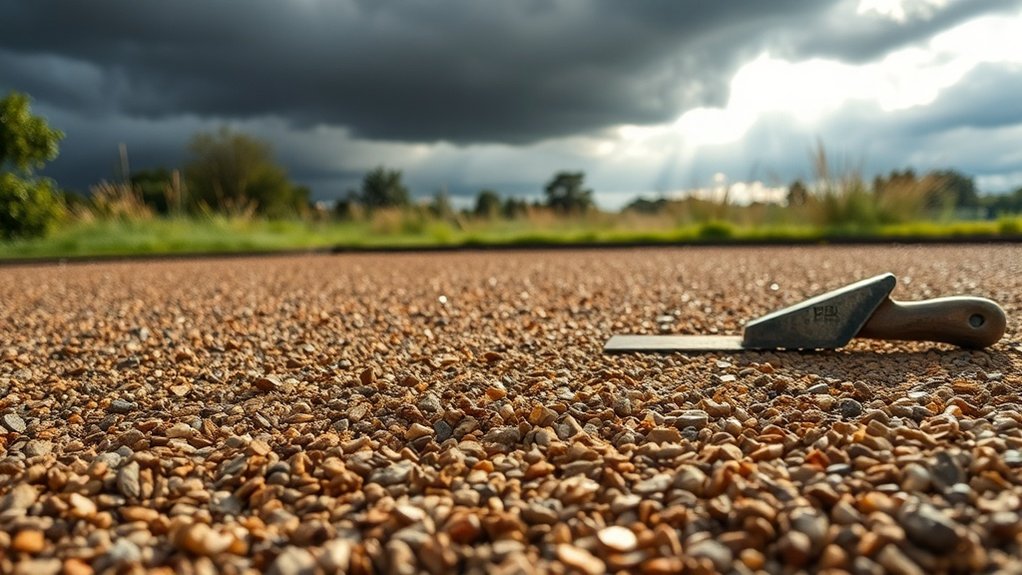
Techniques for Application and Timing
Proper mixing consistency is vital for resin-bound gravel. Mix your components thoroughly until well-blended.
Once mixed, apply straightaway to ensure proper bonding and prevent the resin from setting too quickly. Much like mixing concrete, timing is crucial – you’ll want to work whilst the mixture is fresh.
These basic steps will help you achieve a sturdy, attractive finish.
Mixing Consistency Importance
Maintaining proper mixing ratios is crucial when working with resin-bound gravel. Even small mistakes in mixing can seriously affect how well your surface lasts and looks.
Follow these straightforward mixing steps:
- Mix both resin parts with a paddle mixer on low speed until well-blended.
- Work in a dry, clean space to stop moisture ruining your mix – like you wouldn’t bake bread in a steamy kitchen.
- Mix your stones beforehand to ensure even coating – think of tossing vegetables in oil before roasting.
- Time each mix carefully, just as you’d when making concrete. This keeps all your batches consistent.
Remember, a properly mixed batch will flow smoothly, similar to thick paint, whilst a poor mix might be lumpy or separate.
It’s worth getting right the first time, as mistakes often mean lifting and relaying the whole surface.
Application Timing Strategies
Perfect timing is crucial for a successful resin-bound gravel installation. Your base must be completely dry and clean before starting.
Watch the weather – you’ll need temperatures between 5°C and 25°C for proper curing. If it’s colder than 15°C, use an accelerator to help the resin set.
Mix your resin and stones right before you lay them, as the mixture starts to set within 10-15 minutes – about the time it takes to make a cuppa.
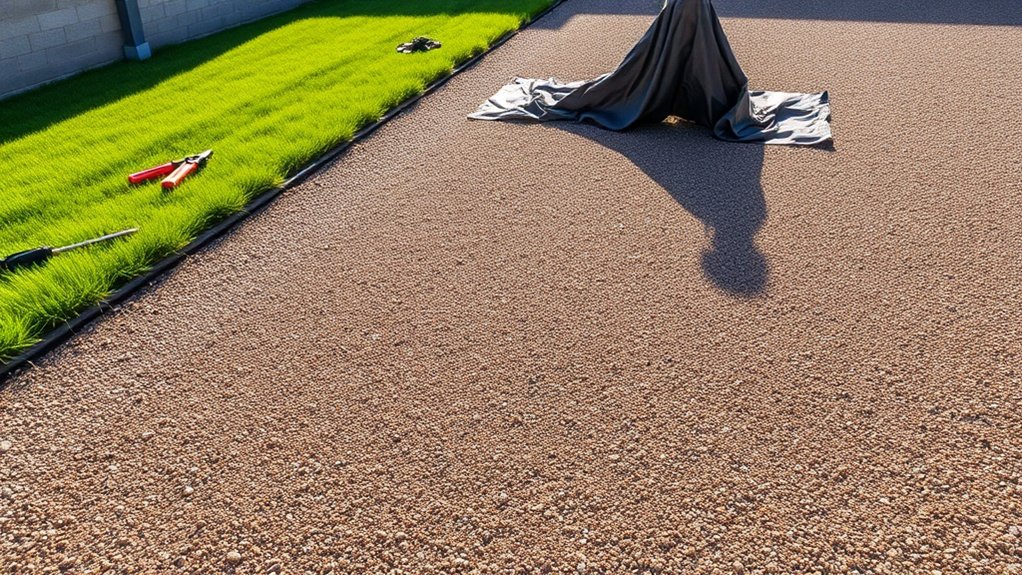
Work in sections you can manage easily, like a typical garden path width, and always work uphill on slopes.
Leave the surface untouched for at least 24 hours after laying – that means no walking on it, not even to check if it’s dry.
Think of it like fresh paint on a door; you wouldn’t touch it straight away.
Plan your project carefully to avoid any holdups, particularly keeping an eye on the weather forecast, to ensure your new surface will last for years.
Weather Considerations for Successful Installation
Weather Requirements for Resin Installation
Getting the weather right is crucial for resin-bound gravel installation – it directly affects how well your surface sets and lasts.
- Temperature: Must be between 10°C and 25°C. Think British spring or autumn days – not freezing winter mornings or scorching summer afternoons.
- Humidity: Keep between 40-70%. Too humid, and it won’t cure properly; too dry, and you’ll have problems with the finish.
- Moisture: Surface must be bone-dry. A passing shower can ruin the job, so check the forecast carefully.
- Best Times: Mid-spring to early autumn works best in the UK. May to September typically offers the most reliable conditions.
Remember: If you’re unsure about the weather, it’s worth waiting for better conditions rather than risking a poor installation.
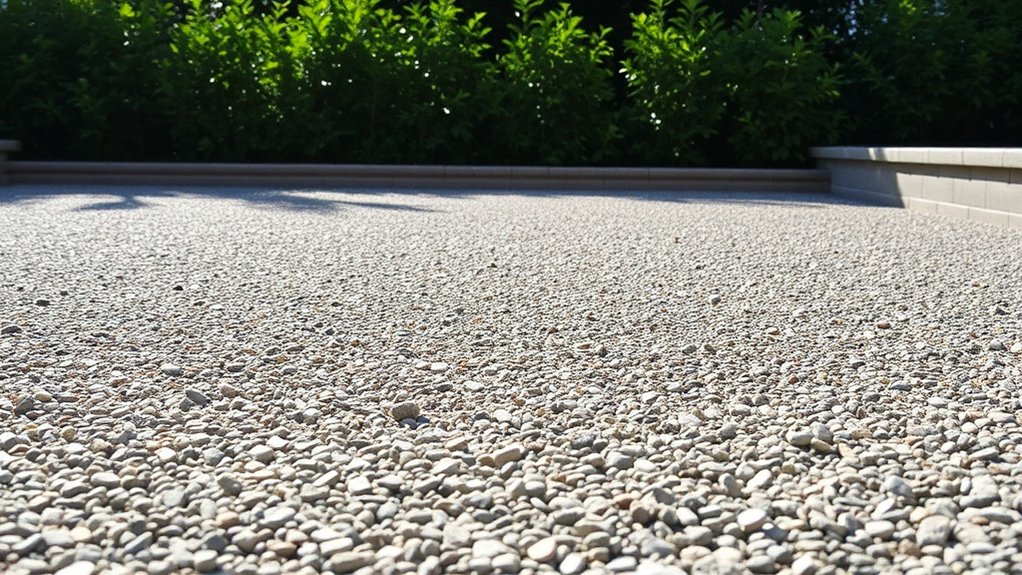
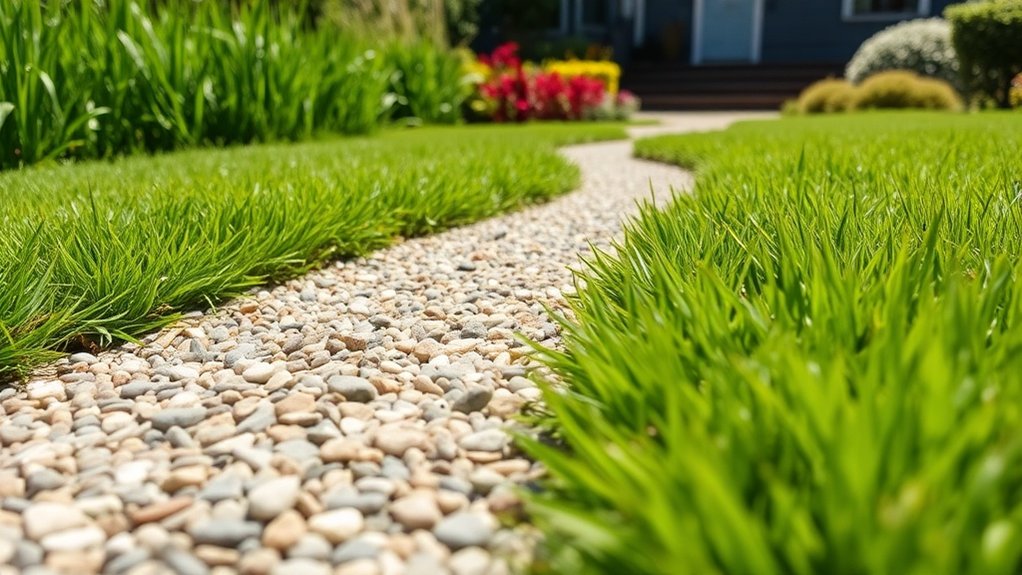
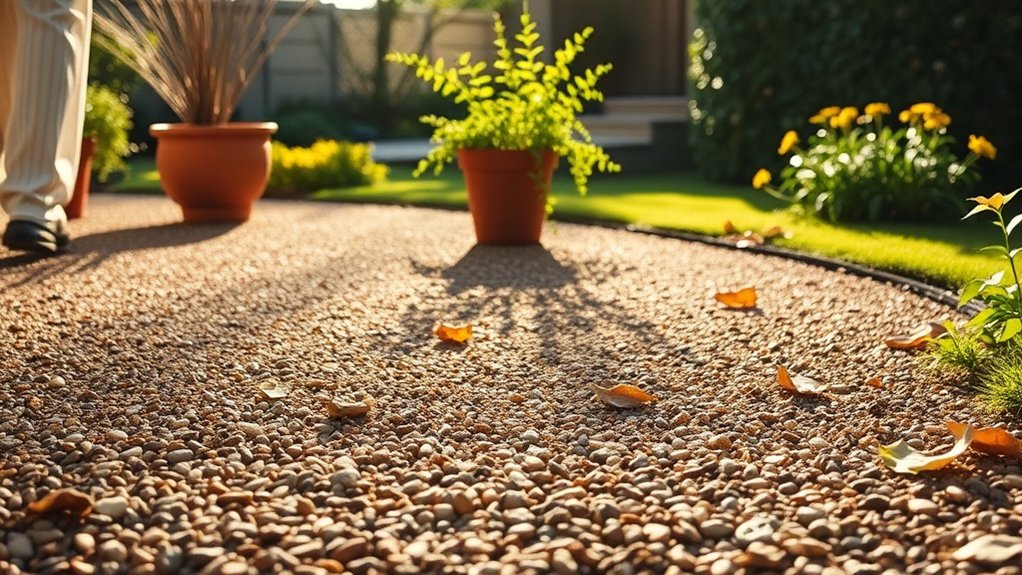
Characteristics of Resin-Bound Surfaces
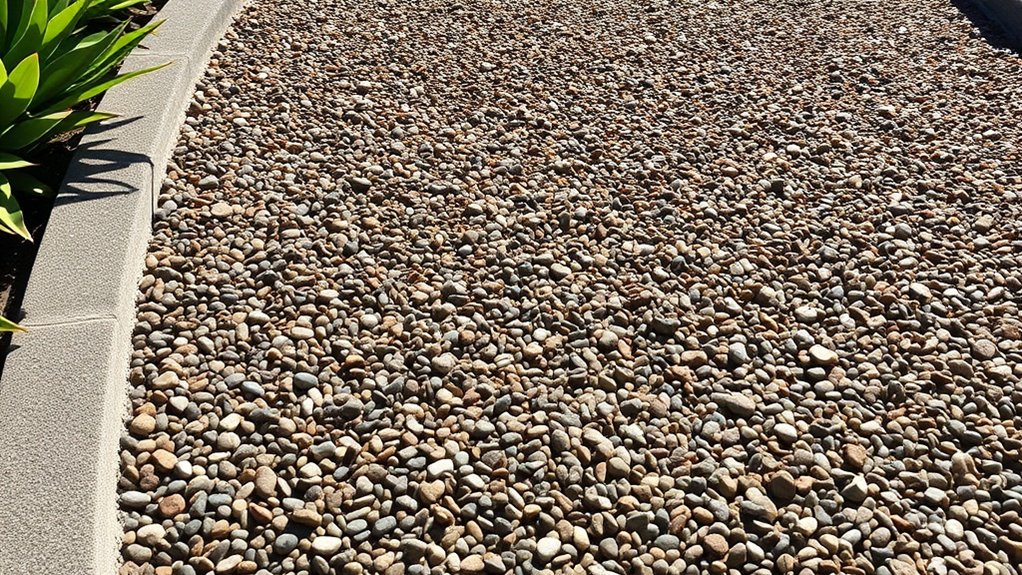
A well-installed resin-bound surface offers distinct benefits for UK properties. The material creates a smooth, flat finish that’s both attractive and practical for driveways, paths and patios. Its permeable nature helps manage rainfall effectively, meeting UK planning requirements whilst reducing puddles and surface water.
The surface resists weeds and algae, though it’s worth noting that grip can be reduced in wet or icy weather – a particular concern for British winters.
The robust structure holds stones firmly in place, handling daily foot traffic and vehicle use without loose gravel problems common to traditional surfaces.
Resin-bound gravel proves especially suitable for UK conditions, combining smart looks with practical drainage – essential for our rainy climate.
It’s a sensible choice for homeowners seeking a low-maintenance, long-lasting surface that complies with local building regulations.
Benefits of Choosing Resin-Bound Gravel
Benefits of Resin-Bound Gravel
Resin-bound gravel delivers both visual appeal and practical value to your property. Four key benefits:
- Environmental Impact: The permeable surface manages rainwater effectively, reducing puddles and flooding whilst filtering pollutants from entering local water systems.
- Durability: Built to last 20-30 years, the surface handles daily vehicle use and British weather brilliantly, keeping its smart appearance throughout.
- Low Maintenance: Unlike loose gravel or block paving, the smooth surface stops weeds and needs minimal cleaning – just an occasional sweep and power wash.
- Cost-Effectiveness: Whilst installation costs more than traditional gravel, you’ll save money over time through fewer repairs and less maintenance work.
Perfect for driveways, paths and patios, resin-bound gravel maintains its quality and functionality for decades.
Post-Installation Care for Longevity
Regular maintenance keeps your resin-bound gravel looking great and lasting longer. Check the surface regularly for any damage, and sweep weekly to remove loose debris.
Every 3-6 months, give it a gentle pressure wash – remember to keep the pressure low to protect the resin. Clean up any spillages straight away using mild soap and water, avoiding harsh chemicals that could damage the surface.
Be extra vigilant during autumn when fallen leaves can stain the surface, and clear them promptly. Apply a protective sealant twice yearly, in spring and autumn, to maintain the surface quality.
These simple steps will help prevent costly repairs and keep your driveway or path looking smart for years to come.
Common Maintenance Practices
Common Maintenance for Resin-Bound Gravel
Regular upkeep keeps your resin-bound driveway or path in top condition:
1. Monthly Checks: Look for puddles after rain and any loose stones – a quick five-minute walk around will do.
2. Weather Watch: Double your checks during autumn (when leaves fall) and winter (frost can be troublesome). A typical British winter means more debris to clear.
3. Basic Cleaning: A soft brush weekly does the job. For stubborn dirt, a garden hose on low pressure works brilliantly.
Skip the bleach and pressure washer – they’ll do more harm than good.
4. Quick Fixes: Sort small damage straight away. Think of it like filling a chip in your car windscreen – the sooner you fix it, the better.
Use UV-stable resin to match your existing surface.
Factors Influencing the Lifespan of Your Surface
The lifespan of your resin-bound surface hinges heavily on proper installation and care. A top-notch fitting, done with precise mixing and thorough ground preparation, helps avoid common issues like cracking and loose stones.
Regular sweeping and occasional pressure washing keep the surface in good nick, whilst prompt repairs of any damage prevent wider deterioration.
Think of it like maintaining a car – the better you look after it, the longer it lasts.
Installation Quality Impact
The quality of installation directly affects how long your resin-bound gravel surface will last. For a durable finish that stands up to British weather, focus on these key areas:
- Base Preparation: Your sub-base must be solid and properly compacted – much like building a house on strong foundations.
- Resin Quality: Choose UV-stable resin suited to the UK climate. Cheaper alternatives often fade and deteriorate quickly.
- Aggregate Selection: Pick clean, hardy stones that won’t break down. Local aggregates often work best as they’re suited to regional conditions.
- Weather During Installation: British weather is unpredictable – install in dry conditions with temperatures between 5-25°C for proper curing.
Getting these basics right means the difference between a surface that lasts 15+ years and one that needs repairs after just a few winters.
Maintenance Practices Importance
Maintaining your resin-bound gravel surface is key to its long-term performance.
Whilst proper installation sets the stage, regular upkeep ensures lasting quality. Sweep regularly with a stiff brush to prevent build-up and keep the surface permeable. When washing, use moderate water pressure – avoid jet washers as they can damage the surface.
Deal with stains quickly, particularly from leaves, berries and oil. For weeds, pull them by hand or apply a suitable weedkiller with care.
During autumn, clear fallen leaves promptly, and in winter, use rock salt sparingly to prevent ice damage.
Check your surface regularly for any small issues – catching problems early saves hassle later.
With proper care, your resin-bound surface should last 15-20 years. Think of it like caring for your car – regular maintenance prevents costly repairs down the line.
Frequently Asked Questions
How Long Does the Resin-Bound Installation Process Take?
The resin-bound installation process usually takes 2-3 days from start to finish. This includes site preparation and the full application. Timing can shift depending on your garden’s condition, your chosen installer’s work rate and the British weather – much like laying a patio. Best to factor in extra time to ensure proper curing and a long-lasting finish.
Can I Choose Different Colors and Textures for My Surface?
Yes, we offer a wide range of colours and textures to suit your needs. From warm browns and greys to bold statement shades, you can select finishes that match your home’s style and create the look you want.
Is Resin-Bound Gravel Suitable for Heavy Vehicle Traffic?
Resin-bound gravel can indeed handle heavy traffic, supporting vehicles up to 7.5 tonnes (about the weight of a typical lorry). The system’s tough, flexible surface helps prevent cracks and damage, making it well-suited for busy driveways, loading bays and commercial forecourts that see frequent heavy vehicle movement.
What Happens if It Rains During Installation?
Rain during installation poses serious risks to proper curing, potentially causing delayed fitting, poor adhesion and unsightly marks. Best to check your local forecast and plan accordingly to dodge these issues.
Do I Need to Apply a Sealant After Installation?
Yes, applying a sealant after installation is essential. Use a UV-resistant sealant to protect your resin-bound gravel from Britain’s varied weather conditions. Much like treating a wooden deck, regular resealing every few years maintains the surface’s appearance and durability. Ensure the surface is clean and completely dry before application for best results.
Conclusion
Opting for professional resin-bound gravel installation adds significant value to your outdoor space. Whilst DIY might seem tempting, proper installation hinges on expert surface prep and precise resin mixing – much like getting the right mix for a proper Yorkshire pudding. Regular maintenance, such as occasional brushing and pressure washing, will keep your surface in top nick for years to come. Think of it as a proper investment in your property, delivering both kerb appeal and lasting durability, rain or shine.