
Installing resin-bound gravel in high-traffic areas requires proper groundwork and precise measurements. Start by digging out the area and laying a geotextile membrane to prevent weed growth. Create a solid foundation using MOT Type 1 stone (similar to what’s used in motorway construction), and compact it thoroughly with a whacker plate. Mix your resin and aggregate at 7-15% resin by weight – think of it as roughly the same ratio as mixing cement. The finished surface needs to be at least 22mm thick, about the width of a £2 coin, to withstand heavy foot traffic and vehicles. Allow it to cure in dry conditions, and finish with anti-slip additives for safety. This robust surface, when properly installed, should last for years without significant maintenance.
Key Takeaways
Prepare your base properly – dig to depth, sort the drainage and lay a solid MOT Type 1 sub-base. It’s as crucial as a good foundation for your house.
Mix your resin and aggregate at 7-15% resin ratio (think mixing cake ingredients – proportions matter). Keep total mixing under four minutes to get it spot-on.
For areas that’ll see lots of footfall or vehicles, lay it at least 22mm thick. Use angular stones rather than smooth ones – they grip better, like football boots with proper studs.
Let it cure between 10°C and 30°C – typical UK weather range. Give it a good 24-48 hours to set before allowing heavy traffic, even if it looks ready sooner.
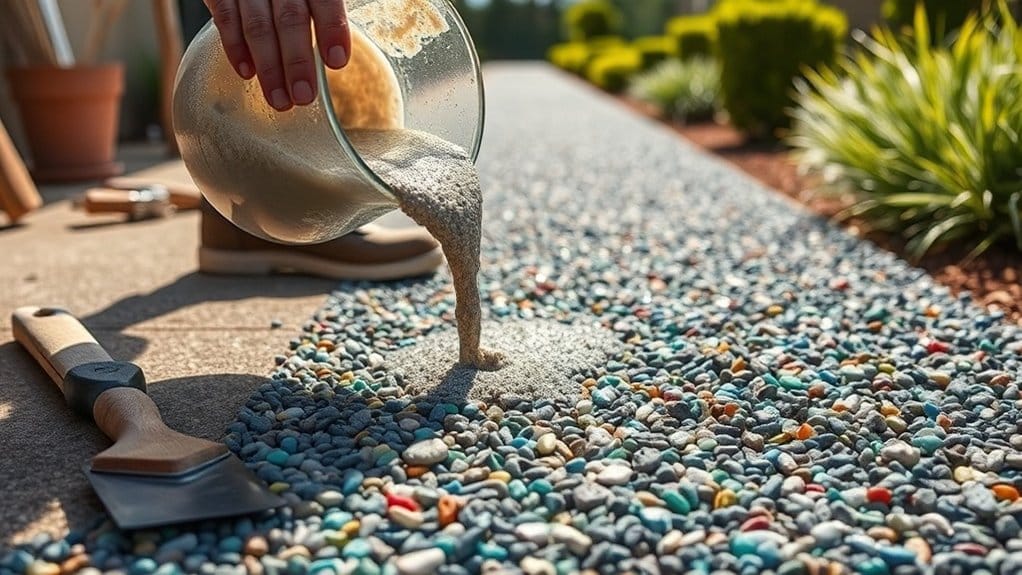
For extra grip in our notoriously wet British weather, chuck in some crushed glass and sand. It’s like adding grit to an icy pavement – makes all the difference in slippery conditions.
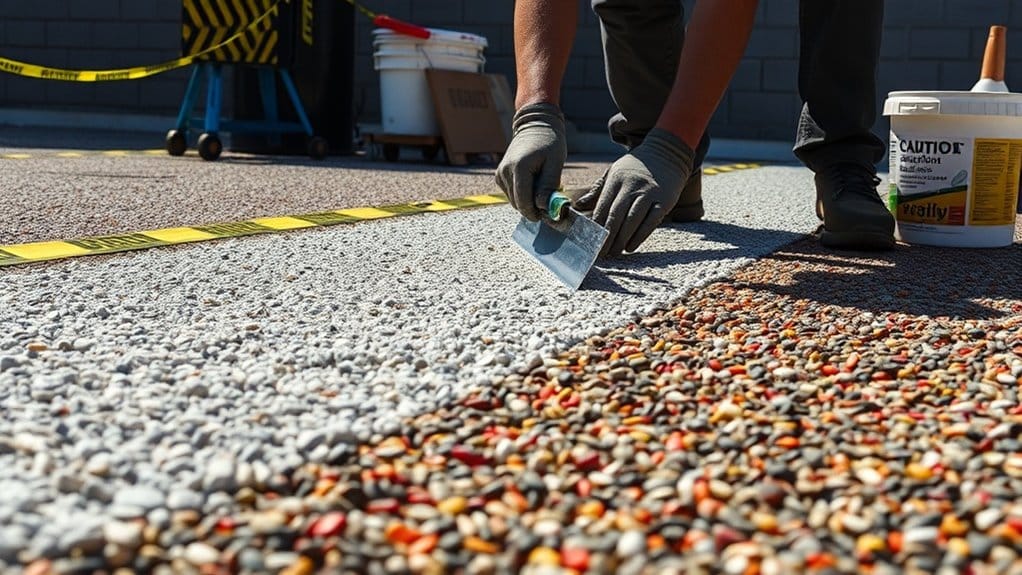
Base Preparation and Surface Cleaning

Preparing Base and Surface
Proper groundwork is crucial before laying resin-bound gravel. Dig out the area to your required depth, accounting for both sub-base and gravel whilst ensuring good drainage. Remove all plants and rubbish to keep the base sturdy.
Lay a geotextile membrane under the sub-base – this stops weeds coming through and keeps soil separate. For the sub-base itself, use MOT Type 3 stone, compacting each layer thoroughly. The surface must be completely level and dry, as any puddles will stop the resin from sticking properly. Additionally, ensure the sub-base thickness is appropriate for the soil conditions, as a thickness of 100-250mm is often required for stability. A well-prepared sub-base meets SUDS regulations and ensures effective drainage.
Check carefully for any cracks or soft spots that could cause problems later. Managing moisture levels throughout is key to a successful installation.
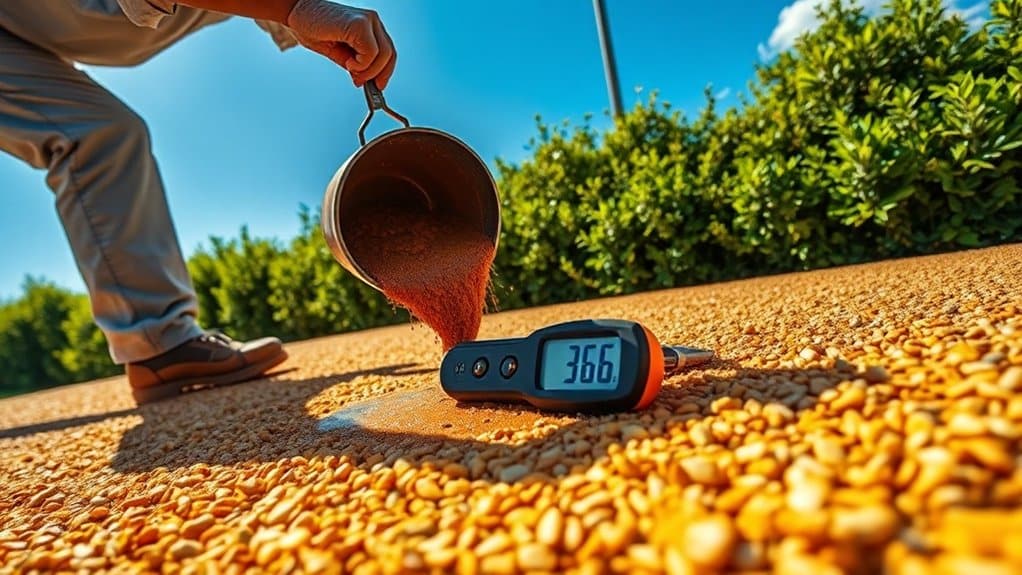
Resin and Aggregate Mixing

Resin and Aggregate Mixing
Proper mixing of resin and aggregate is vital for a lasting resin-bound gravel surface. Mix at a ratio of 7-15% resin to aggregate by weight, depending on stone size and required strength.
Start by combining equal parts of 2-5mm and 1-3mm aggregates for optimal stability. Mix aggregates for 30 seconds before adding your pre-mixed resin binder – it’s rather like mixing cake ingredients, timing each step with a stopwatch. Proper grading of the aggregates ensures a tighter fit, leading to stronger surfaces, so work in extra aggregates and sand until evenly blended. Keep the total mixing time under four minutes to maintain quality.
A forced action mixer (minimum 100kg capacity) is essential – think of it as a cement mixer on steroids. Using a 4-station mixer ensures a consistent mix that helps achieve the desired strength and durability. Stick to consistent mixing times to keep the colour and texture uniform across batches. Give your mixer a proper clean between mixes, just as you’d your kitchen tools, to ensure the best finish.
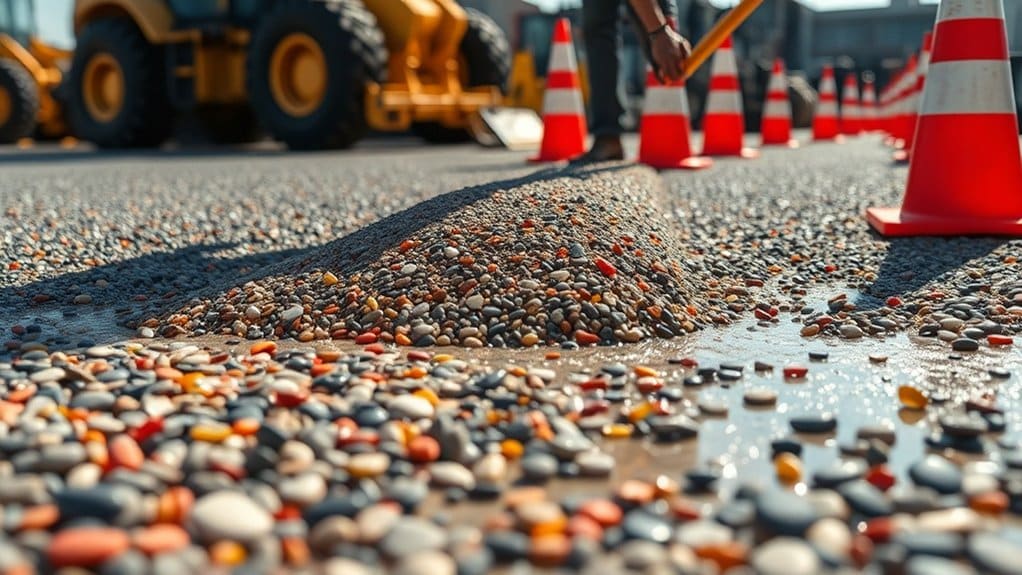
Installation Thickness and Application
Installation Thickness Guide for Resin-Bound Gravel
Proper installation thickness is vital for ensuring your resin-bound surface lasts and performs well. Key requirements include:
For vehicular areas:
- Car parks and commercial: 22mm minimum
- Domestic driveways: 18mm minimum
- Footpaths: 15mm (more for heavy foot traffic)
Essential guidelines:
- Use thickness three times your largest stone size (6mm stone needs 18mm depth)
- Lay over 100mm of compacted MOT Type 1 sub-base for proper support. A well-prepared sub-base is critical to distribute weight effectively and prevent surface failure.
Getting the right thickness and resin-to-stone mix is crucial – too thin, and you’ll risk cracks; too thick wastes materials. Additionally, the use of permeable materials contributes to effective drainage, reducing flooding risks.
A properly installed surface will handle daily wear and tear without issue.
Curing and Environmental Conditions
Proper curing of resin-bound gravel depends heavily on weather conditions during installation. The ideal temperature sits between 10°C and 30°C – if it’s too hot, the resin cures too quickly and cracks, whilst cold weather makes it cure too slowly.
Much like painting outdoors, high humidity and rain are your worst enemies, as they’ll mess with the drying process and stop the resin from bonding properly.
The surface needs about 24-48 hours to set initially, but you’ll want to wait a full two days before allowing cars or heavy foot traffic on it – think of it like fresh concrete on a driveway.
For best results, let the surface dry naturally in the open air. If you’re planning an installation, check the weather forecast first – a dry, mild day is ideal for laying resin-bound gravel.
Anti-Slip and Safety Enhancements
Anti-slip safety is vital for resin-bound gravel surfaces across the UK, especially given our wet weather.
These practical improvements make a real difference:
- Add crushed glass and sand to the resin mix for better grip – think of the texture of non-slip bathroom tiles.
- Apply anti-slip crushed glass on top whilst laying for extra traction.
- Keep resin at 7% minimum of the total mix to ensure everything binds properly.
- Lay at least 18mm thick for driveways – about the height of two pound coins stacked.
- Choose angular stones rather than smooth ones, as they grip better in rain.
These measures work brilliantly for paths, driveways and patios, helping prevent slips and falls during Britain’s notoriously wet winters and autumn months.
Permeability and Drainage Considerations
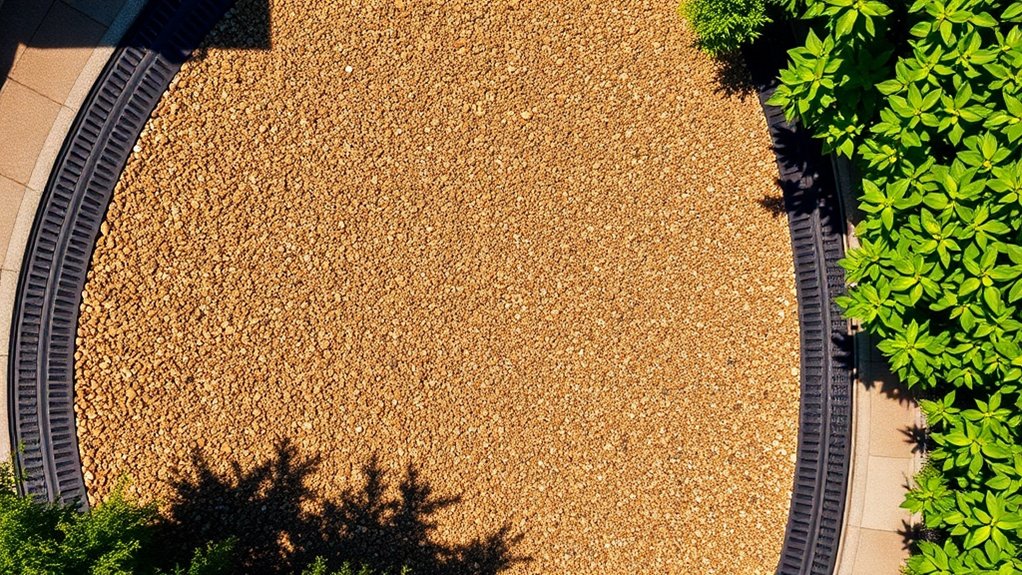
Permeability and drainage features are crucial for resin-bound gravel surfaces in the UK’s often wet climate. These surfaces offer impressive water drainage, with permeability rates reaching 95% – essential for preventing puddles and surface water build-up.
The system works effectively when paired with a proper permeable sub-base, which helps manage rainfall and supports sustainable urban drainage requirements, particularly vital for British properties.
| Aspect | Details | Impact |
|---|---|---|
| Permeability Rate | Up to 95% | Efficient rainwater drainage |
| Sub-base | Must be permeable | Maximises drainage effectiveness |
| Drainage Systems | Channel systems integrated | Controls excess runoff |
Think of the surface as a giant sponge: water passes through rather than pooling on top, making it ideal for driveways and paths. This feature proves particularly valuable during heavy downpours and helps meet local council drainage regulations.
Maintenance and Longevity of Resin-Bound Gravel
Resin-bound gravel driveways and paths need proper care to last. Follow these simple steps to keep your surface in top condition:
- Brush away leaves and dirt regularly
- Clean with a pressure washer on low setting
- Sort out petrol or oil spills straight away
- Keep an eye out for small cracks – fix them before they grow
- Apply a fresh seal coat every 3-5 years
Looking after your surface properly helps it stay flexible and crack-free, particularly in areas with lots of traffic.
Think of it like servicing your car – regular maintenance now saves you from costly repairs later.
If you spot any issues, sort them quickly. A small repair job today could save you thousands on replacing the entire surface tomorrow.
Frequently Asked Questions
What Tools Are Needed for Installing Resin-Bound Gravel?
Essential tools for resin-bound gravel installation include a robust mixer, professional trowels, floats and squeegees. You’ll also need primer, suitable edging and quality resin binders to ensure proper bonding and long-lasting results. A steel float works particularly well for achieving that smooth, professional finish common in British driveways and garden paths.
How Long Does Resin-Bound Gravel Last?
Resin-bound gravel typically lasts between 15 and 30 years when properly installed and maintained. The lifespan largely depends on the quality of resin used and professional installation. Regular maintenance, including gentle cleaning with soapy water and avoiding harsh de-icing salts in winter, keeps the surface in top condition. Think of it like caring for a car – the better you look after it, the longer it serves you.
Can Resin-Bound Gravel Be Repaired if Damaged?
Resin-bound gravel can be fixed quite easily when damaged. Small cracks and chips are sorted with matching repair kits, whilst larger areas might need professional attention. Regular sweeping and occasional pressure washing help prevent serious damage – much like keeping your garden path clean stops weeds from taking hold. Best to tackle any repairs quickly before they worsen and cost more to fix.
Is Resin-Bound Gravel Suitable for Winter Climates?
Resin-bound gravel performs brilliantly in British winters. The surface drains efficiently, reducing ice build-up and slip risks typical of standard driveways. It withstands our freeze-thaw weather patterns without cracking or lifting, whilst needing little upkeep beyond occasional brushing. Think of it as wearing a proper winter coat – it’s built to handle whatever the British weather throws at it.
What Colors and Finishes Are Available for Resin-Bound Gravel?
Resin-bound gravel comes in a wide range of colours, from natural stone shades like Yorkshire Buff and Cotswold to modern greys and contemporary colour blends. Popular finishes include traditional matte, which suits period properties, and sleek metallic options that work brilliantly in modern gardens. Mix-and-match combinations let you create unique patterns and borders, much like those seen in upmarket driveways across the UK.
Conclusion
In summary, installing resin-bound gravel in heavy-traffic areas can transform your space into a durable, attractive surface that stands the test of time. By following the outlined steps, you’ll guarantee a robust installation that performs like a well-oiled machine. Remember, proper maintenance is key to longevity; think of it as giving your driveway a much-needed tune-up. With the right approach, you’ll create a safe, functional area that enhances both aesthetics and practicality.