Select a premium glossy resin to achieve a permanent wet-look finish on your resin-bound gravel. Clean and prepare the surface thoroughly – much like painting a wall, proper prep ensures the best results. Mix angular aggregates with the resin until evenly coated, similar to coating popcorn with toffee. Spread the mixture uniformly, working in manageable sections. Keep the surface looking fresh with regular brushing and occasional pressure washing. Top tip: darker stones tend to look wetter than lighter ones, so consider slate or basalt aggregates for maximum effect. For best results in British weather, choose UV-stable resins to prevent yellowing over time.
Key Takeaways
Use a wet-look sealer designed specifically for resin-bound gravel – much like clear varnish on wood, it creates a lasting shine.
Apply the sealer uniformly across your surface, just as you’d paint a garden fence, ensuring no patchy areas.
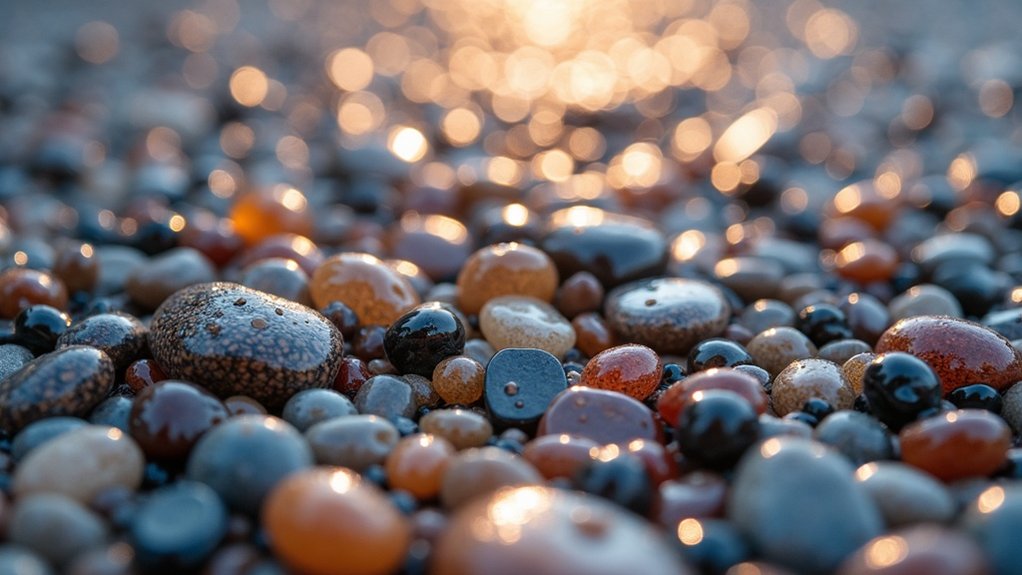
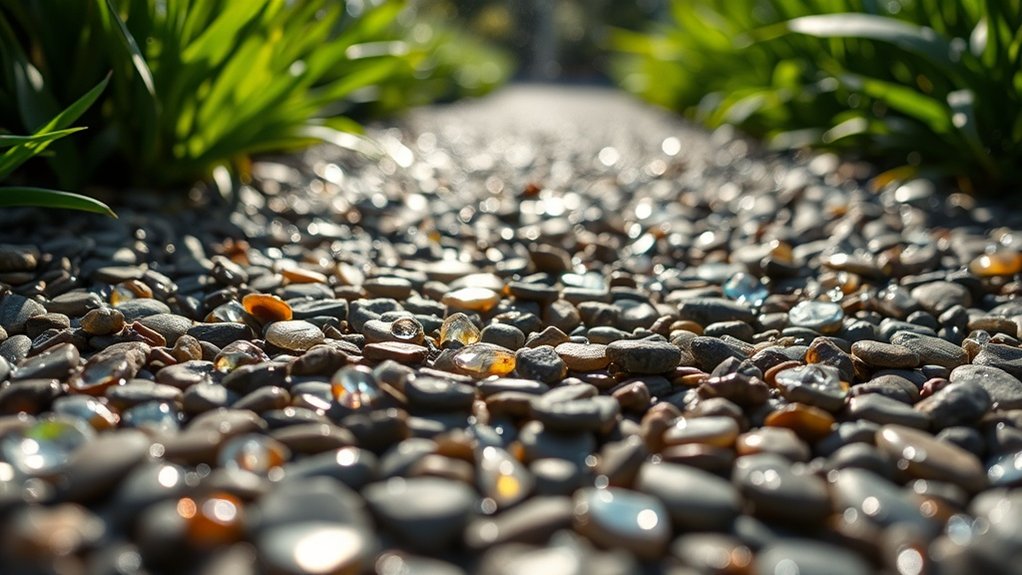
Choose darker stones in your aggregate mix, similar to wet pebbles on a beach, as these naturally appear wetter and more lustrous.
Keep the surface in top nick with regular cleaning (a quick brush and occasional pressure wash) and top up the sealer when the shine starts to fade.
Sort proper drainage – think of it like guttering on your house – to stop water collecting in puddles, which can make the surface look dull over time.
Surface Preparation for Optimal Adhesion
Proper surface prep is essential for a lasting resin-bound gravel finish.
First, thoroughly clean the surface using a pressure washer or stiff brush to remove all dirt, grime and loose material – much like preparing a wall before painting.
Check the entire area for damaged spots, loose stones or crumbling sections that could affect bonding. A well-prepared surface is necessary for proper drainage to prevent water pooling.
Fix any cracks or holes with suitable filler and ensure the surface is completely dry.
Apply a compatible primer evenly across the area – this acts like undercoat on woodwork, improving adhesion and stopping the resin from seeping through.
Let the primer dry according to the manufacturer’s instructions. Additionally, ensure the existing surface is clean and free from debris to enhance the effectiveness of your preparation.
These basic but crucial steps create the ideal foundation for your resin-bound gravel surface, ensuring it stays looking smart and performs well for years to come.
Resin and Aggregate Mixing Techniques
Getting the perfect resin and aggregate mix requires careful attention, much like following a precise recipe.
Start with pre-measured resin-bound gravel kits to ensure spot-on ratios – this is vital for a quality finish. Set aside a third of your aggregate and make a well in the middle, similar to how you’d prepare flour for baking. Choose sharp-edged stones (2-5mm) for better grip and texture. The resulting surfaces mimic loose gravel without maintenance hassles, making them an attractive option for homeowners.
Using a robust paddle mixer, blend Part A for about 15 seconds before adding Part B. Pour the resin gradually into your aggregate mix, stirring for 1-2 minutes until every stone is properly coated.
Don’t overdo the mixing, particularly on warm days, as this could make the mixture set too quickly and become difficult to work with.
Application Methods for a Consistent Finish

Applying Resin-Bound Gravel for a Consistent Finish
Three essential techniques ensure a proper resin-bound gravel installation:
- Layering: Spread thin, uniform layers of 15-25mm depth. Much like icing a cake, even layers prevent dry spots and create a lasting bond. Additionally, ensure proper ground preparation to enhance the adhesion of the resin-bound gravel.
- Proper Tools: A forced action mixer and specialist trowels are vital. Think of it as using the right utensils for cooking – the correct tools mean no air bubbles and a perfectly level surface.
- Weather Conditions: British weather being unpredictable, choose a dry day for installation. Cover the area if rain threatens, as moisture can spoil the finish.
Selecting the Right Resin for Durability
Choosing the Right Resin for Durability
The proper resin selection proves crucial for a lasting resin-bound gravel surface that withstands British weather and daily wear. Polyurethane or epoxy-based resins offer the most reliable performance, with each bringing distinct advantages.
| Resin Type | Key Features |
|---|---|
| Polyurethane | Excellent weather resistance |
| Epoxy | Superior bonding and chemical resistance |
| Polyester | Less flexible, not recommended |
For UK conditions, aliphatic polyurethanes work best outdoors, handling everything from summer UV to winter frost. Think of it like choosing a proper raincoat – you want something that’s both waterproof and breathable. Additionally, Sustainable Urban Drainage Systems are effectively supported by these resin types, making them an excellent choice for environmentally-conscious projects.
Before purchase, check manufacturer test results and certifications. Low-VOC resins with balanced polymer chains typically last longer, keeping your driveway or patio looking smart whilst standing up to our varied British climate.
Regular Maintenance for Longevity
Regular Maintenance for Longevity
Proper upkeep of your resin-bound gravel ensures lasting durability and kerb appeal. Follow these essential maintenance steps:
- Regular Cleaning: Sweep weekly and wash with a garden hose every few months. This prevents leaves and dirt from causing unsightly staining – much like keeping your patio clean.
- Weed and Algae Control: Check monthly for any green patches or sprouting weeds, particularly during spring and autumn. A specialist weed treatment from your local DIY shop will sort it quickly.
- Routine Inspection and Repair: Give your surface a thorough once-over each spring and autumn. Sort small cracks straight away – just as you’d with a crack in your window – to avoid bigger problems later. Additionally, regular drainage maintenance (drainage maintenance) is essential to prevent water pooling that can erode your surface materials.
Enhancing Aesthetics With Environmental Considerations
Making your resin-bound gravel surface both attractive and eco-friendly is straightforward.
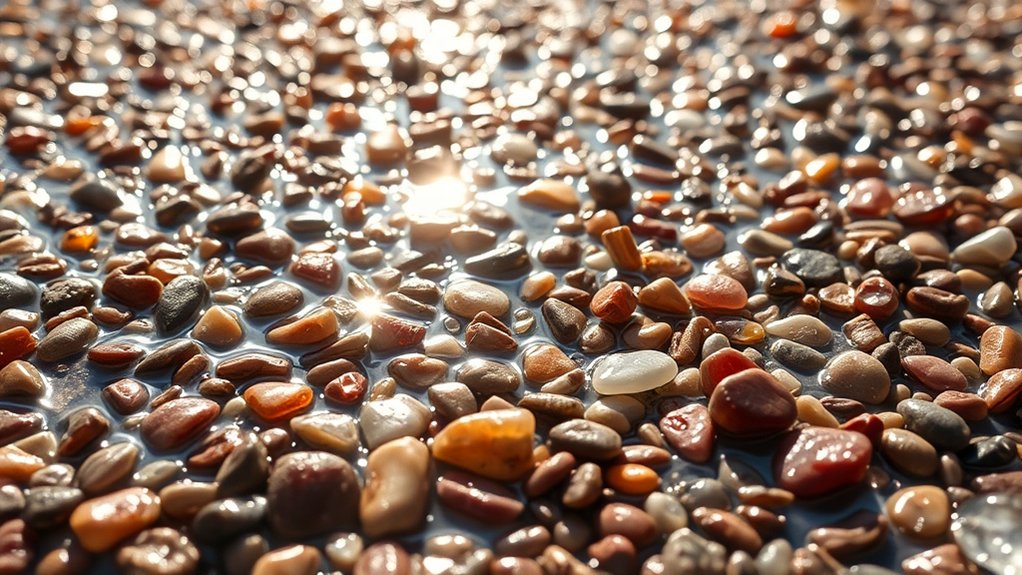
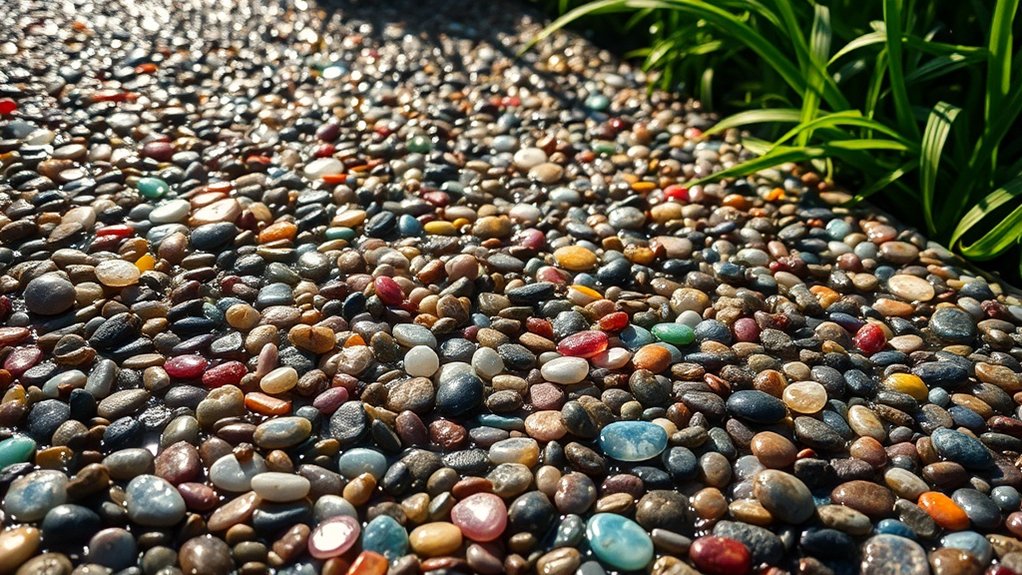
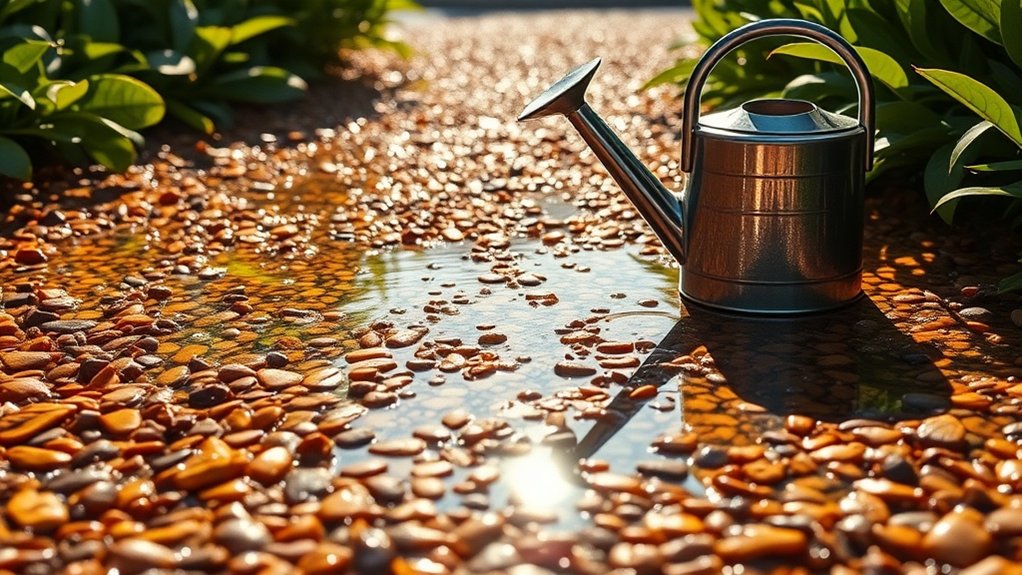
Choose low-VOC resins and recycled aggregates to reduce environmental impact whilst maintaining quality. For visual appeal, opt for glossy resins to create an attractive wet look, or pick darker stones for richer colours.
The surface texture can catch light beautifully, much like puddles after rain. Source your materials locally to cut down on transport miles and support British suppliers.
These simple changes deliver a stunning finish that’s both durable and environmentally responsible.
Frequently Asked Questions
Can I Use Colored Resin for a Unique Wet Look?
Coloured resin works brilliantly for creating a wet-look finish. Mix your chosen colour properly with the resin and coat your aggregate thoroughly – much like applying varnish to wood. This approach not only looks striking but also adds extra protection to your surface, similar to a glossy rain-soaked pavement that brings out deeper tones.
How Do Temperature Changes Affect Resin Curing Time?
Temperature plays a vital role in resin curing. Heat accelerates the process, whilst cold slows it down – much like how a cup of tea cools faster on a warm summer’s day than in winter. These temperature variations significantly influence your project’s final strength and surface quality.
Will Heavy Foot Traffic Affect the Glossy Finish?
Heavy foot traffic gradually reduces the glossy finish on resin-bound surfaces. To maintain the shine, regular cleaning is essential, and you’ll need to reseal the surface every few years – much like maintaining a well-used wooden floor. A quick sweep and occasional pressure wash, followed by periodic resealing, keeps the surface looking smart despite daily wear and tear.
Can I Add More Aggregate for a Thicker Layer?
Adding more aggregate won’t necessarily improve thickness and may weaken your surface’s durability. Stick to the recommended resin-to-aggregate ratios to maintain proper strength. Too much aggregate can prevent proper binding and result in a weaker finish that’s prone to crumbling.
What to Do if the Surface Starts to Lose Its Gloss?
When your surface loses its shine, take prompt action with basic maintenance. Clean it thoroughly, use a UV-protective sealer, and if needed, apply a fresh coat. These steps help restore the glossy, mirror-like finish that makes surfaces look pristine.
Conclusion
A consistently wet appearance for resin-bound gravel is achievable with proper preparation and the right materials. The key lies in selecting a high-quality resin that’s well-suited to British weather conditions and applying it correctly to your prepared surface. Much like a freshly rained-on pavement, the right finish will catch and reflect light naturally. Regular upkeep, including periodic cleaning and sealing, maintains this attractive sheen. Whilst standard gravel tends to look dull when dry, a properly installed resin-bound surface keeps its rich, glossy appearance year-round, making it a smart choice for driveways and garden paths.