First, check how big and deep the damage is in your resin-bound gravel surface. Give the affected area a thorough clean, removing any loose material or debris. Choose a matching resin filler – your supplier can help you find the right one. For small cracks, apply the filler directly. Larger damaged areas might need a complete overlay of the affected section.
Keep your surface in top condition with regular pressure washing and apply a UV-resistant sealant every few years. During winter, avoid using salt – opt for non-corrosive de-icers to prevent surface damage. Think of it like looking after your car; regular maintenance prevents bigger problems down the line.
These repairs work best when done promptly – much like fixing a chip in your windscreen before it spreads. Most DIY-savvy homeowners can handle minor repairs, but for extensive damage, it’s worth calling in a professional.
Key Takeaways
Check for Damage
Measure any cracks or loose spots on your resin-bound gravel drive or path. Note where the damage is – this helps decide if you need a professional or can sort it yourself.
Clean Thoroughly
Give the damaged area a proper clean with a pressure washer. Think of it like painting – a clean surface helps the new resin stick properly.
Pick the Right Filler
Choose a resin or polyurethane filler that matches your existing surface. Most DIY shops stock these, but check it’s suitable for outdoor use.
Fill and Level
Apply the filler carefully – much like icing a cake, you want it smooth and level with the rest of the surface. Too much or too little will stand out.
Keep an Eye on It
Check your repair job every few months, especially after harsh weather. Spotting problems early saves you time and money in the long run.
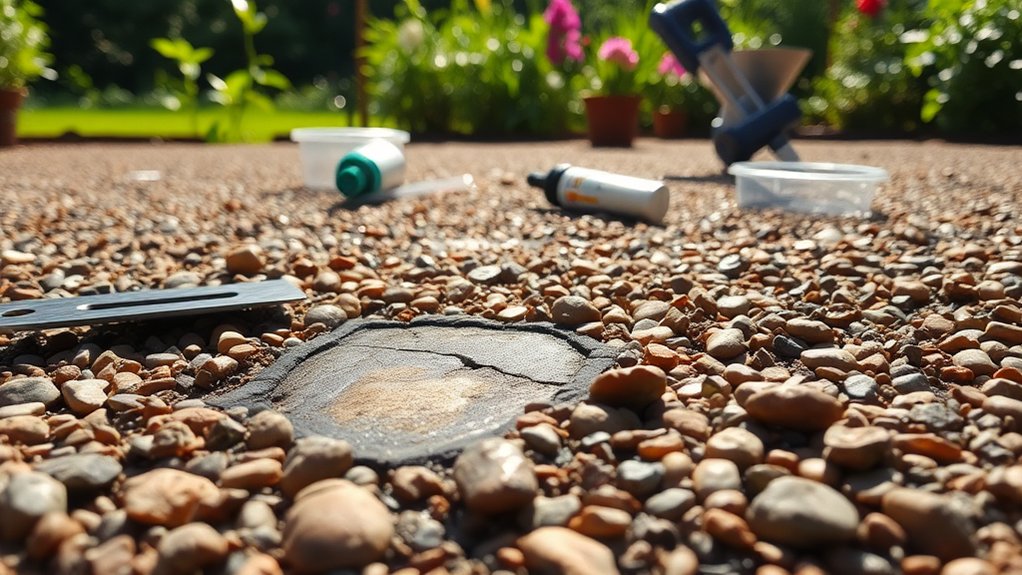
Assessing the Damage
Checking damage on resin-bound gravel needs a proper look at several key areas.
First, measure any cracks you spot – both how wide and deep they are. A hairline crack might be minor, whilst deeper splits need sorting quickly.
Look at where the cracks appear. Single cracks often mean a local problem, but if they’re all over, you’ve likely got bigger issues with the base.
Keep an eye out for cracks near trees, as roots can be troublesome.
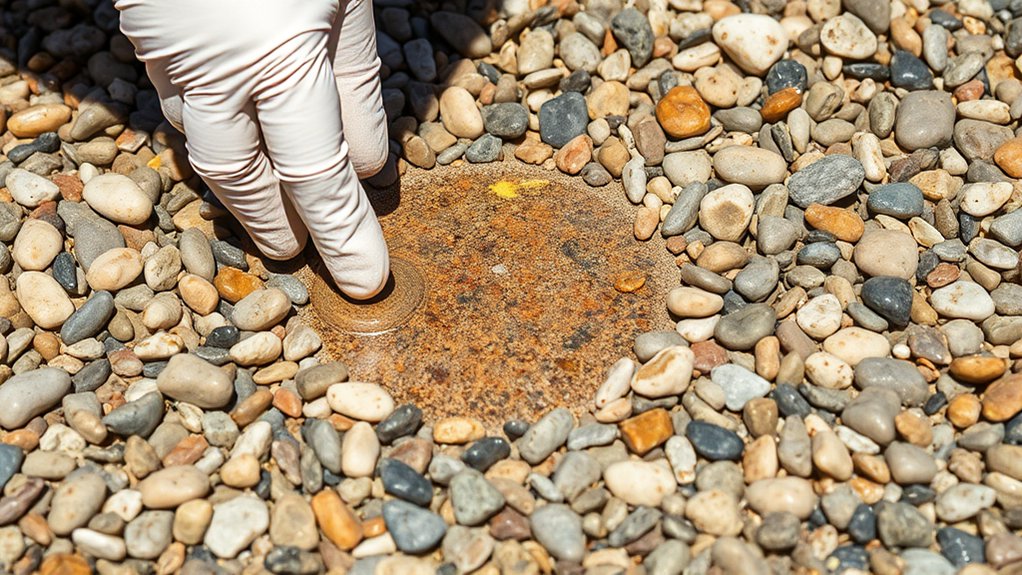
Watch for yellowing or fading patches – that’s usually down to sun damage or the resin starting to break down. Additionally, consider weather impacts as factors that may worsen cracks over time.
Bumps or dips in the surface typically mean something’s shifting underneath, perhaps from dodgy groundwork or pesky tree roots.
Take photos and notes of everything you find. It’ll help when you’re planning repairs and could save you grief later on with maintenance.
Preparation
Preparation
Clean the surface by thoroughly sweeping away loose materials and debris.
Use a pressure washer to remove dirt and grime – much like washing a car’s paintwork – and let the area dry completely. Proper cleaning is vital for the resin to bond well, similar to how paint needs a clean wall to stick properly. Ensuring proper drainage is addressed before installation is also crucial to prevent future damage. Taking time during the preparation stage is essential, as rushing repairs can lead to failed outcomes.
Surface Cleaning Techniques
Before cleaning resin-bound gravel, check for any damage to guide your approach. Regular inspections can help identify potential problems early to avoid costly repairs. Watch the weather forecast, as rain or extreme temperatures can affect results. Regular cleaning is necessary to maintain surface quality and functionality.
Get your kit ready: broom, hose and pressure washer, plus protective gear like gloves and goggles. Cleaning on dry days allows for better control of moisture levels, which is crucial for achieving effective results.
Start with a gentle hose-down, keeping the nozzle at least 20cm away from the surface. For stubborn marks, use pH-neutral cleaners or oxalic acid sparingly – these work well on rust and organic stains. It’s important to use medium pressure settings when utilizing a pressure washer to avoid damaging the resin surface.
To keep your surface in top condition, sweep weekly and hose down monthly. This stops dirt building up and helps your resin-bound gravel last longer. Regular upkeep is far easier than dealing with neglected surfaces.
Removing Loose Material
Begin by spotting areas where material has come loose, which typically indicates the resin or aggregate is breaking down. Take a stiff-bristled broom and thoroughly sweep away any loose gravel. Mark off damaged sections to protect the rest of the surface. Ensure you conduct a thorough clean to promote better adhesion of repairs in the affected area.
| Step | Action |
|---|---|
| Identify Damage | Check for loose material |
| Collect Tools | Get a stiff broom |
| Isolate Area | Mark affected section |
Remove loose bits carefully to protect the base structure, then check for any remaining loose stones or resin. This prep work must be done properly for effective repairs.
Drying the Area
Thorough drying of the area is crucial before starting any resin-bound gravel repairs. A properly dried surface prevents cracks and warping, much like waiting for paint to dry completely before adding a second coat.
Weather conditions in the UK can affect drying times significantly. On a typical British summer day, expect about 24 hours for complete drying, but this may take longer during colder or damper periods.
Use fans for airflow or gentle heat lamps when needed, but avoid direct intense heat which can damage the surface.
Keep an eye on the weather forecast – morning dew and sudden rain showers are common problems that can ruin the drying process. The surface should be spotlessly clean and level before you begin, similar to preparing a wall before wallpapering.
Once you’re confident the area is bone-dry (after at least 24 hours), you can crack on with the repairs. Rushing this step will only lead to more expensive fixes down the line.
Repairing Small Cracks
Fixing Small Cracks
When sorting small cracks in your resin-bound gravel, you’ll need the right repair kit to match your existing surface.
Pick a filler that’s spot-on with both stone size and colour – this ensures the repair won’t stick out like a sore thumb.
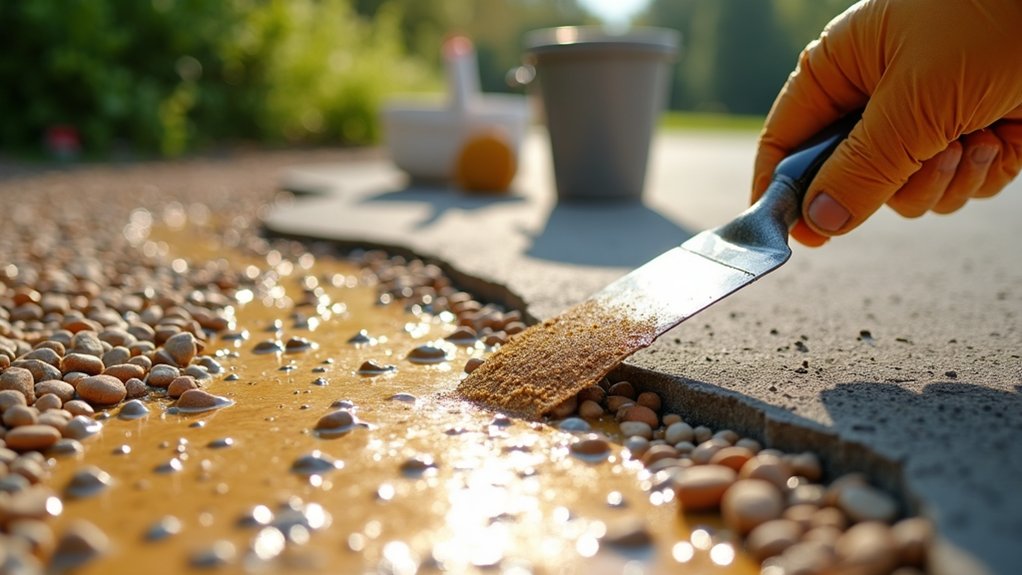
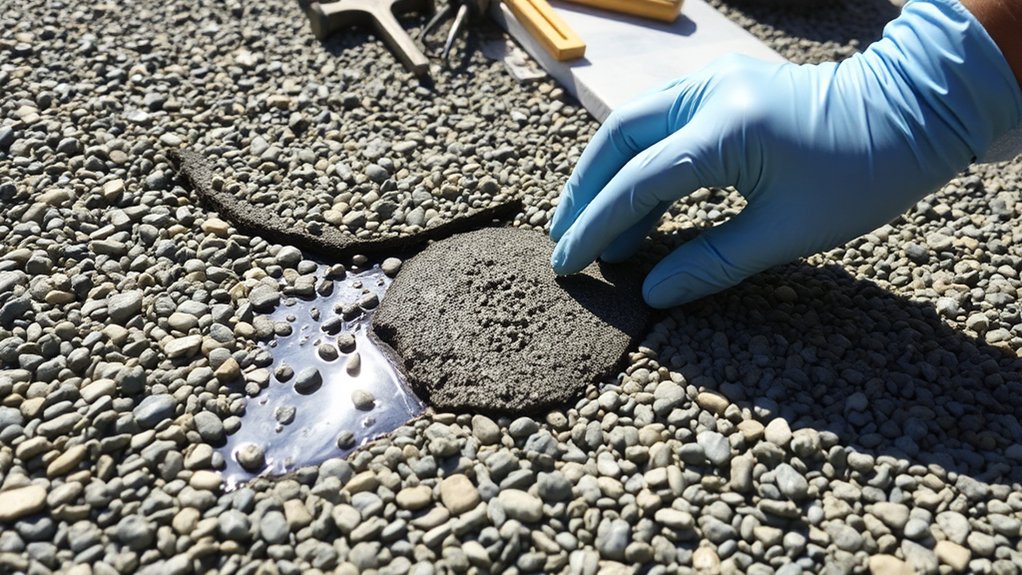
Simply work the filler into the crack, press down firmly to get rid of any air pockets, and level it off neatly with the surrounding area.
Prepare Repair Materials
Preparing Materials for Resin-Bound Surface Repairs
Getting the right materials is crucial for fixing small cracks in resin-bound gravel. The proper choice ensures your repair blends seamlessly with the existing surface.
- Clean the Area: Remove all dirt with a stiff brush or pressure washer.
- Check the Damage: Look at how wide and deep the cracks are to pick the right filler.
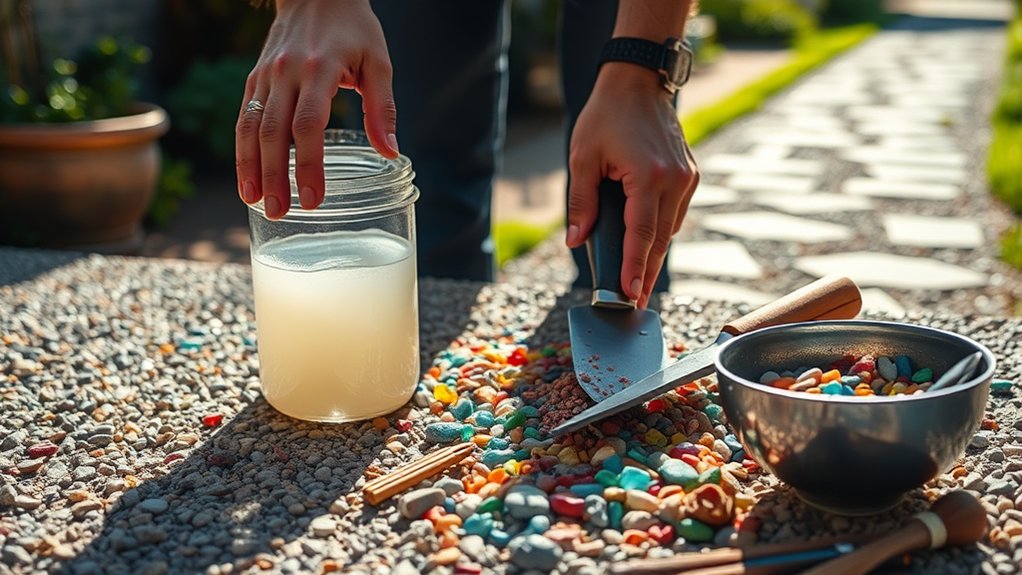
- Choose Your Materials: Go for UV-stable epoxy or polyurethane fillers that match your current aggregate colour.
A UV-stable filler prevents yellowing and fading, keeping your repair looking fresh.
Once you’ve sorted your materials, you’re ready to tackle the repair job properly.
Fill and Smooth
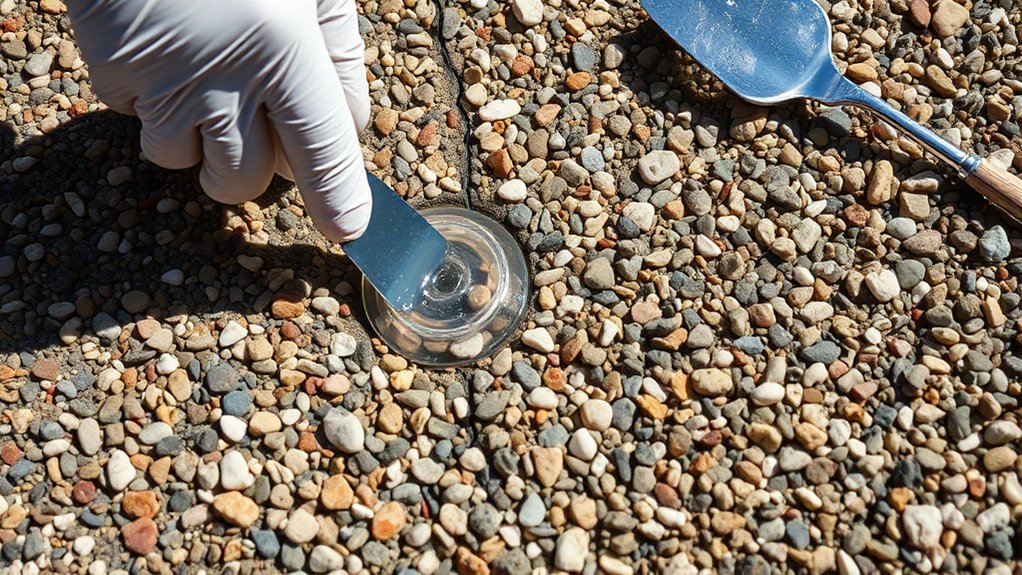
Clean and dry the damaged area before tackling the cracks.
Widen them slightly with a chisel or sandpaper to help the filler stick better.
Choose either epoxy or polyurethane filler – both work well for most repairs.
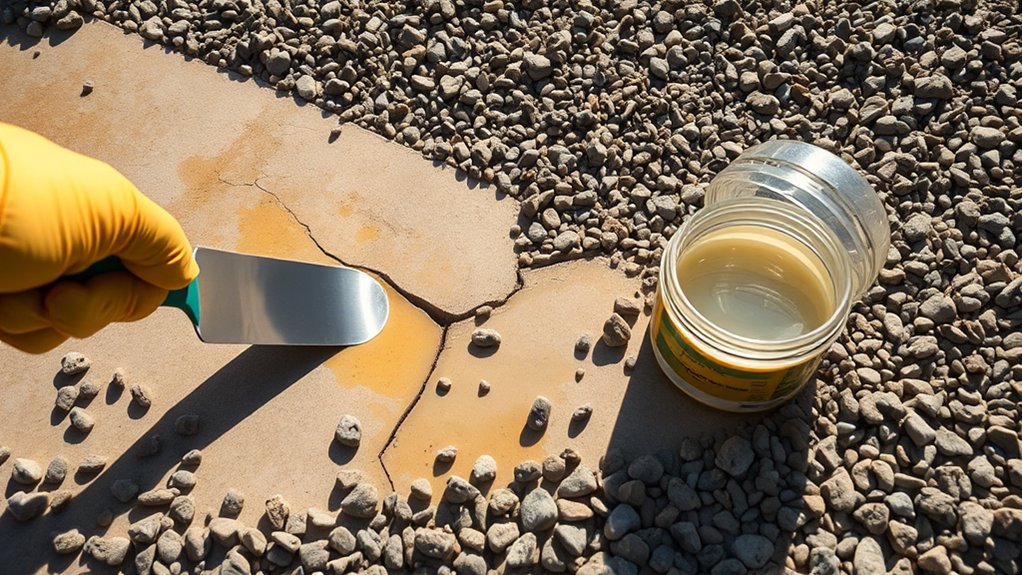
Using a trowel or putty knife, press the filler firmly into each crack, making sure it’s completely filled.
Try to match the filler colour to your existing surface for a neater finish.
Smooth the edges carefully to blend everything together.
Let it cure properly – keep off the surface whilst it dries to ensure a solid, lasting repair.
Resurfacing or Overlaying
Resurfacing or overlaying resin-bound gravel requires proper assessment to spot any issues before work begins:
- Area Survey: Check for cracks, movement and loose patches whilst ensuring the base is solid.
- Surface Preparation: Use a pressure washer to thoroughly clean the area, shifting all debris and dirt.
- Moisture Check: Ensure the surface is completely dry and tackle repairs on a dry day.
For the best results, select suitable aggregates that match your existing surface.
Apply the overlay evenly, keeping consistent depth throughout.
Careful preparation and attention to detail will ensure a long-lasting, attractive finish.
Think of it like painting a wall – proper prep work is essential for a professional result.
Skip the groundwork, and you’ll likely face problems down the line.
Preventing Future Damage
Keep your resin-bound gravel surface in top condition with proper maintenance and prevention. Regular sweeping and gentle hosing removes loose debris before it causes staining. When cleaning, stick to low-pressure washing to protect the resin bonds.
Stop weeds before they take hold by pulling them out by hand or using garden-safe weed killers. A quality weed membrane underneath helps too. Check regularly for any small gaps where weeds might sneak through.
In winter, avoid using rock salt – opt for non-corrosive de-icers instead. For summer protection, apply UV-resistant sealants to prevent sun damage, just as you’d use suncream to protect your skin.
Clean up any oil drips straight away and keep harsh cleaning products well away from the surface.
These simple steps will keep your resin-bound driveway or path looking smart and lasting longer.
Restoring Appearance
Restoring Appearance
Proper cleaning is vital to bring back the look of your resin-bound gravel. A thorough clean removes dirt and moss that spoil its appearance.
Follow these simple steps:
- Clean thoroughly with a stiff brush or pressure washer, then let it dry completely.
- Spray on a UV-stable surface treatment to restore shine and colour.
- Add fine glass grit for better grip, especially on well-worn patches.
These steps tackle fading and dull patches whilst making your surface safer and more durable.
A bit of regular upkeep will keep it looking smart.
Tools and Materials Needed
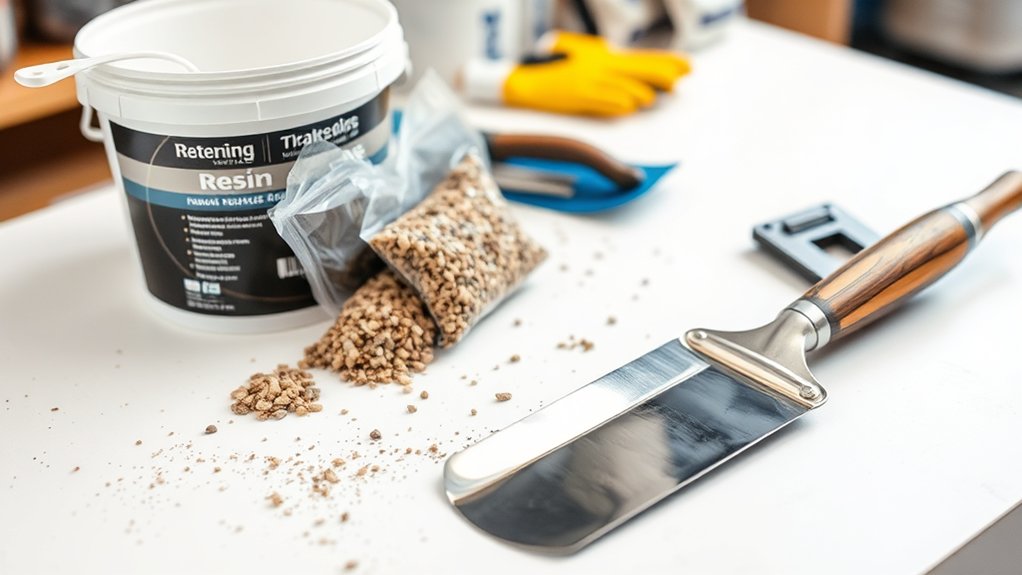
Essential Tools and Materials for Resin-Bound Gravel Repairs
A proper toolkit ensures quality repairs to resin-bound gravel surfaces. The right materials and methods will maintain both strength and appearance:
| Category | Items |
|---|---|
| Repair Materials | Epoxy resin, polyurethane fillers, aggregate |
| Cleaning Tools | Stiff wire brushes, pressure washer, vacuum |
| Application Tools | Flat trowels, mixing paddles, spatulas |
The epoxy resin bonds materials effectively, whilst polyurethane fillers add the necessary flexibility. A thorough clean with a pressure washer helps the new materials grip properly – much like preparing a wall before painting. Proper safety gear is vital when handling these materials.
[Note: British spelling and terminology maintained throughout, with concise, practical information for UK readers.]
When to Seek Professional Help
When to Call a Professional
Signs your resin-bound gravel surface needs expert attention:
1. Deep or Multiple Cracks: Large cracks often point to underlying problems that need proper assessment.
Similar to cracks in your home’s walls, these shouldn’t be ignored.
2. Uneven Surfaces: If you spot dips or raised areas, particularly near trees or drains, you’ll need specialist repairs to sort the issue properly.
3. Loose Stones: When stones start coming loose and creating bare patches, the binding has likely failed.
A bit like loose tiles in your bathroom, this won’t fix itself.
Getting these issues checked early prevents costlier repairs down the line.
Most reputable UK contractors offer free site visits for assessment.
Frequently Asked Questions
How Long Does a Resin-Bound Surface Last With Proper Maintenance?
A well-maintained resin-bound surface typically lasts between 15-25 years. Think of it like a good pair of boots – with regular care, including sweeping, occasional pressure washing and resealing every 3-5 years, you’ll get the maximum lifespan from your investment. Sort out any cracks or damage straight away to prevent bigger issues down the line.
Can I Change the Color of My Resin-Bound Gravel Surface?
Changing the colour of resin-bound gravel is possible through professional dye treatments or overlay applications. Whilst various colour options exist, it’s essential to use qualified contractors to ensure proper application and long-lasting results. Similar to painting a wall, the right technique and materials make all the difference to the final finish.
What Is the Average Cost of Repairing Resin-Bound Surfaces?
The cost of repairing resin-bound surfaces typically ranges from £1 to £1.20 per square foot. Prices vary based on damage severity, affected area size and required repair materials. Most basic repairs, such as small cracks or chips, fall at the lower end of this range, whilst extensive damage or structural issues command higher rates.
How Can I Tell if My Surface Needs Professional Repair?
Signs your surface needs professional repair include visible cracks, loose stones and uneven areas – much like spotting faults in your garden path. If you notice these warning signs, best contact a qualified tradesperson to assess the damage and ensure proper repairs.
Are There Environmentally Friendly Options for Resin-Bound Repairs?
Eco-friendly resin repairs are becoming more common in the UK market. Several manufacturers now offer biodegradable resins made from plant-based materials, whilst natural aggregates like recycled glass and sustainable stone provide sturdy alternatives to traditional options. For instance, soya-based resins work brilliantly for driveway and patio repairs, offering the same strength as standard resins but with a much smaller carbon footprint. Just ensure your chosen materials meet British Standards for safety and durability before starting any repair work.
Conclusion
In summary, proper tools and methods can restore a damaged resin-bound gravel surface effectively. Regular checks and maintenance will prolong its lifespan, much like caring for any garden path or driveway. For extensive damage or if you’re unsure about repairs, it’s best to contact a qualified professional to ensure proper restoration.