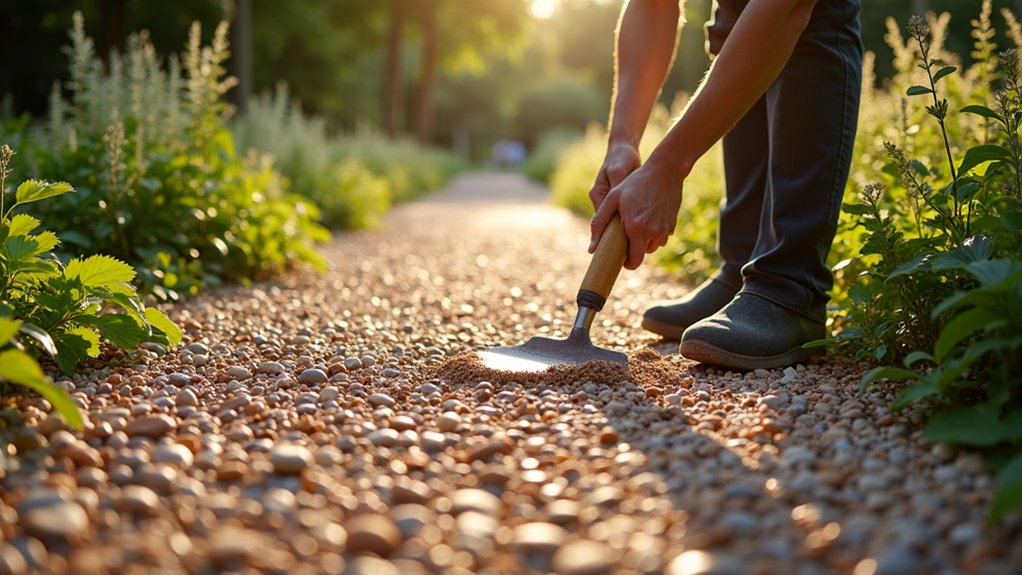
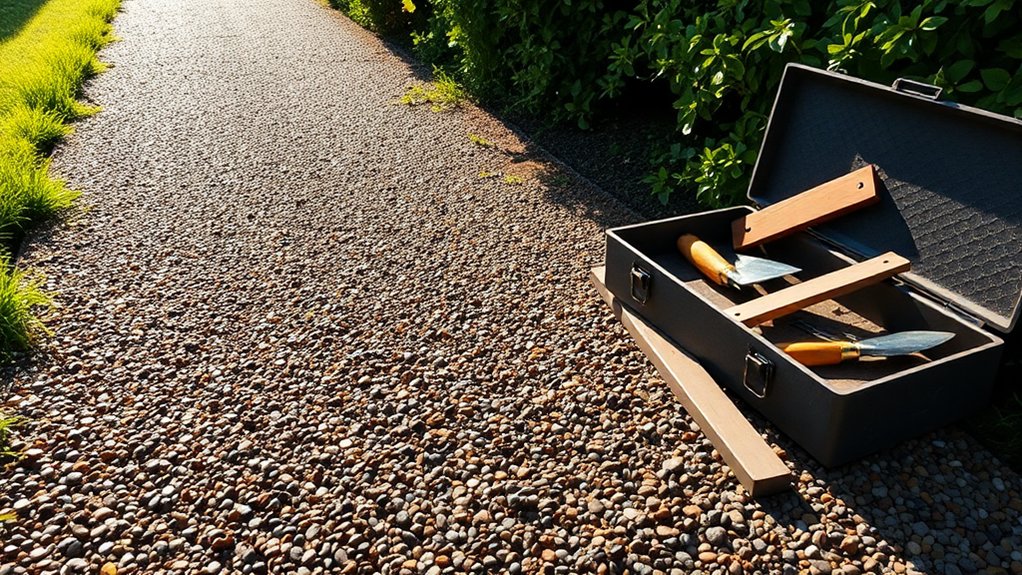
Fitting resin-bound gravel paths requires proper groundwork first. Start with a solid sub-base, using compacted MOT Type 3 stone to ensure good drainage. Fix sturdy edging strips to keep the gravel contained and maintain neat borders. Blend your chosen aggregate with resin in a forced action mixer – much like mixing concrete but more precise. Spread the mixture evenly across your prepared surface, rather like icing a giant cake. Leave it to set thoroughly before walking on it. A quick brush and occasional clean keeps it looking smart. Think of it as similar to maintaining a paved driveway – regular upkeep pays off.
Key Takeaways
Lay a Resin-Bound Gravel Path:
- Sort the groundwork first: Clear all plants and weeds, then compact MOT Type 3 stone in layers (100-250mm deep). This creates a solid base that won’t sink and helps rainwater drain properly.
- Fix strong edging around the path borders. Think concrete kerbs or metal strips – they’ll keep your gravel in place whilst letting water escape. Essential for a neat finish.
- Mix your chosen stones in a forced action mixer. Pour in the resin bit by bit to coat everything evenly. Stick to the same amounts for each mix to keep it consistent.
- Shape the ground with a gentle slope (at least 0.5%) towards drains or lawn edges. This stops puddles forming when it rains – crucial for British weather.
- Keep it looking smart with regular brush-downs to clear leaves and muck. Give it a blast with the pressure washer now and then, and check for any worn patches that need attention.
Sub-base Preparation
Proper sub-base preparation is crucial for a lasting resin-bound gravel surface.
First, remove all vegetation and loose material from the area. Check the soil thoroughly using standard evaluation methods to ensure it’s suitable.
MOT Type 3 aggregate works best, offering good drainage and minimal fines. Layer the sub-base between 100-250mm deep, depending on expected usage – thicker for driveways, thinner for paths. Compacted layers should be maintained at the recommended depth requirements to ensure stability. Compact each layer thoroughly with a vibrating plate or roller. Additionally, using MOT type 3 aggregate helps ensure non-frost susceptibility, enhancing the longevity of your installation.
Add a geotextile membrane to stop weeds and control ground moisture. The sub-base must be completely dry before laying the resin-bound surface.
A well-prepared sub-base prevents future sinking and extends the life of your installation.
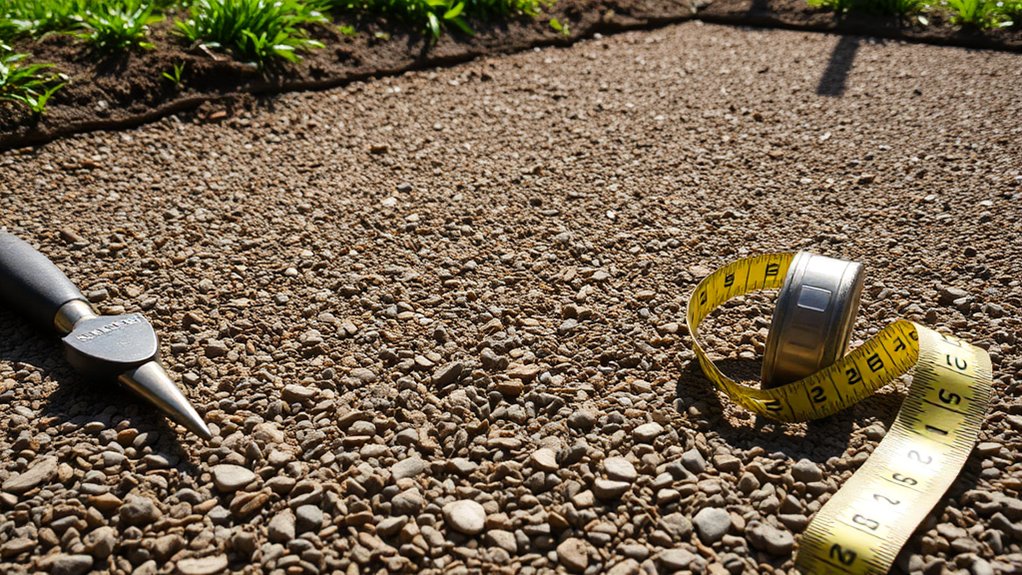
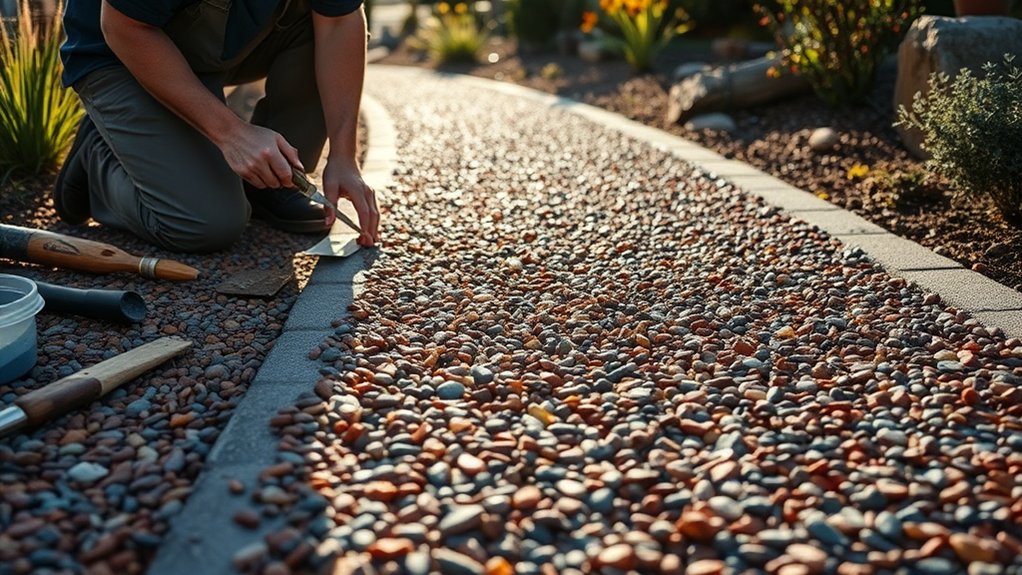
Edge Restraints and Boundaries
Choosing the right edge restraints for resin-bound gravel is crucial.
Opt for durable materials like aluminium, concrete or steel that suit your garden’s look and local weather. Proper installation matters – fix edges securely and leave small gaps for water drainage to prevent flooding. Installing edge restraints facilitates ease of installation by providing a border for trowelling.
Common options include metal edging strips for modern gardens or traditional stone borders for period properties.
A well-fitted edge keeps your gravel in place whilst complementing your outdoor space.
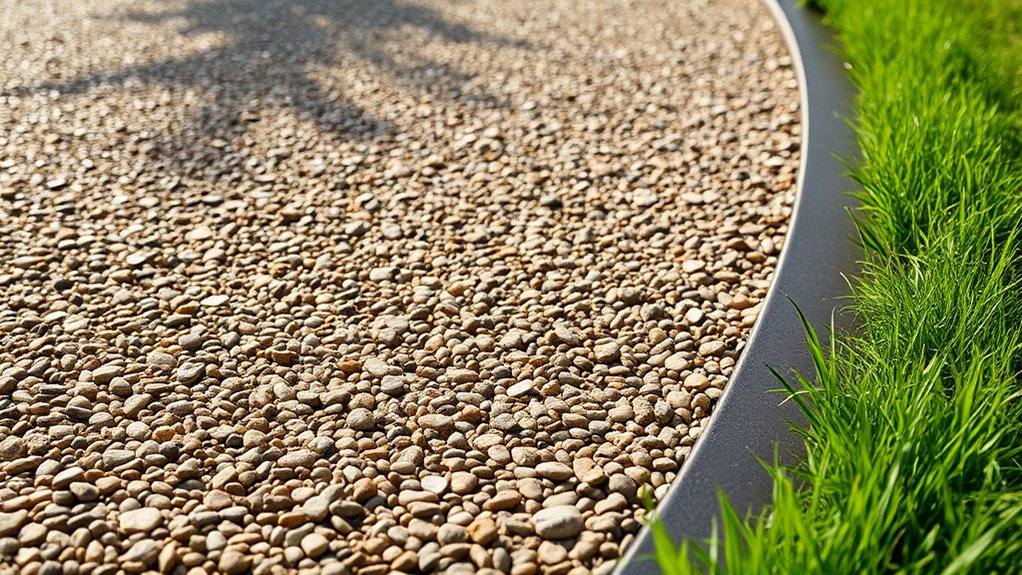
Choosing Edge Restraint Materials
Choosing the right edge restraints is crucial for a lasting, attractive resin-bound gravel surface. The material you select impacts both durability and visual appeal. Common options include:
| Material | Characteristics |
|---|---|
| Block Paving | Solid, blends with existing surfaces |
| Granite Setts | Durable, weather-resistant |
| Flexible Edging | Versatile, low-maintenance |
| Kinley Edging | Customisable, professional finish |
Granite setts work brilliantly for period properties and high-traffic areas, whilst flexible edging suits curved designs and contemporary gardens. Aluminium edging proves popular for matching existing driveways, and Kinley edging offers a smart, modern look ideal for commercial projects. Additionally, the exceptional durability of resin bound patios ensures that chosen edge restraints will remain intact even under challenging conditions. Consider your property style and practical requirements when selecting. A Victorian home might benefit from traditional granite setts, whilst a modern garden could suit sleek Kinley edging.
Installation Techniques and Tips
Essential installation tips for stable, attractive resin-bound gravel edges:
Create firm boundaries using flexible edging that rises 15mm above the base to stop resin spread – think of it like a cake tin containing mixture.
When tackling slopes, work from bottom to top, keeping the resin thick like golden syrup for proper edge hold.
Heavy-duty cellular paving grids offer extra support, much like a reinforced foundation. They lock the gravel in place whilst allowing water drainage.
Check edges regularly for any wobble or wear, and secure loose spots with mechanical fixings.
These simple steps ensure your path edges stay neat and lasting, much like a well-built garden wall.
Regular maintenance keeps everything ship-shape for years to come.
Ensuring Proper Drainage Gaps
Proper drainage gaps in resin-bound gravel must have well-planned edge restraints and boundaries. Quality edge restraints boost drainage and prevent water pooling by stopping gravel spread and protecting borders. Keep joints clear to allow water to flow freely.
| Considerations | Details |
|---|---|
| Material Selection | Choose robust materials like treated timber or aluminium edging |
| Slope Requirements | Ensure ground slopes 0.5% minimum towards drainage points |
| Gap Dimensioning | Keep gaps uniform for reliable water flow |
| Regular Maintenance | Check and clean gaps, particularly after storms |
Regular checks are vital during autumn when fallen leaves might block drainage channels. For best results, brush the surface monthly and clear any debris that could cause blockages.
Mixing Resin and Aggregates
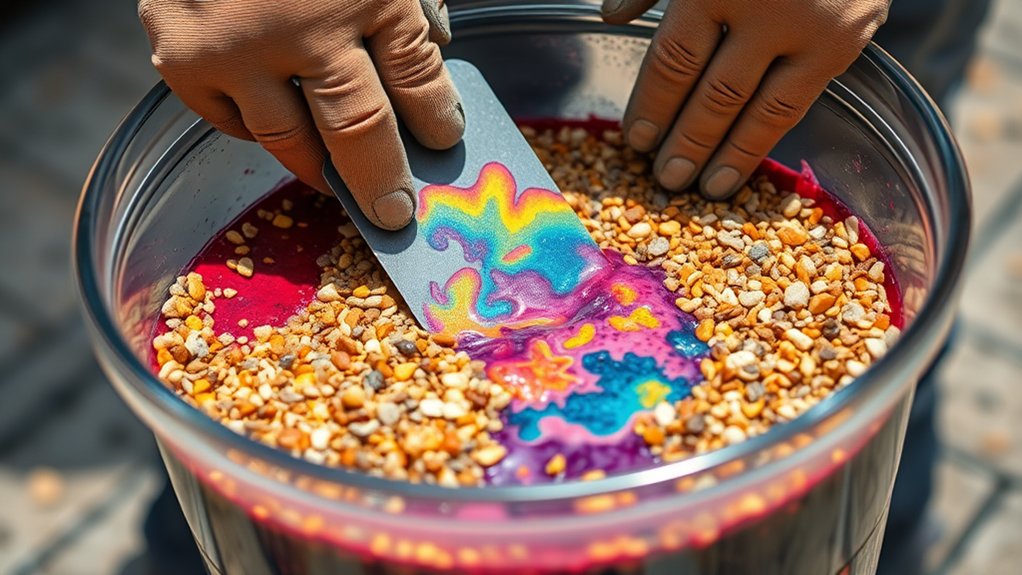
Proper mixing of resin and aggregates makes the difference between a lasting, attractive surface and a poor finish. Choose quality aggregates that blend 2-5mm and 1-3mm stones. A forced action mixer ensures even coating and stops resin from building up – just remember to clean it afterwards.
Start by mixing the first lot of aggregate for 30 seconds. Add your pre-mixed resin binder next – this starts your critical mixing window. Gradually pour in C52 sand to keep the mix consistent, then top up with the remaining aggregate. The whole process shouldn’t take more than four minutes, or the resin might start setting too early.
Stick to the same batch sizes and mixing times throughout your project – it’s like making a proper cup of tea, consistency is everything. This approach guarantees a uniform, professional finish every time.
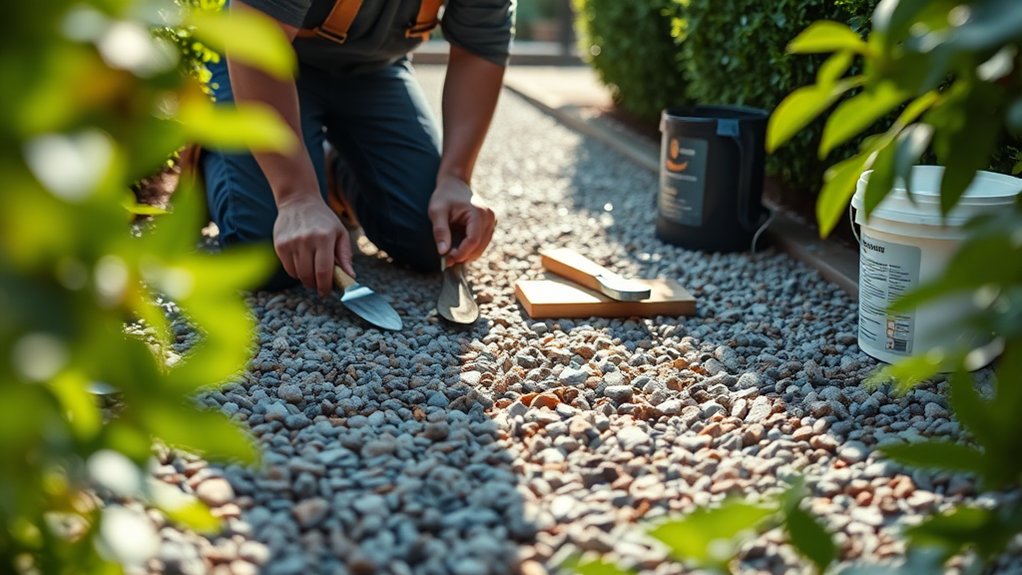
Application of Resin-Bound Mixture

Begin with a clean, level surface for proper resin-bound mixture adhesion.
Mark your area first to ensure accurate coverage in square metres.
Choose a dry day when ground temperature exceeds 10°C.
Pour the mixture and spread evenly using a trowel or squeegee, working methodically to prevent air pockets.
Keep several batches ready to maintain steady progress whilst the resin cures.
Mind the temperature throughout – if it shifts, adjust your technique straightaway to keep the finish smooth.
Much like laying a carpet, work in sections and maintain a consistent approach.
These steps will deliver a lasting, professional finish.
Curing and Finishing
After applying the resin-bound mixture, proper curing and finishing prove vital for a long-lasting, smart-looking surface. The mixture needs 4-6 hours to cure properly – rather like waiting for paint to dry on a garden fence – and mustn’t be walked on during this time.
Essential finishing steps:
- Work the surface with a trowel until smooth and even, much like icing a cake.
- Check the colour spread is consistent throughout.
- Fit proper edge restraints for crisp, professional borders.
- Spot-check for any flaws and sort them whilst the mixture remains workable.
The whole process isn’t particularly complex, but rushing it can lead to patchy results. Best to set aside a full day to ensure everything’s done properly.
Additional Installation Considerations
Additional Installation Considerations
When installing resin-bound gravel, proper sub-base preparation is crucial.
Consider both concrete-treated bases and permeable options. A solid sub-base supports the structure whilst ensuring proper drainage – vital for British weather conditions.
For best results, choose quality base materials suited to your site’s specific needs. A properly prepared foundation using the right materials will boost both the lifespan and effectiveness of your path or driveway.
Cementitious Sub-base Treatment
Cementitious Sub-base Treatment
A properly treated cementitious sub-base is vital for lasting resin-bound gravel surfaces. Four key aspects ensure optimal results:
- Material Selection: Mix cement, aggregate and water in correct proportions to achieve maximum strength. Standard British cement grades work best with locally sourced aggregates.
- Subbase Thickness: Calculate thickness based on expected vehicle weight and traffic frequency. For domestic driveways, 100-150mm usually suffices, whilst commercial areas need 150-200mm.
- Compaction: Use static steel wheel rollers in multiple passes until fully compacted. Check for uniform density across the surface to prevent future settling.
- Curing Methods: Mist regularly with clean water for 7 days, particularly in warm weather. British weather often helps maintain moisture, but don’t rely on rainfall alone.
Permeable Sub-base Options
Choosing the right permeable sub-base is crucial for a quality resin-bound gravel surface.
Permeable Base Mix (PBM) works brilliantly, combining rounded clay aggregates with cement-based binders for excellent drainage. MOT Type 3 offers another solid option, particularly suitable for foot traffic and resistant to frost damage. Open-graded asphalt is worth considering for extra support and water drainage.
Whilst existing concrete or tarmac bases can work, they must be sound and free from cracks – though they won’t comply with SuDS regulations.
Select appropriate aggregates to maintain permeability, and always use primer for proper resin bonding. These careful choices ensure your surface will last for years to come.
Maintenance Tips for Longevity
Maintaining Your Resin-Bound Surface
Regular care of your resin-bound gravel keeps it looking smart whilst extending its life. Essential maintenance includes:
- Regular sweeping – Clear fallen leaves and rubbish to prevent slippery patches, particularly during autumn months.
- Thorough cleaning – Use a pressure washer and gentle detergent for tough marks. Think of it like washing your car – firm but not aggressive.
- Weed management – Simply pull out any weeds by hand or apply a mild weed treatment when spotted.
- Surface protection – Mind where you place heavy garden furniture, and brush off muddy car tyres before driving on the surface.
Stick to these basic steps to maintain your surface’s appearance and durability.
It’s rather like caring for a carpet – little and often does the trick.
Frequently Asked Questions
What Is the Ideal Temperature for Installing Resin-Bound Gravel?
Resin-bound gravel works best when installed at temperatures between 5°C and 25°C, with 23°C being optimal. Think of a mild spring day – that’s perfect. Installing at the right temperature ensures proper curing and helps avoid common problems like weak bonding or patchy surfaces that could affect your driveway’s durability.
Can Resin-Bound Gravel Be Applied Over Existing Concrete Surfaces?
Resin-bound gravel works brilliantly over existing concrete surfaces, but proper preparation is crucial. The concrete must be sound, clean and ready for the resin to bond properly. For best results, maintain a 15mm depth across your driveway or path – about the thickness of a pound coin. Think of it like painting a wall: the better the base preparation, the better the final result.
How Long Does Resin-Bound Gravel Last Before Needing Replacement?
Resin-bound gravel surfaces typically last 20-25 years when properly installed and maintained. Much like a garden patio, its durability depends heavily on proper groundwork preparation and local weather conditions. Regular sweeping, occasional jet-washing and fixing any small cracks quickly will help your resin surface reach its full lifespan. Think of it as similar to maintaining your driveway – a bit of regular care goes a long way.
Is Resin-Bound Gravel Suitable for Heavy Vehicle Traffic?
Resin-bound gravel isn’t suitable for lorries or heavy commercial vehicles, though it works brilliantly for driveways and car parks with regular traffic. Think of it like this: whilst your family car won’t cause issues, a delivery lorry making frequent stops could damage the surface over time. The material excels in pedestrian areas, such as garden paths and patios, where its drainage properties truly shine. For heavy-duty commercial use, you’d be better off with concrete or tarmac.
What Colors and Textures Are Available for Resin-Bound Gravel?
Resin-bound gravel comes in a vast range of colours, from natural browns and greys to bright contemporary mixes. Choose from smooth, uniform finishes ideal for driveways, or textured surfaces perfect for garden paths. Common British favourites include Yorkshire Cream, Cotswold Stone and Thames Valley Grey, each offering distinct character to suit your property’s style.
Conclusion
A properly installed resin-bound gravel path not only enhances your property but often attracts local wildlife, particularly squirrels who favour the smooth surface. Whilst this might not have been part of your original plan, the durable finish will withstand such activity without damage. Regular sweeping and occasional pressure washing will keep your path looking pristine, regardless of its popularity with garden creatures.