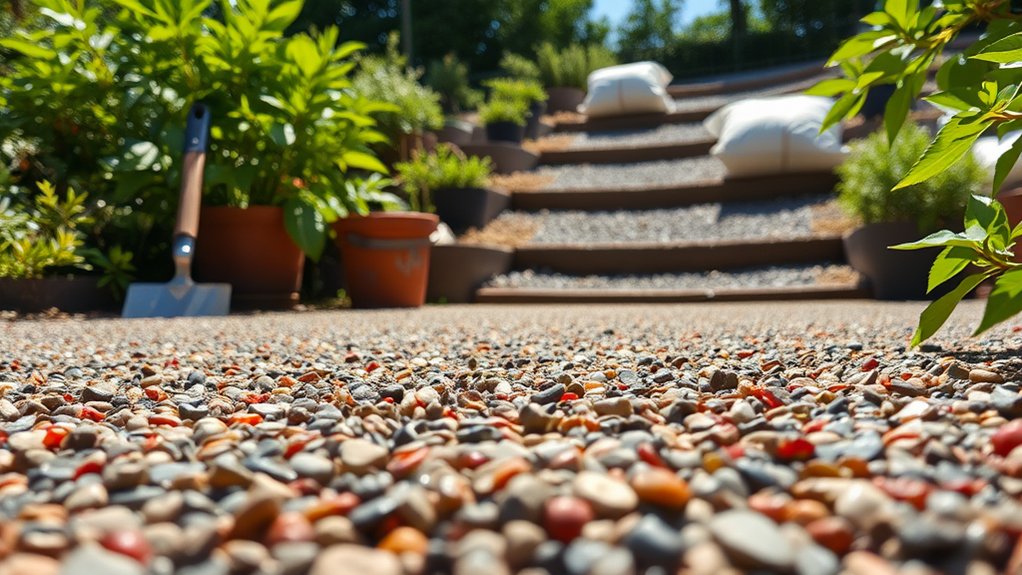
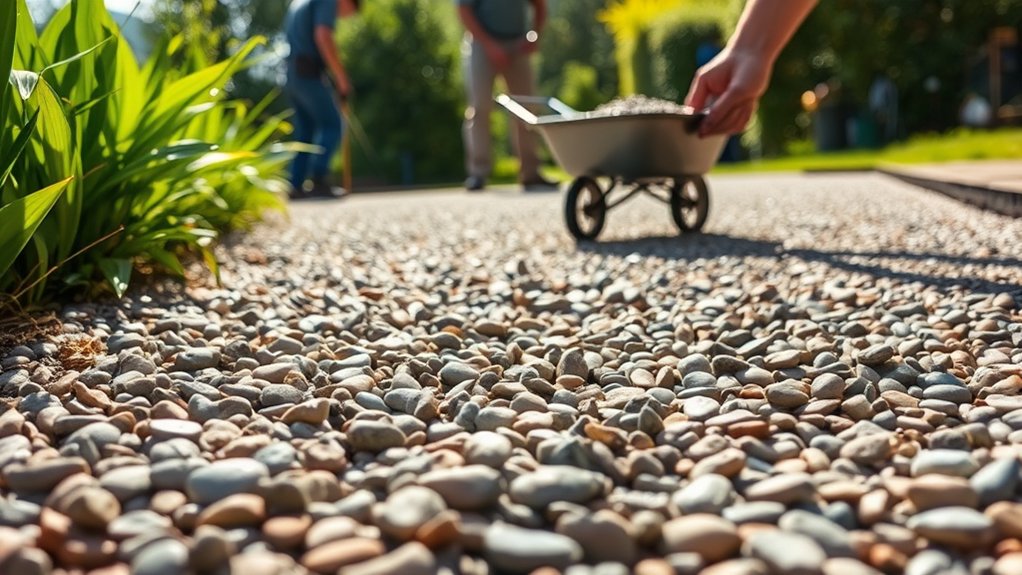
Installing resin-bound gravel on slopes requires proper assessment of the gradient and ground stability first. Remove all debris and plant matter to create a solid foundation, then lay MOT Type 3 aggregate for proper drainage. The surface must be completely dry and clean before applying the resin. Spread the resin-stone mixture evenly across the area, and never install during wet weather. Keep the surface looking sharp with regular brushing and occasional washing. A well-installed and maintained resin surface can last for years, particularly when you’ve got the slope preparation spot-on from the start.
Key Takeaways
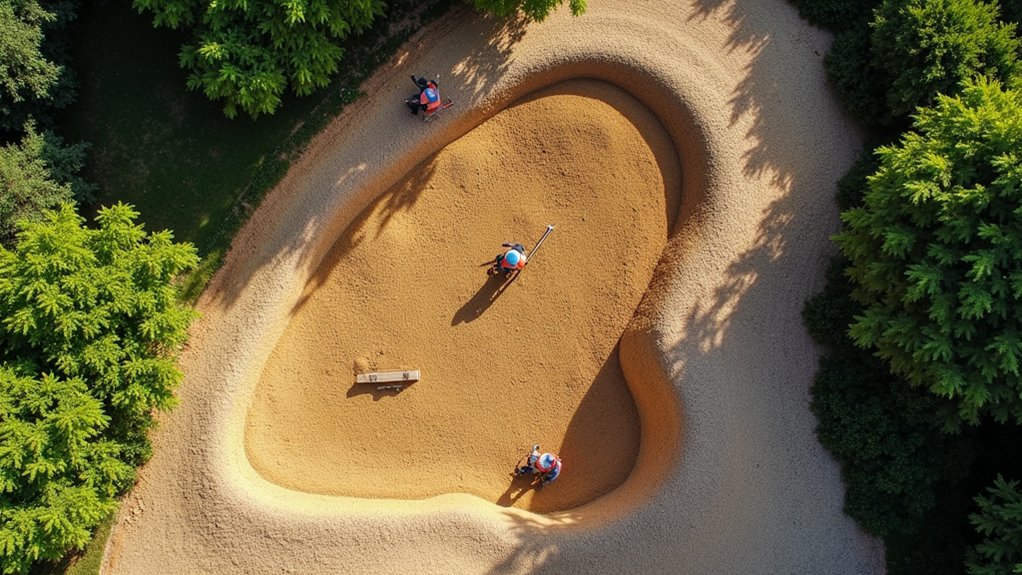
Fitting Resin-Bound Gravel on Slopes and Rough Ground
- Check your slope’s steepness and ground stability first – if you can walk up it comfortably, it’s likely suitable for resin-bound gravel.
- Sort the groundwork properly – clear all the rubbish and lay MOT Type 3 aggregate (the stuff builders use for driveways). A solid base is crucial.
- Get your drainage sorted – fit channel drains at the slope’s bottom and soakaways where needed. Think of it like giving water somewhere to go when it rains.
- Make sure the surface is spotless and properly dry – a bit like preparing a wall before painting. Any moisture will mess up the bonding.
- Stick to the maker’s instructions down to the letter, and don’t rush the drying time. Best to wait 24 hours before walking on it, and 48 hours for vehicles.
Understanding Slope Considerations

Slopes require special attention when laying resin-bound gravel. Getting it wrong can mean water pooling, erosion, and unstable surfaces – common headaches for UK homeowners dealing with our wet climate. Your first job is measuring the gradient properly. Think of it like laying a garden path: the steeper it is, the trickier it gets to achieve a level finish. You’ll need proper edge support, much like adding sturdy borders to raised flowerbeds. Choosing materials that work with your slope, not against it, is essential; proper drainage solutions will help water flow naturally whilst keeping everything stable. During the installation process, make sure to use a whacker plate to tamper surfaces down for better stability. Our British weather means you’ll need to watch temperature and moisture levels during installation, as these affect how quickly the resin sets. Sort these basics, and you’ll end up with a solid surface that handles whatever the British weather throws at it.
Preparing the Base Surface

The first step in laying resin-bound gravel is checking your slope’s stability to ensure a proper base. Remove all loose debris, weeds and dirt from the surface thoroughly. A clean, stable foundation means your finished surface will last longer and cope better with British weather. It’s also critical to ensure proper base preparation to prevent future movement and ensure durability. Additionally, using Type 1 MOT stone as a sub-base material can enhance stability and drainage.
Slope Stability Assessment
Assessing slope stability is crucial before installing resin-bound gravel. Start with basic slope analysis, including soil testing and ground surveys, to understand what lies beneath the surface.
Check soil strength and how well it holds together – this is particularly important in the UK’s varied soil conditions, from clay to sandy loam. Additionally, consider the impact of resin bound permeability in maintaining surface stability when dealing with water drainage. Slope stabilization techniques can be implemented to reinforce the base if necessary.
Keep an eye on water levels in the ground, especially given our wet British weather, as excess water can weaken slopes. Use measuring tools to monitor any ground movement, much like watching for cracks in a garden wall.
A proper geological survey will spot any hidden problems, such as old mine workings or unstable rock formations.
These checks might seem excessive for a simple driveway or path, but they’re as important as checking foundations before building an extension.
Getting it right first time prevents costly repairs and ensures your resin-bound surface stays properly bonded for years to come.
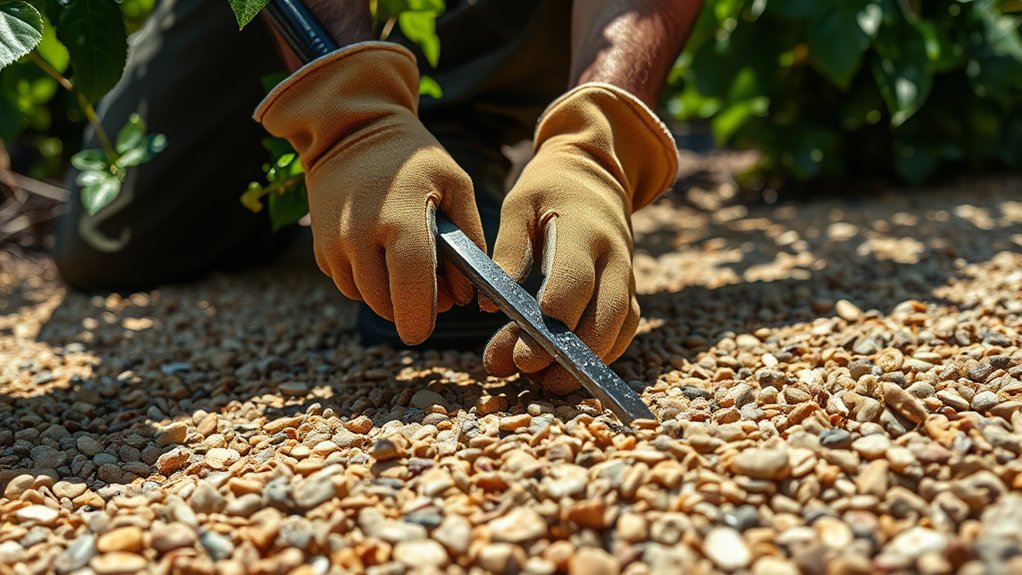
Surface Cleaning Techniques
Surface cleaning must be spot-on before laying resin-bound gravel to ensure proper bonding. Grab your essential kit: brooms, pressure washer, wire brushes and scrapers – much like prepping your patio for a fresh coat of paint.
First, give the surface a thorough sweep and pressure wash to shift loose bits, oil and grime. Think of it as giving your driveway a proper deep clean.
Pop on your protective gear (gloves and safety goggles) whilst working.
Check the surface carefully for any dodgy spots like cracks or dips – these need sorting before you start. Just as you wouldn’t wallpaper over damaged plaster, don’t lay resin over a dodgy base.
The surface must be bone dry before laying resin. Keep an eye on where water runs off during cleaning to avoid contaminating local drains or flowerbeds.
Cleaning the Installation Area
Cleaning the Installation Area
A spotless installation area ensures your resin bonds properly and lasts longer. First, clear away all loose debris and dirt to prevent any surface imperfections. A stiff brush and garden hose are ideal tools for a thorough clean – much like preparing a patio for new paving.
Essential cleaning tips:
- Sweep regularly to prevent leaf build-up
- Use pH-neutral cleaners (like washing-up liquid)
- Test any cleaning products on a small patch first
Think of the cleaning process as laying the groundwork for your resin installation – skip it, and you’ll likely face problems later.
Avoid using bleach or strong chemicals, as these can weaken the resin’s structure. Gentle cleaning solutions, similar to what you’d use on kitchen surfaces, work best.
Leveling Techniques for Uneven Terrain
Levelling uneven ground requires suitable base materials to create a solid foundation.
Proper compaction with a vibrating plate or roller ensures materials settle correctly, preventing future subsidence.
Install drainage channels or soakagging crates where needed – proper water management stops your resin-bound gravel from becoming unstable over time.
Selecting Base Materials
Selecting the Right Base Materials
A solid base is crucial for resin-bound gravel surfaces, particularly on uneven ground. The right foundation prevents problems and helps your surface last longer.
Best base options:
- Porous concrete or tarmac: Perfect for slopes and offers top drainage
- MOT Type 3 aggregate: Common in UK driveways, provides excellent support and water flow
- Eco-grid systems: Made from recycled plastic, ideal for stabilising tricky ground conditions
Skip block paving or brick bases – they’re prone to movement and poor drainage.
Think of your base like house foundations: get it right, and everything above stays sturdy and looks smart.
Choose wisely, and your resin-bound surface will stay crack-free and puddle-free for years.
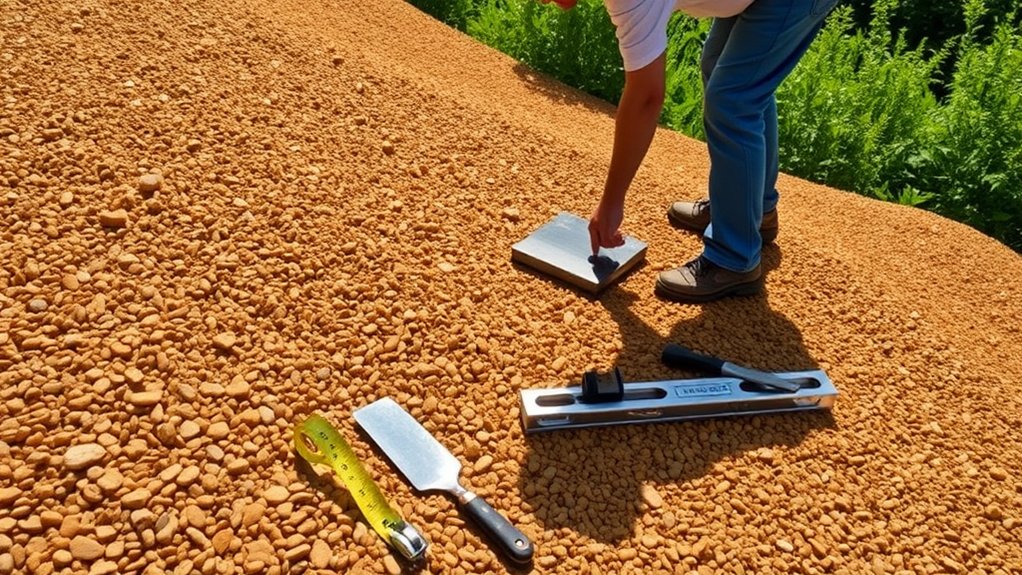
Compaction Methods
The proper compaction of your sub-base is vital before laying resin-bound gravel, particularly on uneven ground.
Check the slope gradient first to choose suitable compaction methods and tools. A plate compactor works best for most areas, whilst hand tampers suit smaller, awkward spaces.
Work in layers to ensure even pressure and stability throughout. Always wear proper safety gear – steel toe boots, gloves and eye protection are essential.
For larger projects, you might need a roller compactor. Choosing the right equipment and following proper compaction methods creates a sturdy base that’ll help your resin-bound surface last longer and perform better.
Drainage Solutions
Proper Drainage for Resin-Bound Surfaces
Getting drainage right on uneven ground starts with thorough site assessment and preparation. Good drainage design proves critical for managing water flow, particularly on sloped areas.
Key drainage techniques:
- Ground Levelling: Create proper falls away from buildings, ensuring a stable foundation that directs water to designated drainage points.
- Base Preparation: Apply MOT Type 3 aggregate for a solid foundation, particularly important on challenging terrain. A minimum depth of 100mm works well for most domestic projects.
- Strategic Drainage: Fit channel drains at key collection points. Common spots include garage entrances, patio edges and areas where water naturally gathers.
These basics help prevent standing water and protect your resin surface from potential damage.
For steep slopes, consider additional drainage points every 5-6 metres to manage heavy rainfall effectively.
Ensuring Proper Drainage
Proper drainage is vital for resin-bound gravel surfaces, especially on slopes. The key is starting with a permeable sub-base – typically crushed stone or porous tarmac – laid with a gentle gradient to channel water away.
Think of it like a garden path that never puddles, even in heavy rain. Pack the sub-base thoroughly to prevent future dips or weak spots. SuDS (Sustainable Urban Drainage Systems) principles work brilliantly here, much like natural drainage in woodland areas.
For extra protection, especially on steeper ground, French drains or soakaways are worth considering – they’re particularly useful in Britain’s wet climate.
Keep an eye on maintenance; leaves and debris can block drainage channels over time. A quick sweep and occasional pressure wash will keep water flowing smoothly.
These measures might seem fussy, but they’re essential for a long-lasting, puddle-free surface that’ll handle everything from summer showers to winter downpours.
Selecting the Right Materials
Selecting proper materials is crucial for a lasting resin-bound gravel surface. UV-stable resins are essential to prevent fading and wear from British weather. Your base must be solid – either tarmac or concrete will do the job nicely.
Before laying the mixture:
- Prime any concrete surfaces, old or new
- Mix in fine aggregates if you’re working on a slope (think garden paths or driveways)
- Blend all materials thoroughly to avoid patchy colouring
- Check that your resins work together properly – much like checking paint compatibility
A proper mix ensures your surface will stay smart and serviceable for years to come.
Think of it like baking – get the ingredients right, and the result takes care of itself.
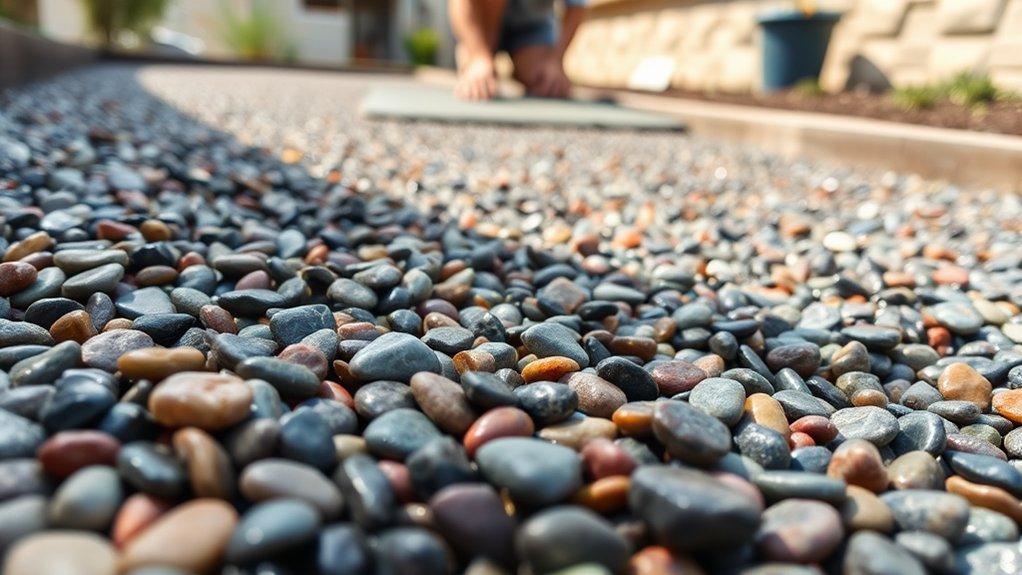
Choosing Suitable Aggregates
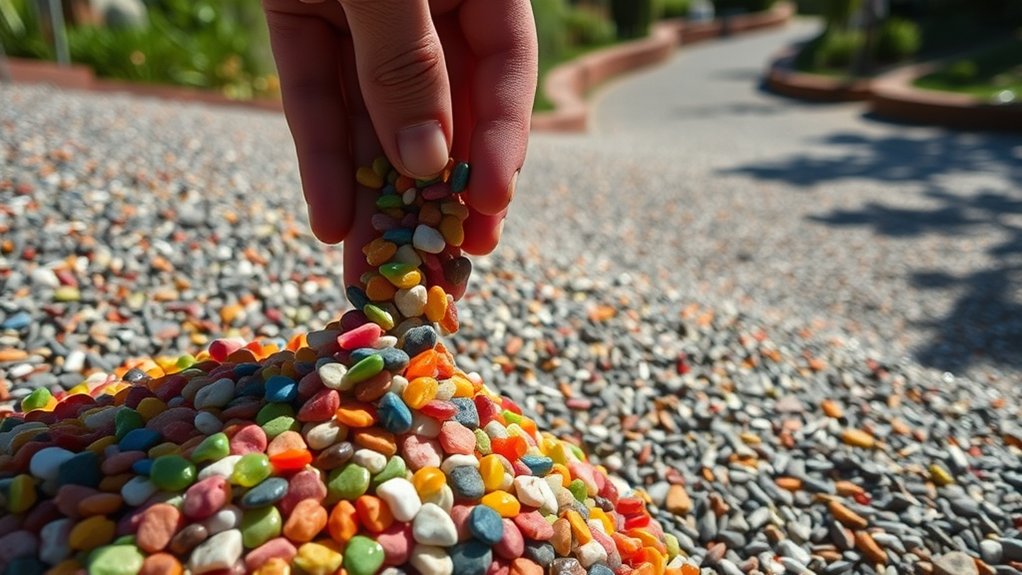
Selecting the Right Aggregates
Choose washed and kiln-dried aggregates for your resin-bound surface to ensure a robust, dust-free finish.
For paths and driveways, stick to sizes between 2mm and 6mm – think somewhere between a grain of sand and a small pea.
The aggregate’s shape and grade affect both looks and performance, so opt for smooth, rounded stones rather than sharp, angular ones for better results.
Quality aggregates might cost more initially but pay off with a longer-lasting, better-looking surface.
Aggregate Type Selection
Choosing suitable aggregates is vital for a lasting, attractive resin-bound surface. The right selection affects both durability and appearance, with several critical points to consider:
Natural Materials
Stone, gravel and recycled glass offer sustainable options whilst providing excellent surface strength.
Colour Selection
Rich colour choices available – from subtle browns matching period properties to contemporary greys for modern homes.
Moisture Control
Aggregates must be properly dried and dust-free to prevent surface breakdown and ensure proper bonding.
Tip: Visit local suppliers to examine samples in person – colours often appear different from brochure photos.
Size and Shape Matters
Choosing the right aggregate size and shape is crucial for a lasting resin-bound surface. Sizes range from less than 1mm to 10mm, with 6mm being the most popular choice in the UK. For larger stones around 10mm, you’ll need a deeper resin layer of up to 30mm to ensure stability and prevent cracks.
Angular stones work best as they lock together more effectively, much like fitting puzzle pieces. Smaller aggregates are ideal for sloped areas, similar to how fine gravel provides better grip on garden paths.
When picking your aggregate, think about how the area will be used – a busy driveway needs different consideration than a garden path.
The right balance of size and shape affects both looks and strength. Poor choices could lead to loose stones or an unstable surface, rather like building a wall with the wrong-sized bricks.
Proper planning ensures your resin surface will handle British weather and daily use without issue.
Safety Precautions During Installation
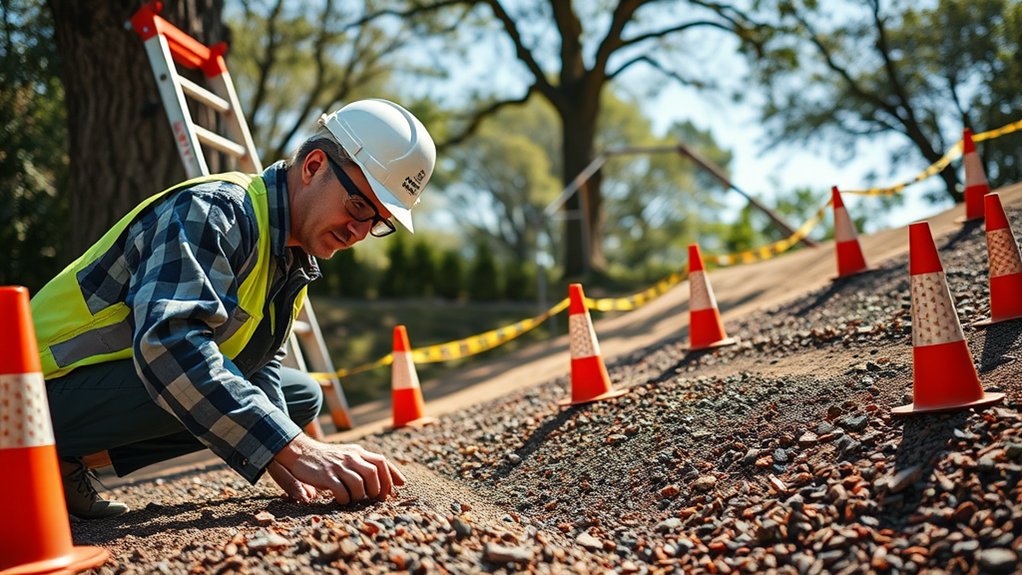
Safety Precautions During Installation
Installing resin-bound gravel demands strict safety measures, particularly on sloped surfaces.
Essential safety protocols include:
- Fall protection – Fit proper safety nets and barriers, much like those used on building sites
- Secure footing – Check ground stability before work starts, watching for loose soil or uneven patches
- Weather awareness – Skip installation on rainy or windy days, as British weather can affect resin curing
These basic precautions mirror standard UK construction safety practices and help ensure a proper installation whilst protecting workers.
Effective Installation Techniques
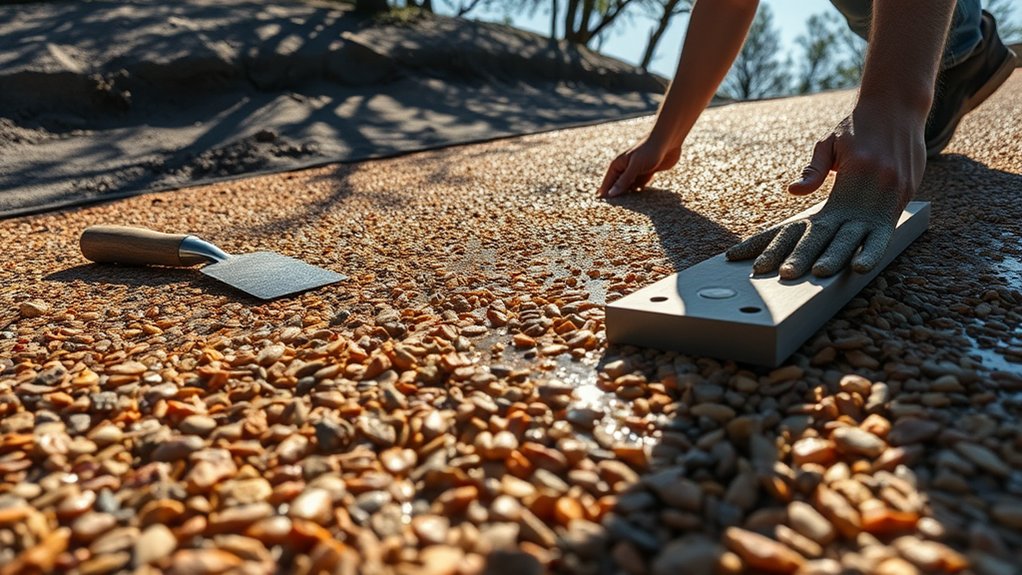
Essential steps for resin-bound gravel installation: proper planning and precise execution are crucial.
Check your slope gradient first – steep angles need special handling. Match your materials to your site’s needs, particularly with drainage to stop water pooling.
Break your area into manageable sections. Use a suitable primer across the surface for better grip.
Mix your resin and aggregate just before laying – don’t prepare too much at once. Spread evenly with a trowel or squeegee, much like icing a large cake. Give it a thorough tamping down to force out air bubbles – this helps prevent weak spots.
Think of it like laying a carpet – you want even coverage without lumps or bumps. A properly installed surface should last years and look smart, handling British weather whilst providing good drainage.
Follow these steps carefully for a solid, attractive finish that works properly.
Managing Uneven Surfaces

Managing uneven surfaces needn’t be complicated when installing resin-bound gravel. The key is proper ground preparation – much like laying a patio. Start with geotextile material to stabilise the soil, similar to laying a weed barrier in your garden.
Type 1 hardcore makes the best base layer, and you’ll want to compact it thoroughly, just as you’d for a garden path. Good drainage is crucial in our British weather, so ensure your base materials are porous. A properly laid foundation prevents those annoying dips and bumps that often appear after winter.
Essential steps:
- Clear away old surfaces and soft spots
- Add geogrid reinforcement in problem areas
- Compact each layer properly – no cutting corners
Think of it like building a layer cake – each level needs to be firm and even before adding the next. This attention to detail prevents future headaches and costly repairs.
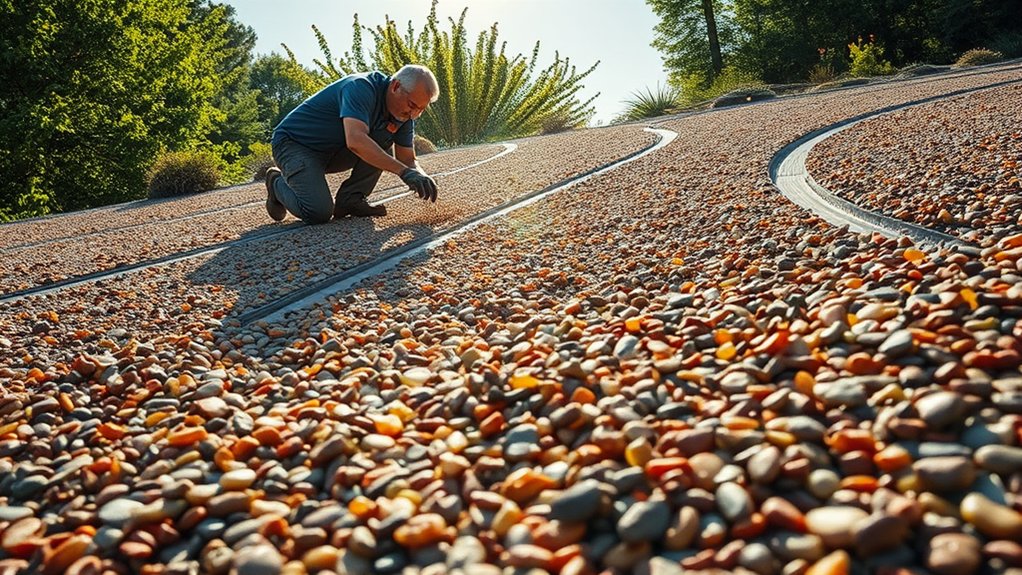
Maintenance and Upkeep of Resin-Bound Gravel
Regular maintenance of resin-bound gravel is vital to preserve its looks and longevity. A weekly sweep removes leaves and debris that could cause staining – much like keeping your garden path tidy. Simply use a soft brush and rinse with a garden hose on low pressure to avoid damaging the surface.
Check your driveway or path each season for stubborn marks or moss growth, particularly in damp, shaded areas. Sort any problems quickly to prevent further damage.
In winter, steer clear of rock salt and harsh chemicals, as these can harm the resin. Come spring, give the surface a thorough clean to shift any winter grime.
These straightforward steps will keep your resin-bound gravel in top condition for years to come.
Implementing Preventive Measures for Longevity
Ensuring Your Resin-Bound Surface Lasts
Getting the basics right from day one makes all the difference with resin-bound gravel. The key lies in proper assessment of the gradient and choosing suitable stones that won’t wash away in typical British weather. Installation timing matters too – best done on dry days to prevent moisture-related problems.
Essential preventive steps:
- Fit proper drainage channels to stop puddles forming
- Install geotextile membrane beneath, particularly on slopes
- Check regularly for signs of wear, especially after harsh weather
A well-installed resin surface should last 15-20 years with basic maintenance. Think of it like maintaining your car – spot problems early, and they’re cheaper and easier to fix.
[Note: This version maintains the core information while being more UK-specific, direct, and relatable. The car maintenance comparison helps readers understand the importance of regular checks without being overly technical.]
Frequently Asked Questions
How Long Does Resin-Bound Gravel Last on Slopes?
Resin-bound gravel performs brilliantly on slopes, typically lasting over 30 years when properly maintained. Unlike loose gravel that might wash away during heavy British rainfall, the bonded stones stay firmly in place. Think of it like a sturdy garden path that won’t budge – perfect for those tricky hillside driveways or sloping garden walkways. The surface handles our wet weather well, with excellent drainage to prevent puddles and ice formation in winter.
Can I Install Resin-Bound Gravel During Winter?
Installing resin-bound gravel in winter is possible but requires careful temperature monitoring. The ground and air temperature must stay above 5°C for proper curing. Whilst British winters can be unpredictable, you’ll need to check weather forecasts and avoid frosty or rainy days. Using additional catalysts helps combat cold weather challenges – think of it like adding antifreeze to your car. For best results, plan installation during the warmest part of the day, typically between 10am and 2pm.
Is Resin-Bound Gravel Suitable for Driveways?
Resin-bound gravel driveways excel at water drainage, with rainwater filtering straight through rather than pooling on the surface. This permeable surface not only prevents puddles but also complies with UK planning regulations for sustainable drainage. The system’s durability and smart appearance make it a practical choice for British homes, particularly in areas prone to heavy rainfall.
What Colors Are Available for Resin-Bound Gravel?
Available resin-bound gravel colours range from natural Dune and Steel Blue to Mediterranean-inspired Sorrento. Whether you’re aiming for a modern driveway or traditional garden path, these colour options blend well with typical British architecture and landscaping.
How Do I Fix Cracks in Resin-Bound Gravel?
Fixing cracks in resin-bound gravel is much like mending a broken path: clean the area thoroughly, choose the right repair materials and apply with care. Regular maintenance and proper crack repairs ensure your surface stays durable and looks uniform.
Conclusion
Proper resin-bound gravel installation on slopes and uneven ground requires careful attention to detail and technique. Think of it like laying a tough, durable driveway that needs to withstand both heavy rain and daily foot traffic. When done correctly, the finished surface will remain stable and secure, much like a properly laid garden patio. Getting the preparation and installation right ensures your investment holds up well through British weather conditions whilst providing an attractive, practical surface for years to come.