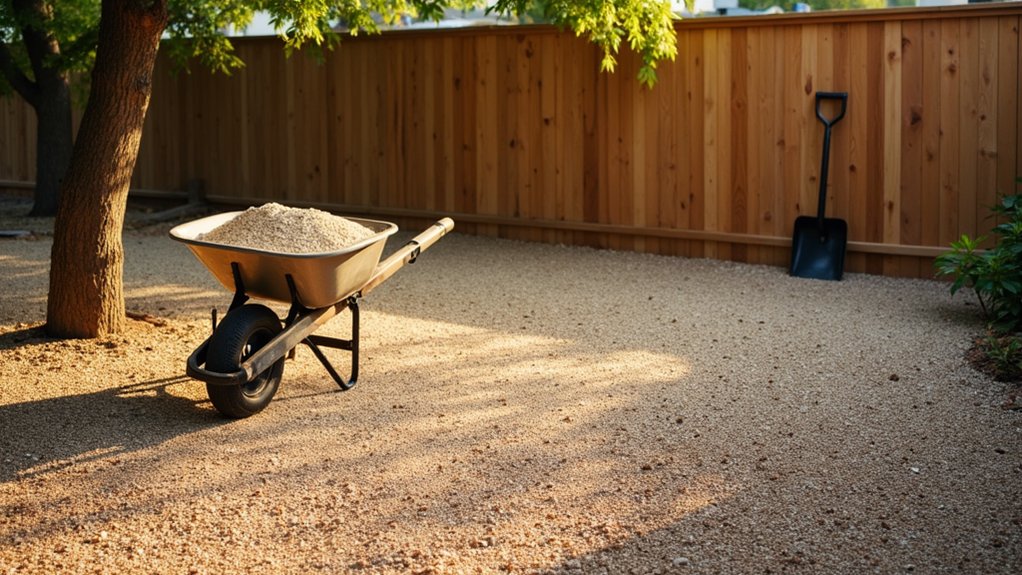
Preparing a solid base for resin-bound gravel starts with thorough ground clearance – remove all weeds and debris. Dig the area to 150-200mm depth, checking your soil type as you go. Add MOT Type 3 aggregate for your sub-base; it’s the standard material used across the UK for driveways and paths. Compact it properly with a plate compactor or roller. Fix sturdy edge restraints – aluminium or brick edging work best – to contain the resin. Before mixing any resin, ensure your surface is dead level using a spirit level. Getting the base right is crucial; it’s like building a house – you need proper foundations.
Key Takeaways
Preparing Your Base for Resin-Bound Gravel
- Remove all weeds, grass and loose bits from your working area – it needs to be spotless for proper installation.
- Dig down 150-200mm (roughly the height of two house bricks). Pack the soil down firmly – you don’t want any sinking later.
- Lay MOT Type 3 stone as your sub-base. It’s the same stuff used under roads, so you know it’s sturdy. Compact it thoroughly.
- Fit proper edging around the perimeter – concrete or metal works best. These edges need to be rock-solid to hold everything in place.
- When mixing resin and stones, follow measurements exactly. Spread evenly, just like icing a cake, for a level surface.
[The text maintains British English spelling and terminology while being direct and relatable. Technical terms are explained with familiar comparisons, and the tone remains professional but approachable.]
Excavation and Site Preparation
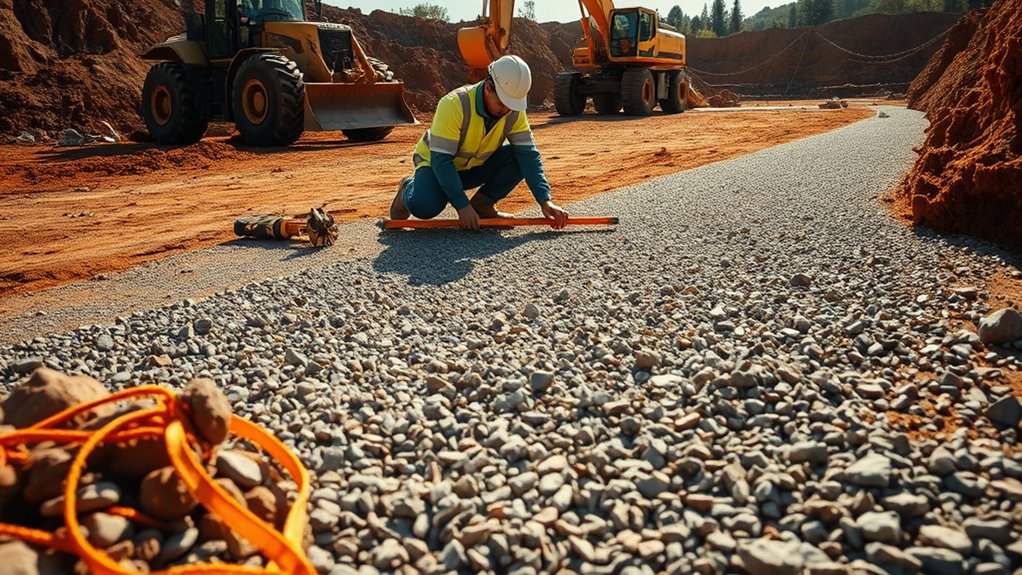
Proper site preparation is crucial for laying resin-bound gravel. First, thoroughly clear the area of weeds, plants and any loose material. Assess your soil type and dig to the required depth – typically 150-200mm for domestic driveways or paths. For larger areas or poor soil conditions, you’ll need a mini-digger or similar machinery. Always check for underground utilities before digging.
Once excavated, compact the soil thoroughly using a vibrating plate or roller. The ground must be stable and level, with no soft spots. Proper moisture control is essential – the soil should be neither too wet nor too dry during compaction. This helps ensure a strong base for resin bound surfaces, which is vital for preventing future surface problems like sinking or cracking, as improper sub-base preparation can lead to significant durability issues.
These initial steps might seem time-consuming, but they’re vital for preventing future surface problems like sinking or cracking.
For best results, consider hiring professional equipment if you’re doing it yourself, or consult a qualified contractor who’ll have the right tools for the job. Safety barriers and proper protective gear are non-negotiable when excavating.
Suitable Base Materials for Resin-Bound Surfaces
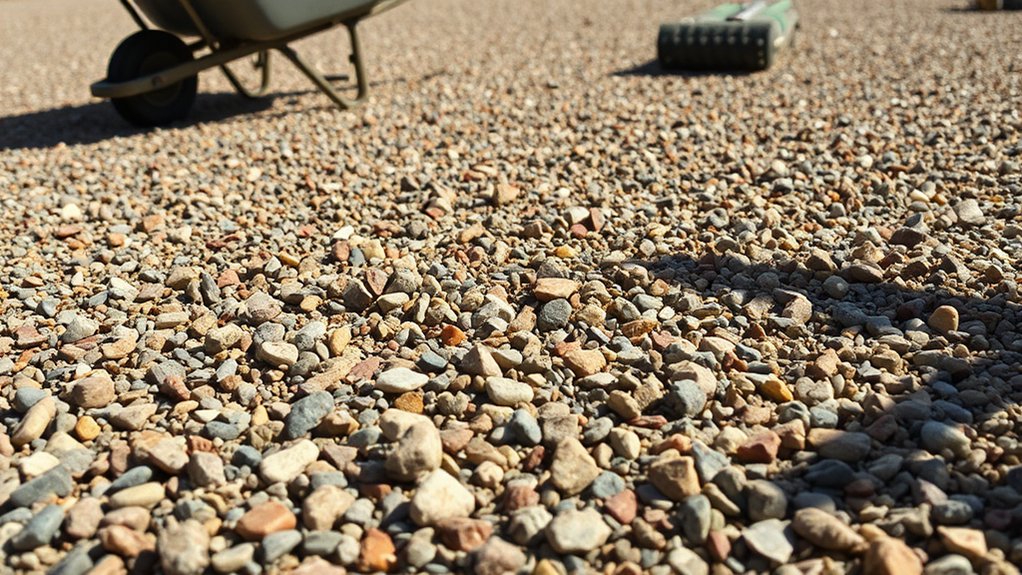
Selecting the Right Base Materials for Resin-Bound Surfaces
The key to a lasting resin-bound surface lies in choosing proper base materials after site excavation and compaction. MOT Type 3 stands out for its excellent drainage and frost resistance, whilst Open Graded Tarmacadam offers strong SuDS compliance for effective water management. It’s essential to ensure a stable sub-base to support the resin surface and evenly distribute weight. Clearstone Paving Ltd. emphasizes the importance of preparation and design to achieve optimal results.
| Material | Properties | Suitability |
|---|---|---|
| MOT Type 3 | Strong, well-draining, non-frost | Great for residential areas |
| Open Graded Tarmacadam | Permeable, SuDS compliant | Ideal for driveways and paths |
| C35 Concrete | Robust but non-permeable | Best for heavy-duty applications |
| Mesh ‘N’ Go Systems | Reinforcement for heavy use | Perfect for car parks |
Each material serves different needs – MOT Type 3 works brilliantly for home projects, whilst C35 Concrete suits commercial spaces needing extra strength. Think of it like building a house – the stronger the foundation, the better the result.
Sub-Base Preparation and Compaction
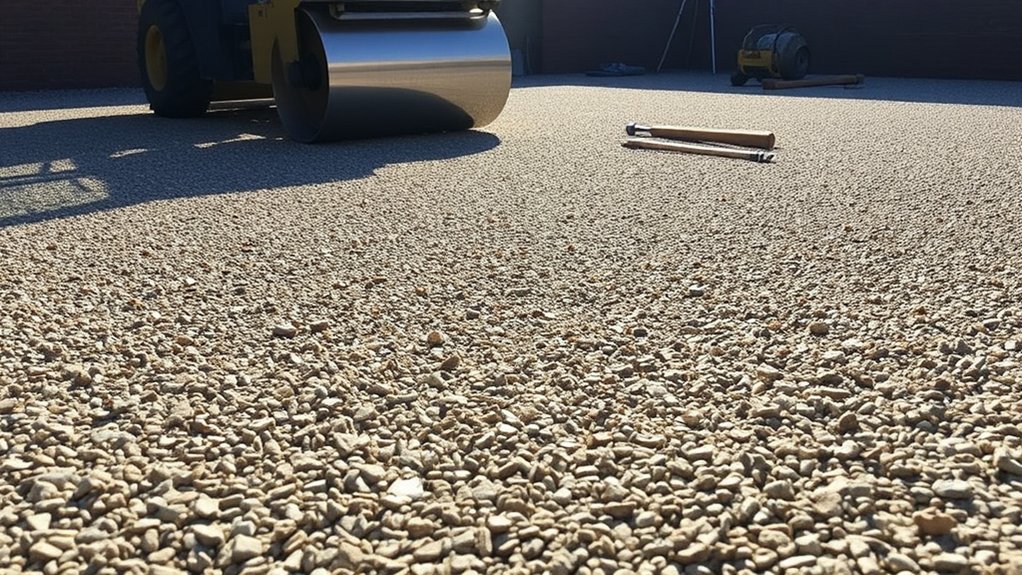
A solid sub-base is vital for resin-bound gravel surfaces. Use MOT Type 3 aggregate and check your soil conditions to work out the right sub-base depth – usually between 100-250mm. For large areas, use a roller compactor, whilst plate compactors work best for smaller spaces. Keep the material at the right moisture level whilst compacting to avoid any wobbles later on. The finished surface should be level within 3mm to ensure your resin layer goes on properly. Proper drainage is crucial to prevent puddles and waterlogging and good compaction stops the ground from sinking and helps create an even finish. It is essential to ensure that the base is permeable for SUDs compliance to avoid potential issues with drainage. Regular checks during prep work will keep you on track. Think of it like laying house foundations – get this bit right, and the rest will follow nicely.
Edge Restraints Installation
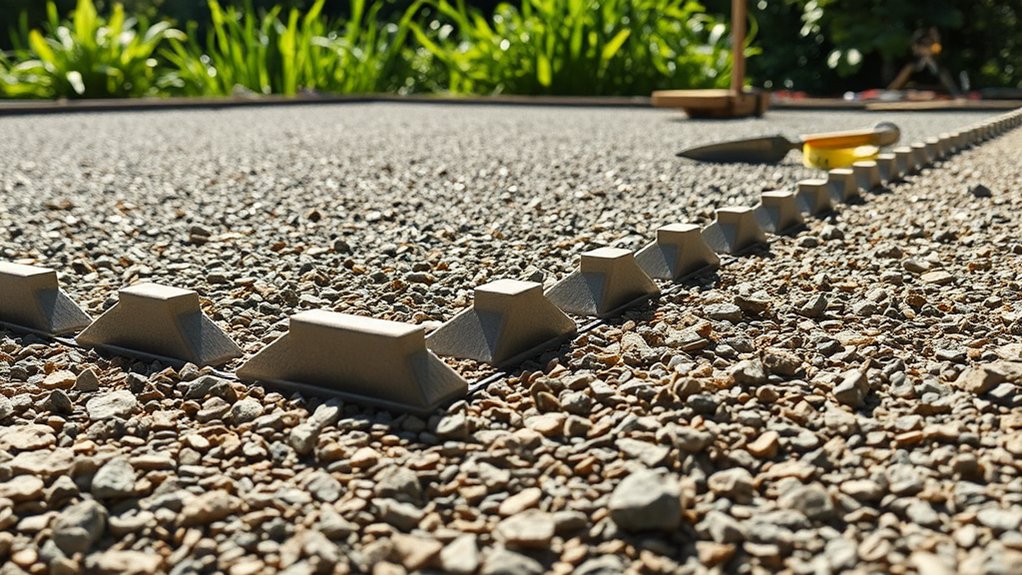
Edge restraints are essential for a proper resin-bound gravel installation. Choose strong materials like aluminium edging or brick sets to frame your driveway or path. Mark out your edges with spray paint, checking they’re level throughout. Fix the restraints firmly in place – this stops any shifting whilst laying the resin surface.
Good edge restraints serve two key purposes: they keep the resin mixture contained and give your project a smart, professional finish.
Common choices in the UK include:
- Aluminium edging strips
- Concrete kerbs
- Block paving
- Engineering bricks
Make sure to bed the restraints securely into a concrete haunching. This provides the strength needed to hold the resin surface in place as it sets.
A poorly installed edge will likely lead to problems later, so it’s worth taking time to get this stage right.
Mixing and Application of Resin-Bound Gravel
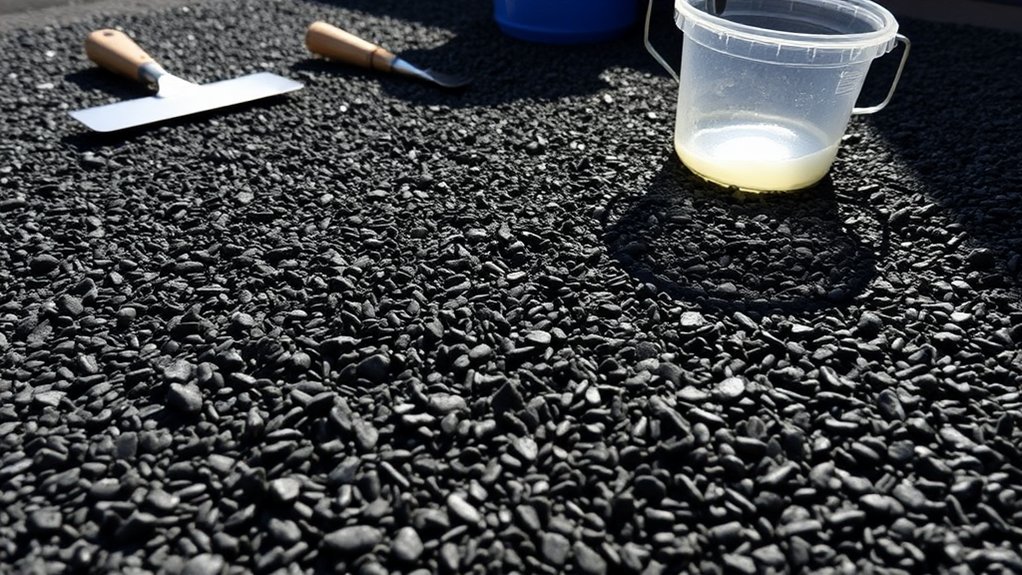
Mixing and laying resin-bound gravel requires careful attention to detail. Check your aggregates and ensure your base is clean and perfectly level before starting. Use a forced action mixer for your aggregates, and mix the resin according to the manufacturer’s specs.
| Step | Action | Notes |
|---|---|---|
| Aggregate Mixing | Mix aggregates dry for 30-60s | Removes dust, ensures even mix |
| Resin Preparation | Pre-mix resin components | Stick to manufacturer’s guidelines |
| Application Method | Spread evenly, watch cure time | Use proper tools for smooth finish |
Think of the process like making a cake – get your measurements right, mix thoroughly and lay carefully. Poor preparation often leads to uneven surfaces and weak spots, much like a badly mixed concrete path would crack and crumble.
Frequently Asked Questions
What Tools Are Needed for Resin-Bound Surface Installation?
Essential tools for resin-bound surfacing include a forced action mixer and whisk paddle for proper resin blending. A screed sledge and resin trowel are crucial for achieving an even, professional finish during surface preparation and laying.
Can Resin-Bound Surfaces Be Installed in Cold Weather?
Installing resin-bound surfaces in cold weather requires careful planning and proper conditions. The ideal temperature should remain above 5°C throughout the installation and curing period. British winters pose particular challenges, as overnight frost can seriously impact the resin’s ability to bond correctly.
To ensure success, check weather forecasts thoroughly, use winter-grade resins when available, and avoid installation on days with predicted frost. For best results, schedule work during warmer daytime hours, similar to how you’d pour concrete in colder months.
Many UK contractors opt to pause resin installations during December through February, when temperatures are most unpredictable. If installation must proceed, ensure all materials are stored at room temperature before use and the substrate is completely dry and frost-free.
How Long Does the Entire Installation Process Take?
Installation takes roughly 3-7 days, varying with project size and British weather. Basic driveways might be ready for foot traffic within 24 hours, whilst vehicles require a full week’s curing time. Larger or more complex projects may need additional time, particularly during wet or cold spells.
Are There Any Specific Safety Precautions to Consider?
Proper safety measures are essential for installation. Always wear appropriate protective equipment, including safety goggles, gloves and respiratory protection when needed. Ensure good ventilation in your work area, keep harmful chemicals safely stored, and maintain clear access to emergency exits and first aid supplies. Keep a detailed safety plan and emergency contact numbers readily available.
What Types of Decorative Aggregates Are Available?
Decorative aggregates come in countless colours, from natural stone shades to bold, vibrant options. Whether you’re after warm Mediterranean tones for a garden path or crisp white pebbles for a modern driveway, there’s an aggregate to match any outdoor design scheme. Common choices include slate grey, honey-coloured granite and classic limestone white.
Conclusion
Proper base preparation is essential for a resin-bound gravel surface to ensure its longevity and performance. A well-laid foundation creates a smooth, stable surface that will serve your property for years, whilst preventing common issues like cracking or water pooling. Much like building a house, the strength of your resin surface depends entirely on what lies beneath it.
Think of it as laying a garden patio – skimp on the groundwork, and you’ll face problems down the line. A properly prepared base not only supports the resin-bound layer but also ensures proper drainage, which is particularly crucial for our British weather.