Clean the damaged area first and check if the base is solid. For minor cracks, simply mix matching resin and aggregate, applying in thin layers to prevent air pockets. DIY repair kits from your local DIY shop work brilliantly for small fixes – just stick to the instructions on proper mixing.
Keep your resin-bound surface in top nick by sweeping regularly and ensuring water drains properly. Got a bigger problem or worried about the foundations? Best ring a professional. Whilst most small repairs are manageable yourself, serious damage needs expert attention.
Quick tip: Test any repair mixture on a small, hidden spot first to ensure the colour match is spot-on.
Key Takeaways
5 Steps to Fix Resin-Bound Gravel
- Clean the damaged spot properly – brush away dirt and let it dry completely. Think of it like painting a wall – you wouldn’t paint over grime.
- Mix matching resin and stones (just like the original surface). Apply bit by bit to avoid air pockets – rather like building up layers of cake.
- Pop a crack-prevention membrane underneath during installation. It’s like putting a strong foundation under a house – it’ll stop future problems.
- Keep an eye on it regularly – sweep away leaves and check the drainage works properly. Much like servicing your car, prevention beats cure.
- Don’t tackle major repairs yourself. If you spot deep cracks or the surface feels unstable, ring a professional. It’s like calling a plumber for burst pipes – some jobs need expert hands.
Preparation for Resin-Bound Gravel Repair
Preparing Your Resin-Bound Gravel for Repair
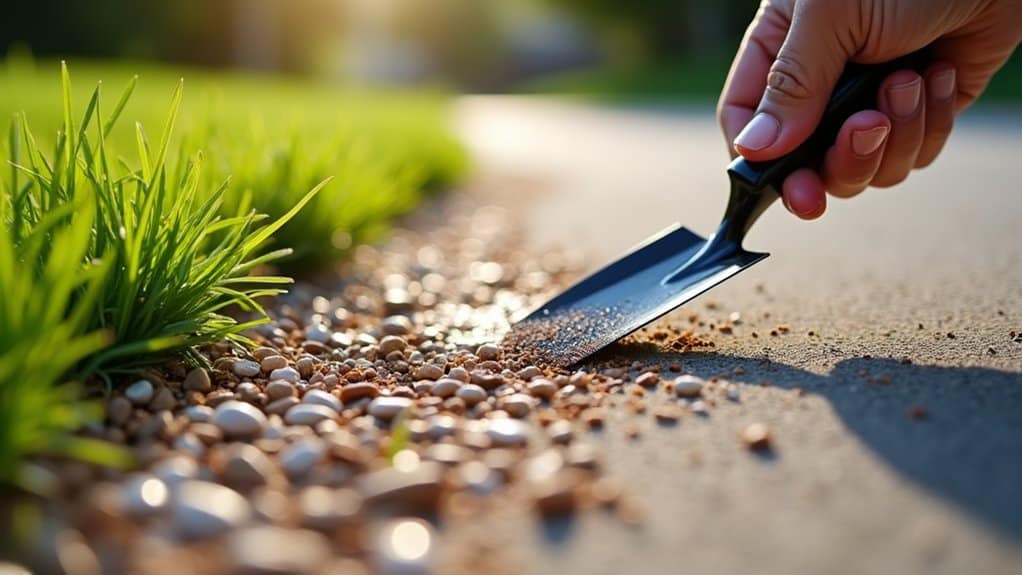
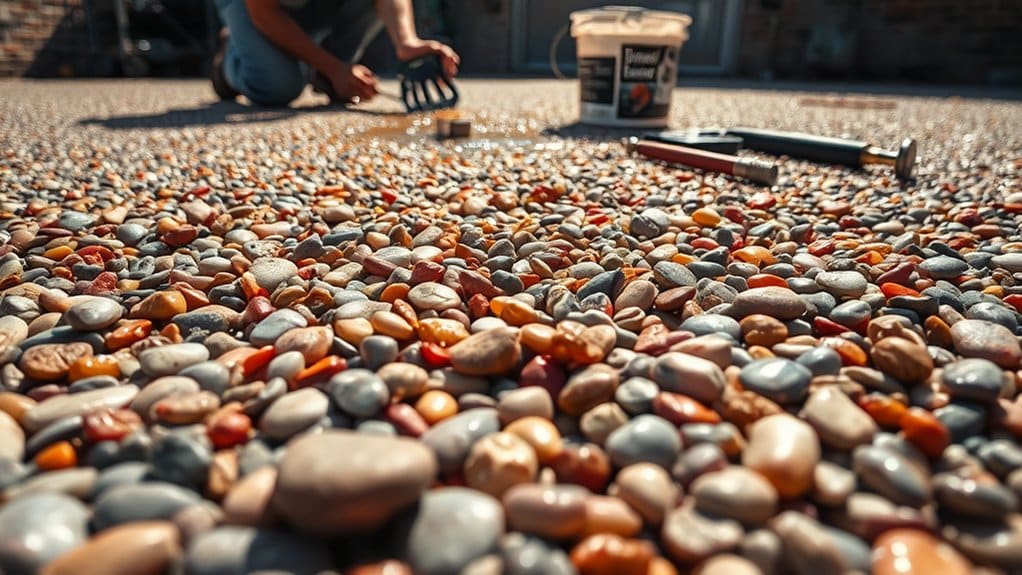
Proper surface preparation is vital before tackling any resin-bound gravel repairs. First, give the area a thorough clean – sweep away debris and loose stones with a stiff brush or blast with a pressure washer. Leave it to dry properly for 24 hours. Additionally, ensure all areas are adequately addressed to prevent future issues. It’s essential to evaluate base stability to ensure there will be no underlying problems that could worsen after repairs.
Check your base layer carefully. Look for any dips, cracks or weak spots that need sorting before you carry on. If you spot cracks, rough up the edges with sandpaper or a grinder – this helps the new resin grip better.
Give the area one final sweep to remove any dust. Getting these prep steps right means your repair will last longer and blend seamlessly with the existing surface. Think of it like painting – the better you prepare, the better the end result.
Quick Patch Repairs for Small Cracks and Holes
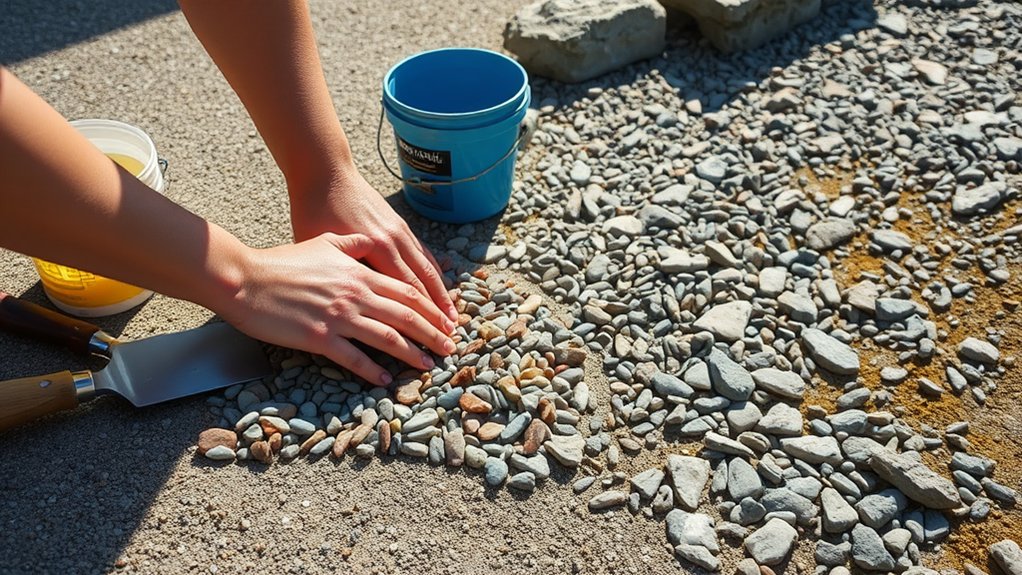
Clean the damaged area thoroughly using a pressure washer, ensuring all dirt and debris are removed.
Once completely dry, mix the resin and aggregate matching your existing surface. It’s essential to use appropriate resin repair products to ensure compatibility with existing materials.
Fill the cracks carefully, making sure the repair mixture bonds well with the surrounding area. A proper repair will blend seamlessly with your existing resin-bound gravel and prevent further deterioration. Regular inspections for early detection of issues can also help maintain the integrity of your repairs.
Cleaning the Area
Before tackling repairs, give the area a proper clean to ensure repairs stick well.
Check the surface for debris, moss and weeds first. Sweep with a stiff broom to clear loose bits, then mix washing-up liquid with warm water and scrub any tough dirt using circular motions. Regular cleaning is essential as it maintains permeability, reducing the risk of flooding and puddles. Regular checks for moss growth patterns can aid in selecting effective cleaning methods.
Give it a good rinse with the hosepipe to wash away soap and dirt. Don’t use harsh cleaners like bleach – they’ll damage the resin surface.
Regular cleaning stops weeds taking hold and keeps your resin surface in top shape.
If you’re using a pressure washer, pop on some safety gear first. Best to check the surface every few months to catch any issues early.
Filling Cracks Effectively
Repairing Cracks in Resin-Bound Gravel
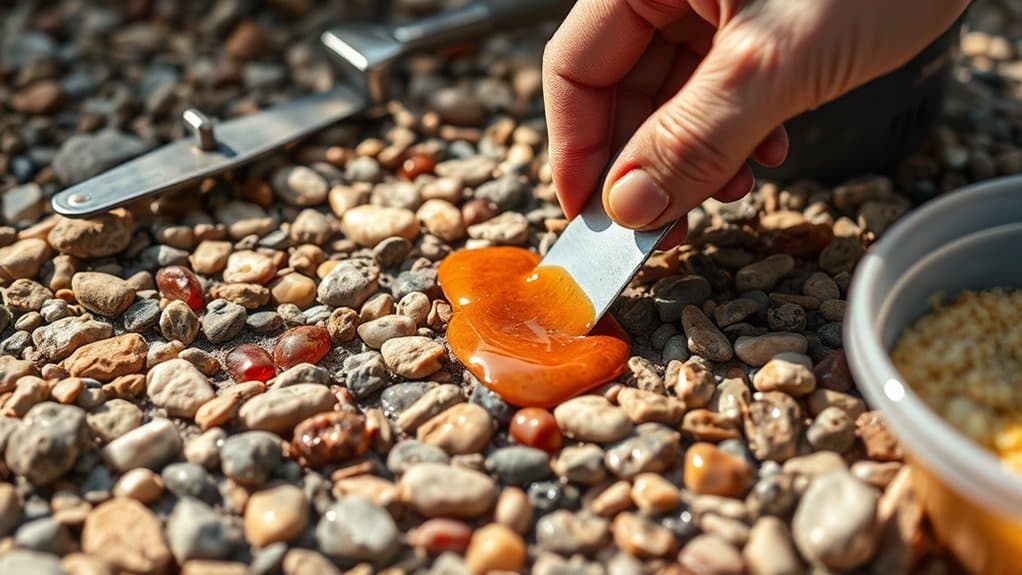
Quick action on small cracks or holes in your resin-bound gravel prevents costly damage later. Each crack type needs its own repair method. For best results, use matching aggregate with a compatible resin binder. Ensure cracks are clean and dry before applying repair resin – never use cement-based fillers.
| Step | Action | Tip |
|---|---|---|
| 1. Clean | Clear out debris | A blast of compressed air works best |
| 2. Mix | Blend resin and aggregate | Stick to manufacturer’s mixing ratios |
| 3. Apply | Fill the crack | Work in layers to avoid air bubbles |
| 4. Cure | Allow to set | Check product guidelines for timing |
| 5. Check | Look for faults | Sand down or add topcoat if needed |
Regular checks and maintenance will keep future cracks at bay.
Using Repair Kits and Specialty Products
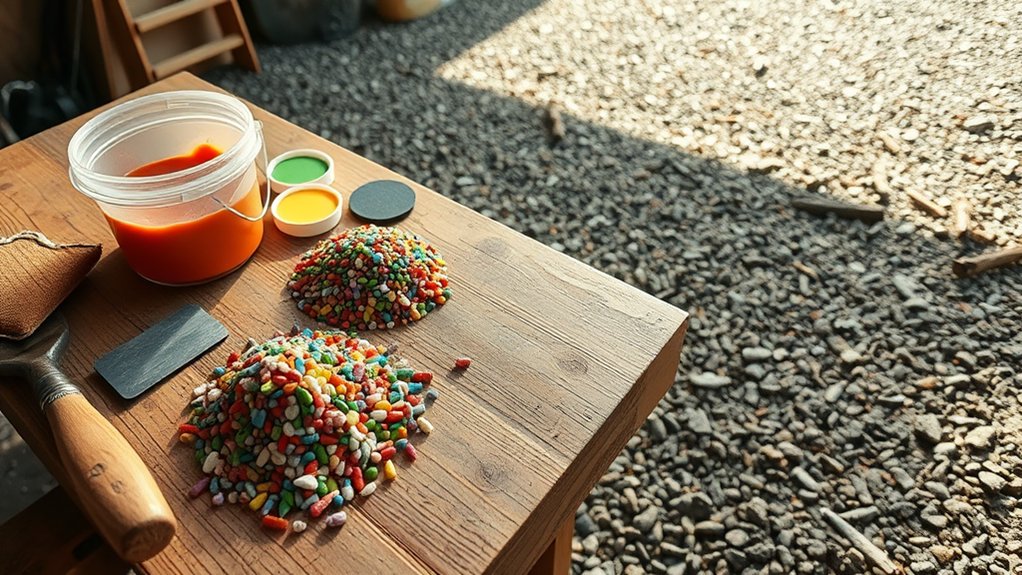
Repair kits and specialist products offer practical solutions for fixing resin-bound gravel surfaces, perfect for tackling small repairs at home. Each kit comes with resin, aggregate and basic tools, making DIY repairs manageable for most people.
The kits are straightforward to use, rather like following a recipe, with clear step-by-step instructions included. For lasting results, choose products like polyurethane or UV-stable resins – they’re particularly good at preventing sun damage and fading.
You can match the aggregate colour to your existing surface, much like touching up paint on a wall. The key is getting the mix right – use the correct resin-to-aggregate ratio and ensure proper bonding.
Most repairs dry quickly, typically ready for foot traffic within 4-6 hours, meaning you won’t have to rope off areas of your drive or path for days. Think of it as a quick-fix plaster for your outdoor surface – simple, effective and built to last.
Maintenance Practices to Prevent Damage

Regular sweeping and hosing down of resin-bound gravel prevents leaves and dirt from settling, whilst proper drainage checks stop water pooling.
Simple maintenance like this protects both the surface’s look and structure. Check drains and channels monthly, especially during autumn when fallen leaves can block water flow.
A stiff brush works best for routine cleaning, and tackling stains promptly with soapy water helps avoid lasting marks.
Regular Cleaning Routine
Clean your resin-bound gravel regularly to keep it looking great and working properly.
Give it a weekly sweep to clear leaves and other bits that could encourage moss.
After heavy rain or storms, use a pressure washer (no stronger than 150 bar) to give it a thorough clean, keeping the nozzle at least 200mm away from the surface.
Got stubborn marks? A bit of mild detergent should sort them out – just tackle any spills as soon as you spot them.
Check your surface now and then for any problems, and you’ll save yourself bigger headaches later.
A clean, well-kept resin-bound gravel surface will last you much longer.
Drainage Management Techniques
Essential drainage techniques for resin-bound gravel surfaces keep them in top condition and prevent water damage. Start with a flat, compacted base – much like laying a solid foundation for a house. Use materials that let water through, and ensure the surface slopes gently towards drainage points, typically 1-2%.
Install channel drains along the edges, similar to garden gutters, to collect excess rainwater. These work brilliantly in Britain’s wet climate and need regular checks, especially during autumn when leaves can block them.
Keep an eye on nearby plants and border drainage too, as these affect how well water moves away from your surface.
Most UK homes with resin-bound driveways find that good drainage pays off during heavy downpours, preventing those annoying puddles that can damage the surface over time.
Regular maintenance is as simple as sweeping debris away and checking drains monthly – about as often as you’d clean your home’s gutters.
These straightforward steps protect your investment and help avoid costly repairs down the line.
Long-Term Solutions and Resurfacing
Maintaining a Resin-Bound Surface
Regular inspection and timely repairs of resin-bound gravel surfaces ensure lasting durability and appearance. For major resurfacing work, remove damaged areas thoroughly and check the substrate is completely dry and clean. Select a UV-stable resin that matches existing materials and suits British weather conditions.
Essential Steps:
| Step | Action Required | Key Considerations |
|---|---|---|
| Surface Prep | Clear loose material | Ensure proper bonding |
| Resin Choice | Match UV-stable products | Weather resistance vital |
| Application Method | Work in thin, even layers | Avoid wet or cold weather |
| Structural Work | Fix base issues first | Use quality repair mortars |
| Ongoing Care | Check regularly | Keep drainage clear |
Common UK applications include driveways, paths and patios, where proper installation and maintenance significantly extend surface life. Most resin surfaces last 15-20 years when properly maintained, making them a cost-effective choice for British properties.
Stay particularly watchful during autumn and winter months when fallen leaves and frost can affect the surface. Prompt attention to small issues prevents costly repairs later.
Crack Prevention Strategies
Essential steps to prevent cracks in resin-bound gravel:
Start with a proper base – tarmacadam works best as it won’t shift about like other materials. Your base must be dead level, much like laying a kitchen floor, to stop any dips or bumps forming.
Pop in a crack reduction membrane whilst laying – think of it as a safety net for your surface. Apply the resin in one go where possible, and steer clear of sharp corners (they’re notorious trouble spots).
Keep an eye out for early warning signs, such as small bumps or dips. Sort these out quickly, just as you’d tackle a small leak before it becomes a flood.
Good drainage is crucial – standing water is your enemy here.
Watch out for harsh chemicals too – they’ll eat away at your surface like salt on an icy pavement.
Follow these basics, and you’ll end up with a surface that stays crack-free for years to come.
Tools and Materials Needed for Repairs
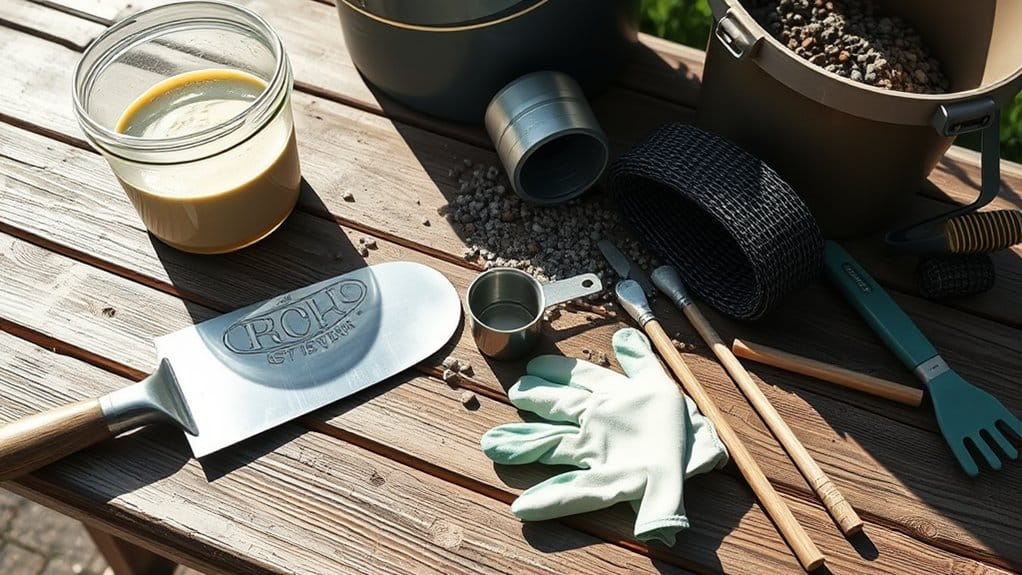
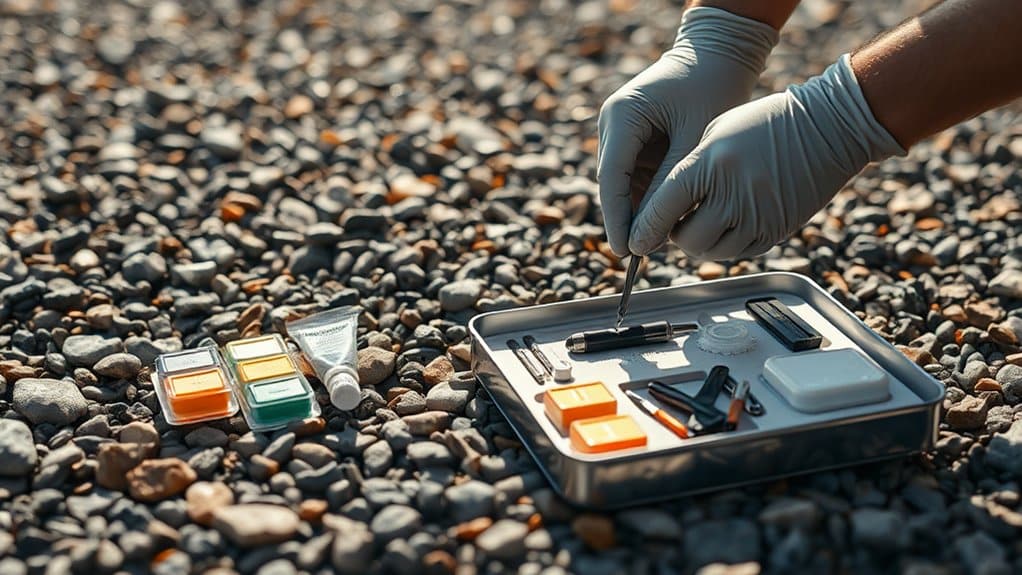
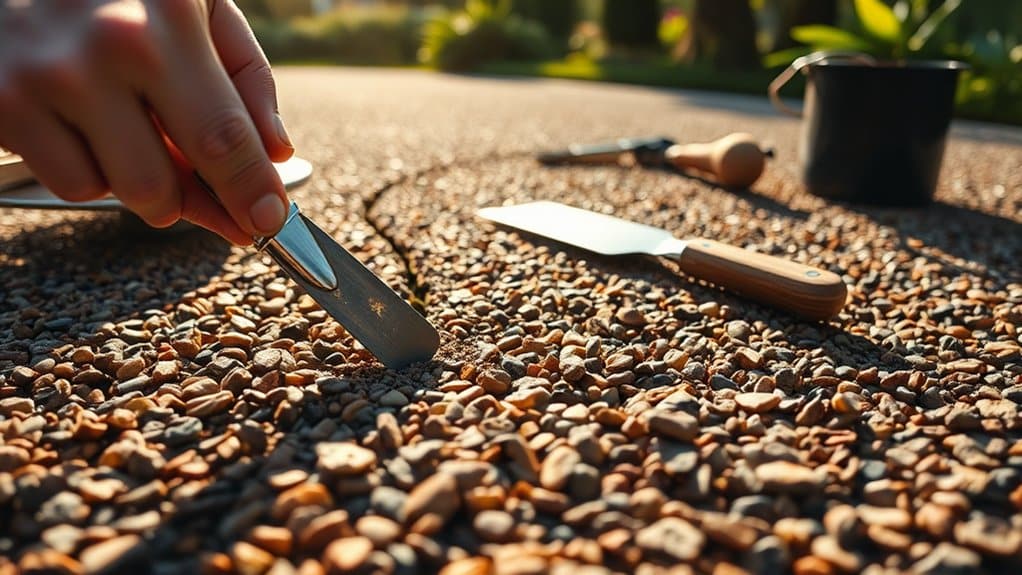
Essential tools and materials for resin-bound gravel repairs include basic hand tools: trowels for smoothing, utility knives for trimming and industrial rakes for levelling.
A forced action pan mixer is crucial for blending resin and aggregate properly. Standard maintenance kits come with pre-measured materials, taking the guesswork out of mixing ratios.
For crack repairs, you’ll need a professional sealant gun to inject compounds effectively.
Keep reflective blankets handy to maintain proper curing temperatures in varying British weather. Safety gear is non-negotiable – wear protective clothing, heavy-duty gloves and safety goggles to guard against resin contact.
A proper toolkit means quicker, more effective repairs and better results.
Step-by-Step Guide to Repairing Resin-Bound Gravel
Essential Steps for Resin-Bound Gravel Repairs
Before repairs, thoroughly check the damaged area to ensure proper fixing. Follow these straightforward steps:
- Prepare the Area: Mark out damaged bits and chisel them away properly. Rather like removing a loose tooth filling, make sure you get rid of all wobbly stones and old resin.
- Mix Your Materials: Get the right resin and stones mixed up – just as you’d follow a recipe, stick to what the manufacturer says for the best results.
- Put It All Together: Spread the mixture evenly, blending the edges so they merge nicely with the existing surface.
Best results come from using UV-resistant resin – particularly important given our British weather.
A quick blast with a heat gun helps everything stick properly, much like warming adhesive. Clear out any mucky bits from cracks, secure loose stones, and don’t rush the drying time.
Your surface needs proper setting time, just like waiting for paint to dry.
When to Seek Professional Help
When DIY Isn’t Enough
Certain resin-bound gravel repairs need a professional’s touch. Watch for:
- Cracks wider or deeper than 200mm
- Damage to the underlying macadam layer
- Oil contamination
- Large areas of surface deterioration
- Stubborn discolouration
- Ground subsidence
- Repairs requiring specialist equipment or heat bonding
If you spot these issues, ring a qualified contractor straightaway.
Trying to tackle these problems yourself could make matters worse and cost more to fix in the long run.
A professional assessment will ensure your driveway or path gets the proper treatment it needs, maintaining both its strength and looks.
Frequently Asked Questions
How Long Does the Resin-Bound Gravel Repair Process Take?
The repair time for resin-bound gravel typically spans one to two days, much like a weekend DIY project. The exact duration depends on your chosen repair method and weather conditions. Whilst it’s tempting to rush, proper curing time is essential – skipping this step could lead to costly repeat repairs down the line.
Can I Use a Different Color Aggregate for Repairs?
Different coloured aggregates can be used for repairs, though matching may be tricky. For best results, choose your aggregate carefully and opt for UV-resistant resin. This approach helps reduce noticeable patches and keeps your surface looking uniform whilst maintaining its strength. Think of it like touching up paint on a wall – the closer the match, the less obvious the repair will be.
What Weather Conditions Are Best for Repair Work?
Best weather for repair work? Aim for temperatures between 10°C and 25°C with no rain or dampness. These conditions ensure materials cure properly, much like waiting for paint to dry on a good spring day. Too cold and materials become brittle; too hot and they might not bond correctly. Dry conditions are crucial – moisture can interfere with most repair jobs, whether you’re fixing a garden fence or patching up masonry.
Is It Possible to Repair Large Areas Without Professional Help?
Repairing large areas is possible on your own with proper DIY know-how and the right tools. Success depends on careful preparation, suitable materials and precise application. Whilst professional help might seem the safer option, many repairs – from patching large wall sections to fixing extensive floor damage – can be tackled independently. Just ensure you follow proper guidelines and take time to learn the correct techniques beforehand.
How Do I Know if My Resin-Bound Surface Needs Resurfacing?
Signs of wear on your resin-bound surface, such as cracks, fading or loose stones, suggest it’s time for repairs. Check regularly for puddles after rain and patches where stones have come loose – these are clear indicators that resurfacing might be needed to keep your surface safe and looking smart.
Conclusion
Keep your resin-bound gravel in top condition with prompt maintenance and regular care. Tackle small repairs as they arise to prevent more significant issues down the line. Whilst most minor fixes are manageable for DIY enthusiasts, don’t shy away from calling a professional for complex problems. Regular attention ensures your surface stays smart and serviceable throughout the seasons.