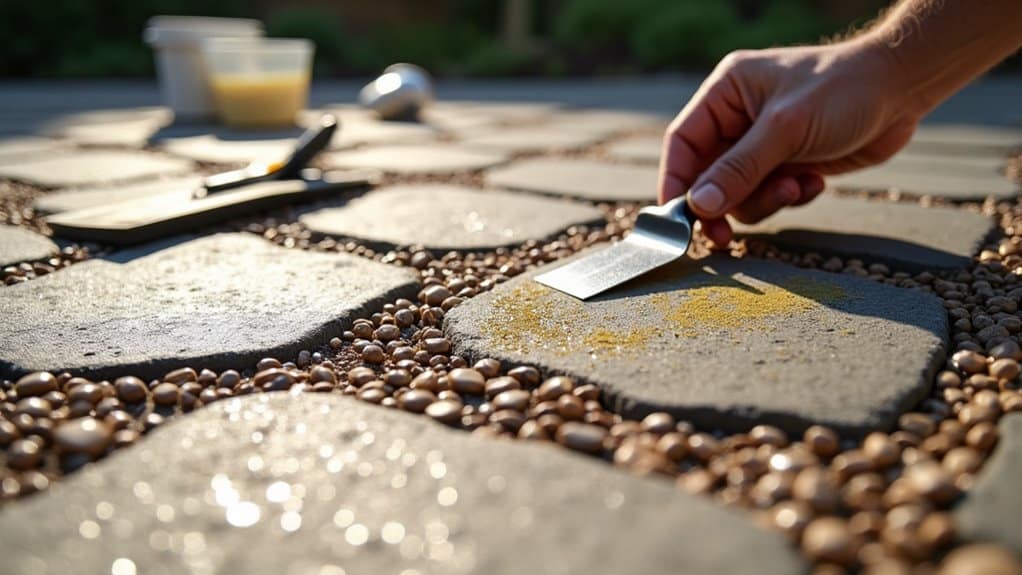
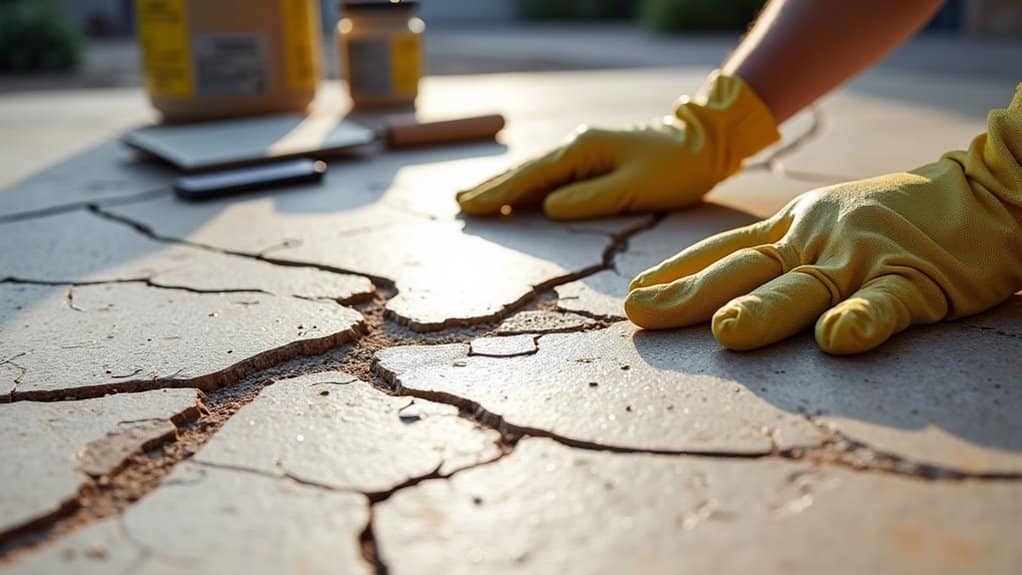
Check and clean the damaged area of your resin bound surface first, measuring any cracks. Leave it to dry properly for a day or two. Use a chisel to slightly widen the cracks – this helps the repair material stick better, much like roughening a surface before painting. Mix your chosen filler (epoxy or polyurethane works best for UK weather conditions) and apply it carefully with a trowel, making sure to blend the edges smoothly into the existing surface. Let it cure for up to 48 hours – longer if it's particularly cold or damp outside. Finish with a UV-resistant sealant, applied in thin layers, to protect against our British weather. Think of the sealant as a raincoat for your surface – essential for lasting protection.
Key Takeaways
Clean the damaged area thoroughly and leave to dry for 24-48 hours before making repairs.
Check crack dimensions to choose suitable repair materials – standard epoxy or polyurethane fillers work well for most UK driveways and patios.
Use a chisel to slightly widen any cracks, similar to preparing a wall crack before plastering. Apply the filler and smooth the edges with a trowel for a seamless finish.
Apply two thin coats of sealant using a roller, much like painting a fence. Allow 4-6 hours drying time between coats, longer in damp weather.
Check your resin surface regularly, especially after winter, to spot any problems early. Quick repairs will save money and extend your surface's life.
Assessing Damage Severity
Assessing damage to resin bound surfaces requires a methodical approach. Start by measuring crack sizes and depths – larger, deeper cracks often mean more serious repairs are needed.
Look for patterns in the cracking; widespread damage could point to problems with the base or drainage below. The British weather plays a crucial role in surface damage. Our frequent freeze-thaw cycles and heavy rain can worsen existing cracks, whilst strong summer sun may cause discolouration or make the resin brittle. Additionally, understanding UV exposure is essential, as it can lead to weakening of the resin over time.
Common in UK gardens, tree roots can push up through the surface, creating unsightly bumps and cracks. Check the stability of the base and any expansion joints. A thorough inspection might reveal issues like poor initial installation or ground movement – both common problems in older UK properties. Additionally, insufficient base preparation can lead to ground movement that exacerbates cracking.
Understanding these factors will help determine whether you need simple repairs or more extensive remedial work. This targeted assessment helps identify the right fix for your resin bound surface, saving time and money in the long run.
Preparing the Repair Area
Preparing the Repair Area
A properly prepared repair area ensures your resin bound surface will last. Good cleaning and thorough preparation create the strong bond needed between old and new materials.
Essential steps:
- Clean thoroughly: Sweep with a stiff brush or blast with a pressure washer to shift all dirt and loose bits.
- Let it dry: Wait 24-48 hours after cleaning for the surface to dry completely. Ensure the surface is dry and free from debris for optimal adhesion as recommended in the installation process.
- Check for loose material: The surface must be totally clean and stable for the new resin to bond properly.
- Sort the base first: Fix any potholes or cracks in the underlying surface before applying new resin.
Proper installation practices can significantly reduce the risk of future damage.
Remember: Rushing the preparation usually leads to failed repairs, so it's worth taking the time to get it right.
Effective Repair Techniques
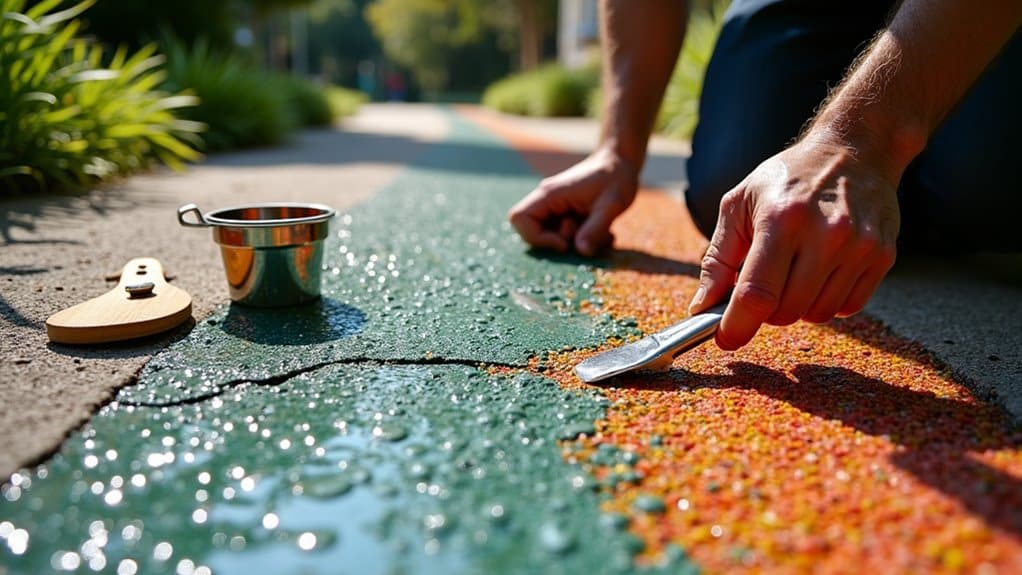
Effective repair techniques are vital for fixing resin bound surfaces. First, examine any cracks to work out their size and depth – this helps determine the right repair method.
Use a chisel to widen the cracks slightly, creating rough edges that help the new material bond properly. Give the area a thorough clean with a vacuum and brush to remove all loose bits.
Select appropriate repair materials – typically epoxy or polyurethane fillers meant for resin repairs. Much like filling a tooth cavity, apply plenty of filler using a trowel, ensuring it bonds well with the existing surface. Blend the edges carefully to match the surrounding area. It's important to consider that proper tarmac sub-base installation significantly aids in the longevity and flexibility of the surface, minimizing the occurrence of cracks. Having a solid base also impacts the overall drainage compliance, which can prevent future damage from standing water.
Watch out for common mistakes: don't mix the resin too thickly, and stick to the manufacturer's instructions. Let it dry naturally – forcing it will only weaken the repair.
Always wear proper safety kit and check the safety data sheets before handling repair materials. These straightforward steps will ensure a lasting, tidy repair job.
Curing and Sealing Process
Understanding cure times is crucial for a lasting resin bound surface repair. Summer installations typically cure faster than winter ones, with most surfaces ready for foot traffic within 24 hours at 20°C. In colder temperatures below 10°C, allow up to 48 hours. It's important to note that curing times can vary significantly with weather conditions, particularly during the installation phase. Moreover, ensuring a solid, well-compacted base during installation is vital for optimal drainage.
Once fully cured, apply a quality UV-resistant sealant – think of it as sunscreen for your surface. A proper seal shields against British weather and prevents moisture damage, much like a coat of wax protects your car. Two thin coats work better than one thick layer, and you'll want to tackle this job on a dry day. Whilst the initial cost of sealing might seem steep, it's far cheaper than replacing damaged surfacing down the line.
Curing Time Importance
Curing Time for Resin Surfaces
The proper curing of resin bound surfaces is vital for lasting results. Several key factors affect how quickly the material sets:
Weather Impact:
- Temperature is crucial – best results between 5°C and 35°C
- Summer curing takes 6-12 hours
- Winter curing can take up to 48 hours
- Ground temperature matters, especially on tarmac which gets hotter than the air
Practical Tips:
- Keep pets and vehicles off uncured surfaces
- Use barriers to protect the area
- Check weather forecast before starting
- If in doubt, consult a professional
The British climate means curing times can vary significantly throughout the year.
On a typical summer day in Manchester, your surface might cure within 8 hours, whilst a cold winter day in Scotland could need two full days. Additionally, understanding the curing timeline is essential for ensuring that the surface maintains its integrity during the initial stages.
These timeframes directly affect when you can use the surface, so planning around the weather is essential.
Remember: rushing the curing process or ignoring weather conditions risks damaging your new surface.
When in doubt about timing, it's worth checking with your local resin specialist.
Sealing Techniques Overview
Sealing Techniques Overview (Curing and Sealing Process)
Proper sealing is vital for maintaining resin bound surfaces across the UK. Start by giving the surface a thorough clean with a gentle soft-wash method – much like washing your car, but more delicate. This cleaning process is essential as it ensures the longevity and effectiveness of subsequent treatments, particularly when preparing for the application of biocide treatment.
Apply a quality resin-bound sealer to bring back the surface's shine and protect against loose stones – think of it as applying a protective coat to your garden furniture. Use a roller to spread the sealer evenly, working in manageable sections, rather like painting a wall. You'll need two coats for the best results.
Check for any damage before you begin. Tackle the edges first, then move onto the main area. Whether you're using a roller or sprayer, work in small patches to ensure even coverage.
Each coat needs 4-6 hours to dry properly, depending on the British weather. Multiple coats will make your surface last longer, similar to how several layers of paint protect a fence.
Consider adding anti-slip treatment – particularly useful for our rainy climate. Regular checks and maintenance will keep your driveway looking smart and working properly, much like servicing your car.
Addressing Common Issues
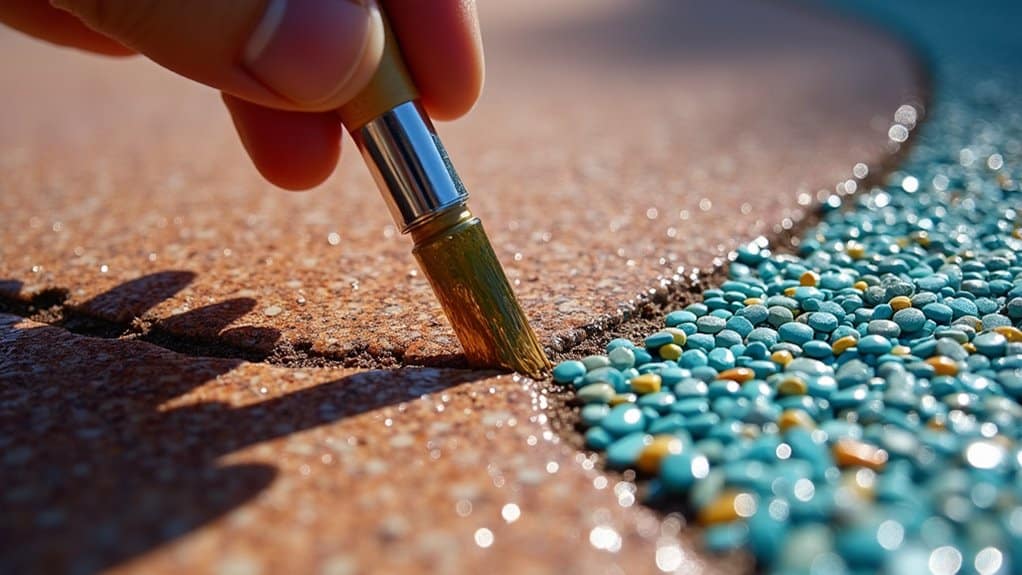
Loose stones and faded patches on resin driveways need swift attention.
Check why the resin has failed – common culprits include poor installation or harsh weather. For fading, too much sunlight or incorrect cleaning products are usually to blame. Ensuring the compatibility of substrates used in the installation can also prevent future issues related to cracking. Regular maintenance, such as pressure washing, can further reduce the likelihood of damage and keep your surface looking pristine.
Think of your resin surface like garden furniture – both need proper care to avoid sun damage.
Sort these snags quickly, much like you'd fix a squeaky door hinge, and you'll keep your driveway looking smart for years.
Loose Stone Repairs
Loose Stone Repairs in Resin Bound Surfacing
Fixing loose stones properly maintains your surface's strength and look. The repair process is straightforward:
- Clean the area thoroughly of dirt and debris
- Pick out any damaged or loose stones
- Mix the resin according to manufacturer's guidance
- Apply the resin evenly to the stone base
Press stones firmly into position and use a heat gun to help blend them with surrounding areas. Wipe away excess resin to ensure stones sit level with the surface. Regular maintenance can help reduce the need for professional intervention when addressing loose stones.
Watch out for common mistakes:
- Wrong resin mix ratios
- Using aggressive cleaning methods
- Not giving enough curing time
A proper repair job will keep your surface looking smart whilst ensuring it remains practical and durable.
Worth noting: Always match the resin colour to your existing surface and work in dry conditions for best results.
Faded Surface Solutions
Tackling Faded Surfaces in Resin-Bound Surfacing
When your resin surface has lost its lustre, there are several practical solutions. UV damage, daily wear and poor maintenance are the usual culprits behind fading. A fresh coat of sealer often works wonders to restore the surface's original shine whilst adding protection.
Good maintenance is crucial. Regular sweeping and pressure washing keep the surface looking fresh by removing dirt that dulls the appearance. Sort out any cracks straight away – they'll only get bigger and lead to more extensive fading. Additionally, combining sweeping with a garden hose can enhance the cleaning process and further improve the surface's appearance.
For severely worn areas, laying a new layer of resin-bound stone might be your best bet.
To prevent future fading:
- Ensure proper installation from the start
- Use matching materials for repairs
- Apply sealer regularly to guard against UV damage
- Check the surface monthly for early signs of wear
These simple steps will help maintain your resin-bound surface's appearance for years to come.
Just remember: catching problems early saves both time and money in the long run.
Preventative Maintenance Tips
Preventative Maintenance Tips for Resin Bound Surfaces
Regular maintenance keeps resin bound surfaces looking smart whilst protecting your investment. Essential care includes:
Regular Cleaning
- Brush away leaves, dirt and debris weekly
- Clean spills straight away to prevent staining
- Check for cracks or damage during cleaning
Protect Against Heavy Items
- Place plywood sheets under heavy furniture or equipment
- Never drag items across the surface
- Avoid point loading from ladder feet or chair legs
Foundation Care
- Ensure proper drainage to prevent water pooling
- Check edges where surfaces meet walls or kerbs
- Consider installing an anti-crack membrane in high-risk areas
Long-term Care
- Apply a suitable sealer every 3-5 years
- Refresh worn areas to maintain an even finish
- Schedule thorough cleaning each spring and autumn to aid in the prevention of regular inspections for early detection of issues.
Following these steps helps maintain your resin bound surface, ensuring it remains attractive and functional throughout British weather conditions.
Essential Tools and Materials
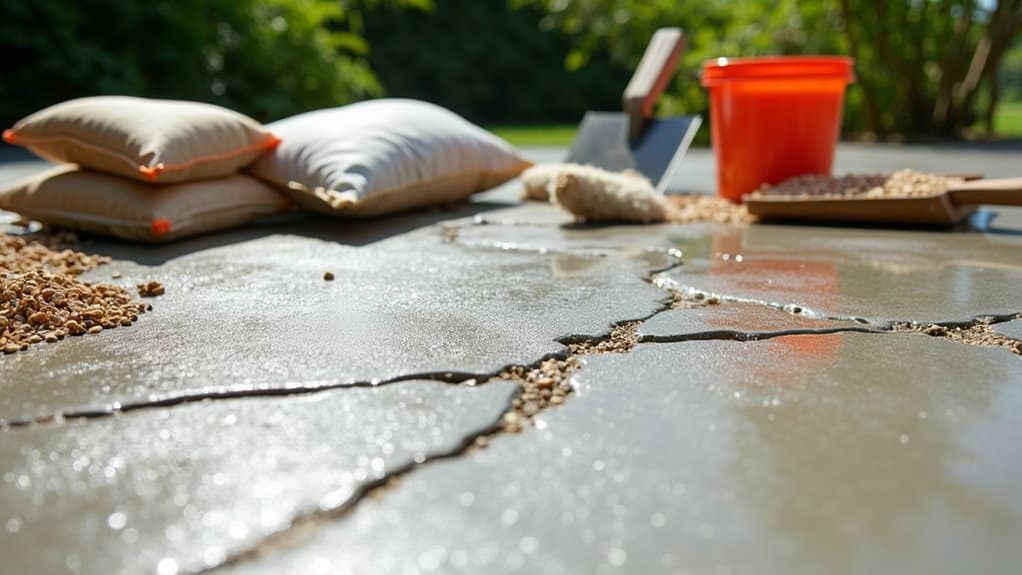
Essential Tools and Materials for Resin Surface Repairs
The right tools make all the difference when fixing cracks in resin bound surfaces. A basic resin repair kit with matching resin and hardener is your starting point. UK-approved products like ProResin UVR work well, whilst polyurethane binders with catalysts speed up curing times.
You'll need:
- Stiff wire brushes for cleaning
- Chisels for removing damaged areas
- Mixing paddles and buckets
- Flat trowels for application
- Protective gear (gloves and goggles)
- Spirit level
- Wire brushes and sandpaper for finishing
- Measuring tools
A pressure washer isn't essential but helps with thorough cleaning before repairs. Most DIY shops stock these items, and specialist suppliers offer complete kits for professional results. Additionally, using high-quality resin bound tools ensures that the application process runs smoothly and effectively.
The focus should be on quality tools – cheap alternatives often lead to poor repairs and wasted time. Invest in proper equipment first time round, and you'll save money in the long run.
Long-Term Care Strategies
Long-Term Care for Resin Bound Surfaces
Regular maintenance is vital for keeping resin bound surfaces in top condition. Good care protects your investment and maintains its appearance.
Essential maintenance includes:
- Regular sweeping to clear leaves and debris
- Annual gentle pressure washing
- Quick clean-up of oil or fuel spills
- Regular checks for moss and algae growth
For best results:
Use a stiff brush and garden hose for routine cleaning. Clean oil spills immediately with soapy water before pressure washing. Check regularly for uneven areas that might lead to cracks. Additionally, maintaining these surfaces can help ensure they remain permeable surfaces that allow proper water drainage. Regular inspections for small weeds are also essential to prevent any potential damage from root systems.
Older surfaces may benefit from resealing to improve grip and appearance.
A well-maintained resin bound surface can last for many years. Think of it like caring for your car – regular attention prevents costly problems later.
Simple, consistent care keeps your surface looking smart and working properly.
When to Seek Professional Help
When to Call in the Professionals for Resin Bound Surfacing
Several signs indicate it's time to get expert help with your resin bound surface. Large-scale cracking or extensive damage across the area calls for professional assessment. Deep cracks that you can't sort with basic DIY repairs often point to bigger problems, such as tree root damage or poor drainage, which need specialist attention. Keep an eye out for uneven surfaces or loose stones coming away from the surface. If you spot widespread colour fading that won't improve with regular cleaning, you'll need professional help. Similarly, if heavy vehicles have caused notable wear, experts can properly assess and fix the damage. Problems with the foundation layer or multiple damaged resin layers require specialist equipment and know-how. Additionally, remember that regular cleaning is essential to prevent stains and surface damage, as neglecting it can lead to more serious issues. Professionals ensure the base layer is at least 100mm thick, preventing further deterioration and maintaining both the look and function of your resin bound surface. Getting expert help promptly prevents further deterioration and maintains both the look and function of your resin bound surface.
Frequently Asked Questions
Can I Use Regular Concrete for Resin Repairs?
Regular concrete isn't suitable for resin repairs, as it simply won't bond properly with resin surfaces. For best results, stick to specialised resin repair products that match your existing surface. These proper resin repairs ensure the right level of flexibility and bonding, much like using the correct glue for plastic rather than trying to fix it with wood adhesive. Your repairs will last longer and look far better when using the right materials for the job.
How Long Will the Repair Last?
Repair longevity varies, but with proper maintenance, most fixes last 5 to 15 years. Regular checks and resealing help maximise lifespan, much like tending to a garden. To get the most from your repair, schedule routine inspections and address small issues promptly.
Is It Safe to Drive on Repaired Areas?
Driving on repaired surfaces isn't safe until repairs have fully set. Check the manufacturer's guidelines for proper curing times – much like waiting for paint to dry on a wall. Early driving can damage the repair work and create more problems later. Think of it like walking on fresh concrete – you'll want to give it proper time to harden.
Can I Paint Over the Repair?
You can paint over repairs, but proper surface preparation is vital. Match your existing paint colour carefully – most DIY shops can mix paint to match your walls. Start with a coat of primer, then apply quality paint suitable for the surface. For the best finish, sand any rough patches and ensure the repair is completely dry before painting. Common repairs like filled holes or plaster patches may need two coats for an even result.
What Weather Conditions Affect the Repair Process?
Weather conditions significantly impact repair work. Avoid making repairs during extreme temperatures or high humidity, as these can prevent proper resin bonding and curing. For example, a damp winter's day or scorching summer afternoon could lead to failed repairs and further surface damage. Best to choose mild, dry conditions for optimal results.
Conclusion
Repairing resin bound surfaces is much like fixing any worn surface in your home – it requires prompt attention to prevent further damage. When cracks or damage appear, swift repairs protect both the surface's appearance and function. Regular maintenance and timely repairs ensure your driveway or patio remains durable whilst preserving your property's value. A properly maintained resin surface serves as a practical, long-lasting investment for your home.
