Essential checks before DIY resin bound surfacing:
Thoroughly clean your area of debris and dust. The ground must be stable – fix any cracks before starting. Mix your two-part polyurethane resin precisely (much like measuring ingredients for baking). Work in typical British temperatures between 5-25°C – avoid rainy days. Blend aggregates with resin until uniform to prevent a patchy drive. Spread evenly at the proper depth and smooth for a professional finish. Let it cure for 24 hours in dry conditions – rather like waiting for paint to dry, but don't rush it. These basics will help you achieve a proper finish for your driveway or patio.
Key Takeaways
Must-Know Steps for DIY Resin Bound Driveways
- Check your surface is spotlessly clean and bone-dry – much like prepping a wall before painting. Any moisture or loose bits will ruin your finish.
- Mix your two-part resin precisely – think baking measurements but more crucial. Follow your supplier's ratios to the letter.
- Mind the weather. British weather's tricky, so pick a dry day between 5-25°C. Think typical spring or autumn temperatures.
- Blend aggregates and resin thoroughly – rather like mixing concrete. Keep an eye on your timing to maintain an even finish across the whole area.
- Leave it alone for at least 24 hours after laying. Consider adding UV protection – our British summers might be brief, but sun damage adds up.
Preparation Steps
Preparation Steps
Start by ensuring your work area is properly prepared. Clear all debris and dust using a brush or pressure washer – this prevents flaws in the finished surface.
Check the ground's stability and repair any holes or cracks to achieve a level surface. The ground temperature must be above 10°C for proper curing. Additionally, it is essential to confirm ground temperature is above 10°C for optimal installation.
Work only in dry conditions, as rain or moisture will affect the curing process. Check forecasts to avoid scheduling on rainy days, as weather conditions can significantly influence the resin's performance. Test your substrate's compatibility with your chosen resin system before starting.
Make sure the substrate is completely stable with no movement. Sand or etch the surface if needed to improve adhesion.
Remove any oils, grease or other substances that might affect bonding. Different substrates may need specific preparation methods, so adjust your approach to suit your particular surface.
Essential Materials
Essential Materials for Resin Bound Surfaces
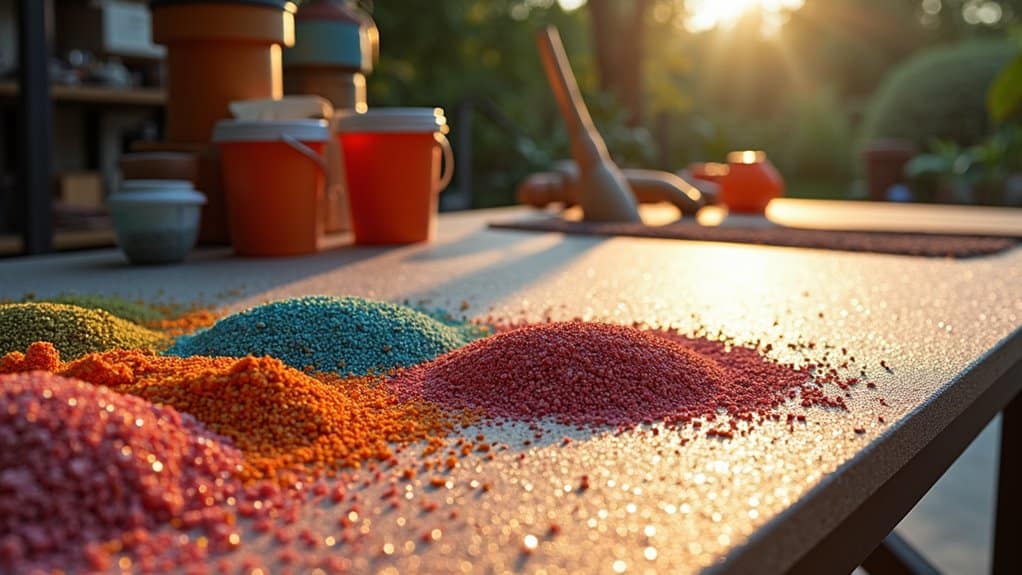
To create a resin bound surface, you'll need:
Two-part resin mix
- Resin and hardener components (must be precisely measured)
- Polyurethane-based resins work particularly well for UK weather conditions
- Clear resin binder for proper aggregate bonding
Aggregates
- Available in 1-3mm or 2-5mm sizes
- UK-sourced quartz and granite are popular choices
- Colour options to match your property
- Precise quantity calculations needed for proper coverage
Tools
- Electric paddle mixer or Forced Action Mixer
- Plastering trowel
- Screed sledge
- Spirit level
- Safety equipment (gloves, goggles, protective footwear)
Mind the weather when planning installation – ideal UK working temperatures are 5-25°C. Ensure you also consider the permeable design as it allows effective water drainage, which is crucial for longevity and preventing flood risks. The use of DIY resin-bound surfaces not only enhances outdoor spaces but also offers durability and low maintenance.
Proper measuring and mixing of materials is crucial for a lasting finish.
Mixing Process

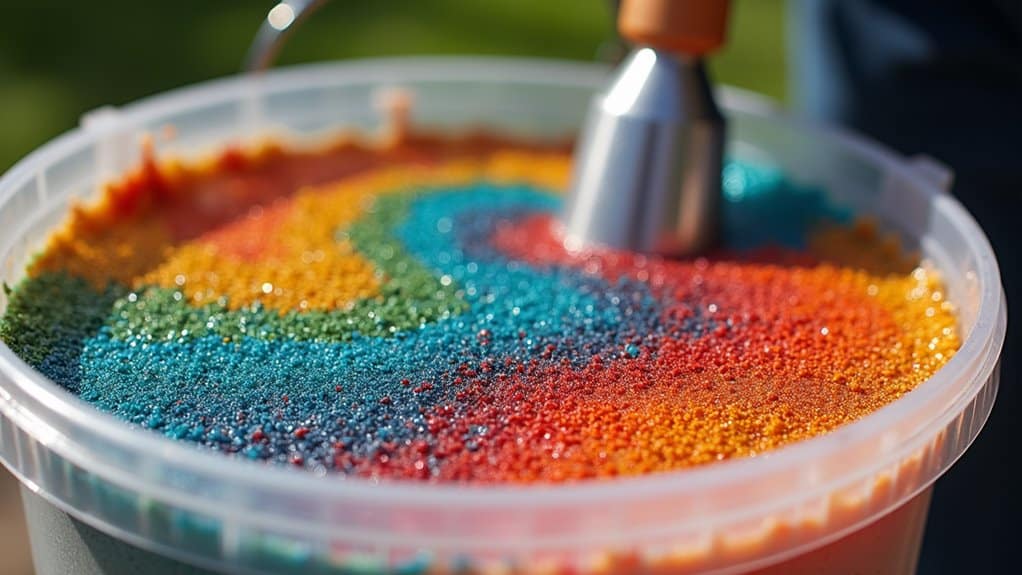
Mastering the mixing process is crucial for a quality resin bound surface. Set up your mixing area on a plasterer's board to handle any splashes. Don protective gear, especially gloves, to stay safe when handling resin components. Use pre-measured kits and follow your supplier's mixing ratio guidelines precisely.
First, whisk Part A for 10-20 seconds on low speed. Add Part B and mix for another 60 seconds until you achieve a smooth, creamy blend. A forced-action mixer works best for combining resin with aggregates.
Put one bag each of 2-5mm and 1-3mm aggregates into the mixer. Pour your mixed resin over the aggregates and time the process with a stopwatch. Add the remaining aggregates with binding quartz or sand gradually to ensure even coverage. It is essential to choose the right aggregate types, as natural aggregates are commonly used for durability in resin bound surfacing. Additionally, using a durable surface will significantly enhance the longevity of your driveway.
Stick to proper mixing times – rushing the job risks patchy colours and poor results.
Laying Techniques
Laying your resin mixture properly ensures a lasting, attractive finish. First, thoroughly clean and dry the surface, removing all debris. Fix any holes or cracks, and check that the ground temperature exceeds 10°C.
Prime the surface – this is particularly important for concrete, whether new or old.
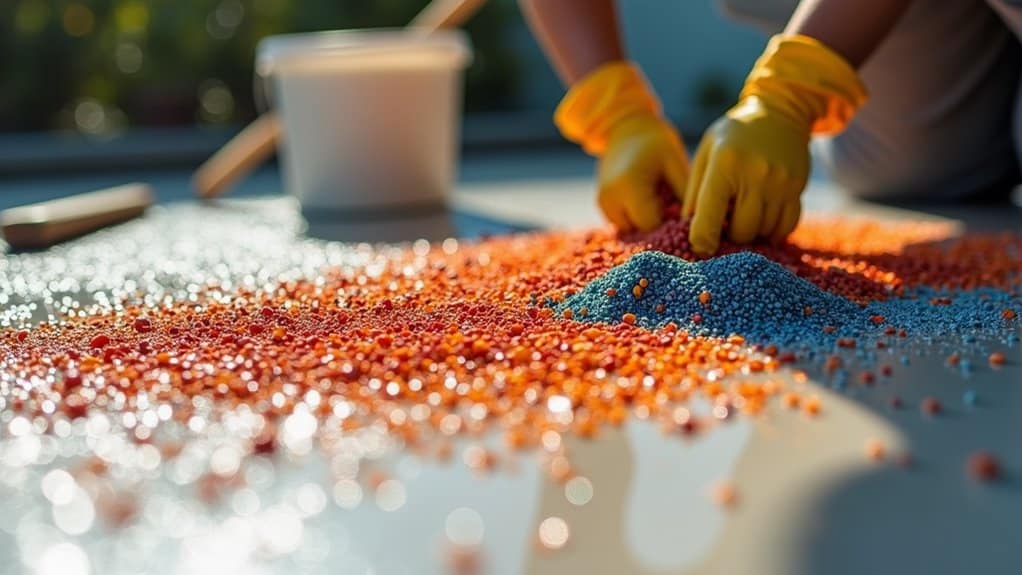
For laying, spread the mixture evenly using a squeegee or shovel at the correct depth. Every stone must be properly coated in resin – if it looks dry, it's not right. Work quickly, as the resin will begin to set. Additionally, ensure the concrete/tarmac base is strong enough for the intended use to avoid any future issues. A minimum depth of 18mm is essential to ensure longevity and prevent structural vulnerabilities.
Smooth the surface with a plasterer's float, making multiple passes where needed. Check for and remove any excess material to achieve a neat finish. A power float can deliver superior results for professional-looking surfaces.
Let the surface cure for 24 hours before use, and always lay in dry weather to avoid problems.
This straightforward method works well for both domestic driveways and commercial projects, though larger areas may require professional equipment.
Tips for Success

Essential Tips for Resin-Bound Surfacing
Start with spotless surface preparation – sweep away debris and ensure your base is solid. Fix any holes or cracks, and wait for ground temperatures above 10°C. Avoid laying during wet conditions. Proper base preparation is crucial to minimize future liability and ensure a durable finish, as full dig out of existing surfaces is essential for stability.
Mix pre-measured resin kits precisely according to instructions. A forced-action mixer works best, but a paddle drill will do. Work in metre-square sections to maintain consistency.
Work as a team for better results. Keep your tools clean with washing-up liquid and water. Use edging strips to contain the mixture, and rope off the area for 24 hours whilst curing.
After installation, protect your surface with a UV-resistant sealant. Check regularly for wear and tear – prompt attention to minor issues prevents costly repairs later.
Note: Common mistakes include rushing the prep work and mixing too much material at once. Take your time with preparation for the best finish.
Frequently Asked Questions
Can Resin Bound Surfacing Be Installed in Rainy Weather?
Installing resin bound surfacing whilst it's raining is not recommended. Rain interferes with the resin's ability to cure properly and bond with the aggregate, much like trying to paint a wet wall. The result? Patchy surfaces, weak spots and a finish that won't stand the test of time. For best results, wait for dry conditions – ideally, a clear day with no rain forecast for at least 24 hours.
How Long Does Resin Bound Surfacing Last?
Resin bound surfacing typically lasts between 15 to 25 years when properly installed. The longevity depends on key factors like quality materials (much like choosing a good paving stone) and expert installation. A well-prepared sub-base and regular maintenance, such as occasional jet washing, will ensure your surface stays in top condition for its full lifespan.
Is Resin Bound Surfacing Suitable for Driveways?
Resin bound surfacing makes an excellent choice for UK driveways. It's tough enough to handle daily vehicle use and looks smart, rather like a premium gravel finish but without loose stones. You'll need a solid, level base – typically concrete or tarmac – for proper installation. While it's pricier than standard tarmac, costing roughly £45-£70 per square metre, the long-lasting finish and low maintenance needs make it worth considering. Best to get a professional in for installation to ensure it's done properly.
Can I Add Color to the Resin Mix?
Yes, you can add colour to resin mixtures safely. Common options include liquid pigments, powdered dyes and mica powders – all readily available from UK craft shops. Just remember: too much colourant can affect the resin's ability to cure properly. Start with small amounts (roughly 2-6% of total volume) and adjust until you achieve your desired shade.
How Do I Maintain Resin Bound Surfaces?
Regular sweeping and pressure washing will keep your resin bound driveway or patio in top condition. Consider using a quality sealant every few years – it's like adding a protective coat to your winter jacket. Whilst these surfaces are quite hardy, harsh British weather can take its toll, so prompt cleaning of leaves, mud and other debris will prevent staining and maintain the surface's smart appearance.
Conclusion
Starting a resin bound surfacing project requires careful planning and attention to detail. Much like preparing a solid foundation for a garden path, each stage needs proper execution – from initial ground preparation through to the final pour. Whilst DIY installation is possible, you'll need to familiarise yourself with proper techniques and materials. The process demands precision, but with the right preparation and tools, you can create a durable surface that enhances your outdoor space for years to come.
