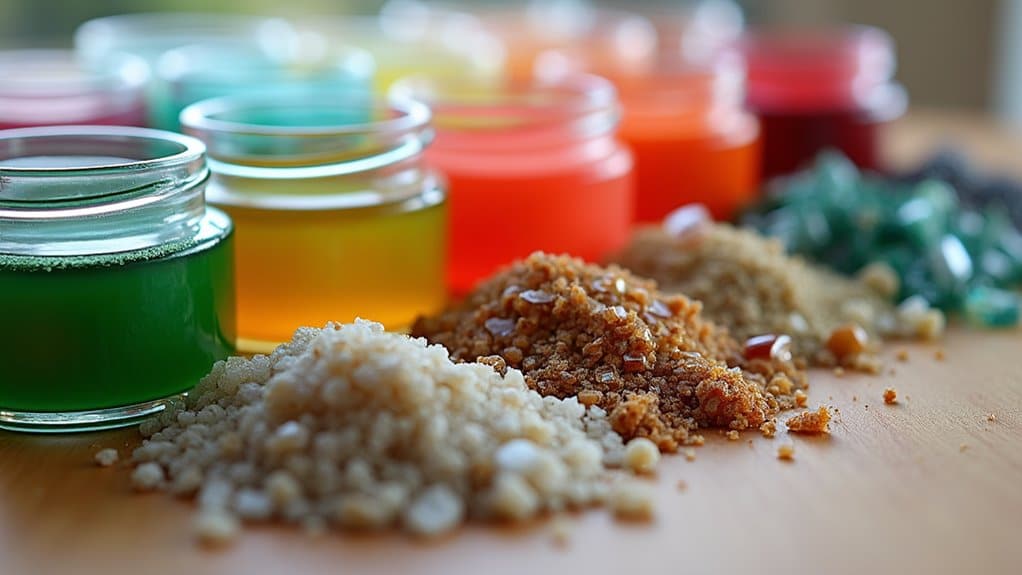
Choose the right resin and aggregate by first looking at what your project really needs. Consider epoxy resin for tough jobs like garage floors, or polyester if you're watching the budget on a garden path. Your surface must be properly prepped – a dusty or damp surface will cause the resin to fail.
For aggregates, quality matters. Local builders' merchants often stock suitable options. Look for clean, dry materials with consistent sizing – think pea shingle for paths or crushed granite for driveways. The mix needs good drainage to prevent puddles and ice damage in British weather.
Mix your materials precisely and allow proper curing time. Many DIYers rush this bit, but a proper cure (especially in our damp climate) is crucial. Get these basics right, and you'll have a solid, long-lasting finish that stands up to our weather.
Quick tip: Test your chosen combination on a small patch first. It's better to spot any issues early than redo an entire project.
Key Takeaways
Select the Right Resin and Aggregate:
- Start with your basic needs – how strong must it be? How quickly must it set? Match these requirements to pick the proper resin.
- Mind your workspace. Choose weather-resistant resins for garden projects, or chemical-resistant types for kitchen worktops and garage floors.
- Check surface compatibility. A quick sand and clean of your concrete floor or wooden worktop ensures the resin bonds properly.
- Buy aggregates from trusted UK suppliers. For a sturdy driveway, you'll want clean, dry stones around 10mm. For decorative surfaces like kitchen tops, finer grades work best.
- Mix your resin spot-on – much like baking, precise measurements matter. Follow the manufacturer's timing guidelines; rushing the cure ruins the finish.
Types of Resins
Choosing the right resin for your project requires understanding the main types available, as each offers unique properties suited to different tasks.
Epoxy resin stands out for its crystal-clear finish and strength, making it perfect for kitchen worktops and handmade jewellery. Whilst it's highly durable and resistant to chemicals, its curing time varies considerably. This resin is especially popular for adhesives and coatings due to its excellent bonding capabilities.
Polyester resin costs less and suits beginners better with its quicker curing time, though it's more brittle and prone to yellowing, particularly the orthophthalic type.
Thermoplastic resins like polycarbonate and acrylic offer excellent transparency and impact resistance, proving quite versatile in their applications.
Thermosetting resins, including epoxy and phenolic, excel in heat resistance and mechanical strength, but can't be recycled after setting.
For industrial needs, vinyl ester resin offers superior chemical resistance.
Understanding these key differences will help you pick the most suitable resin for your project.
Key Considerations for Resin Selection
Choosing the right resin requires careful consideration of your project's core needs. Begin with the basics – what matters most for your application? Whether it's maximum yield, high purity or quick processing, you'll need to strike the right balance.
The physical demands of your project are crucial. If you're working on outdoor structures, you'll want resins that can handle British weather conditions. For indoor applications like kitchen worktops, you'll need resins that resist household chemicals and daily wear.
Look at the resin's key characteristics and how they'll boost your composite's performance. Each type offers distinct benefits – epoxy resins provide excellent strength for structural work, whilst polyester resins suit more basic applications like boat repairs. Effective resin selection enhances efficiency, yield, and cost-effectiveness, ensuring that your project stays on track and within budget.
Additives can dramatically change your resin's properties. For instance, adding UV stabilisers helps protect outdoor installations, while flame retardants are essential for building materials.
It's worth testing small samples first and consulting industry experts before making your final choice.
Understanding Resin Compatibility

Understanding how resins work with different materials is crucial for any DIY or professional project. Poor compatibility can lead to peeling, bubbling or complete failure of the bond.
Different surfaces need different approaches:
- Glass and metal (non-porous): Generally bond well
- Wood and concrete (porous): Need extra preparation steps
Getting the best results means proper surface prep:
- Clean thoroughly to remove dirt and grease
- Sand the surface to create a better grip
- Use primer where needed, especially on porous materials
Before starting any large project, it's worth testing the resin on a small patch. This quick check can save time and materials by revealing potential problems early on. Proper resin compatibility is critical for ensuring a strong bond in various applications. Additionally, the sub-base construction process can further enhance the overall durability of the resin application.
Most DIY shops and builders' merchants stock compatible resins for common materials. When in doubt, check the manufacturer's guidelines – they're the best source for specific advice about their products.
Remember: Rushing surface preparation is a common mistake that leads to failed bonds. Taking time with prep work pays off with longer-lasting results.
Selecting the Right Aggregate
Selecting the right aggregate makes all the difference to your project's durability and appearance. Quality starts at the source – work with suppliers who maintain strict quality standards, particularly proper washing and drying to remove impurities.
When choosing aggregates, focus on these key points:
- Clean, dry materials prevent moisture issues during resin curing.
- Low dust content ensures a clear finish.
- A good mix of particle sizes boosts strength and creates better drainage compliance for the surface.
Store your aggregates properly to avoid contamination and dampness. The stability of the base is crucial for the durability of the surface, making it essential to select aggregates that suit the expected traffic conditions (for strong, stable bases).
Whether you're using natural stone or manufactured options, match the aggregate properties to your specific job. For example, rounded river gravel works brilliantly for decorative surfaces, whilst crushed granite suits heavy-duty applications.
Smart aggregate selection and proper storage aren't just technical requirements – they're essential for creating work that lasts and looks professional.
Get these basics right, and you'll avoid common problems like clouding, weak spots and premature wear.
Mixing and Curing Process

The proper mixing and curing of resin makes all the difference to your final result. For small jobs, hand mixing works fine, but larger projects need mechanical mixing to ensure consistency. High shear and vacuum mixing methods are particularly good at removing air bubbles and blending components thoroughly. Proper mixing ensures complete curing and optimal strength of the final product. This is especially vital because the durability and lifespan of resin driveways heavily depend on the mixing and curing process.
Getting the curing process right is equally crucial. Warm the resin and hardener in a hot water bath to speed up curing. For thin layers, UV light exposure works well. Post-cure heat treatment can improve the material's strength after initial setting.
Watch out for common mistakes: wrong mixing ratios and too much hardener often lead to sticky or poorly-cured surfaces. Room temperature and humidity affect curing time, so keep these steady.
Always mix thoroughly to avoid streaky patches. Master these basics, and you'll achieve consistently strong, durable results.
Frequently Asked Questions
Can I Mix Different Resin Types for My Project?
Mixing different resin types is risky unless they're specifically labelled as compatible. Common combinations include epoxy with epoxy or polyester with polyester – much like how you wouldn't mix oil-based and water-based paints. Stick to proper mixing ratios and always test a small batch first. For DIY projects, it's safest to use the same brand and type throughout your work.
How Do Temperature Changes Affect Resin Curing?
Temperature changes significantly influence resin curing times, with cold conditions slowing the process and warm spots potentially causing uneven hardening. Much like how bread rises poorly in a chilly kitchen, resin needs proper warmth to cure effectively. Maintaining a steady temperature, typically around room temperature (20-25°C), ensures uniform curing and prevents common snags like tacky patches or inconsistent layering.
What Safety Precautions Should I Take When Working With Resin?
Whilst working with resin, ensure proper respiratory protection and skin safety. Wear protective gloves, safety goggles and suitable clothing to prevent contact. Work in a well-ventilated space – ideally a garage or workshop with open doors – and stick to manufacturer's guidelines for handling and storage. Think of resin like strong household bleach: it requires careful handling and proper protective gear to use safely.
How Do I Store Leftover Resin and Hardener?
Store leftover resin and hardener in tightly sealed containers, standing upright in a cool, dark cupboard. Most resins keep well in temperatures between 15-20°C, similar to your garden shed or garage in spring. Check the manufacturer's expiry dates and don't mix different brands of hardeners, as they might not be compatible.
Can Resin Be Recycled After Use?
Resin recycling varies based on type. Whilst thermoset resins prove tricky to recycle (think of a hardened epoxy in your kitchen worktop), thermoplastic resins can be effectively recycled (like the plastic in your drinks bottles). The key is knowing which type you're using – thermoplastics melt and reshape, making them ideal for recycling, whereas thermosets permanently harden, limiting their recycling potential.
Conclusion
Selecting the right resin and aggregate is crucial for any construction or DIY project. The proper combination ensures durability and structural integrity, much like choosing the right mortar for brickwork. Focus on compatibility between materials – for instance, epoxy resin works well with quartz aggregate for garage floors, whilst polyurethane suits decorative garden pathways. Check manufacturer guidelines for mixing ratios and application methods to achieve optimal results. Consider factors like weather exposure and foot traffic when making your choice, as these will affect the longevity of your finished project.
